Wilmington, North Carolina Mon–Sat · 7:00 AM – 5:00 PM Call or text for a free quote
What we do
Services
Four things, done right. Bring us the car everybody else turned down — that's our favorite kind of phone call.
Auto Detailing
Full interior and exterior detailing — deep-cleaned cabins, door panels, seats and glass, and paint washed, polished, and brought back to a shine.
Dent Removal
Dents and creases worked out and panels made straight again — from parking-lot dings to tailgates that have seen better days.
Paint Repair
Scratches, chips, peeling clear, and rust spots cut out, filled, primed, and painted to blend with the panel around it.
Customization
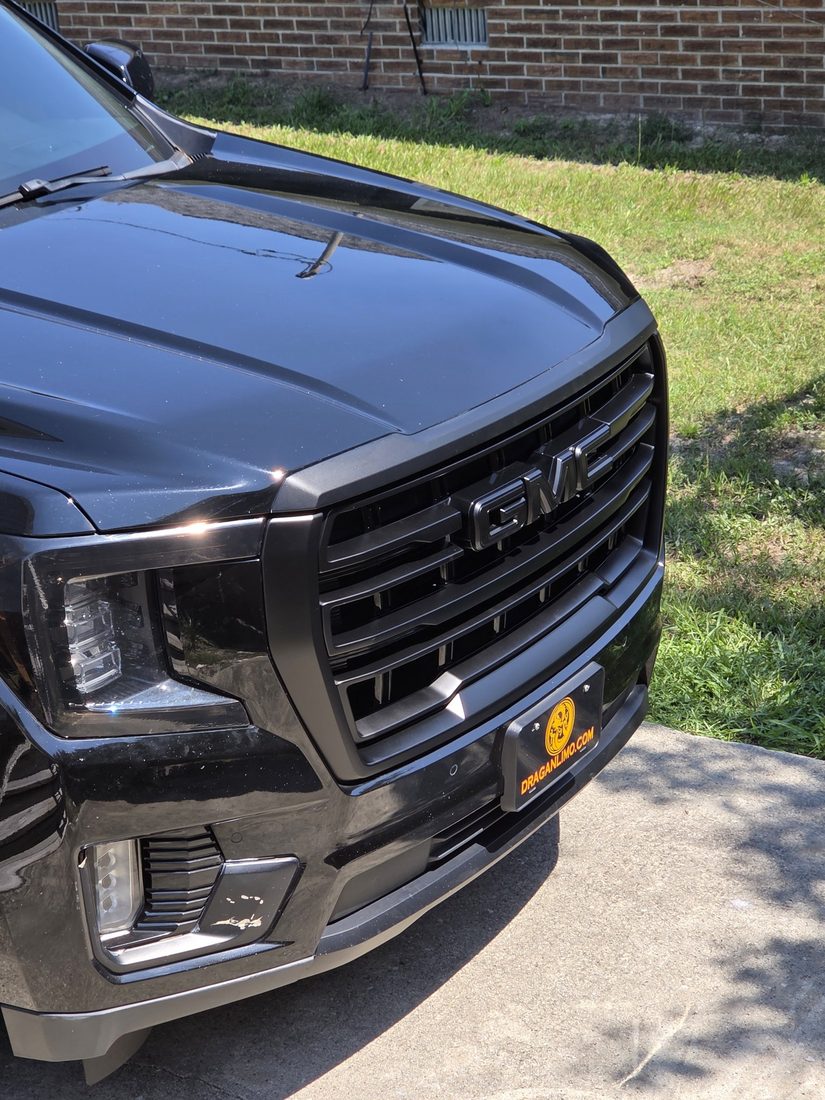
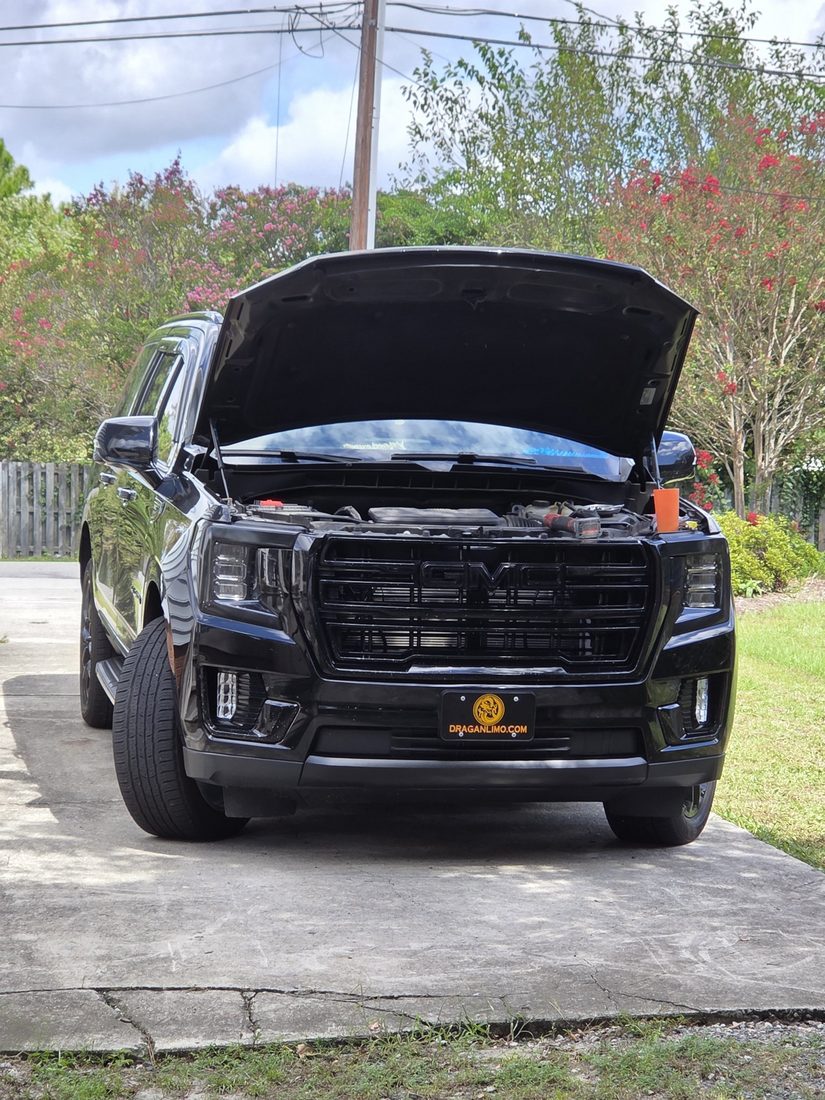
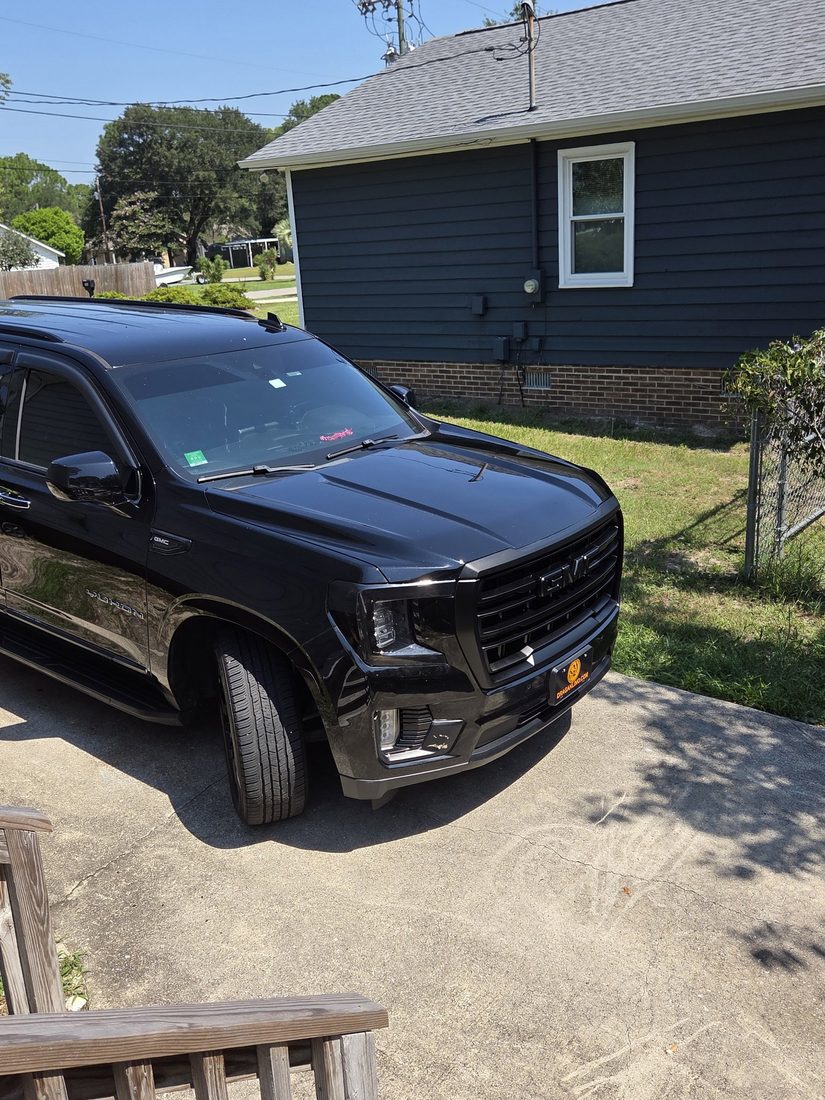
Chrome deletes, blacked-out grilles, trim, and emblems — the details that take a truck from stock to yours.
Every job is different, so every price is too. Call or text 910-726-0550 and we'll give you a free quote on your vehicle.
The long game
Current Build
Not every job is a quick turnaround. This is the long game — two builds running side by side, each in stages, documented as they go. New photos land here as the work moves.
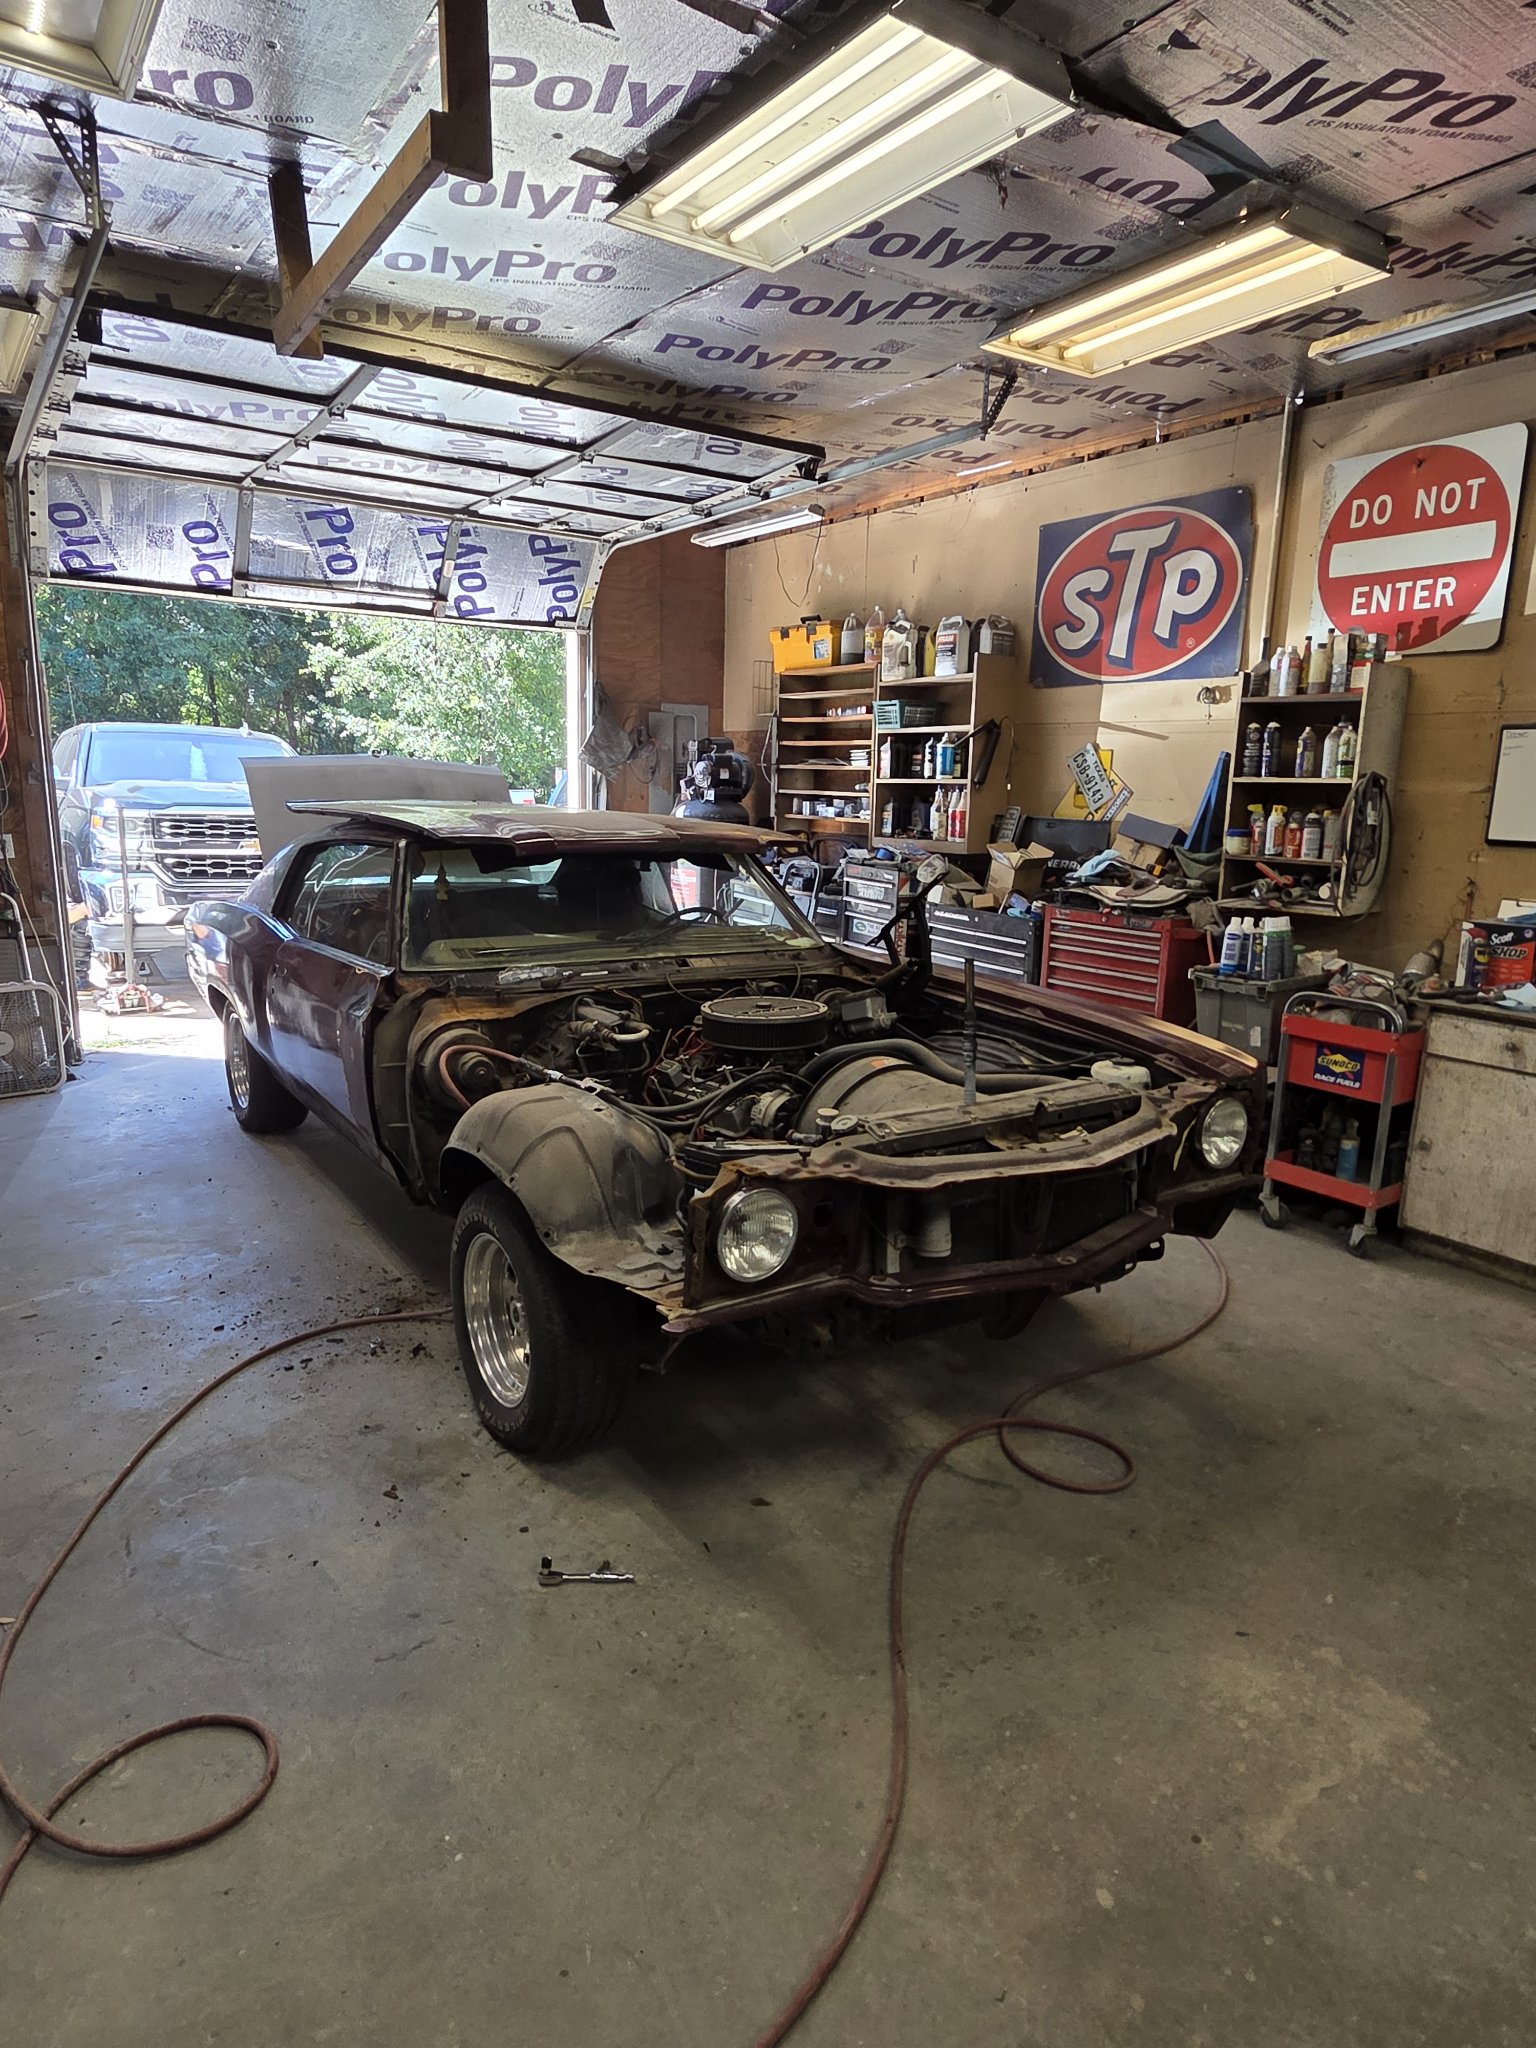
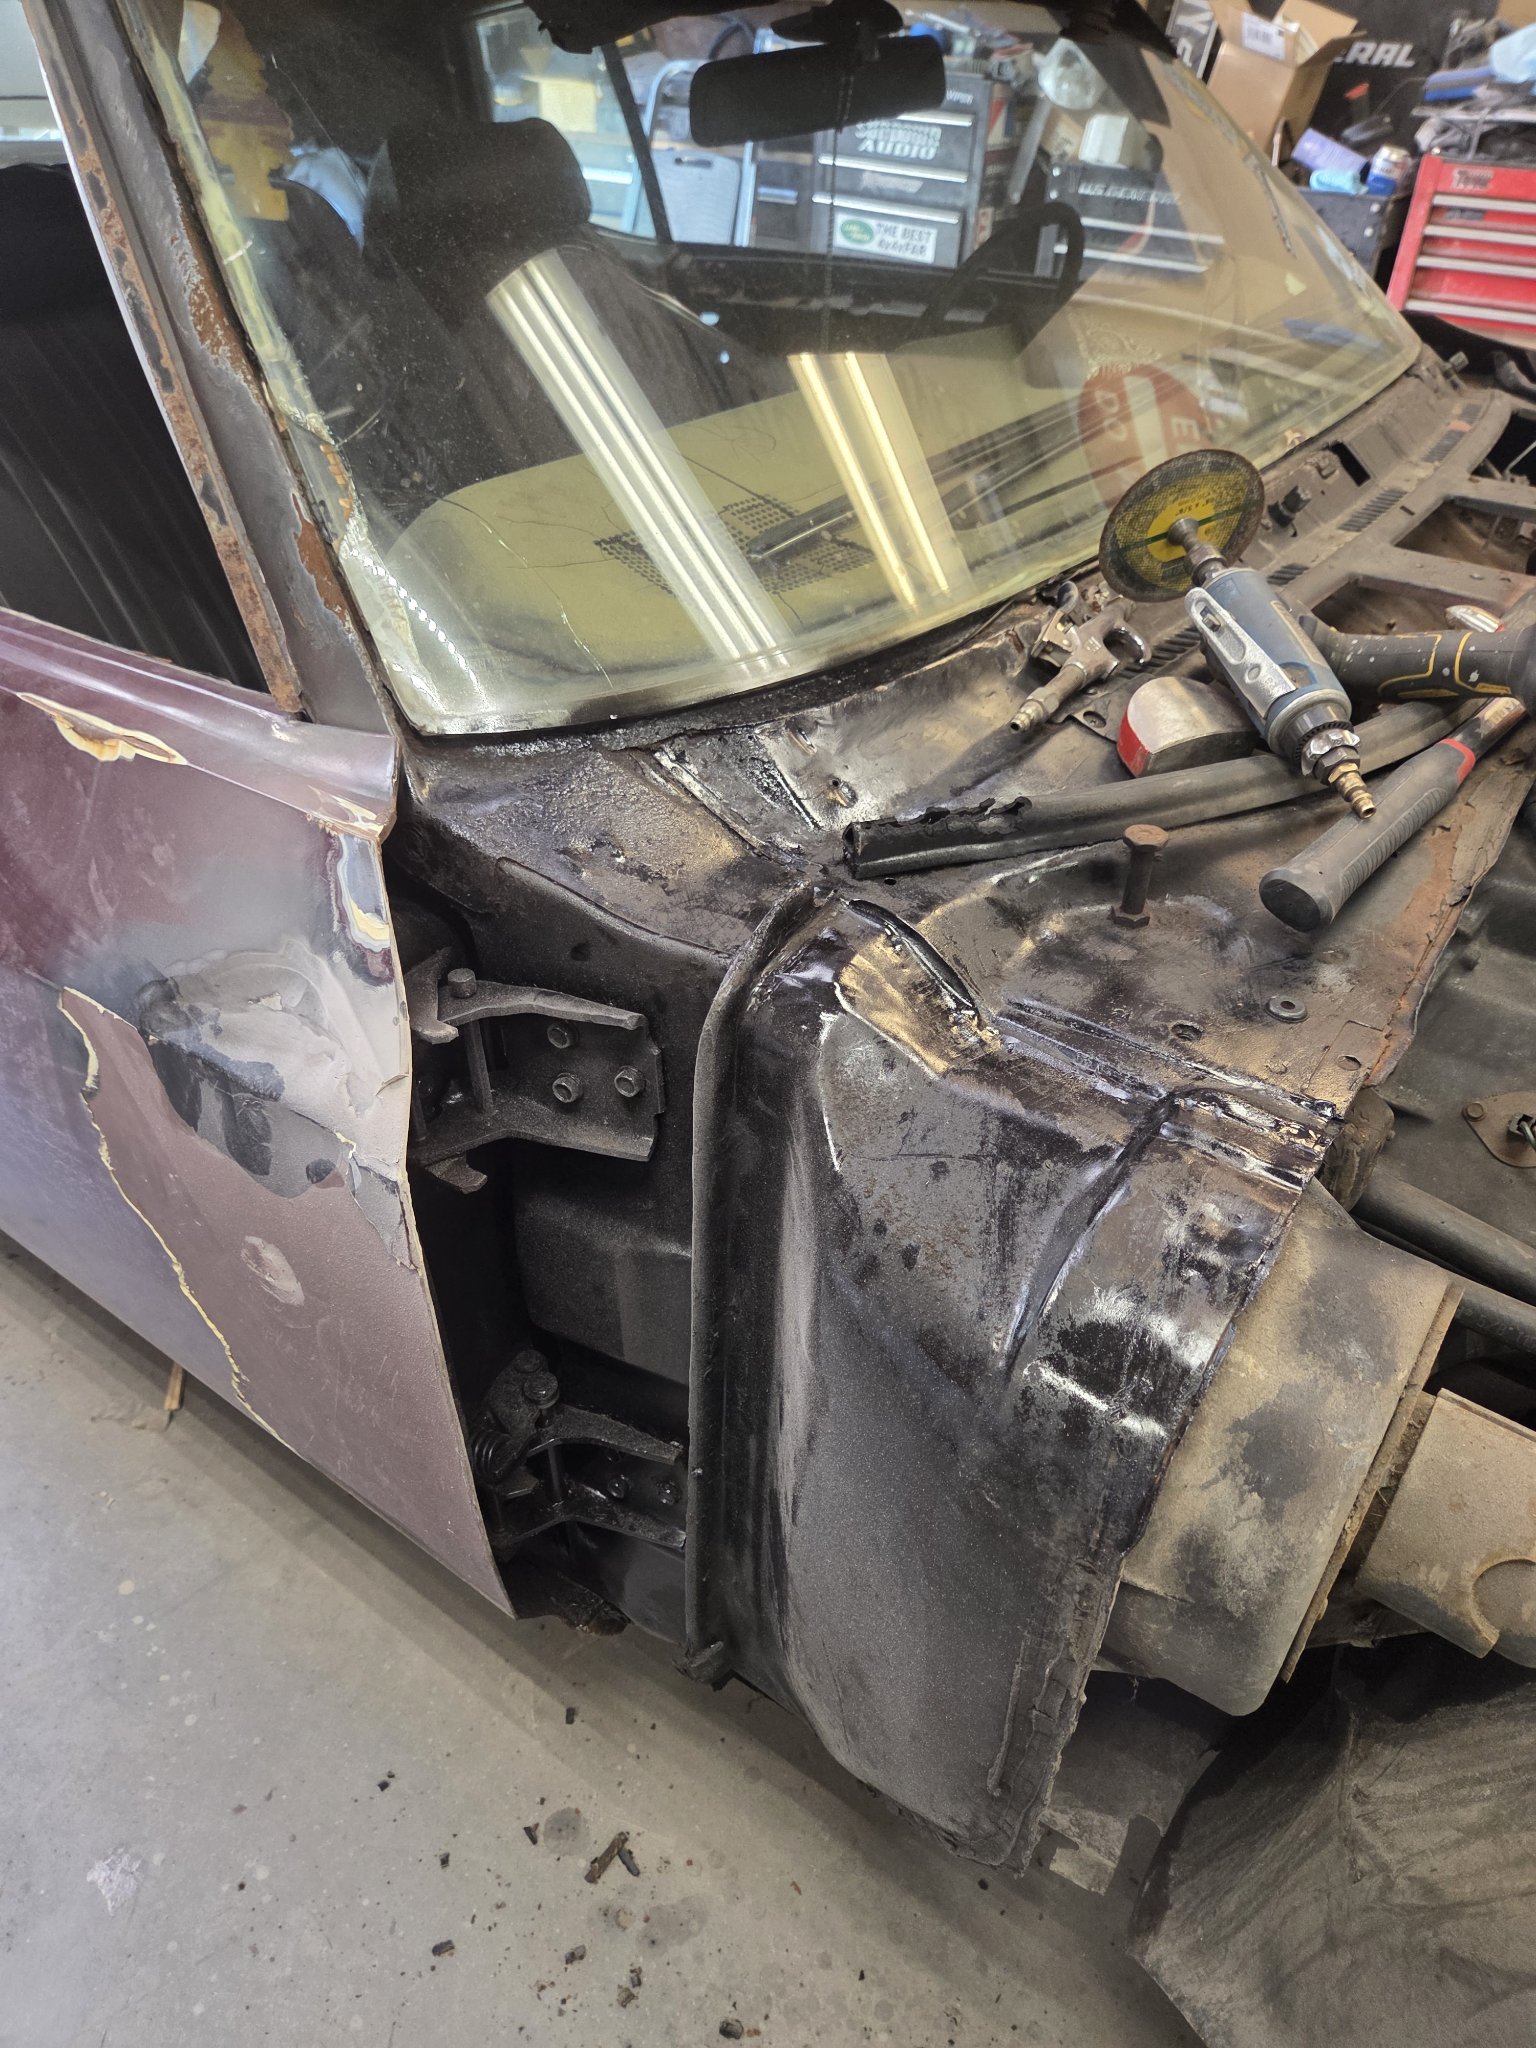
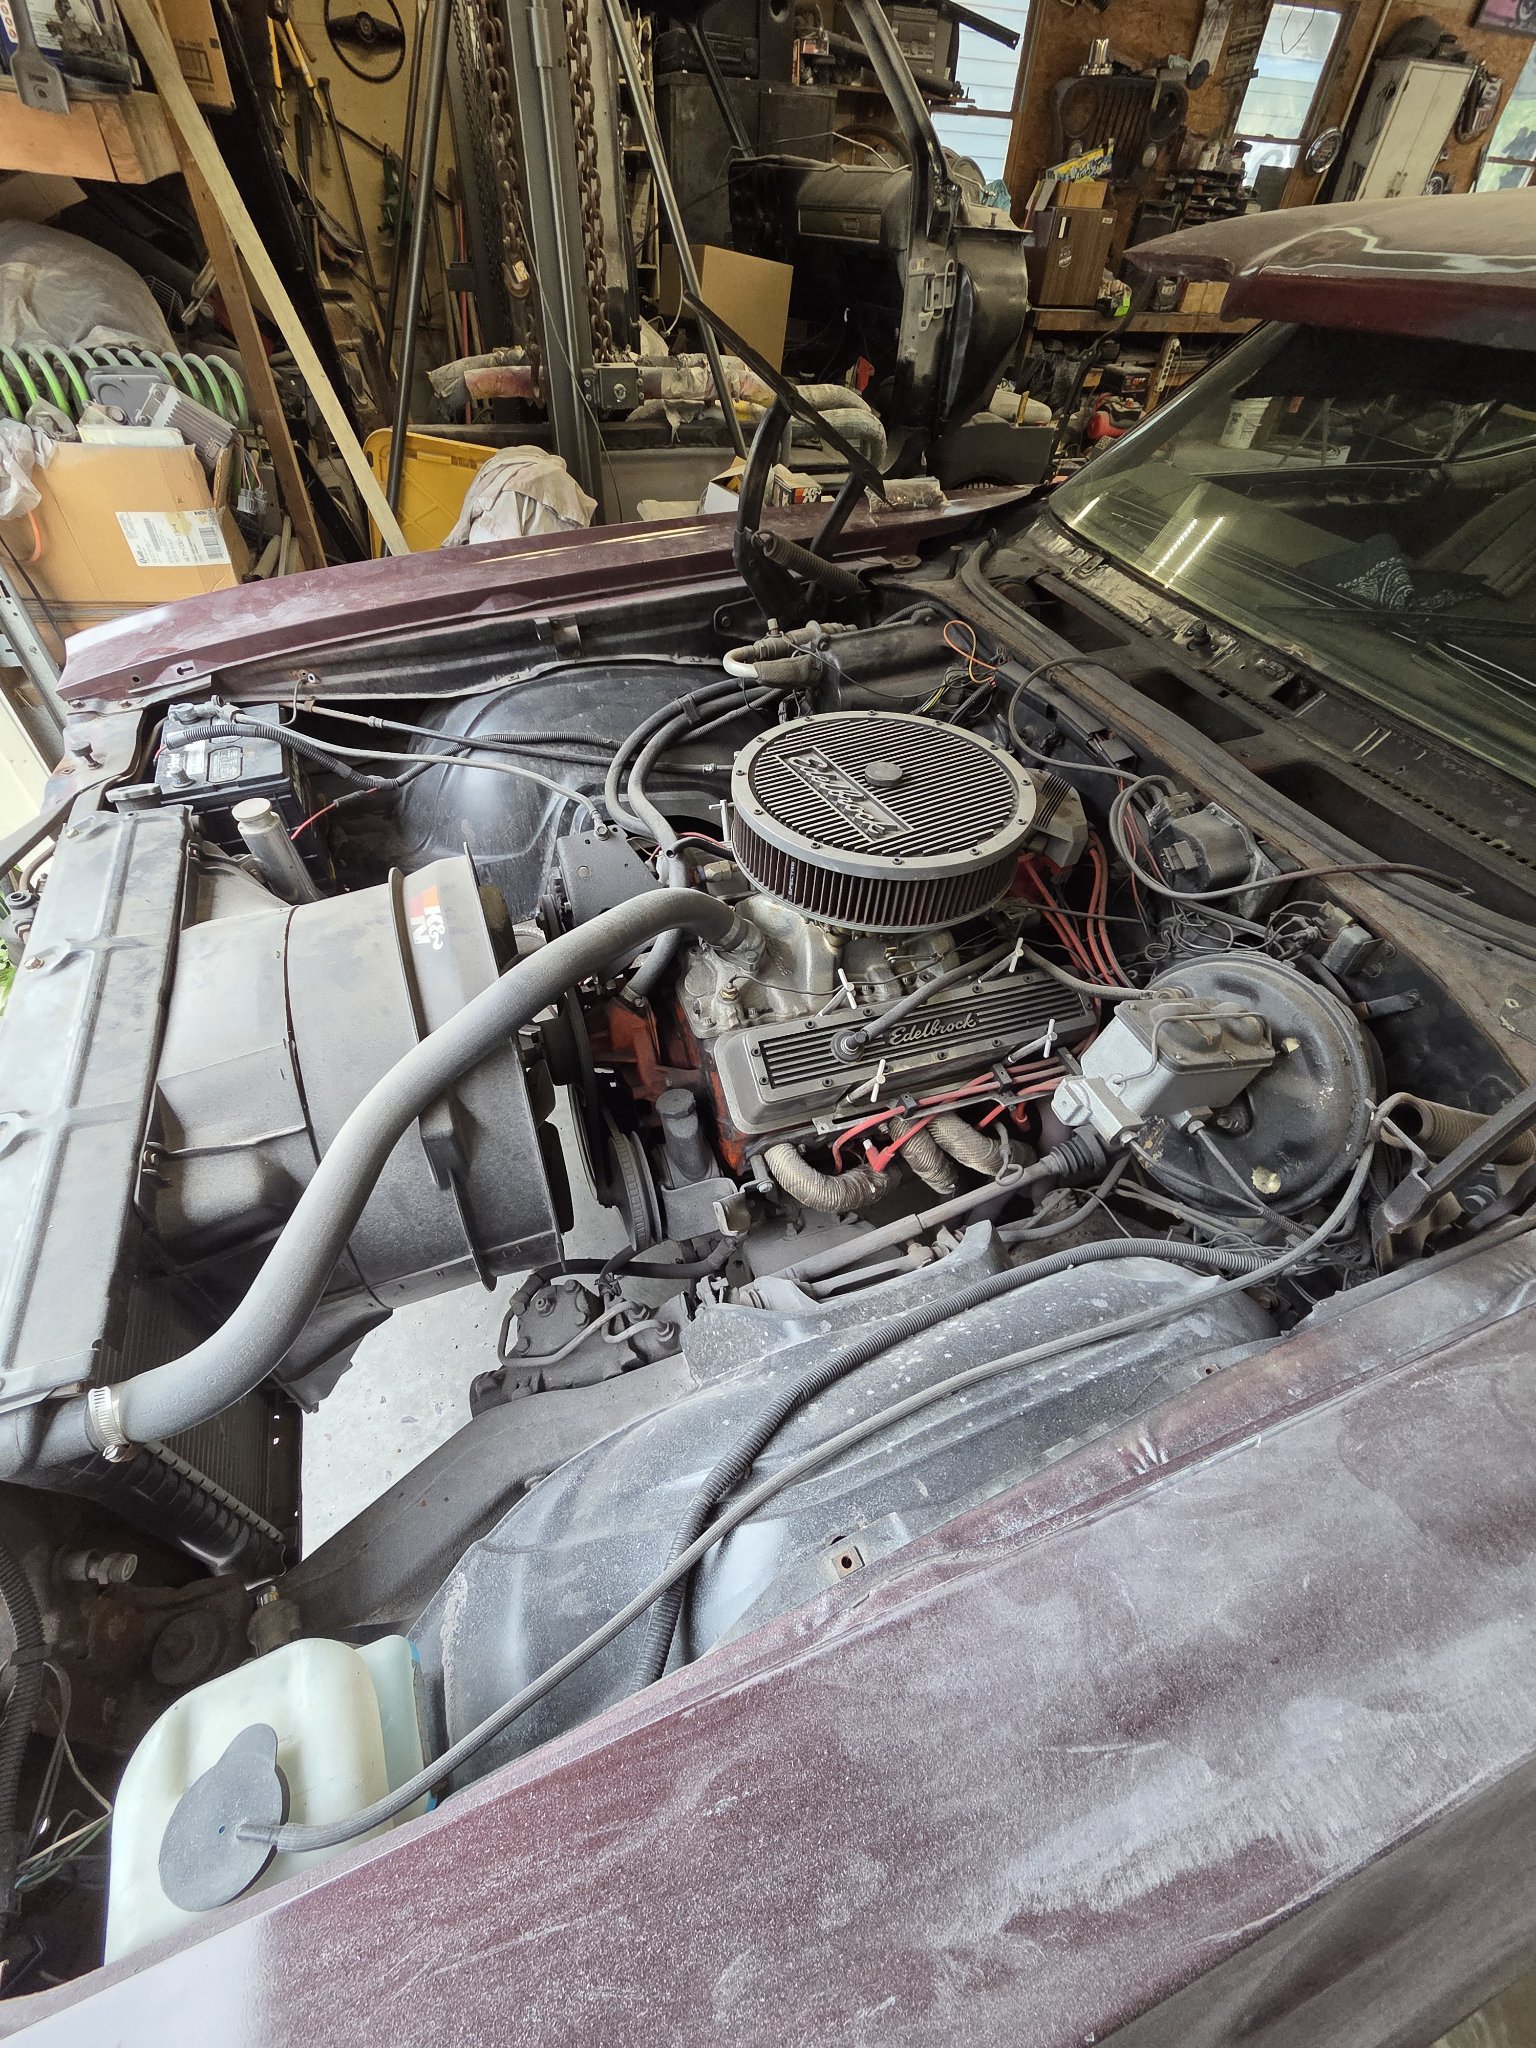
Front clip off, engine exposed — the teardown is underway.
Chevrolet Monte Carlo
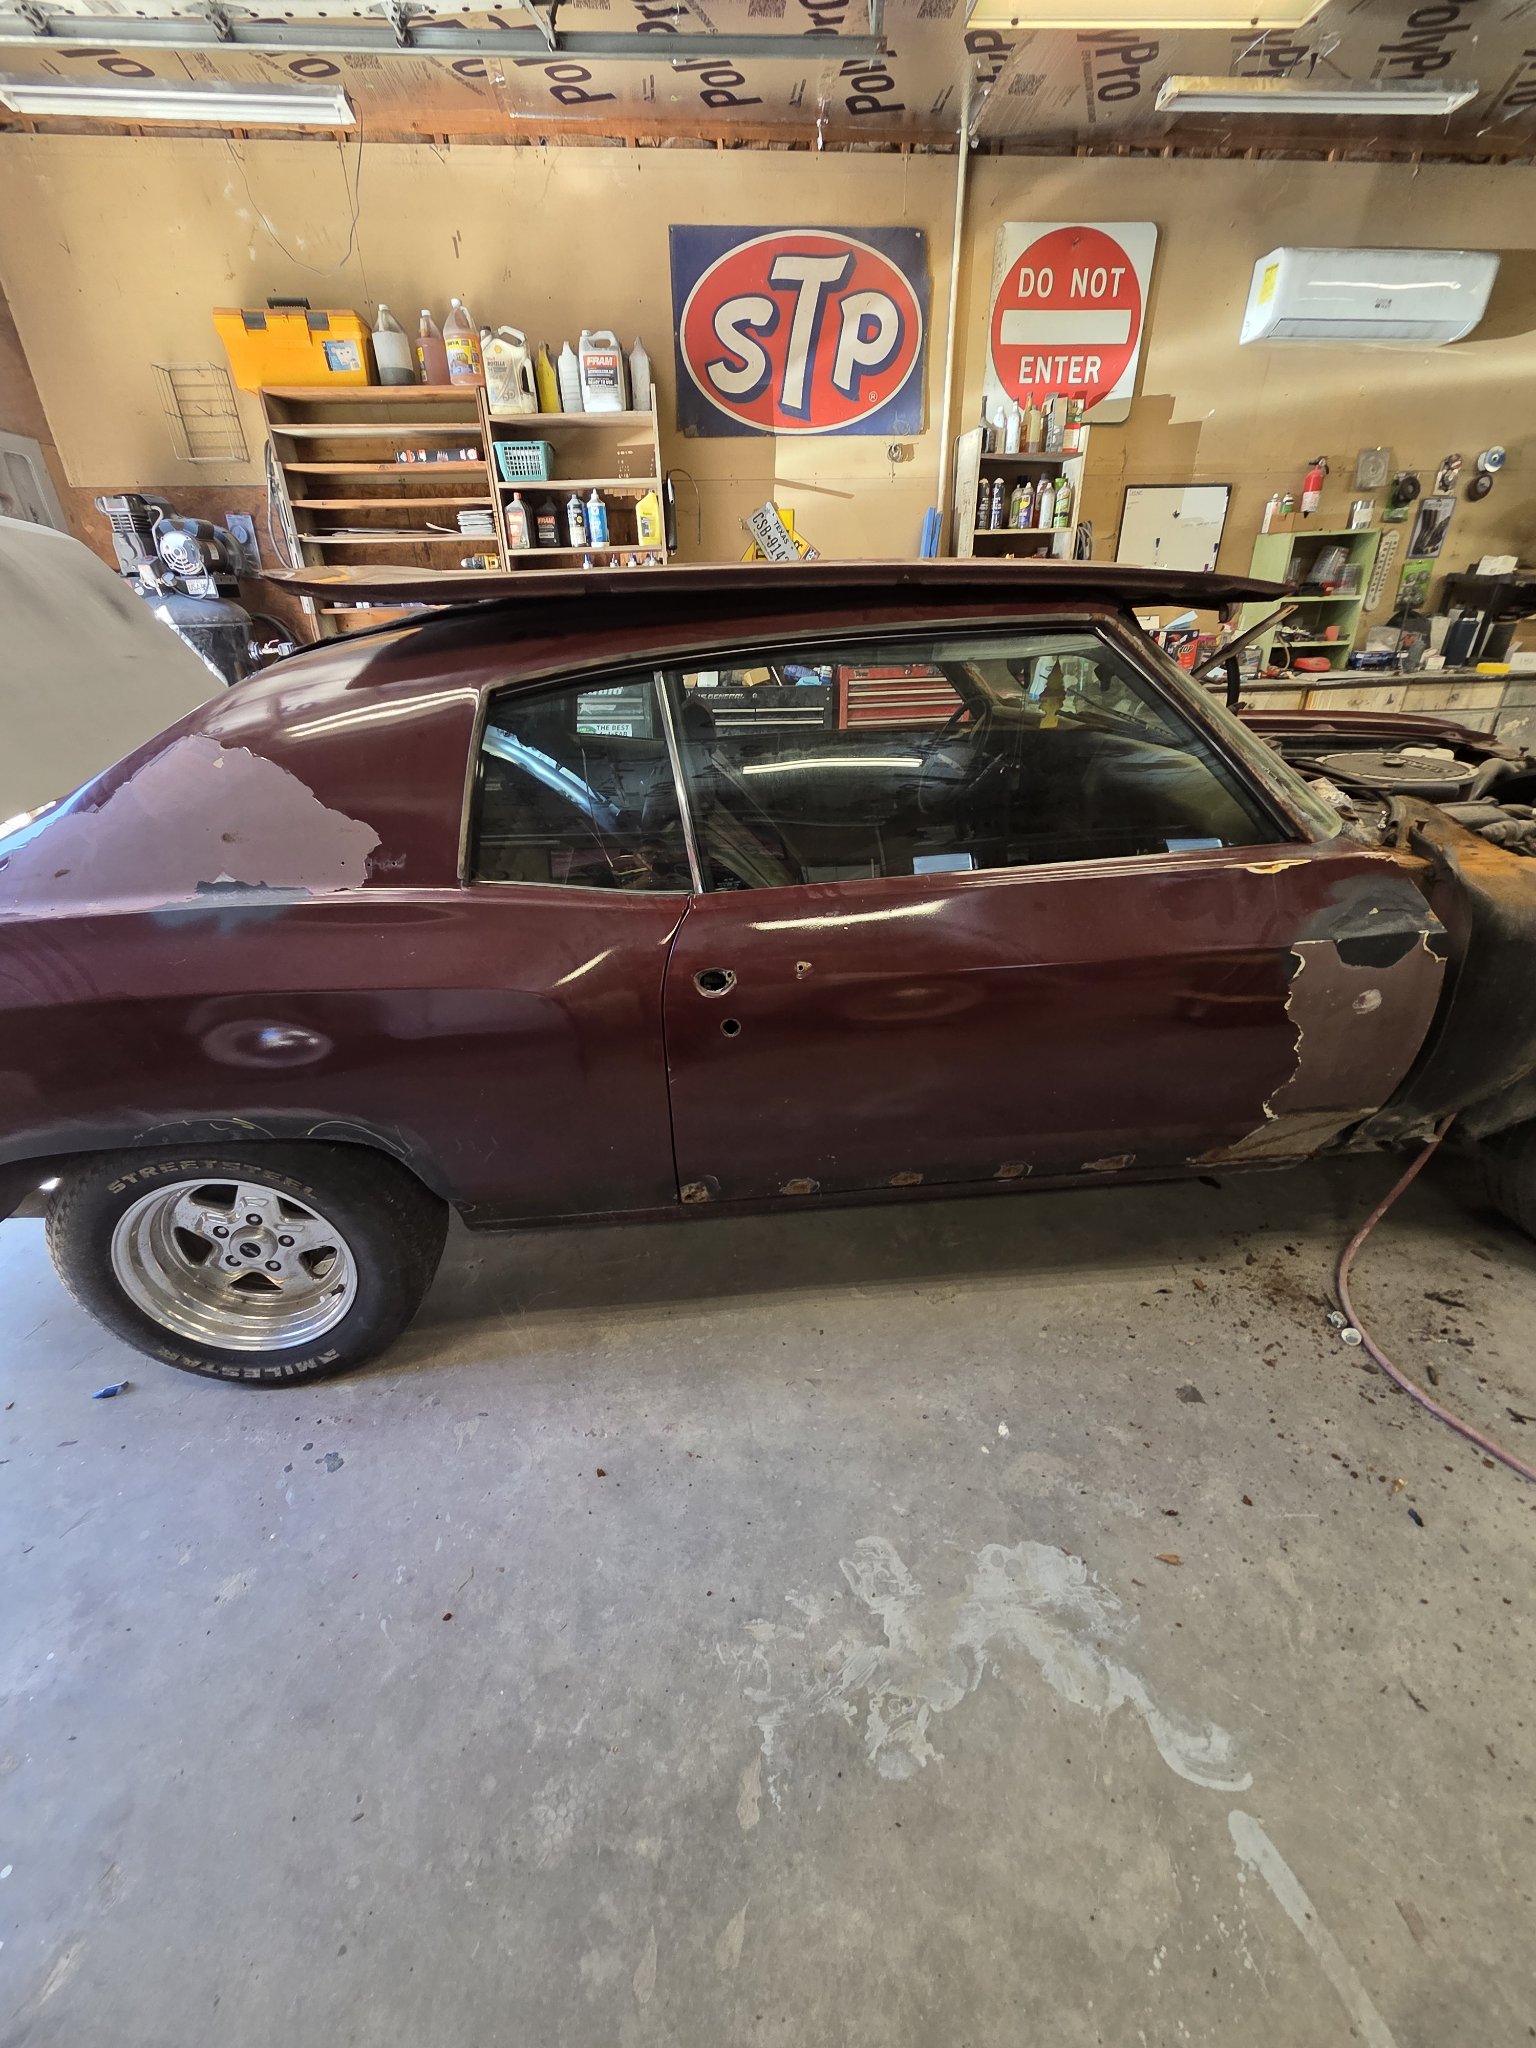
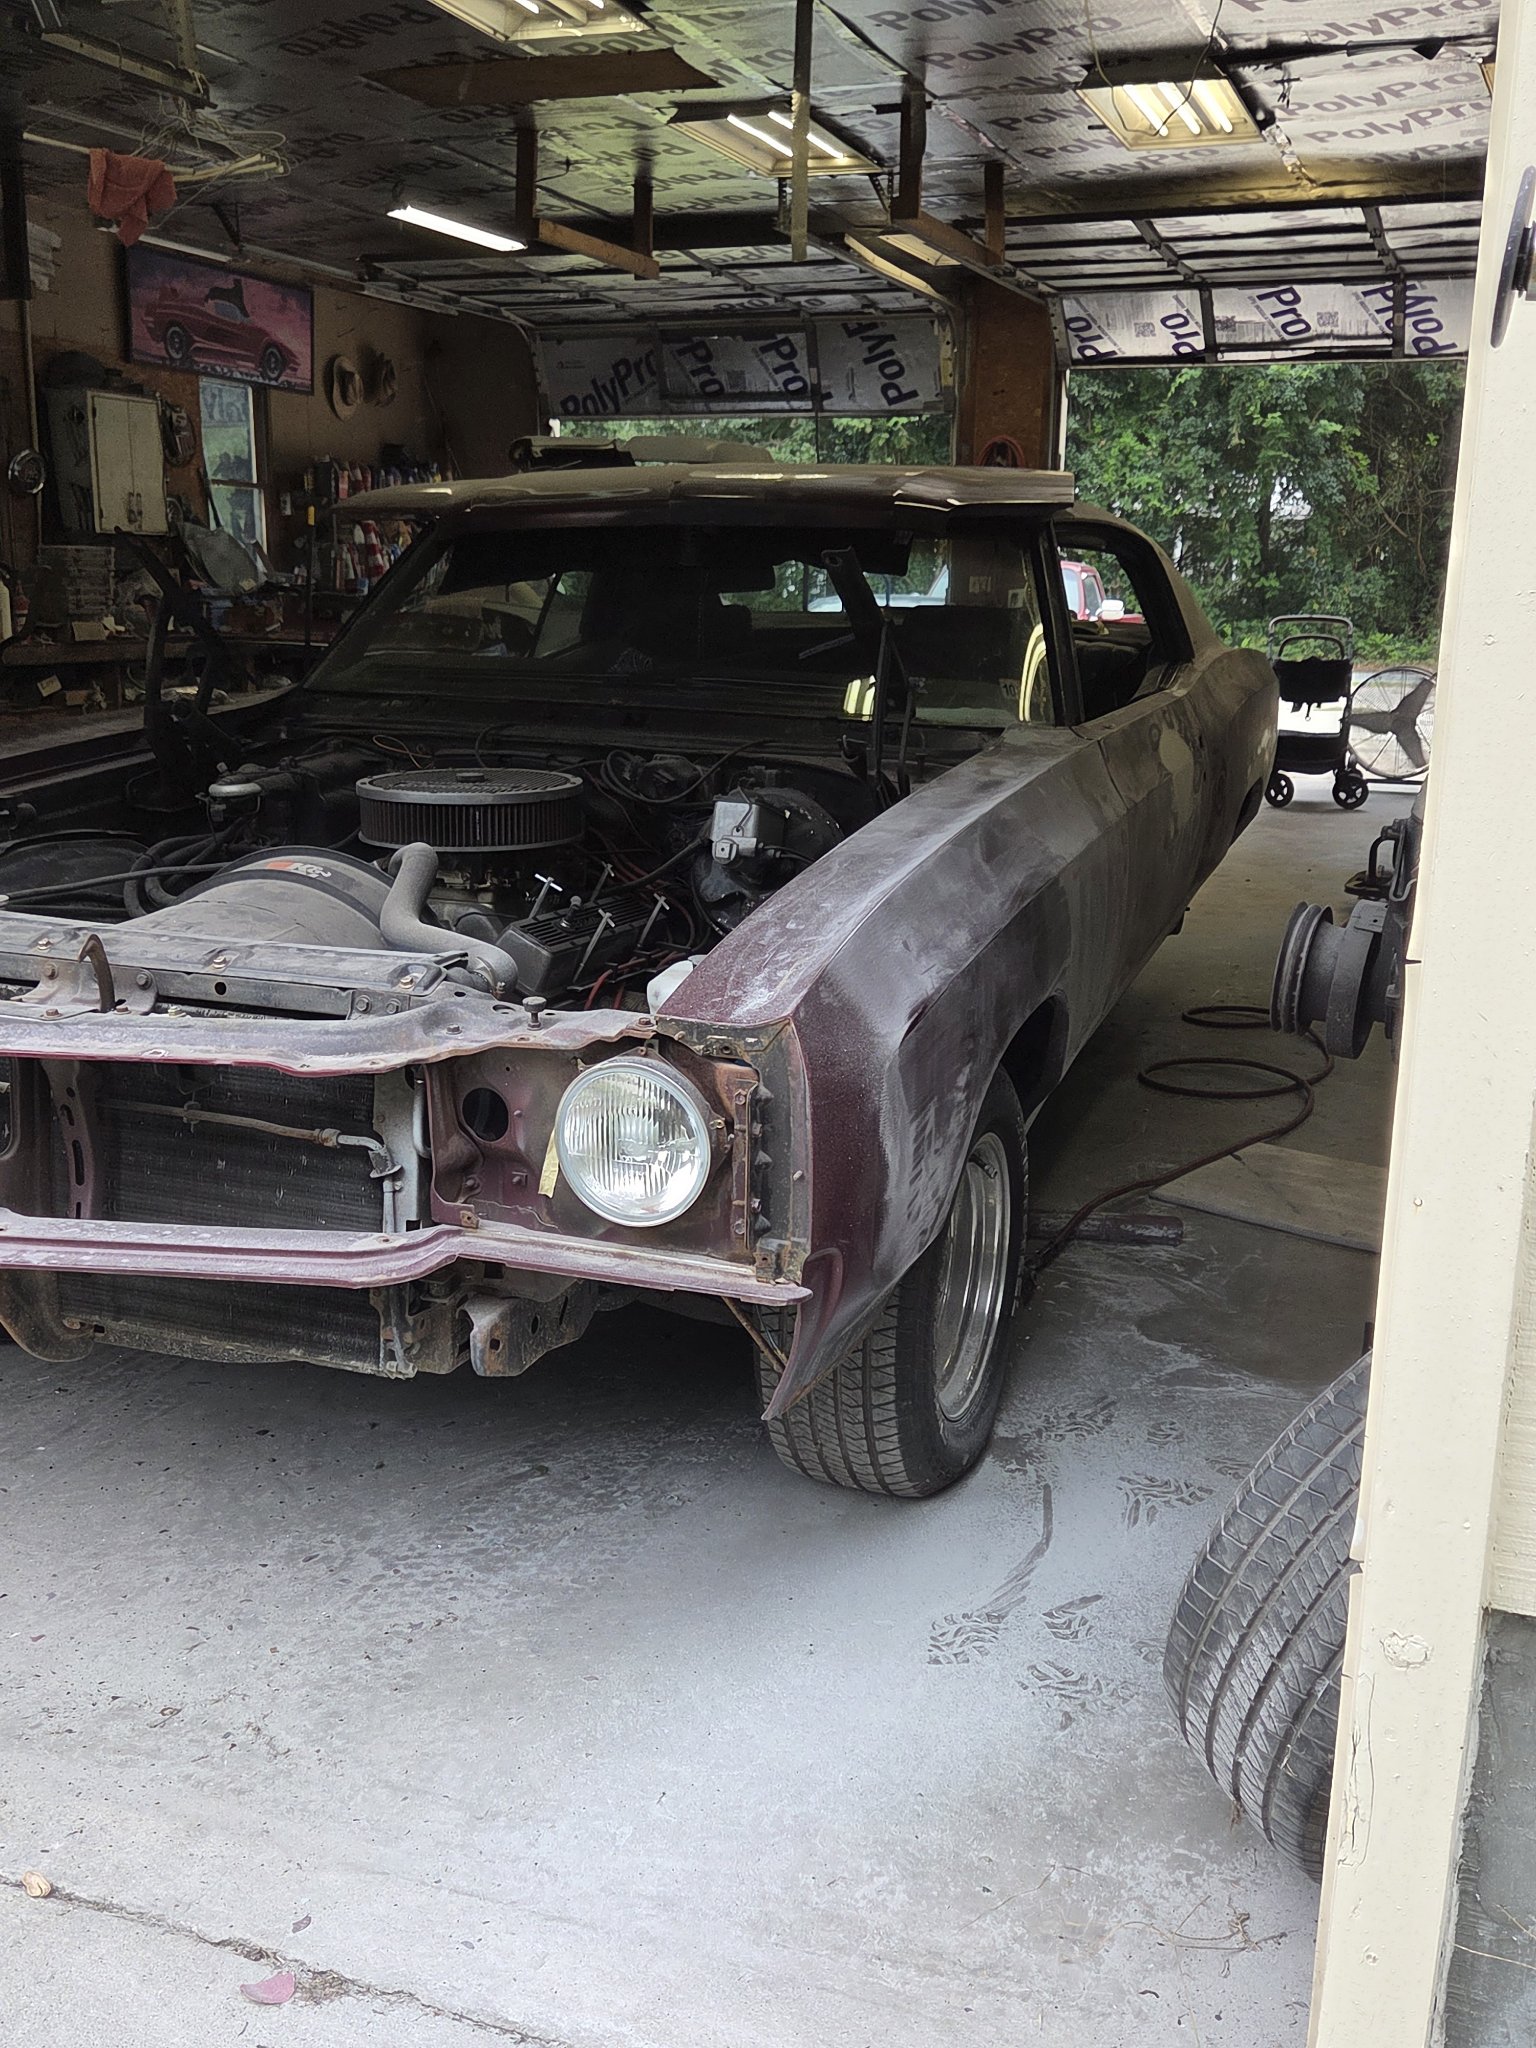
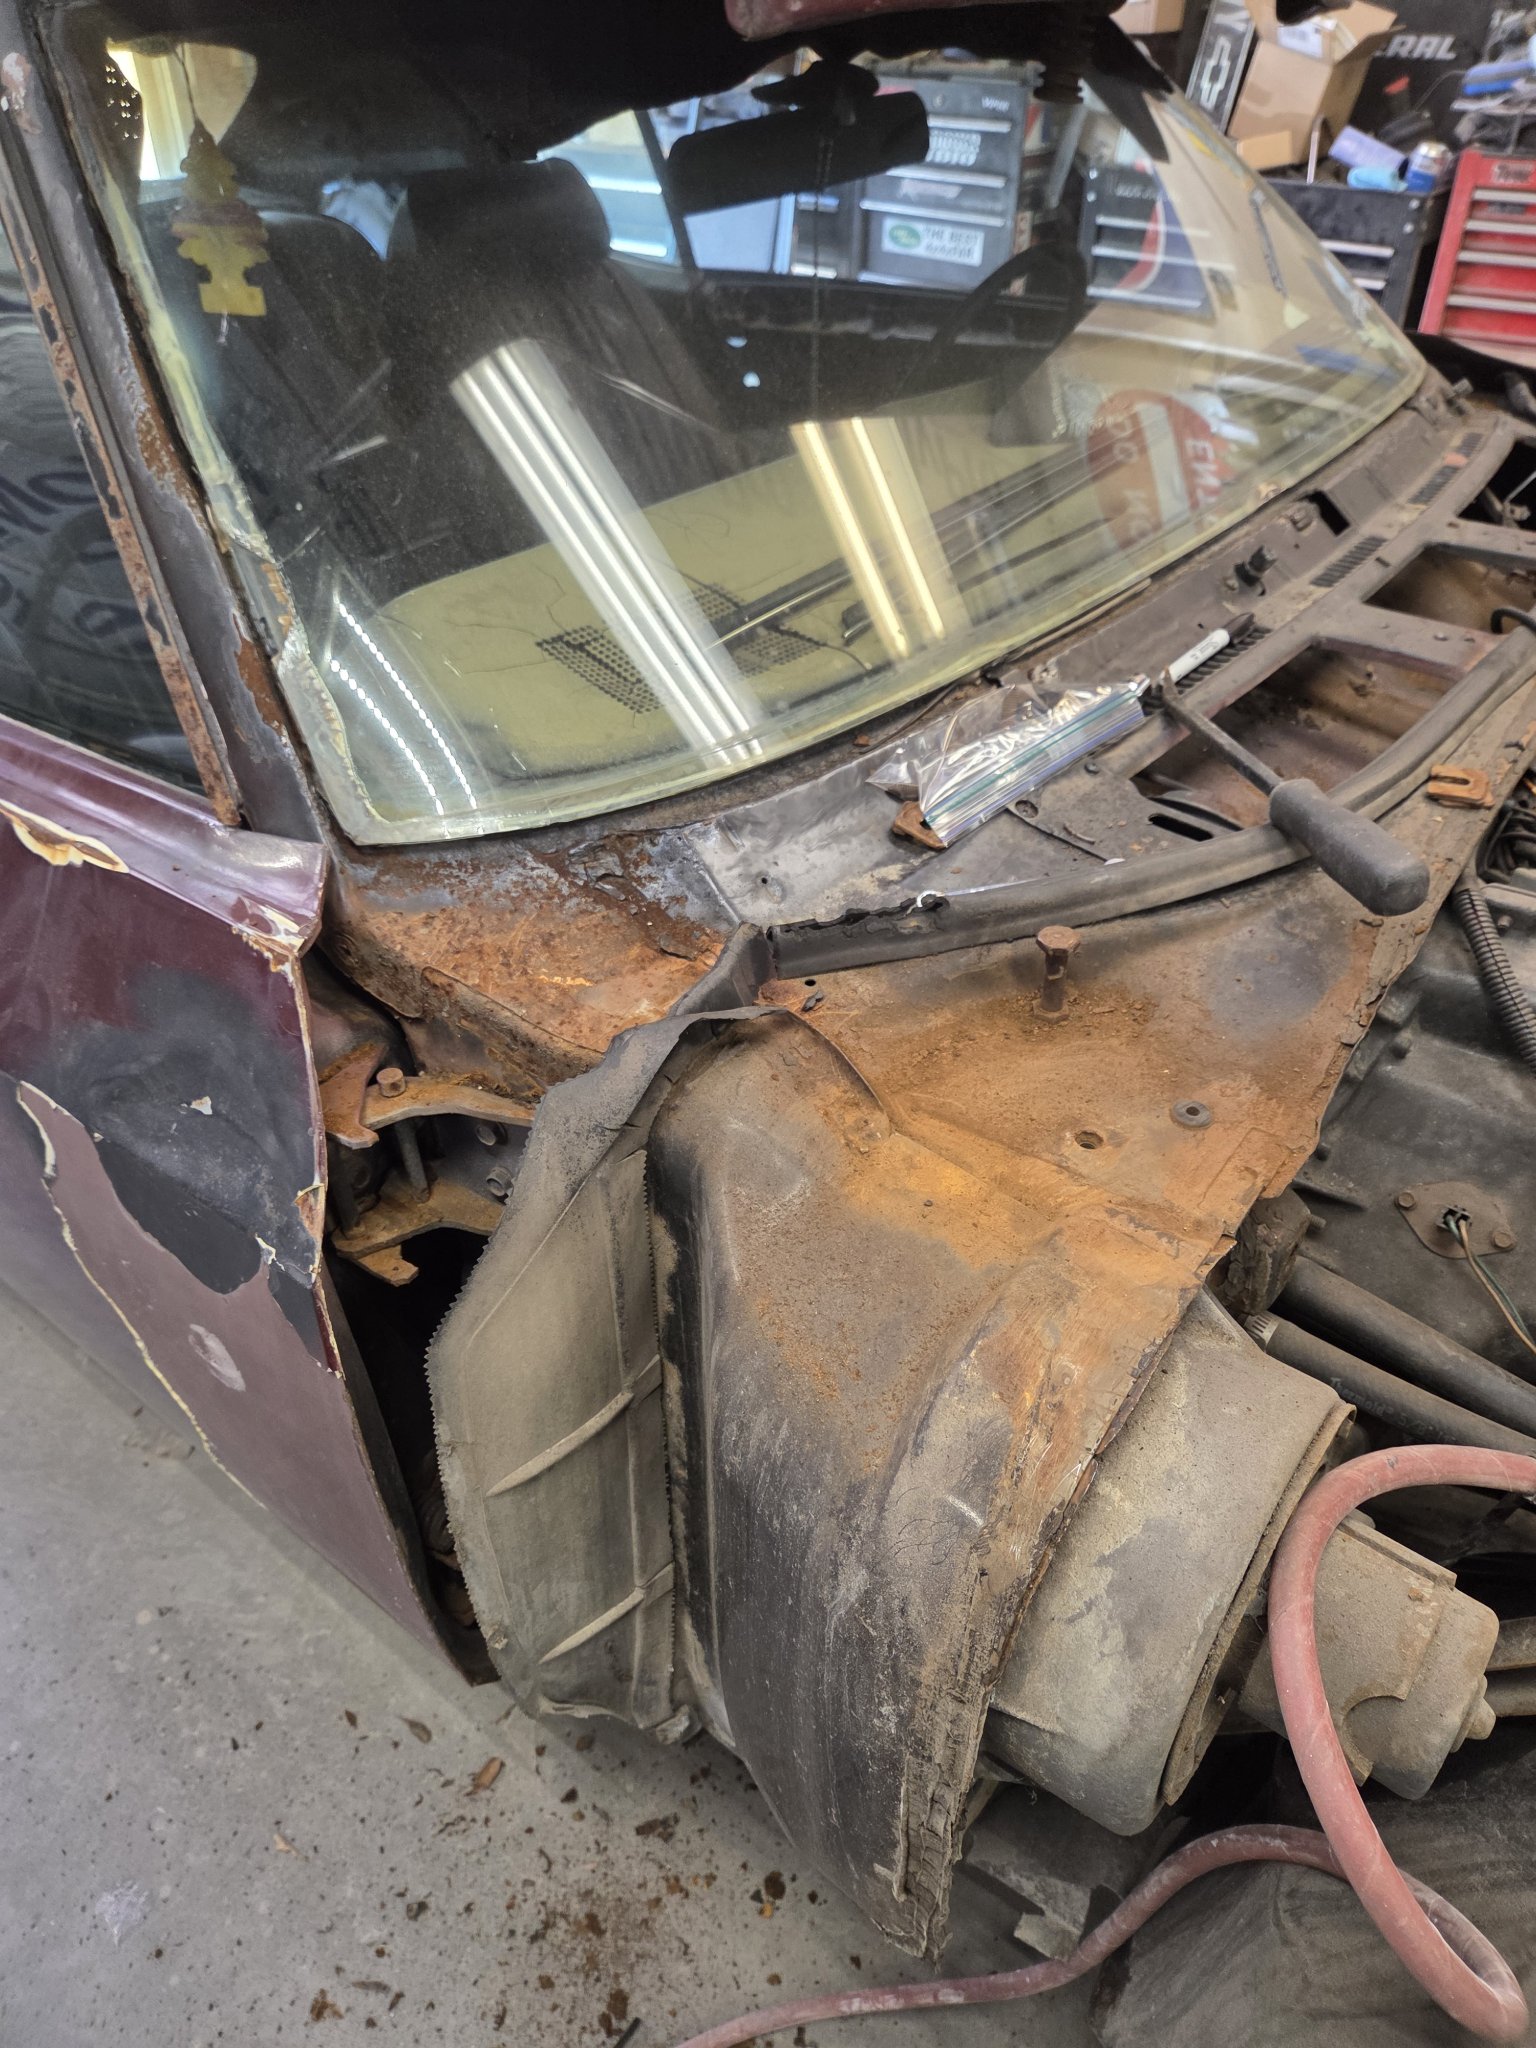
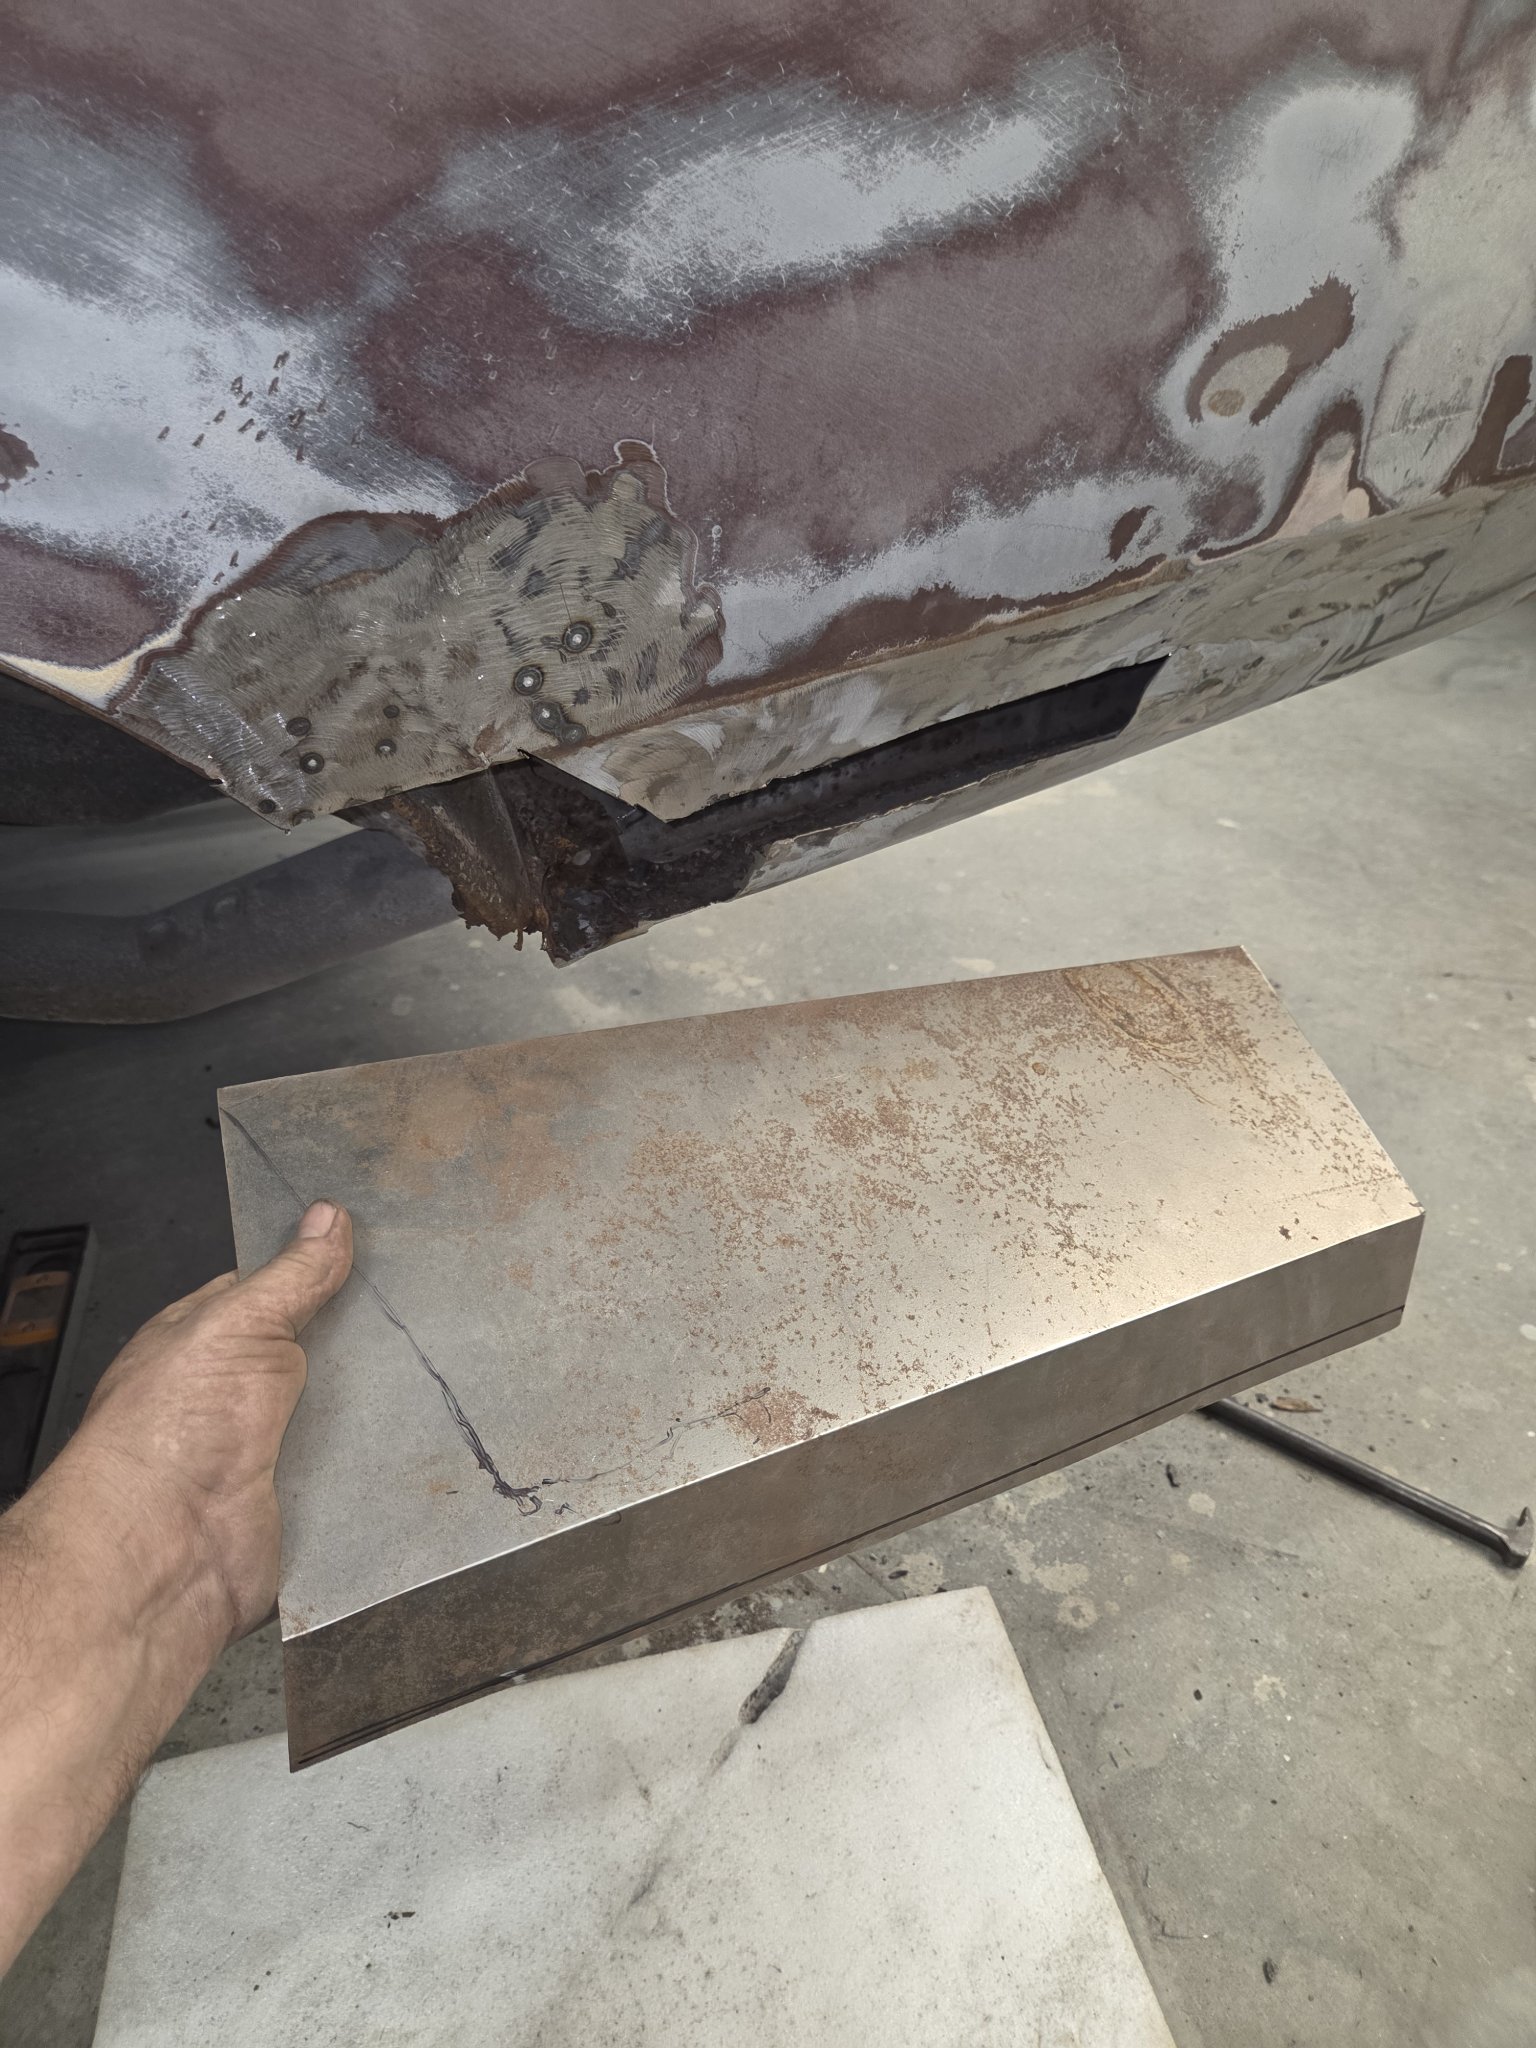
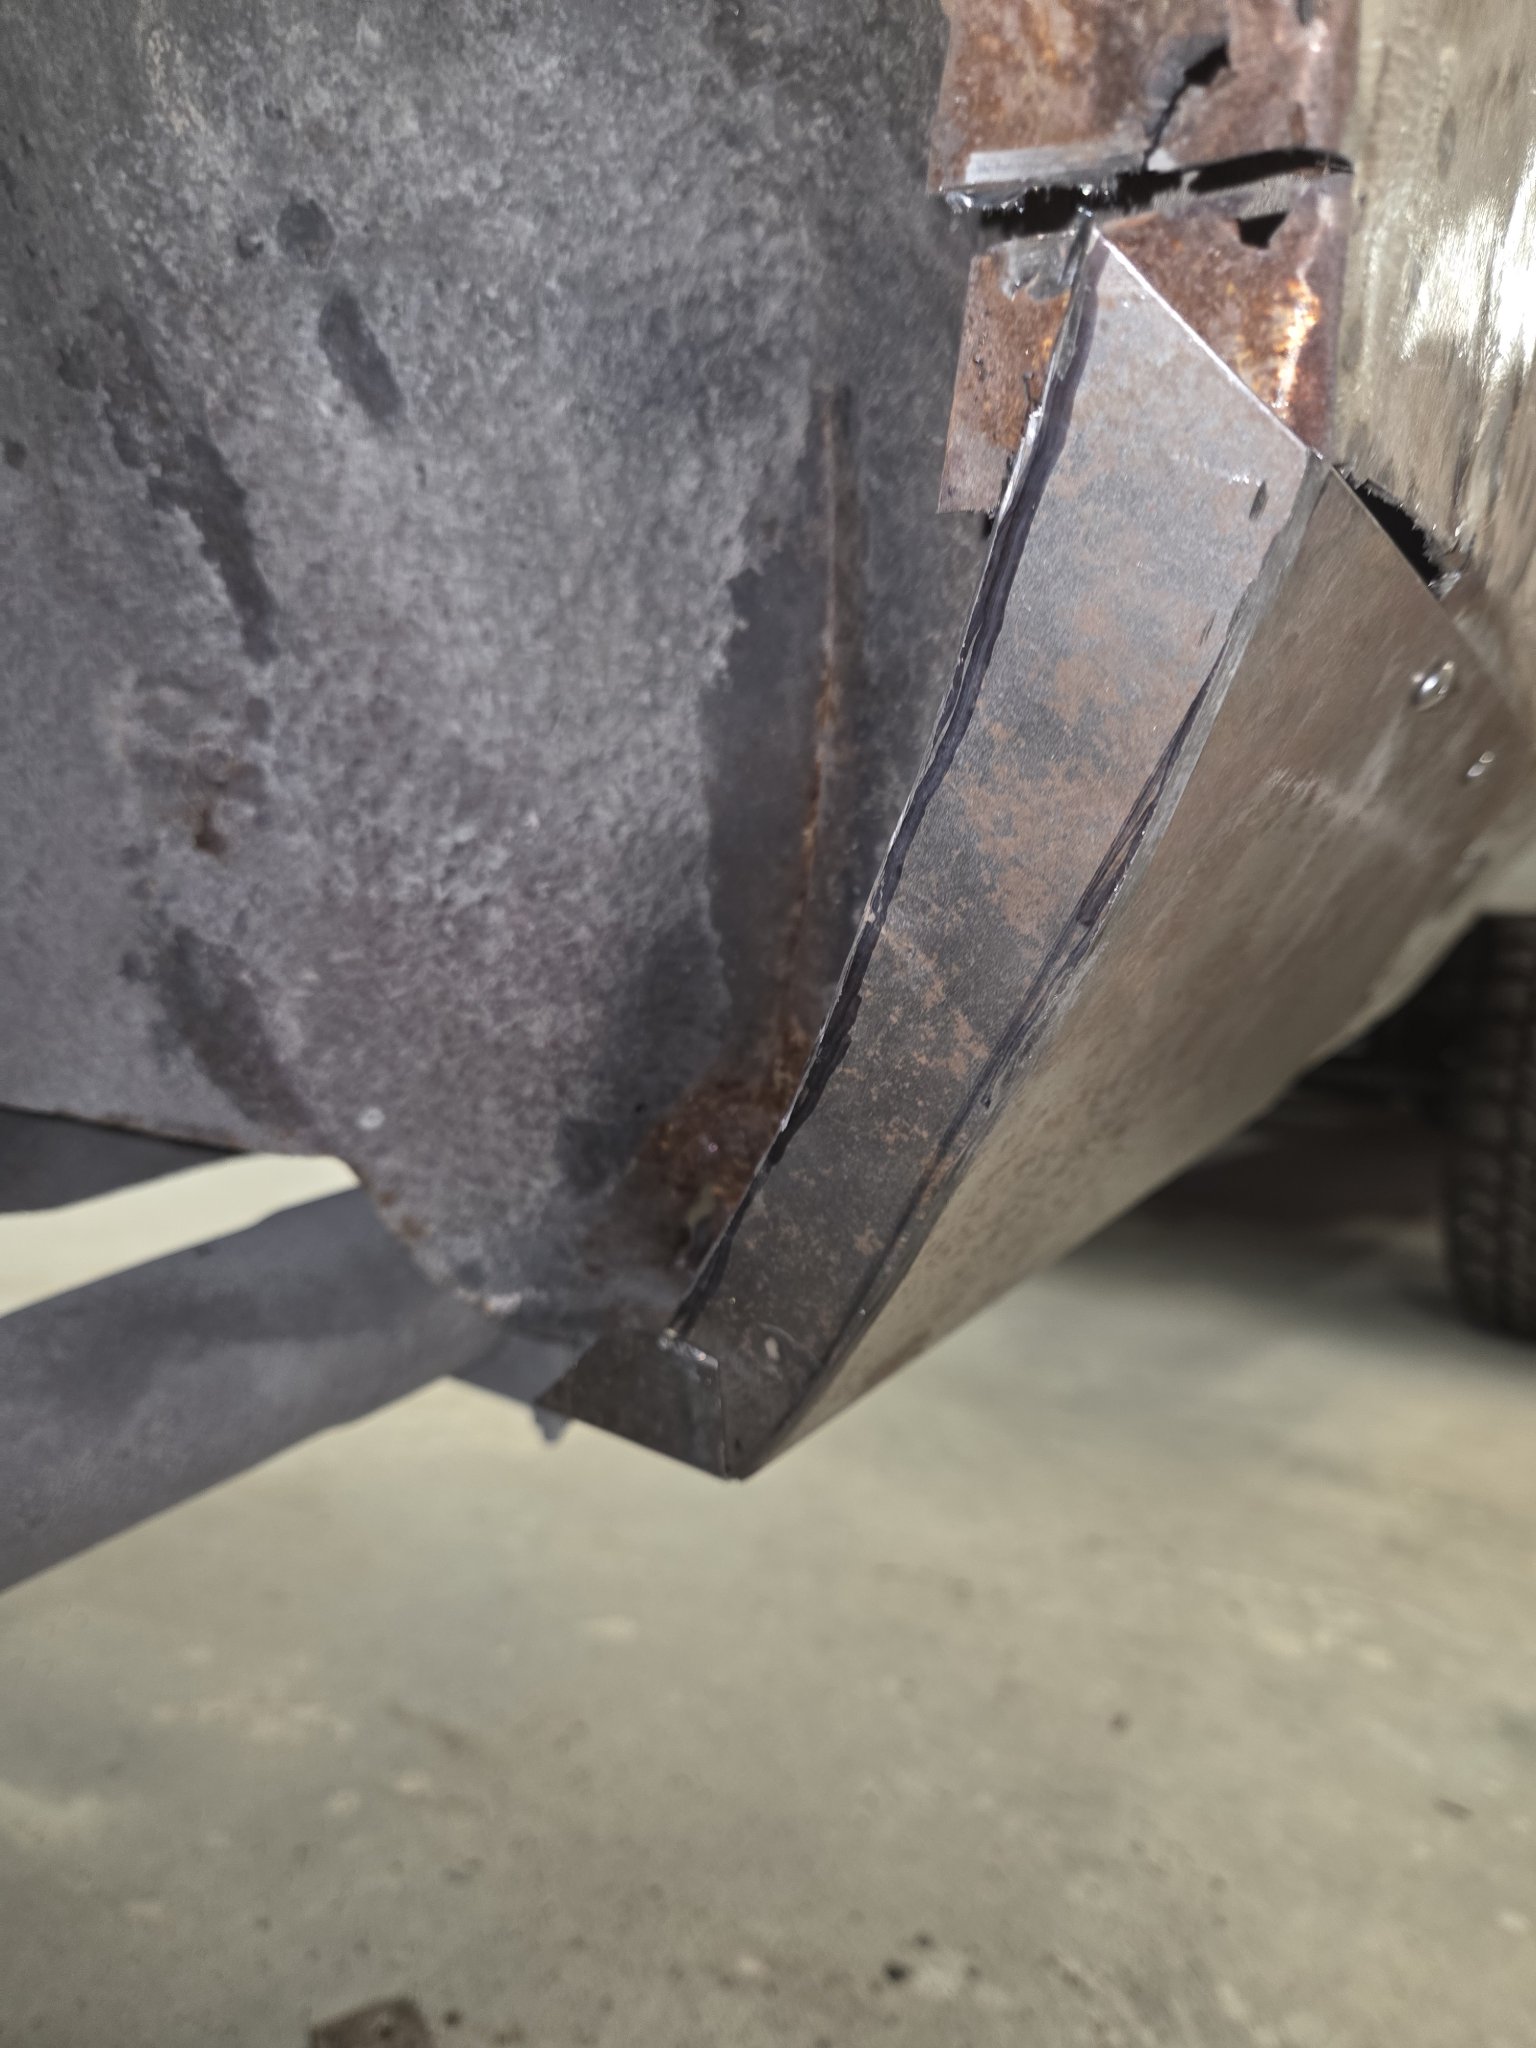
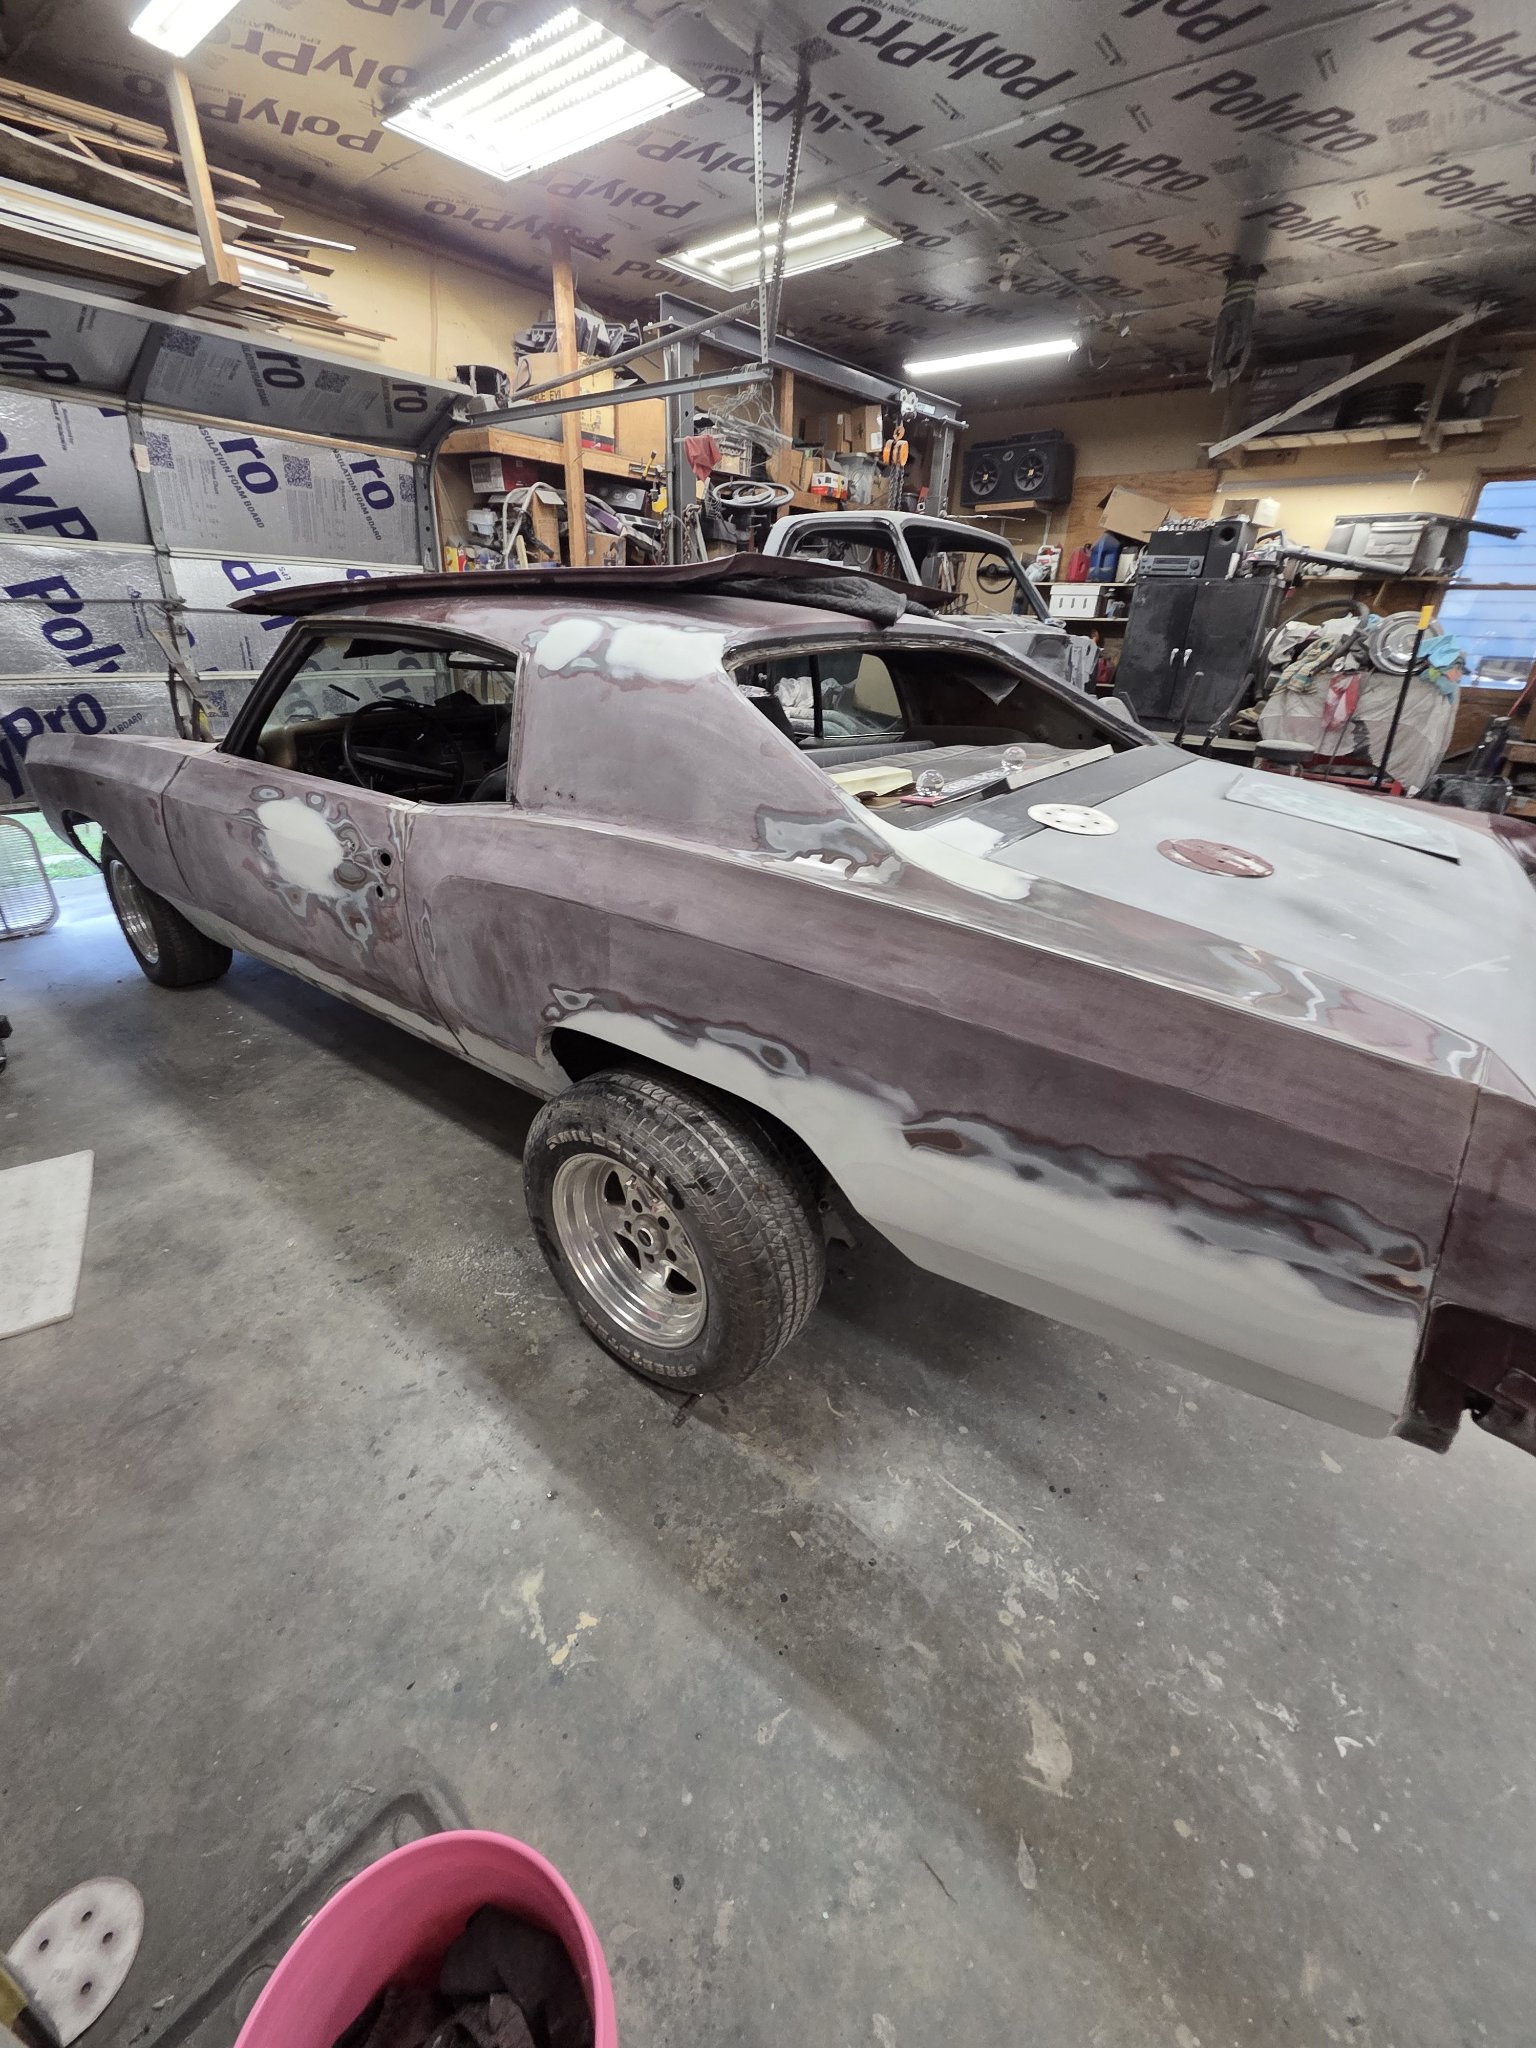
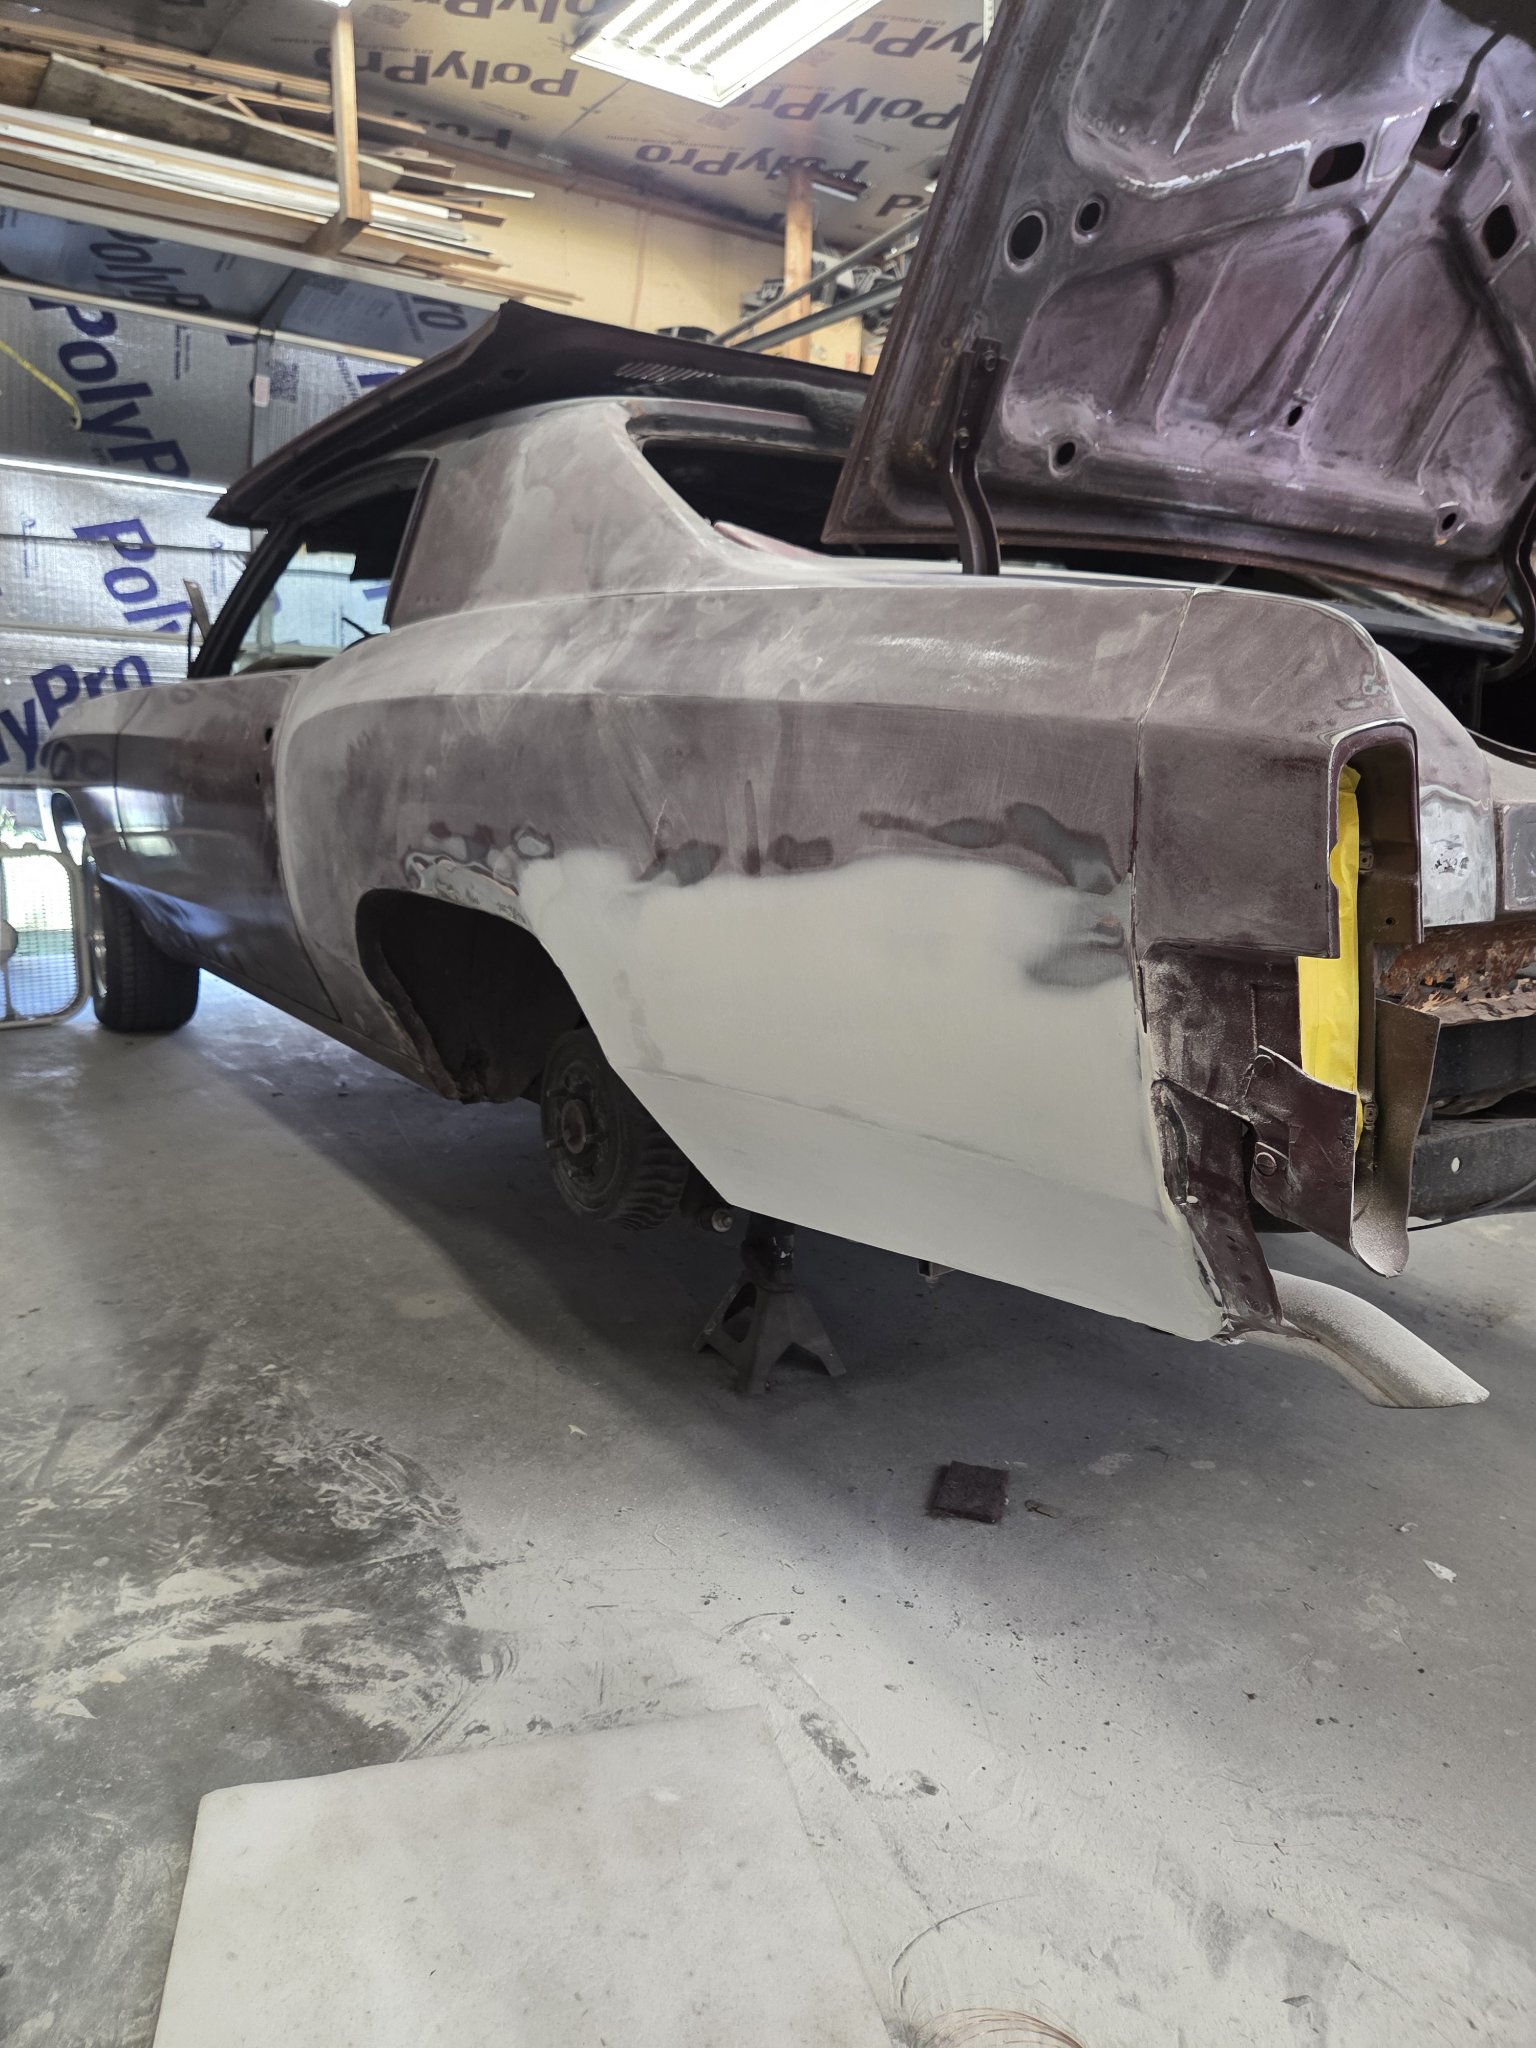
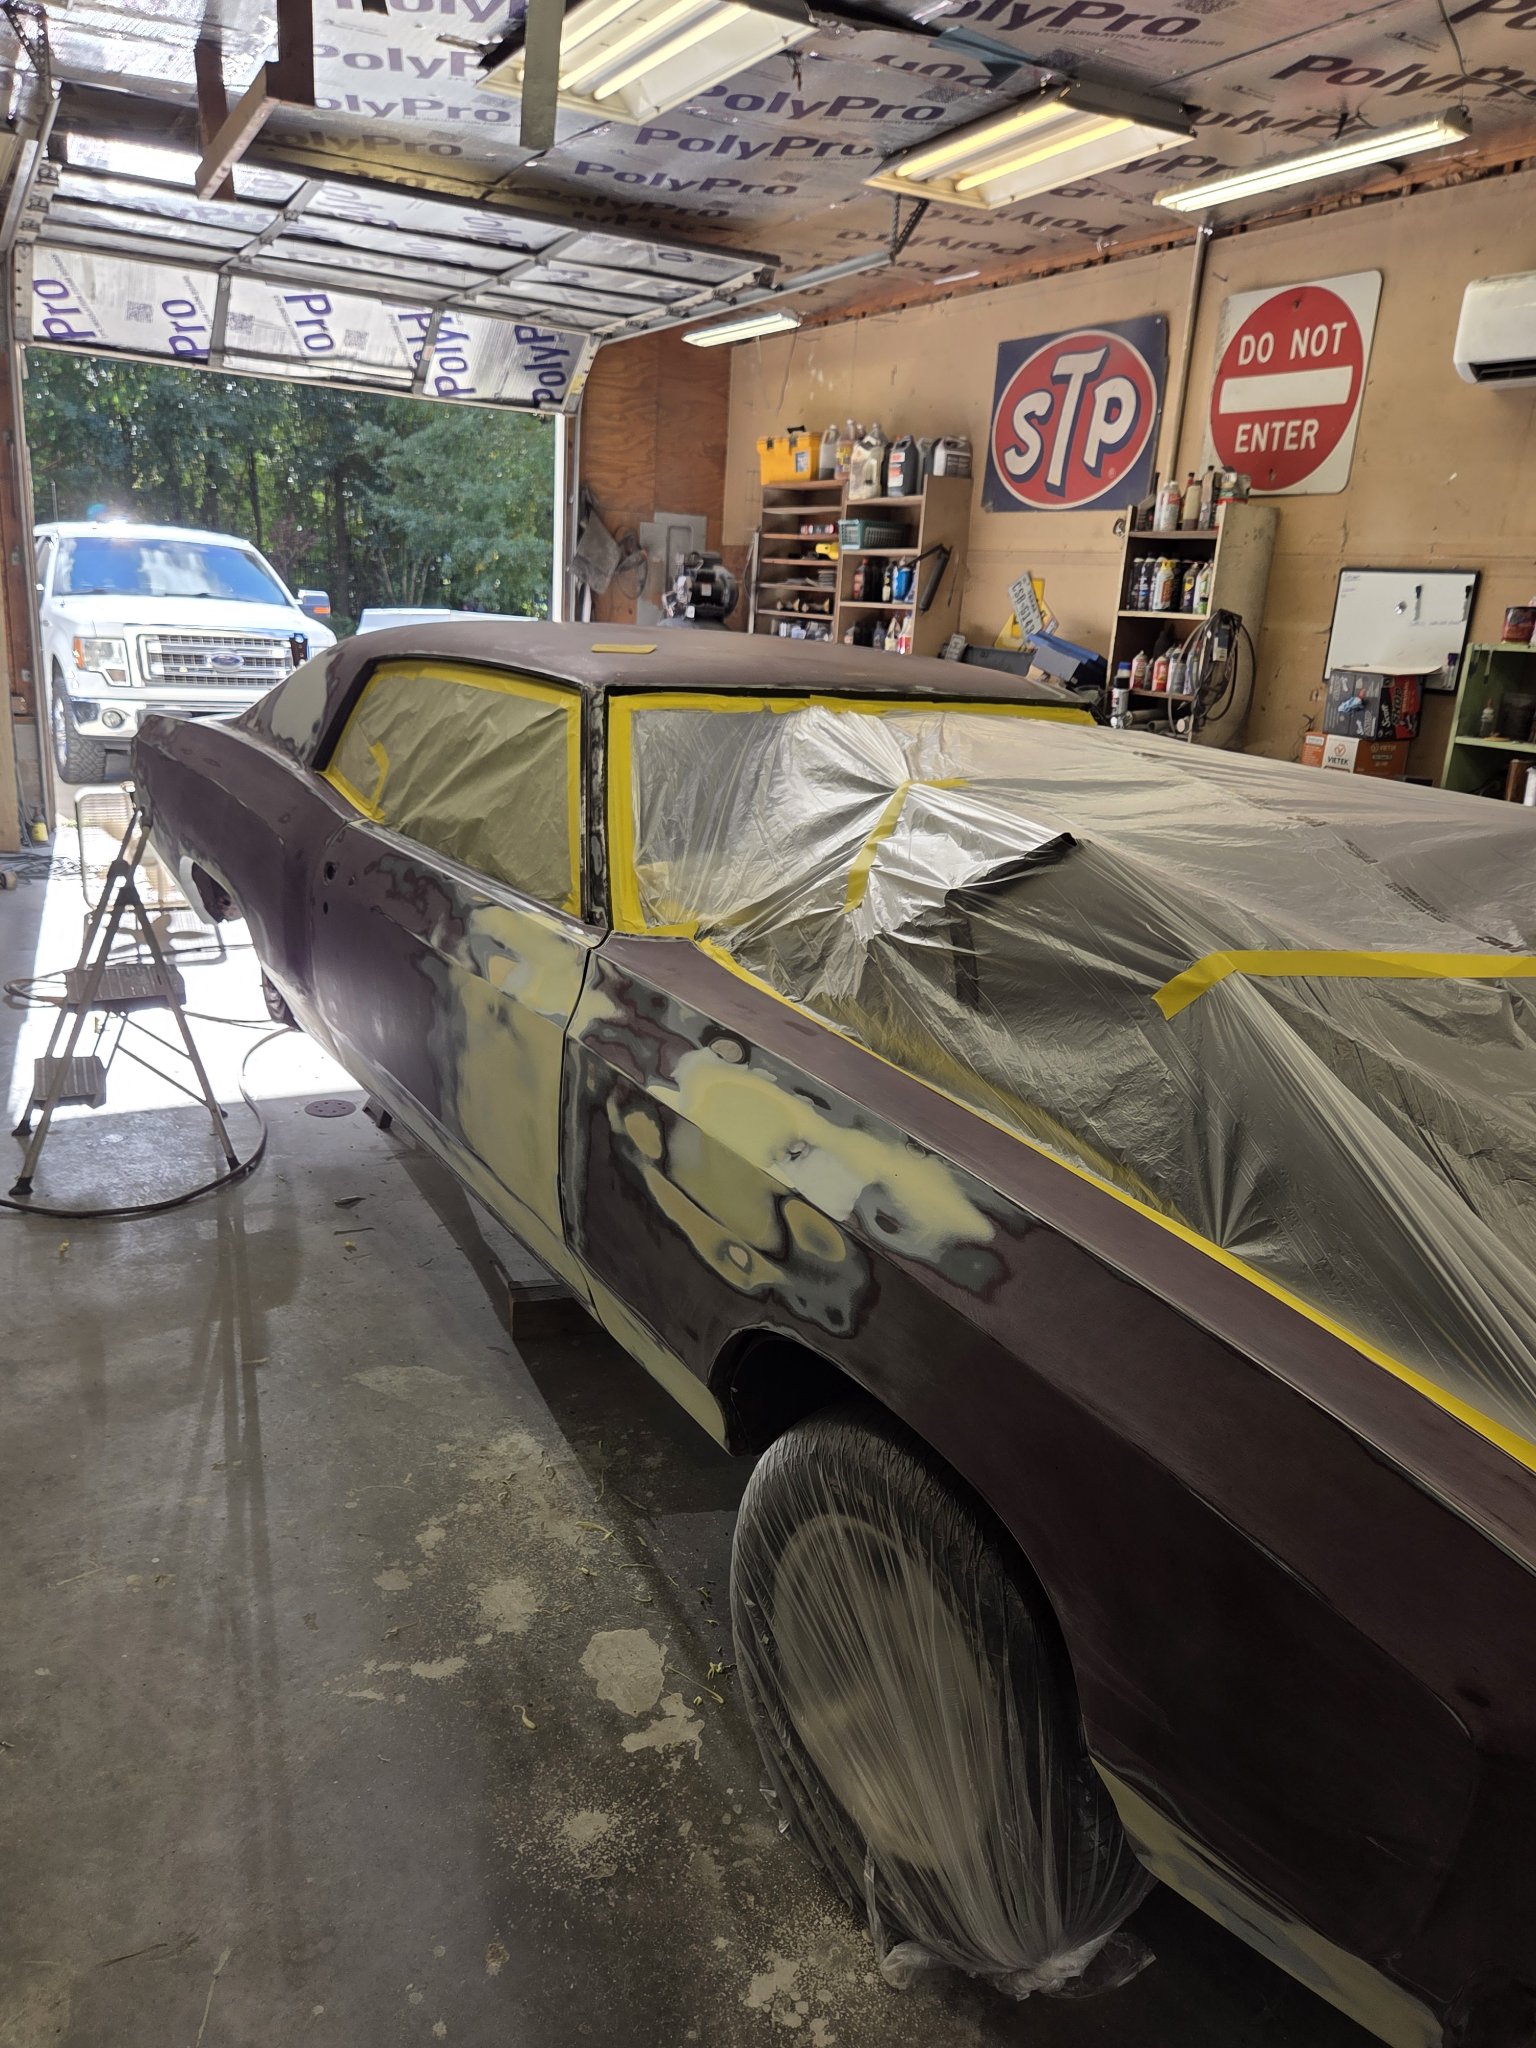
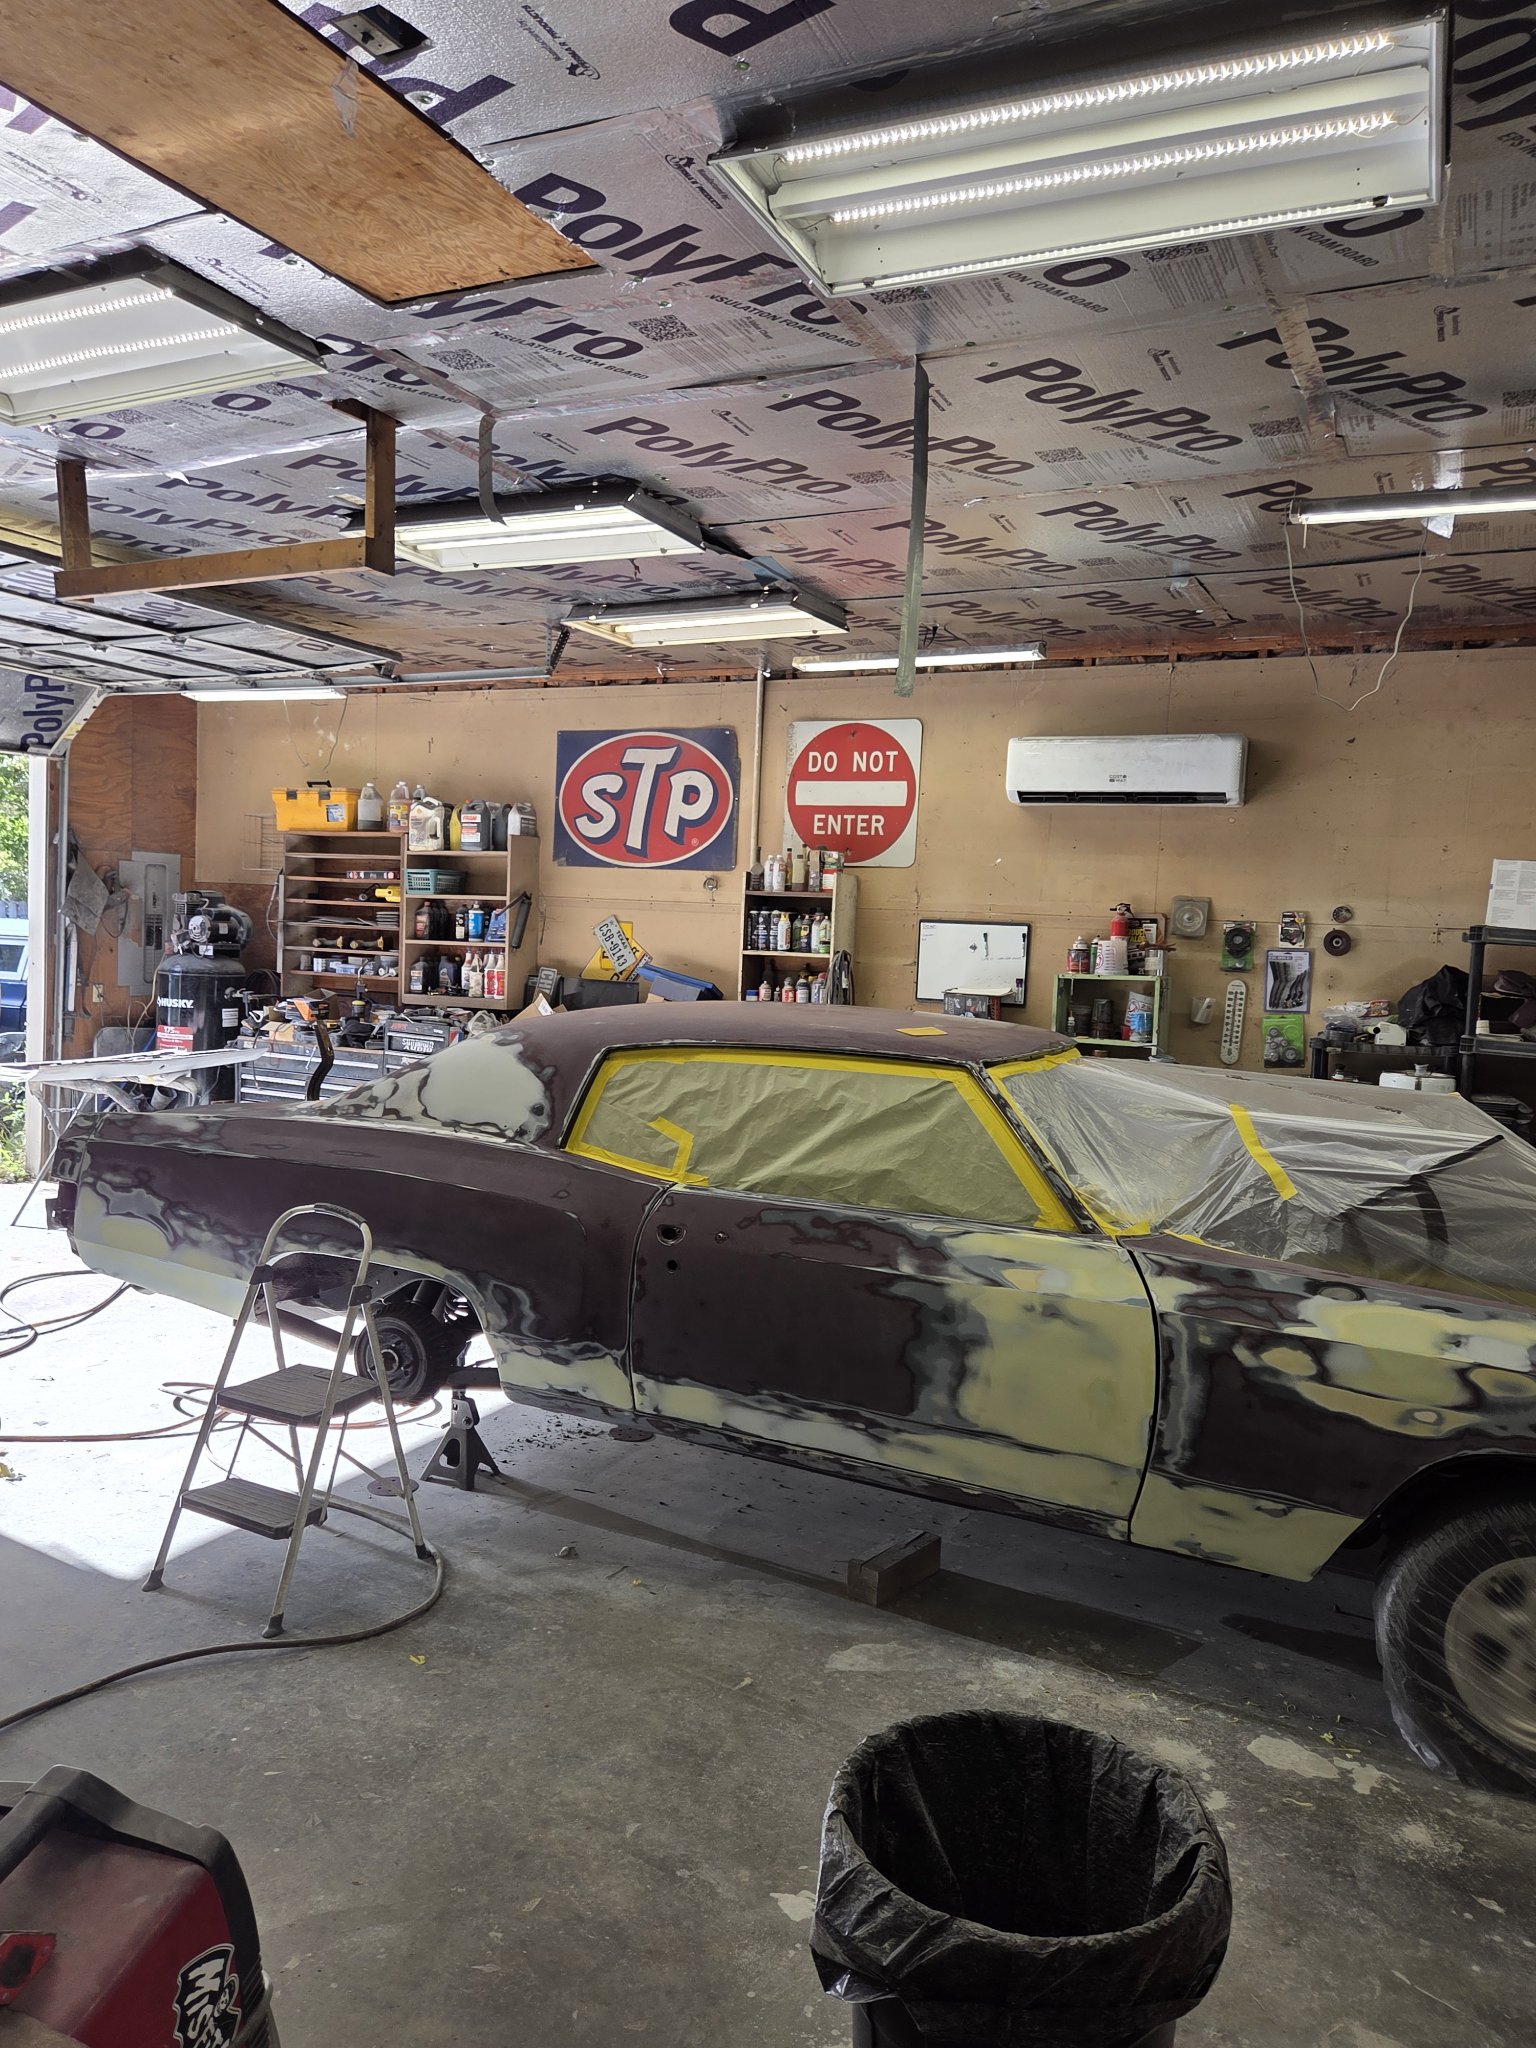
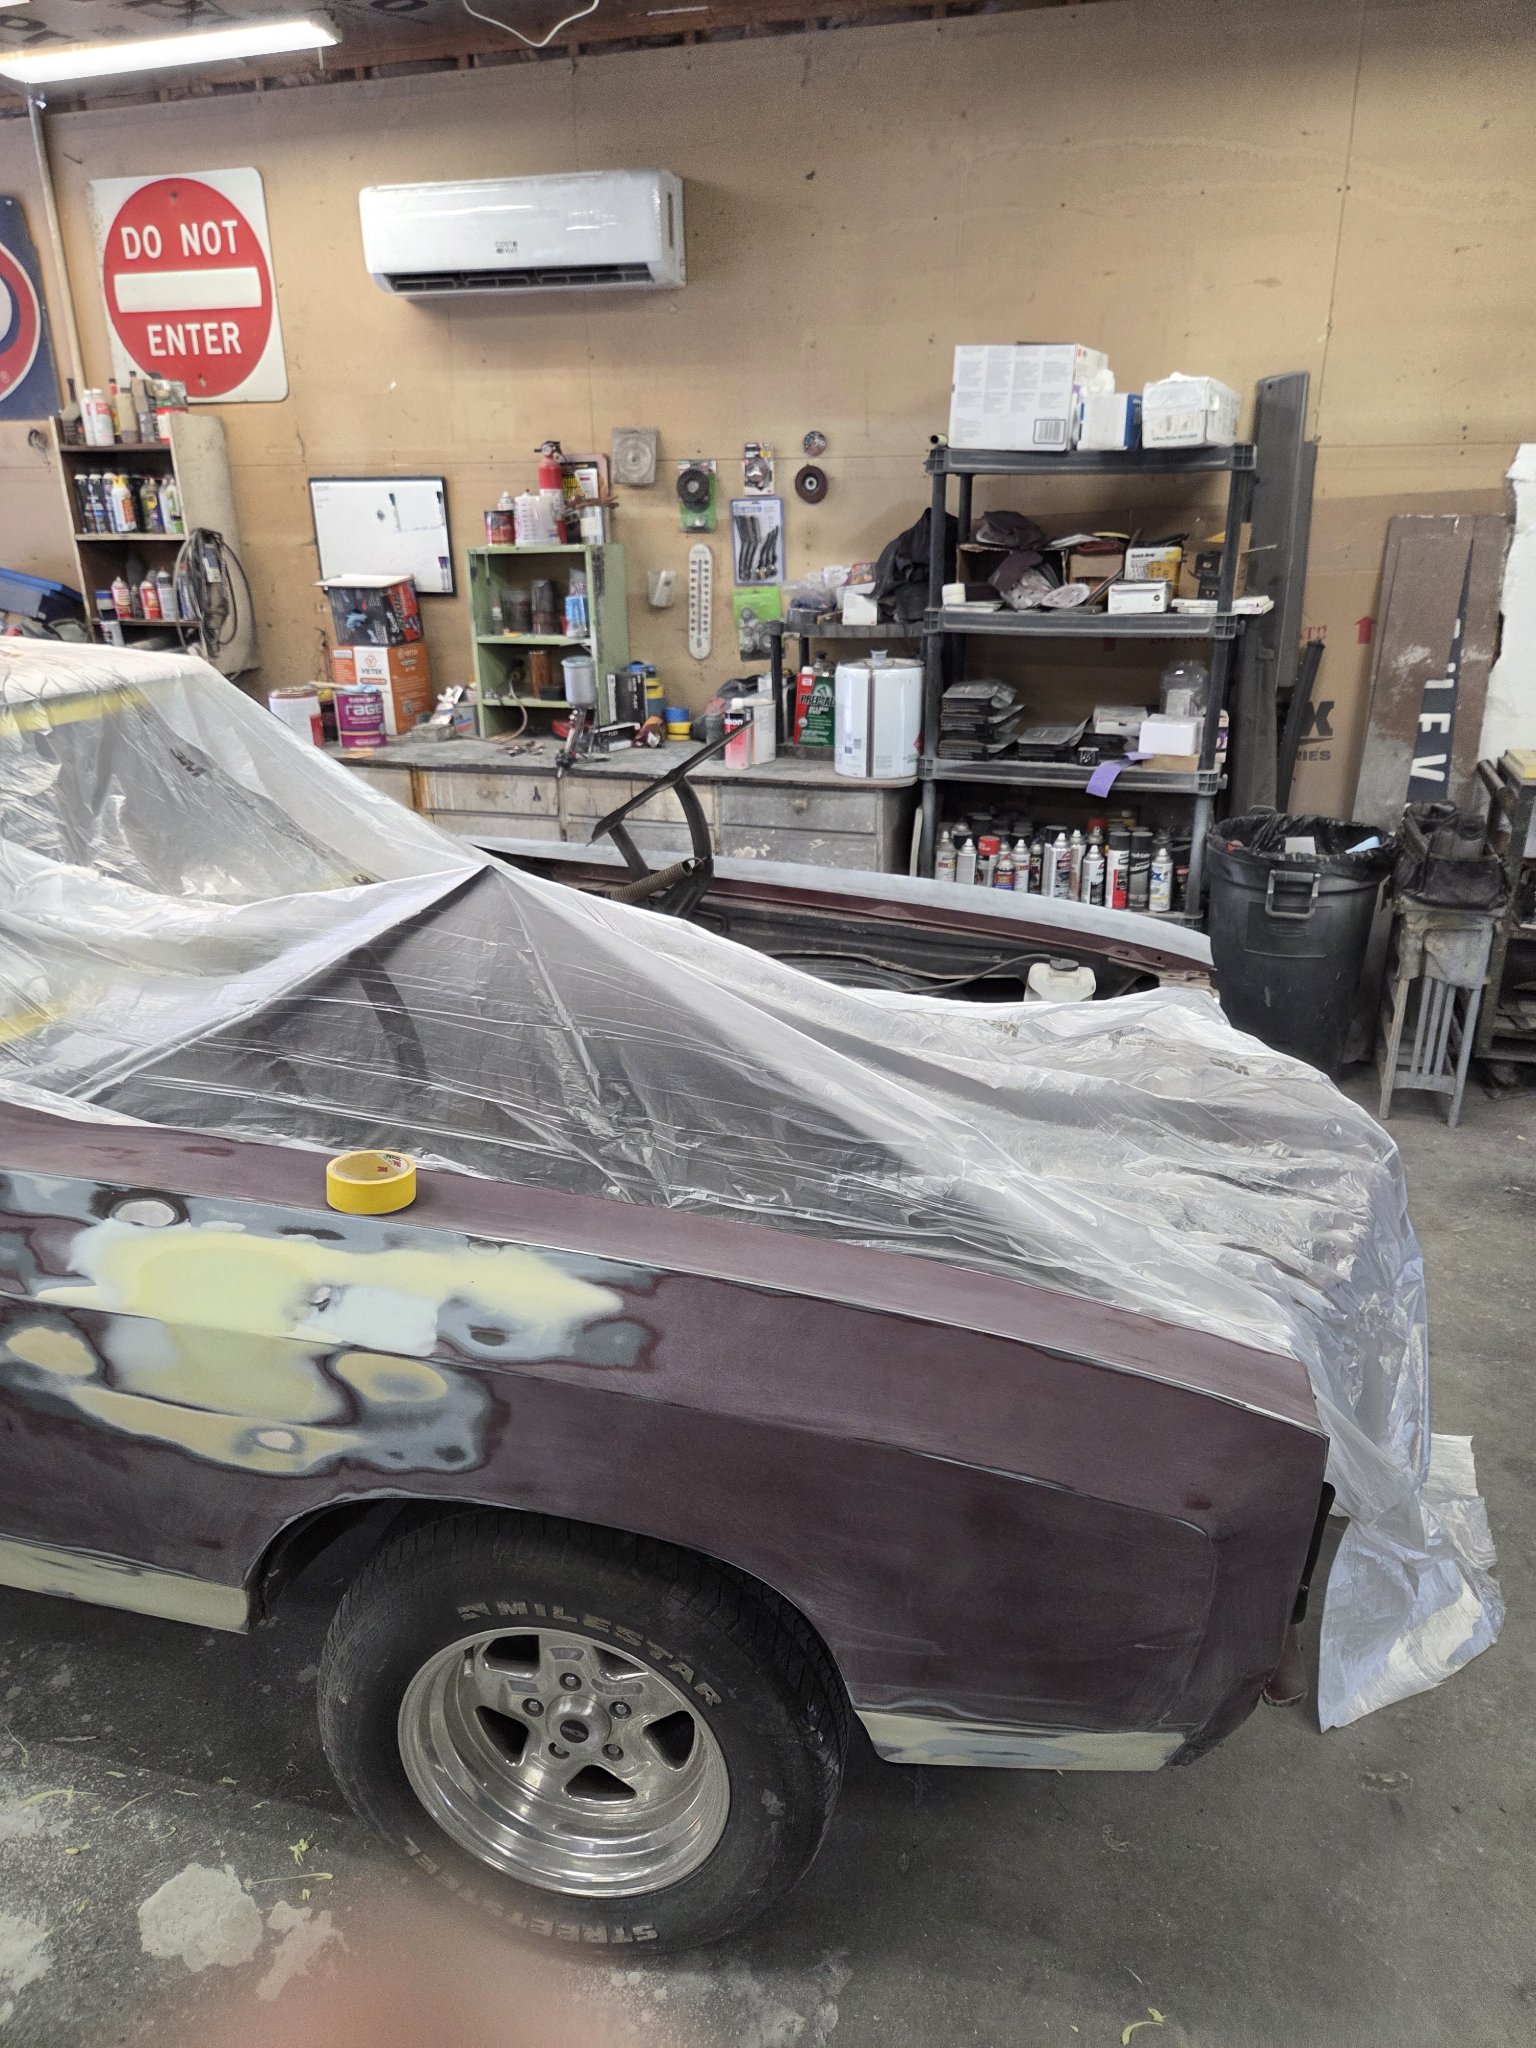
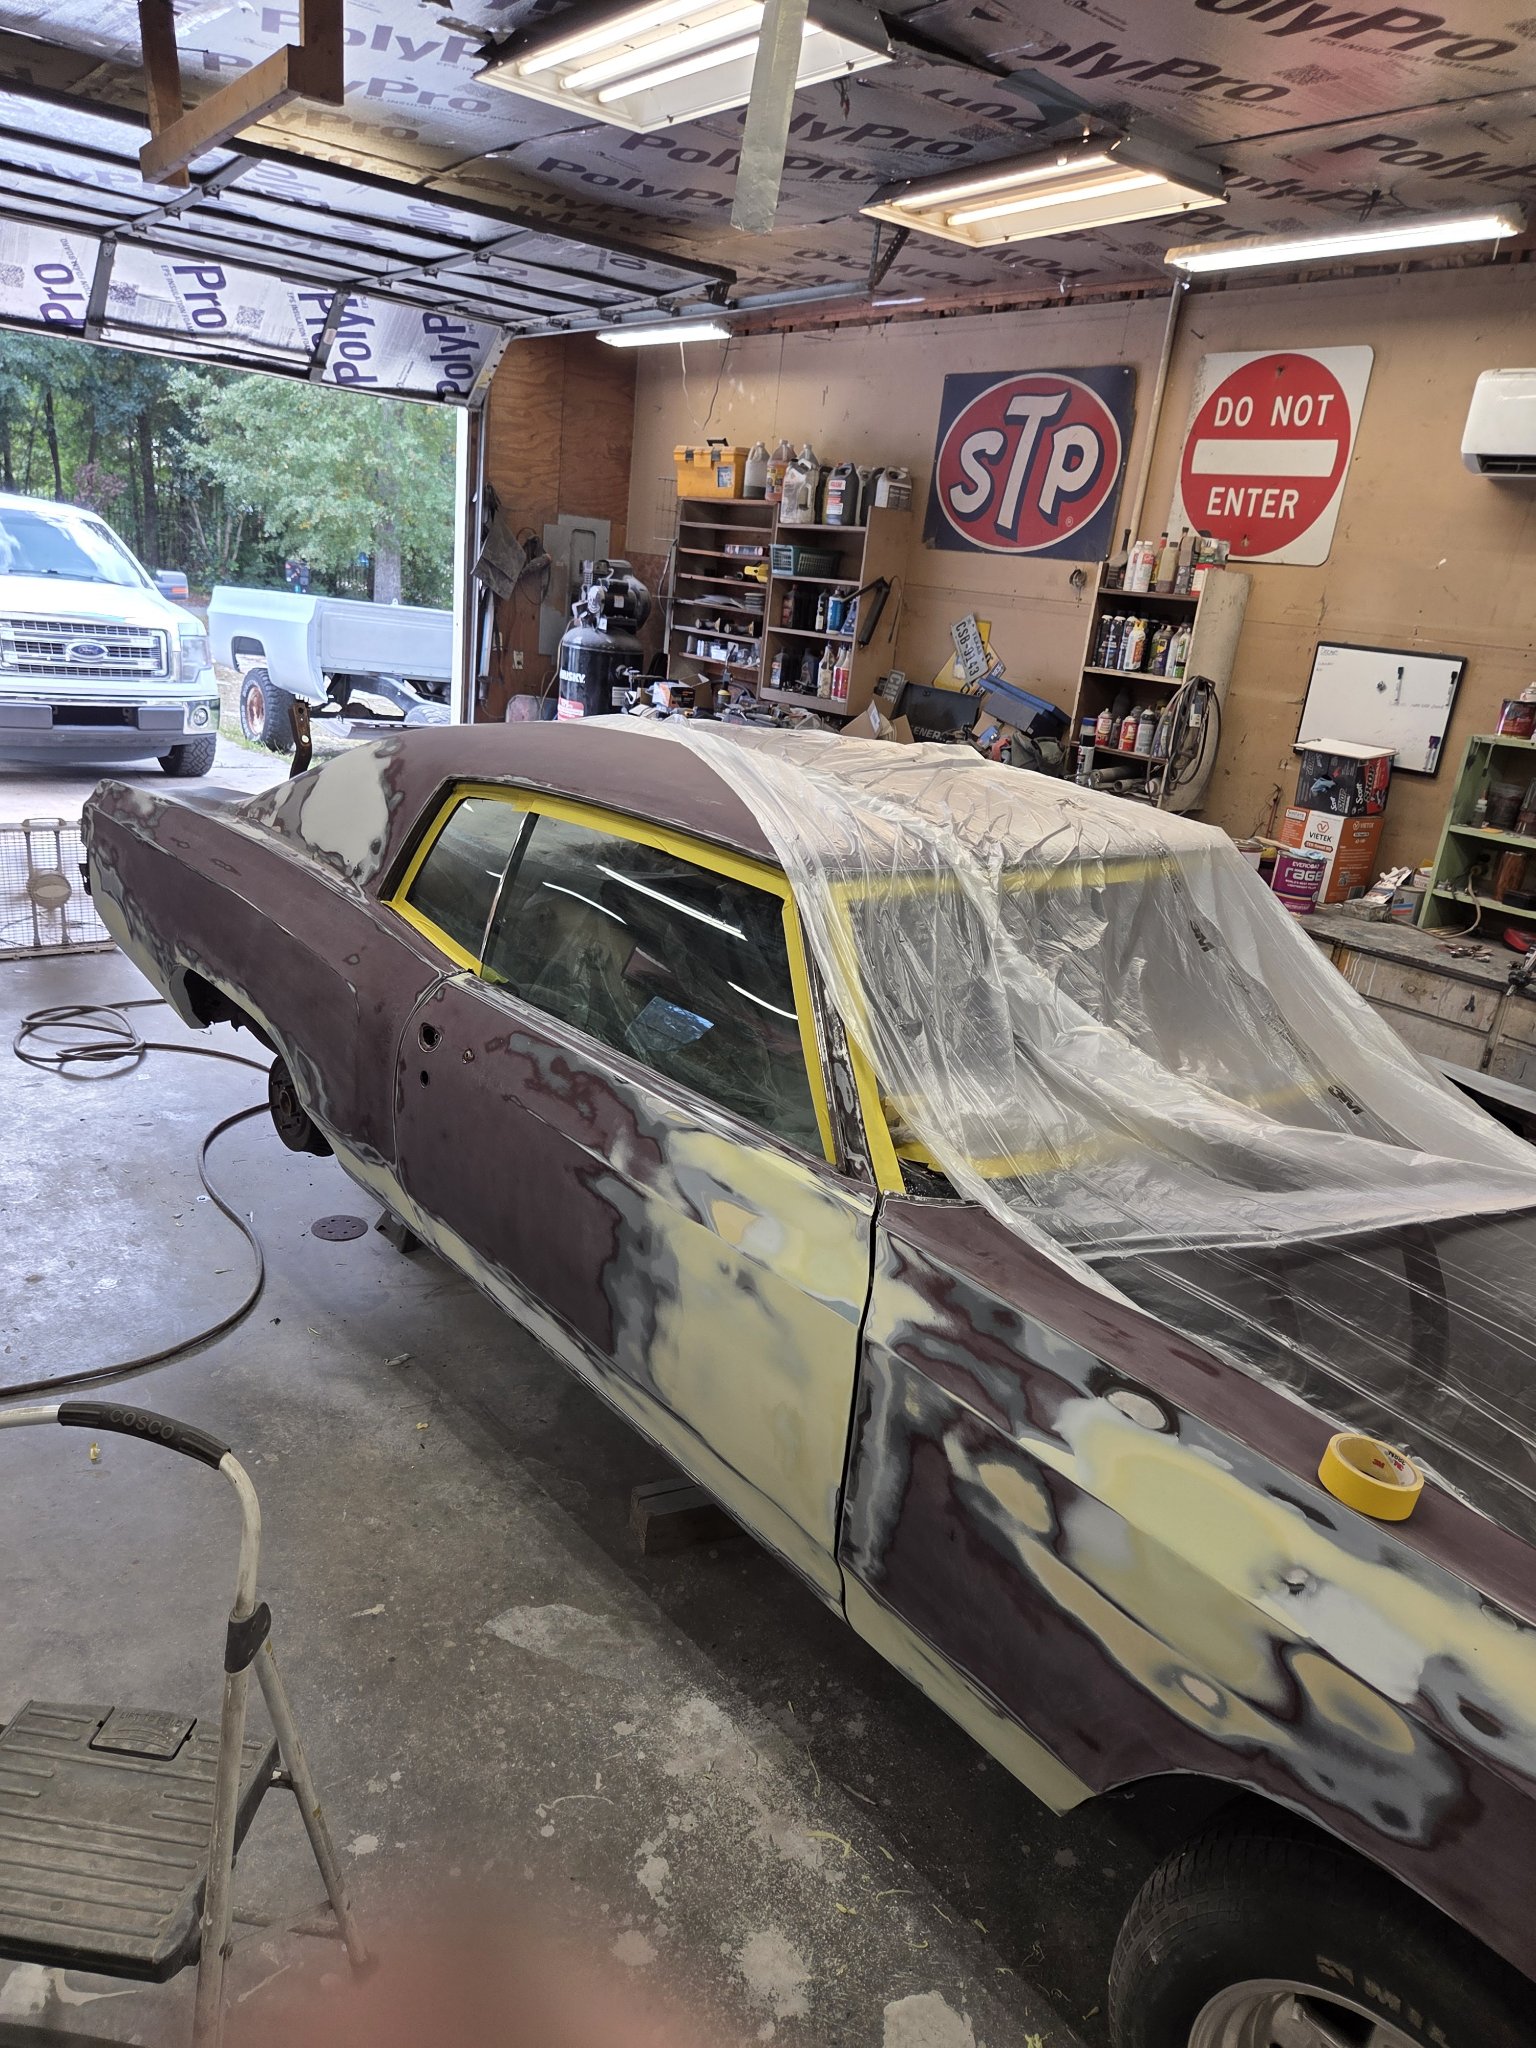
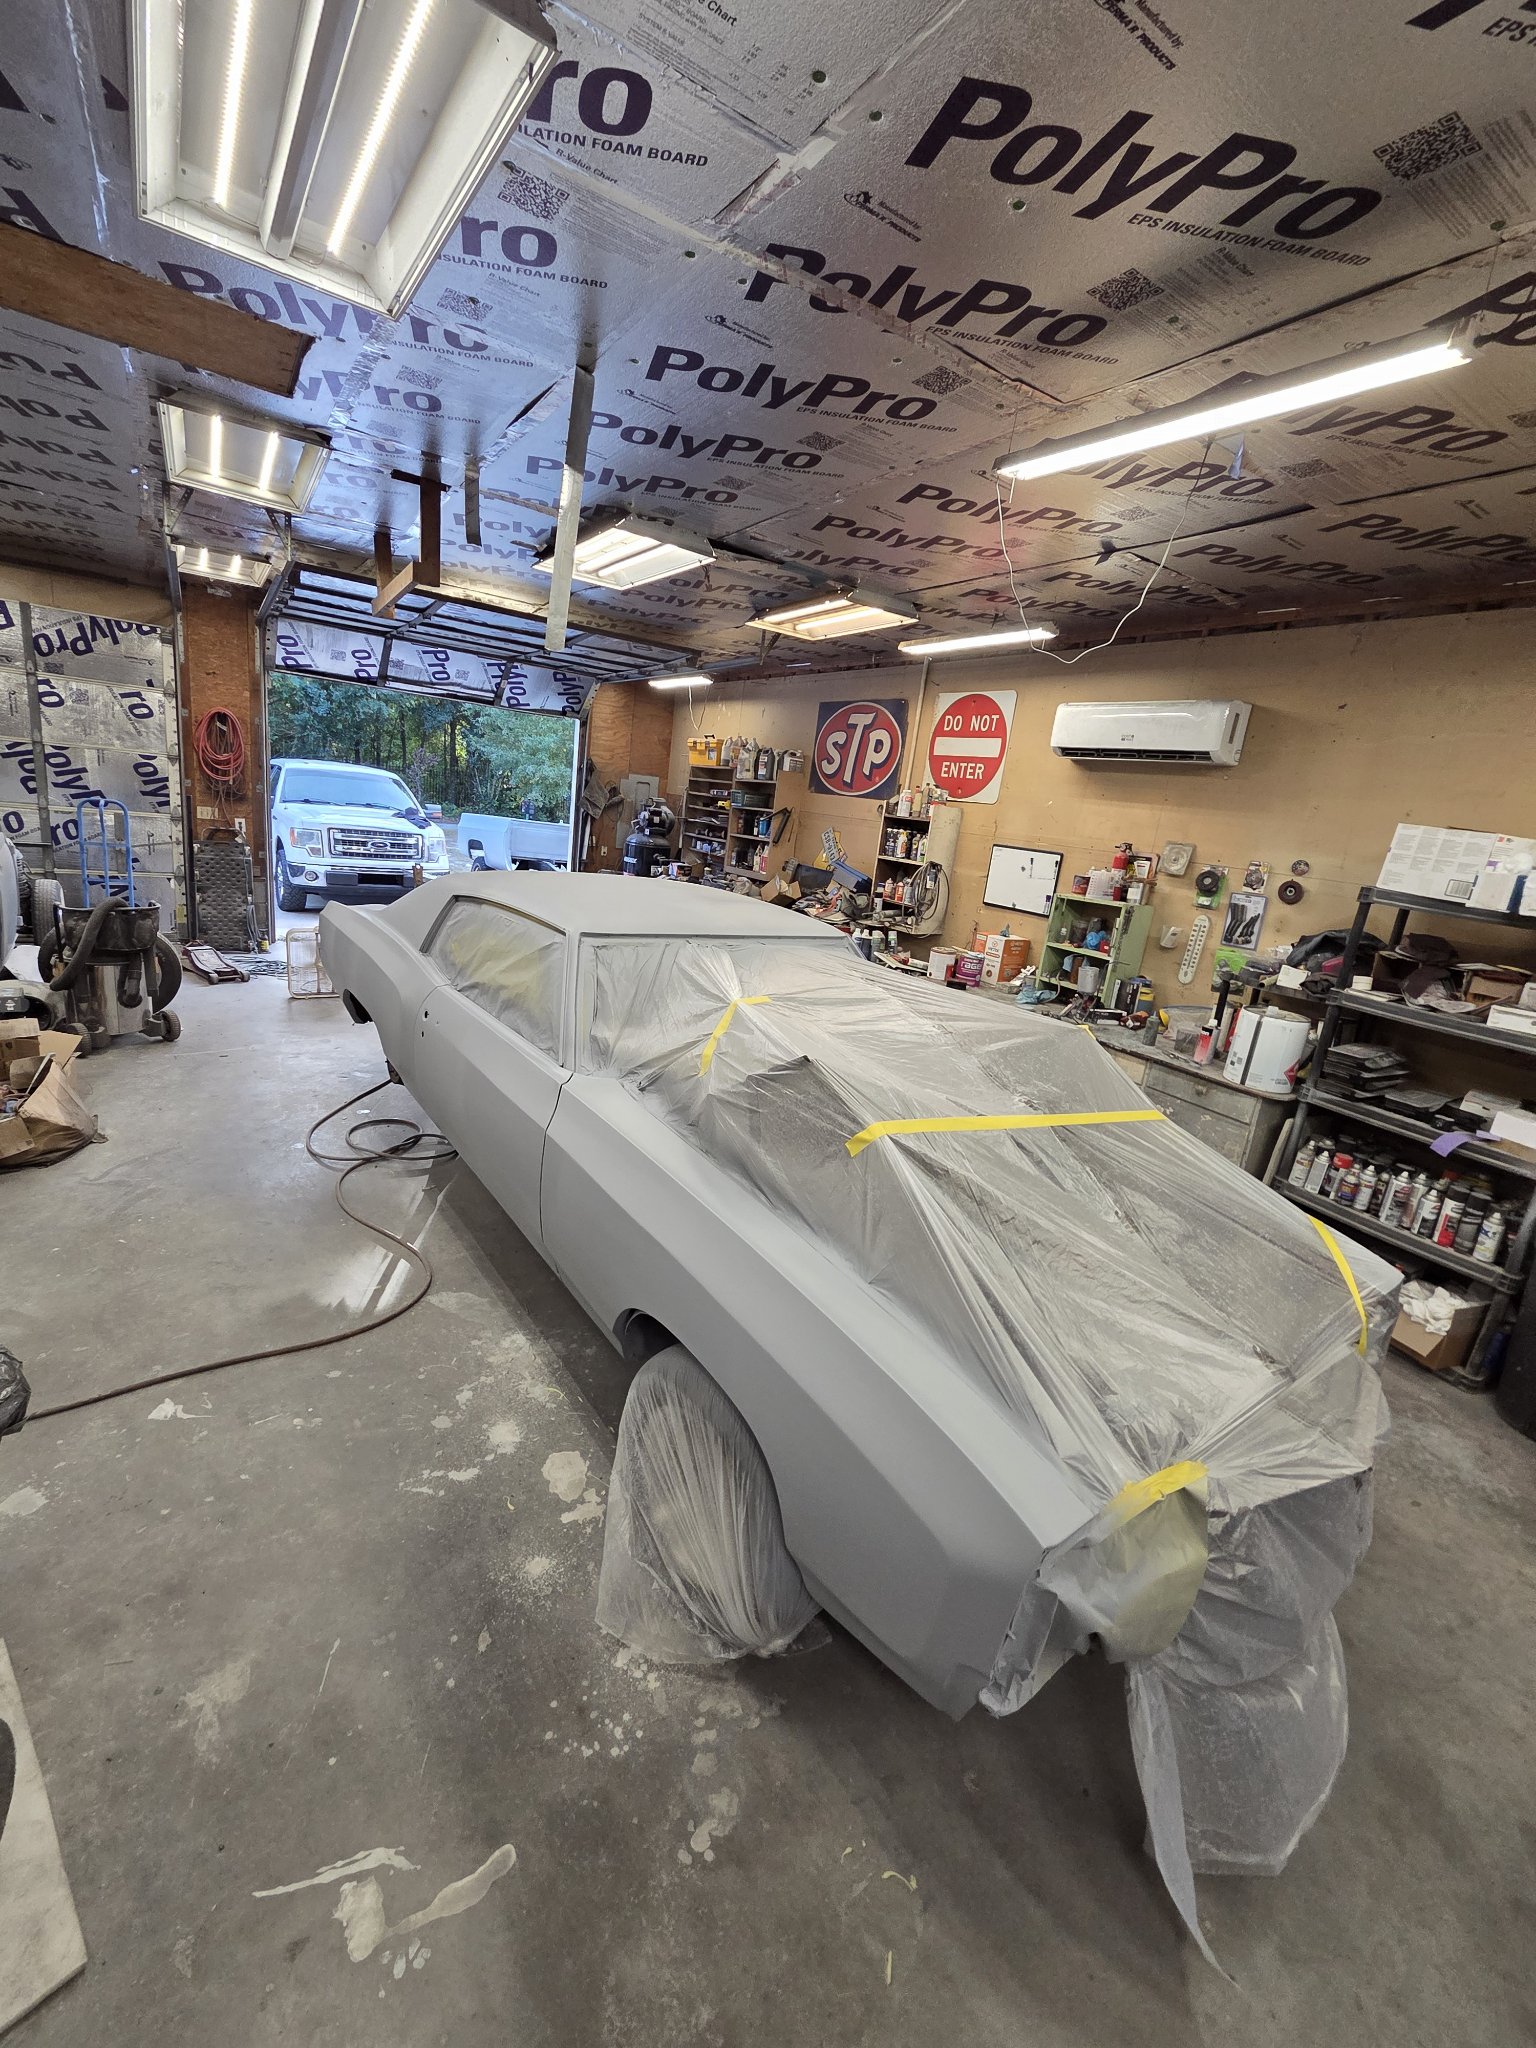
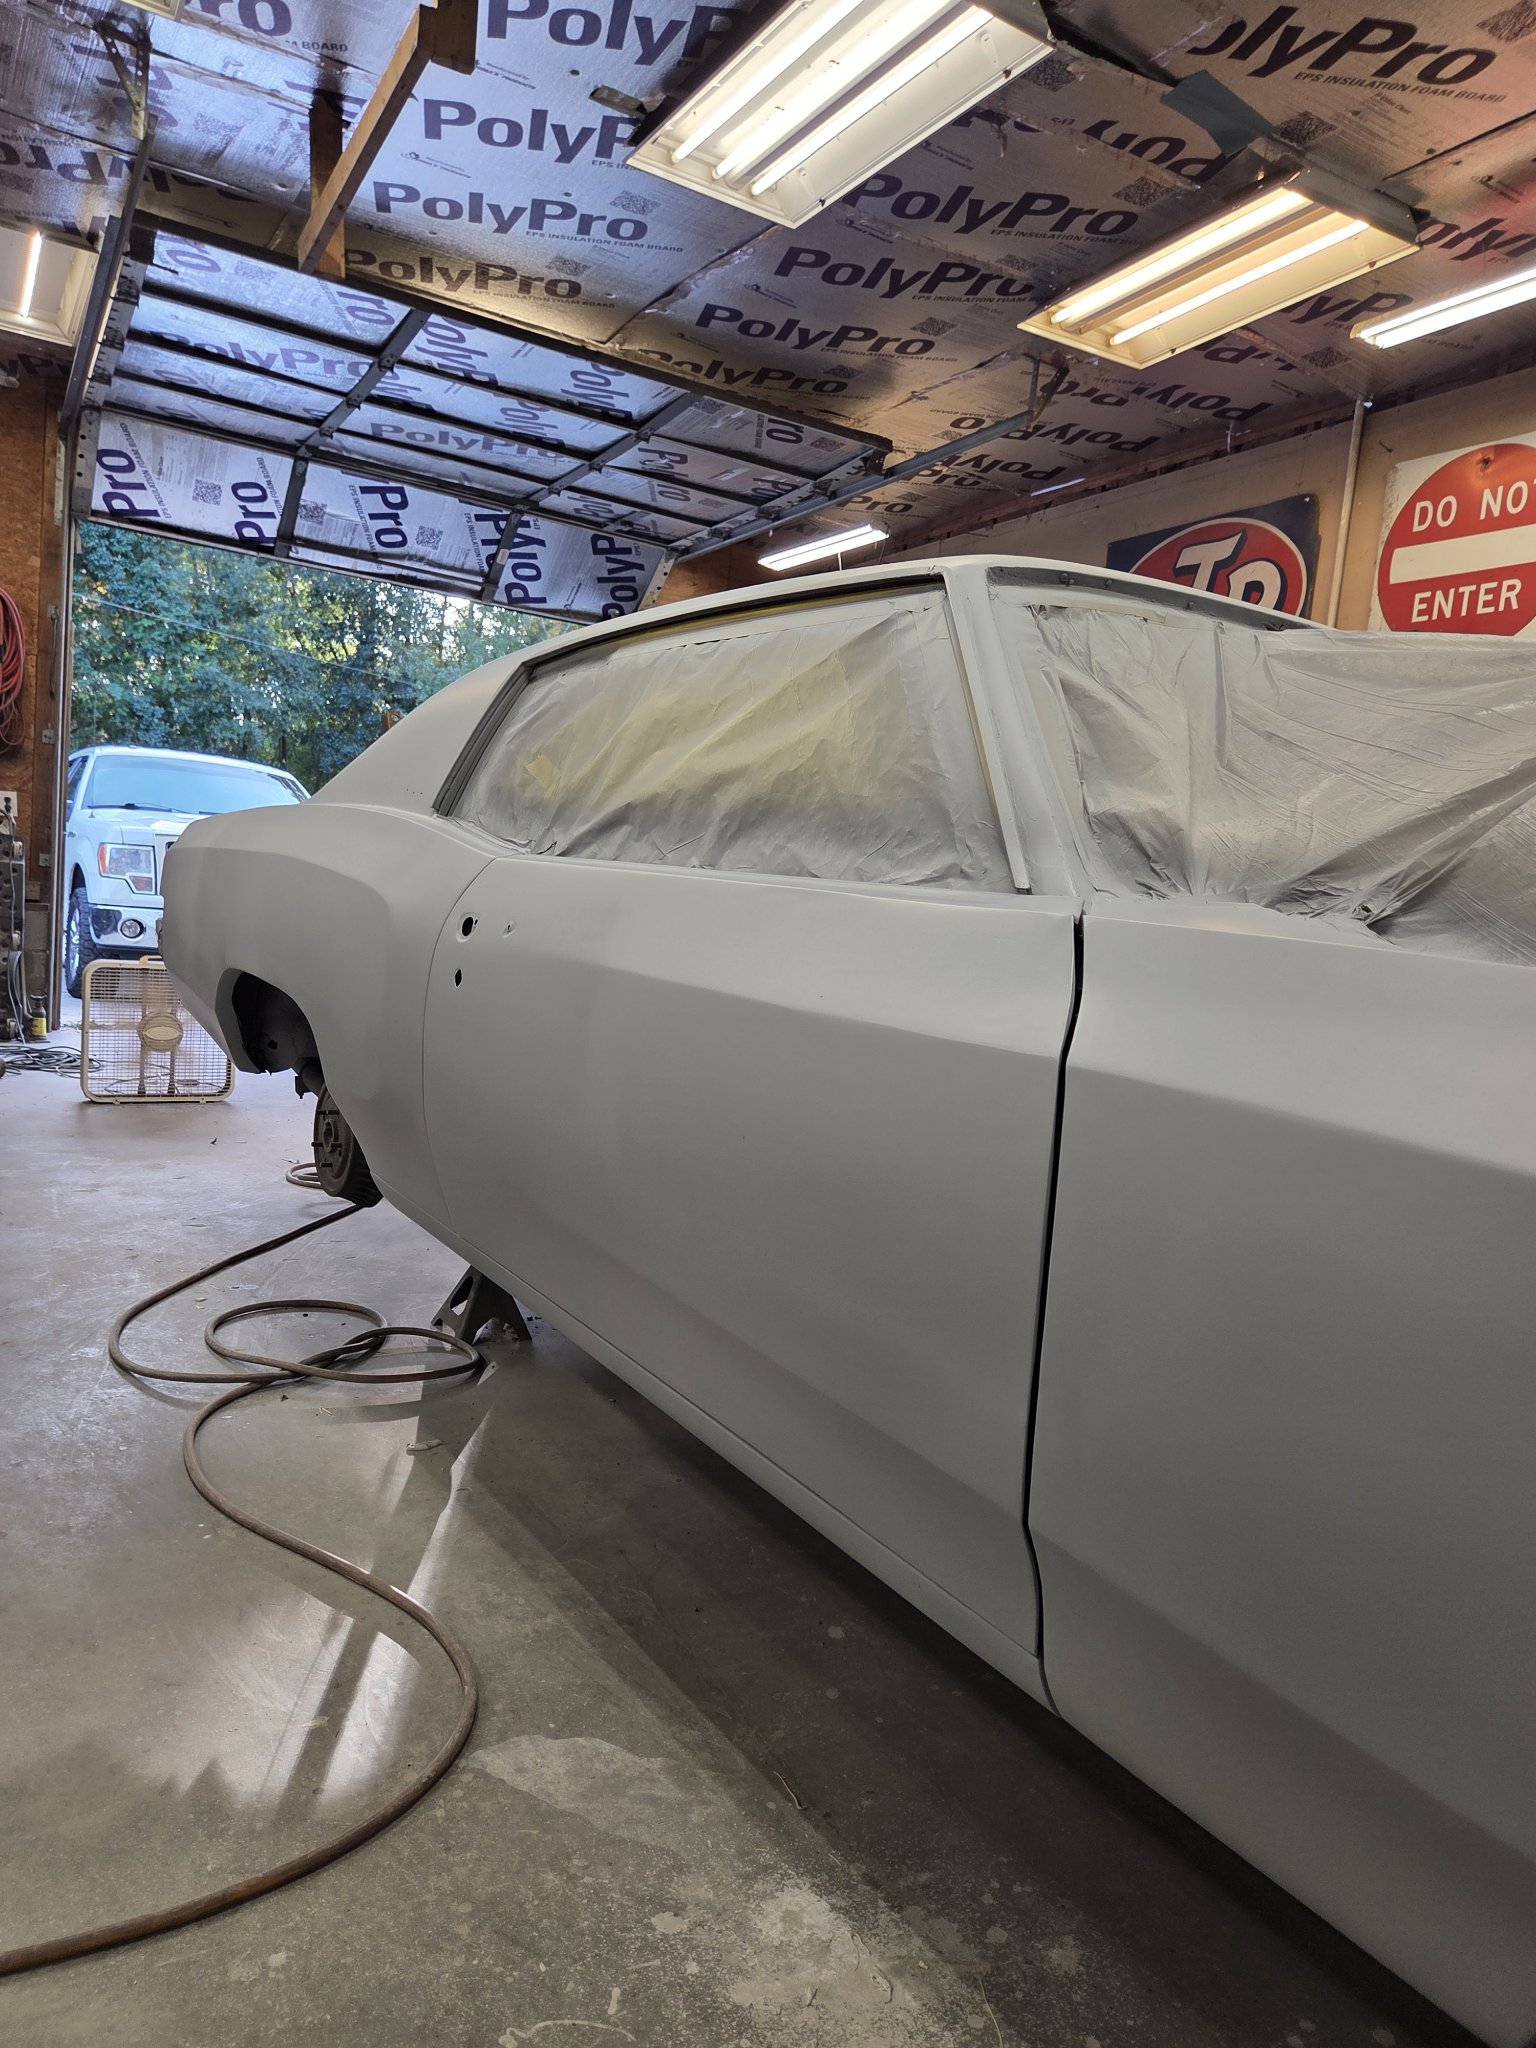
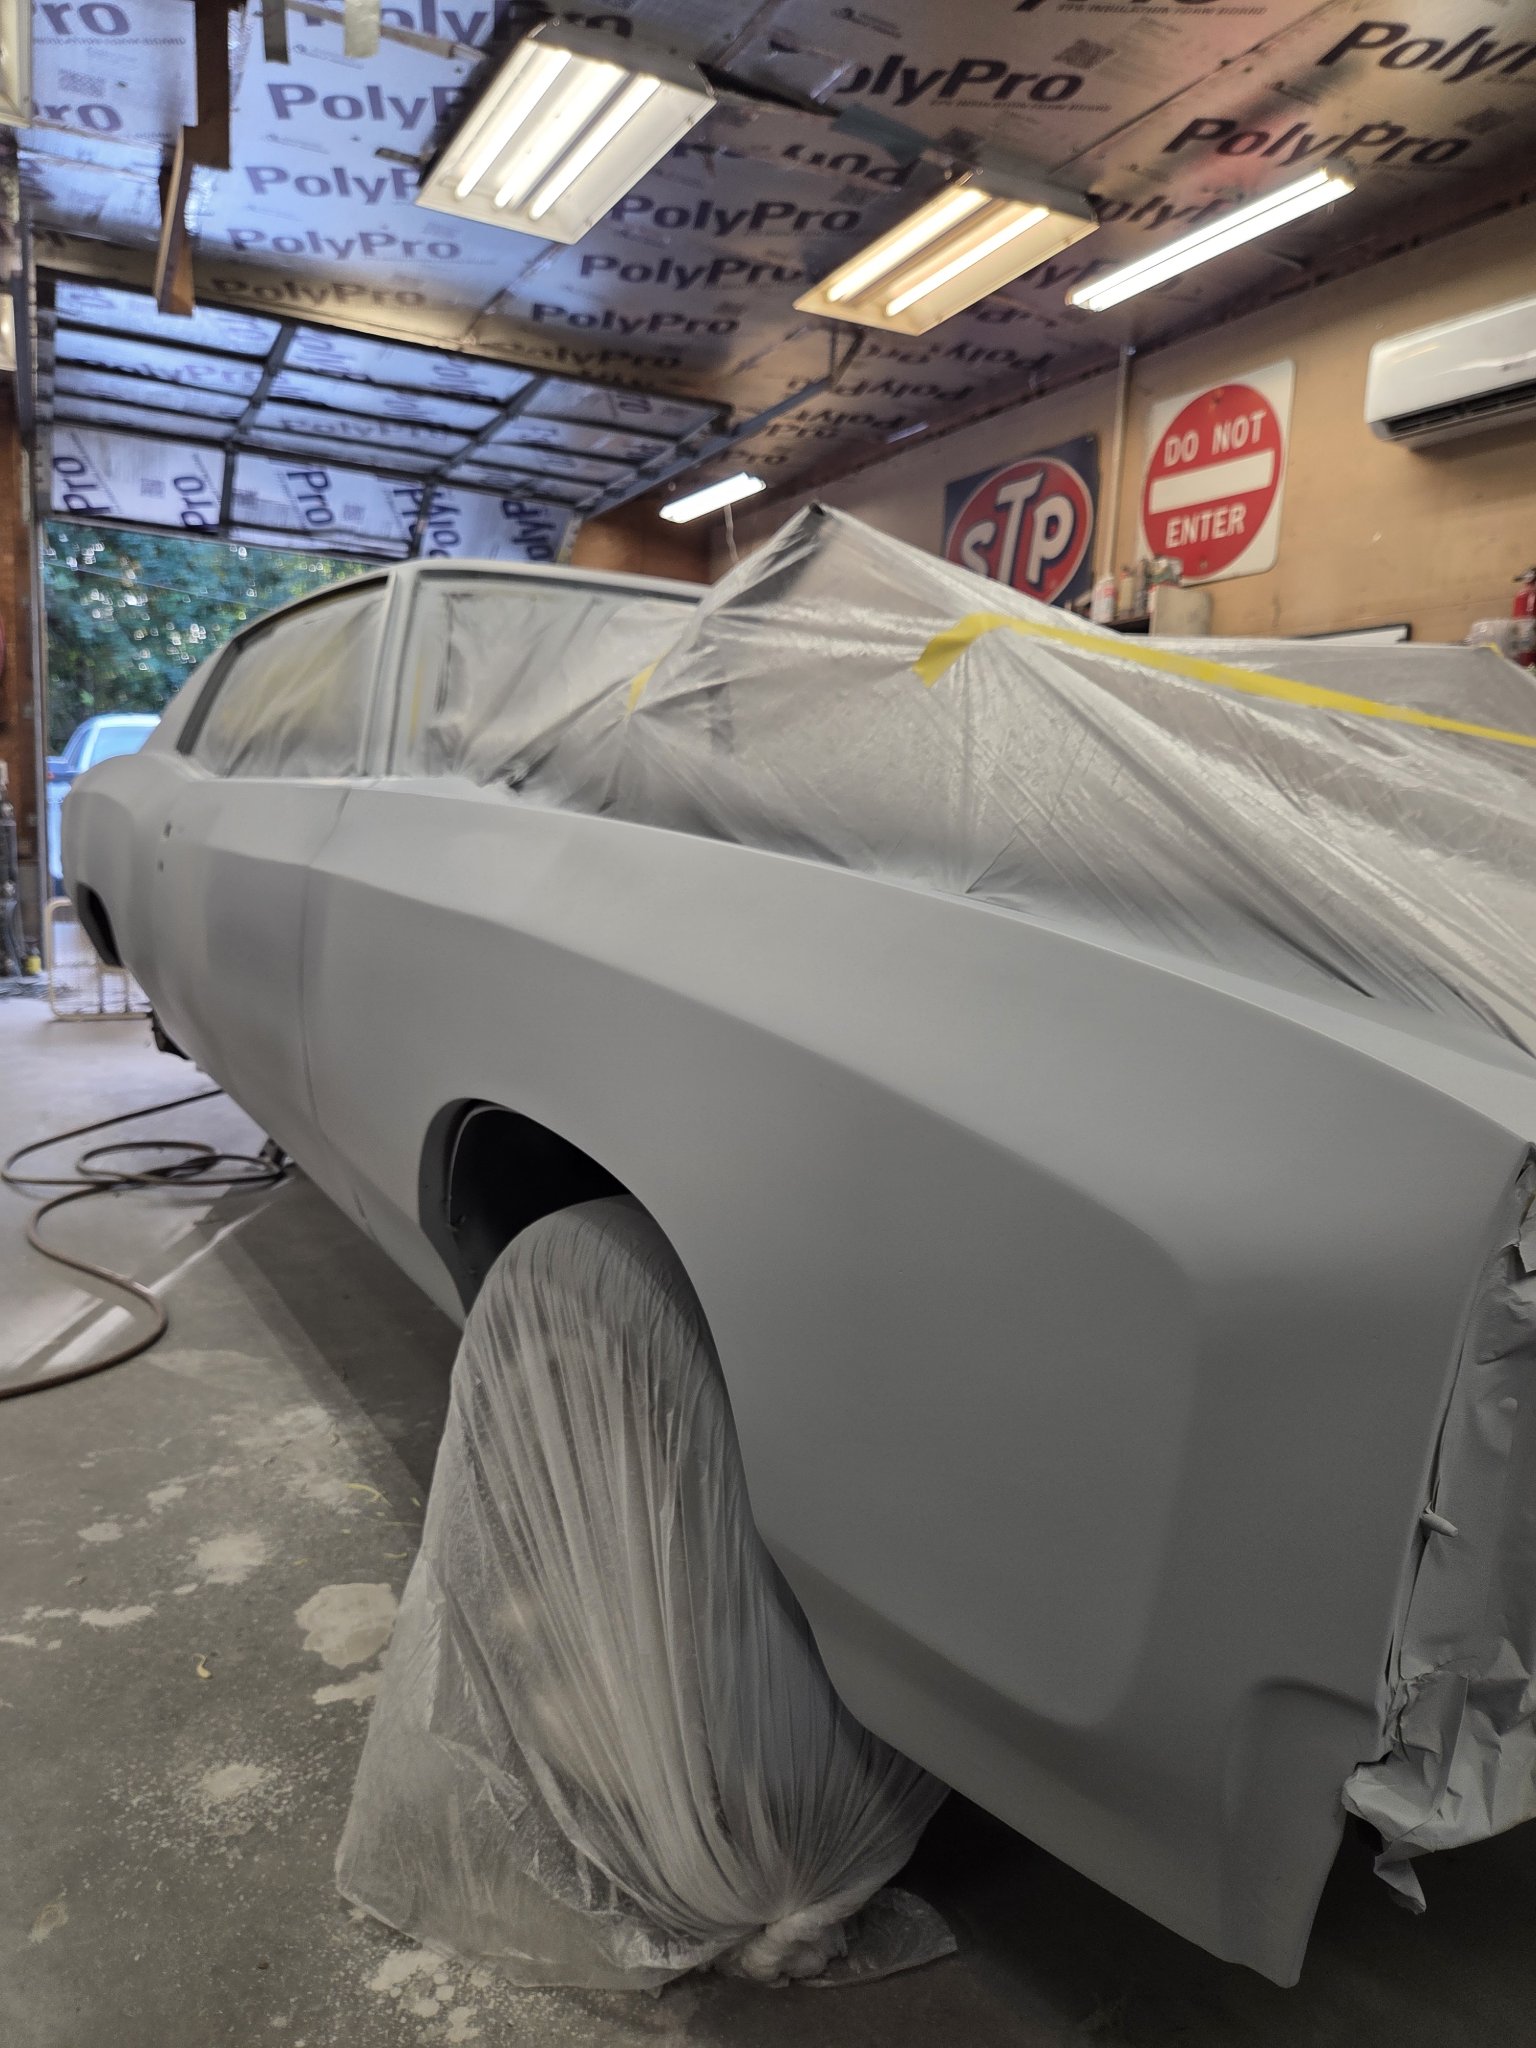
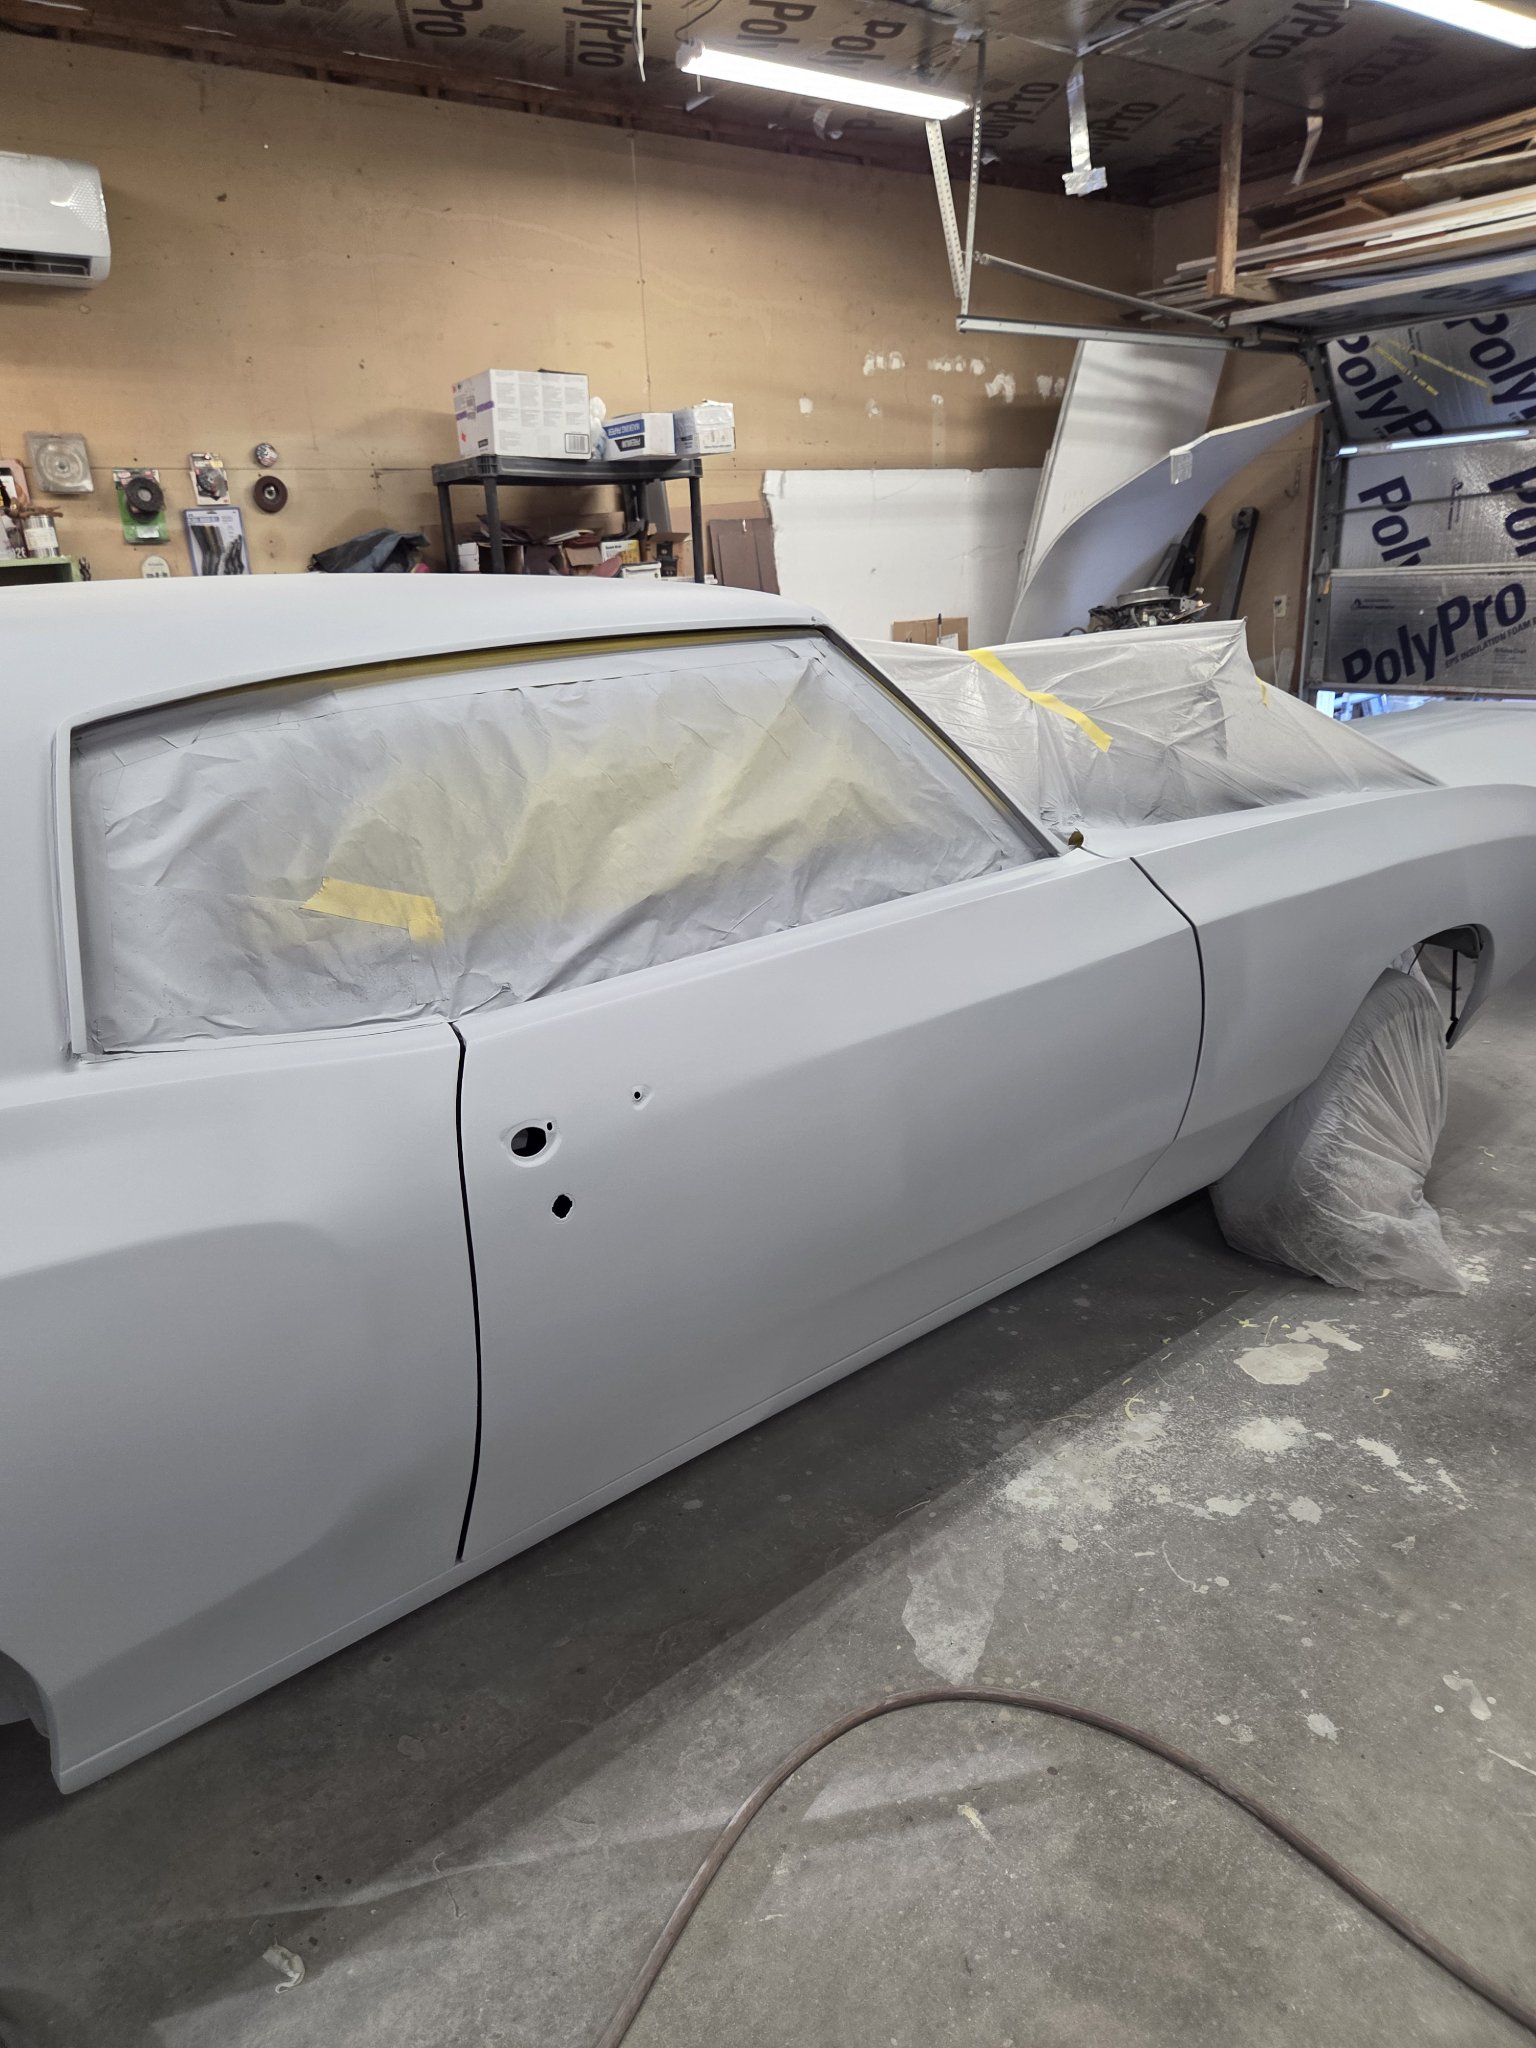
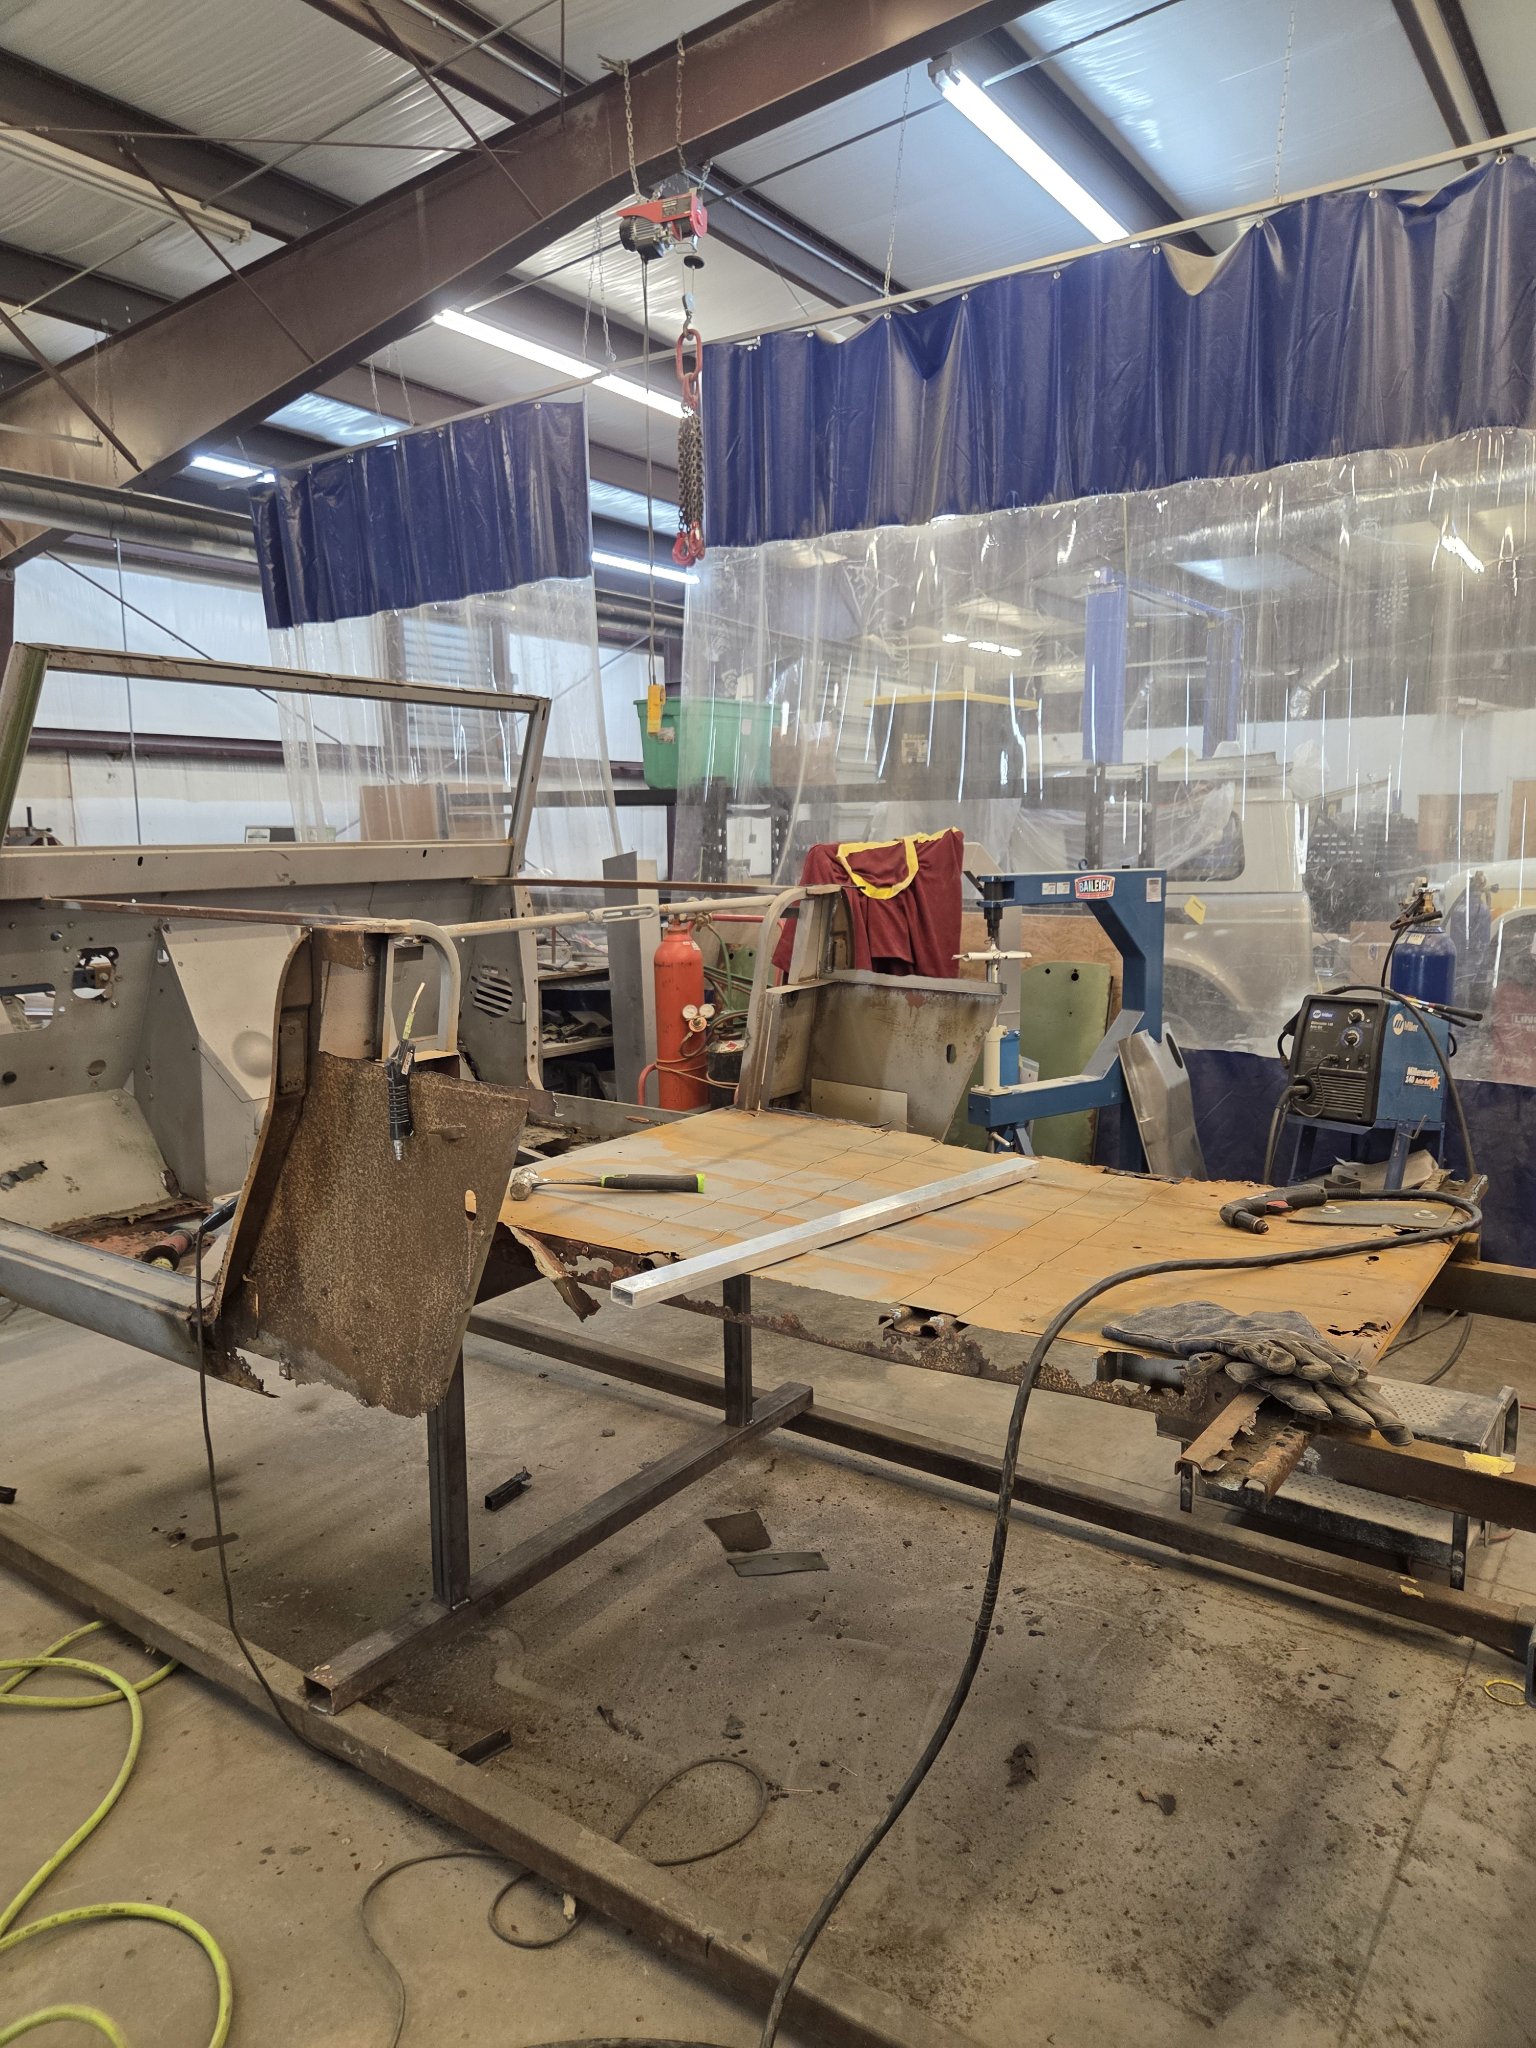
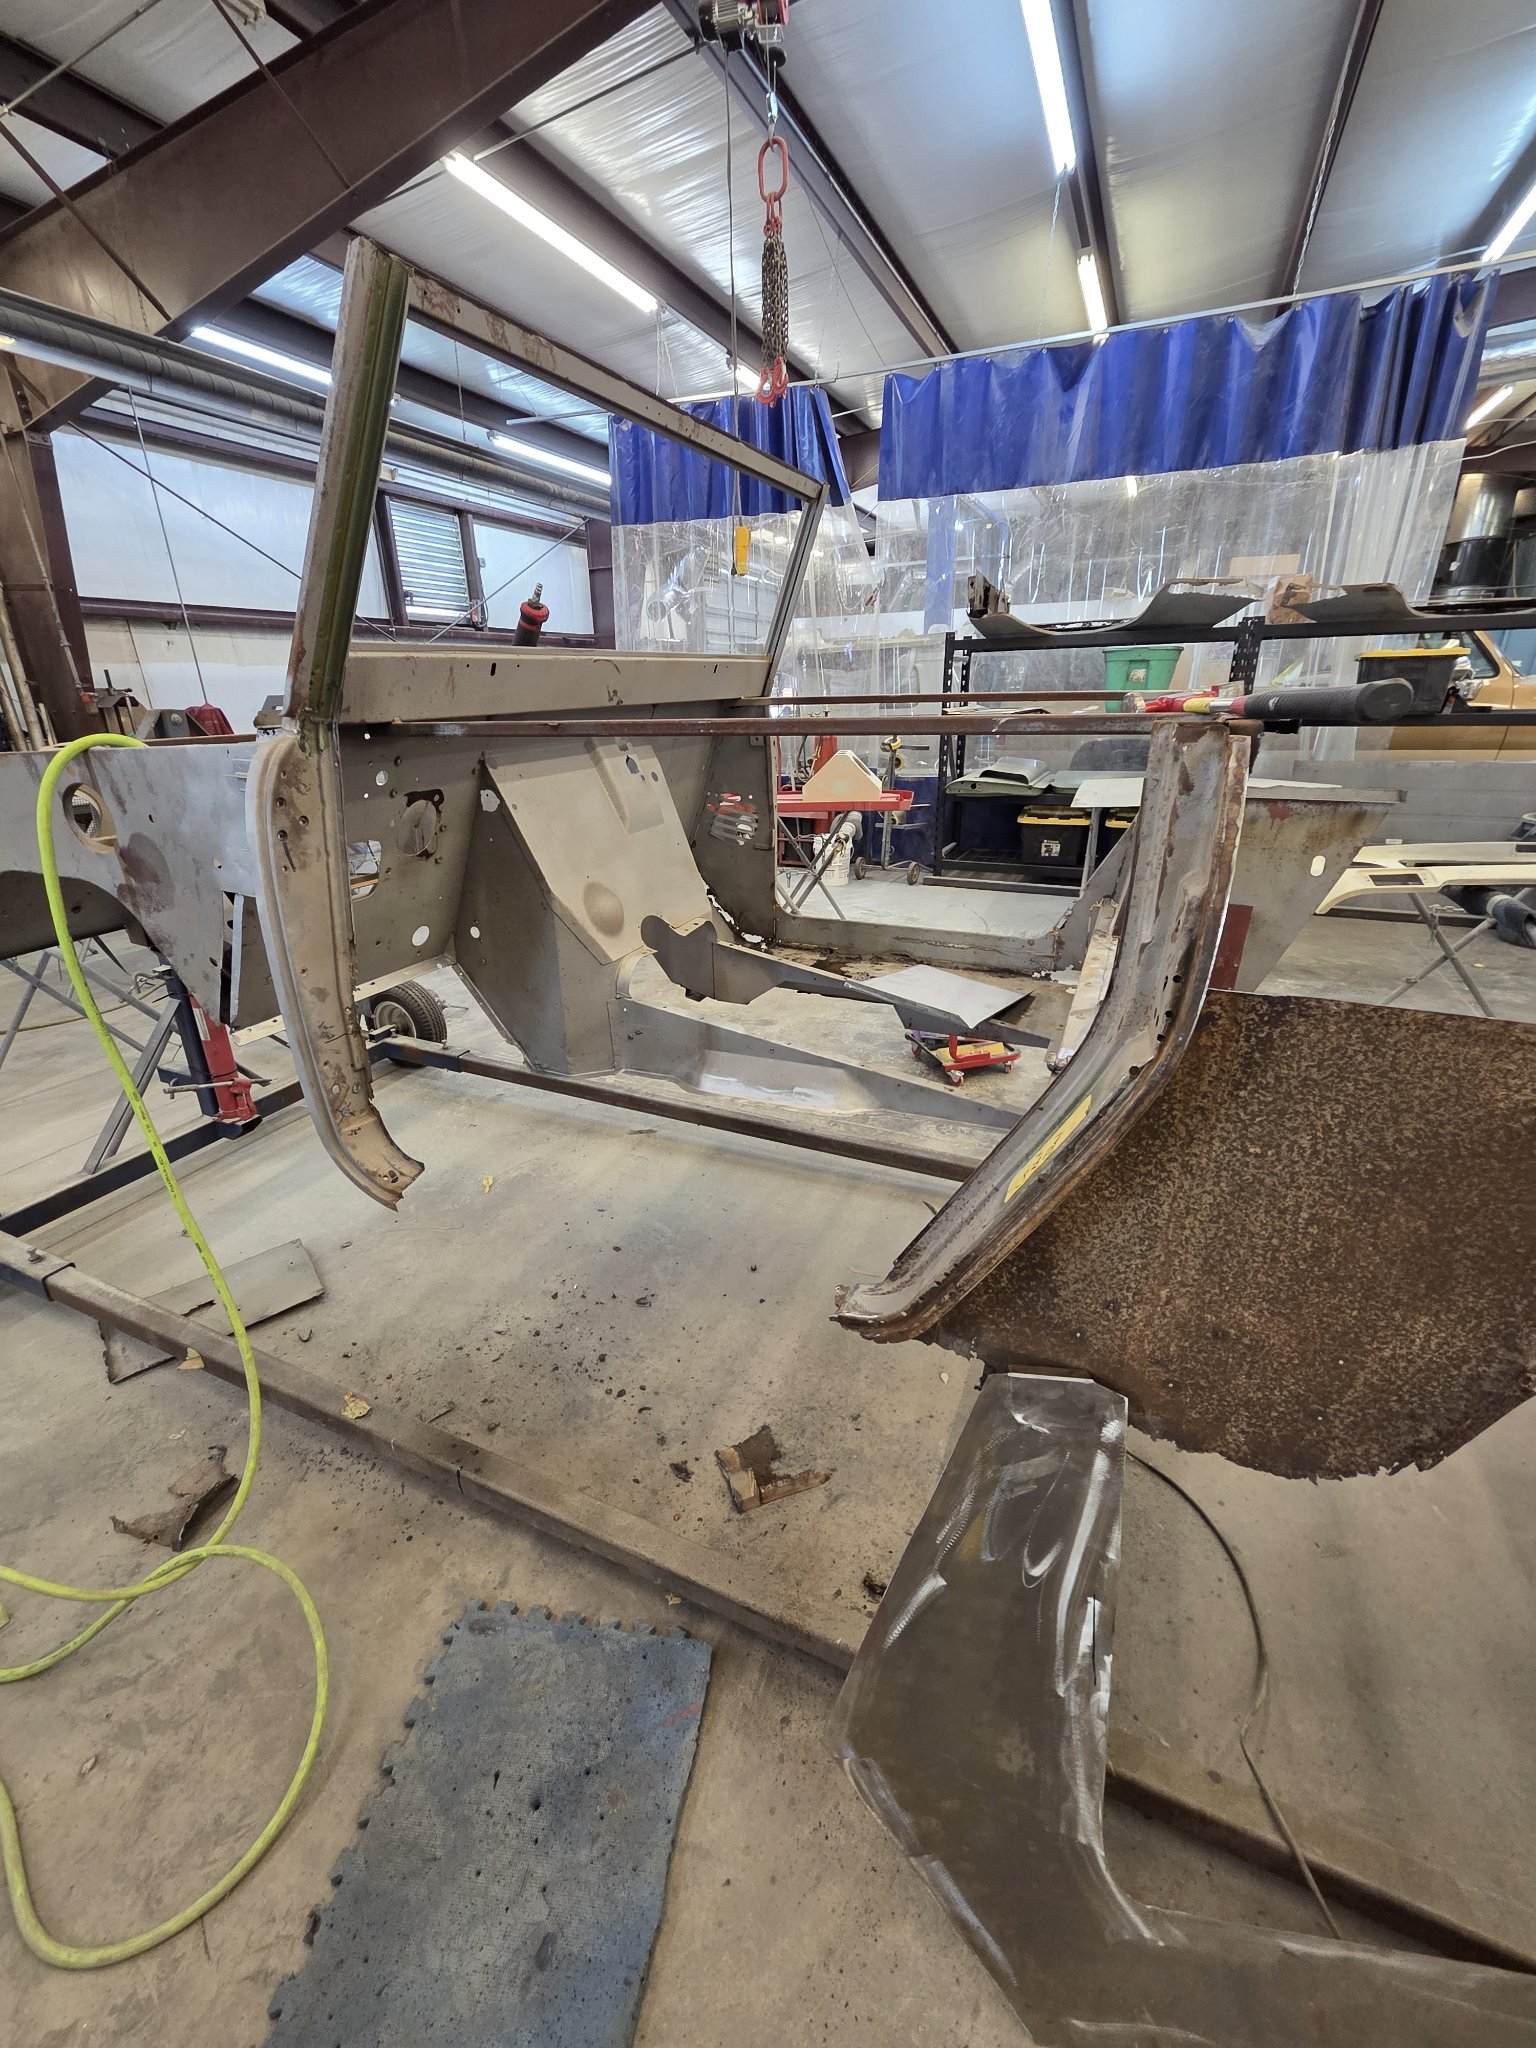
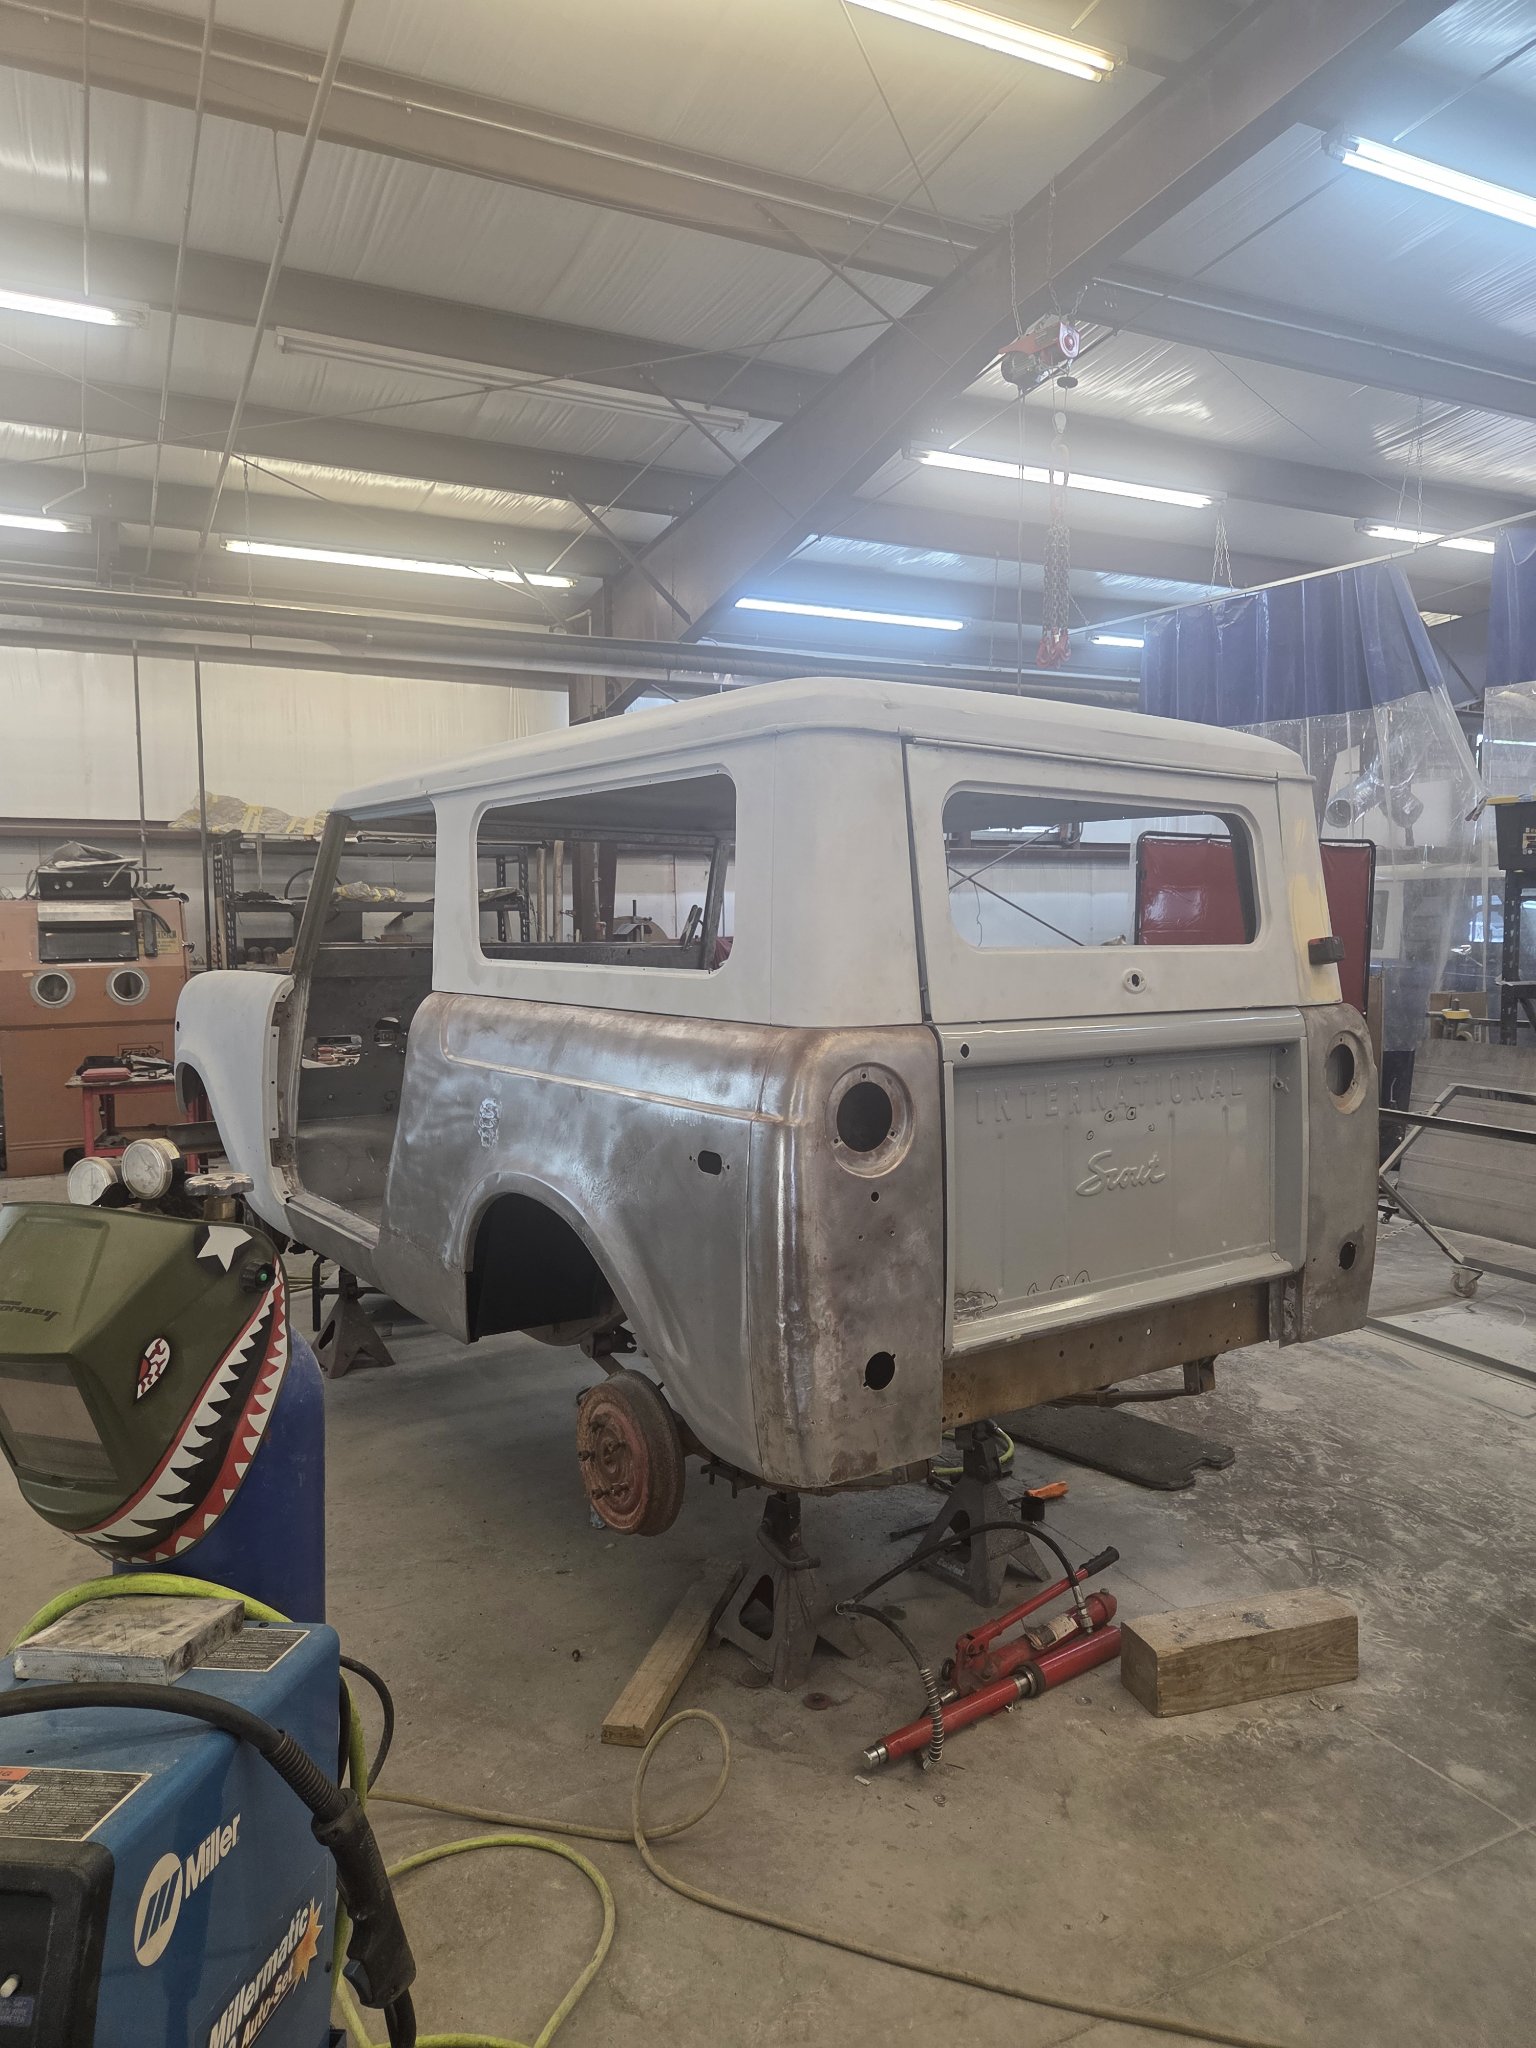
A full build takes as long as it takes. The Monte Carlo is deep in rust repair and bodywork right now — the front clip is off, the rot is being cut out panel by panel, patch panels are fabricated by hand, the cowl is rebuilt, and the rear quarter is welded up and in filler.
This page is its journal. As each stage wraps up — metalwork, bodywork, paint, assembly — the newest photos go up top here so you can watch it come back to life.
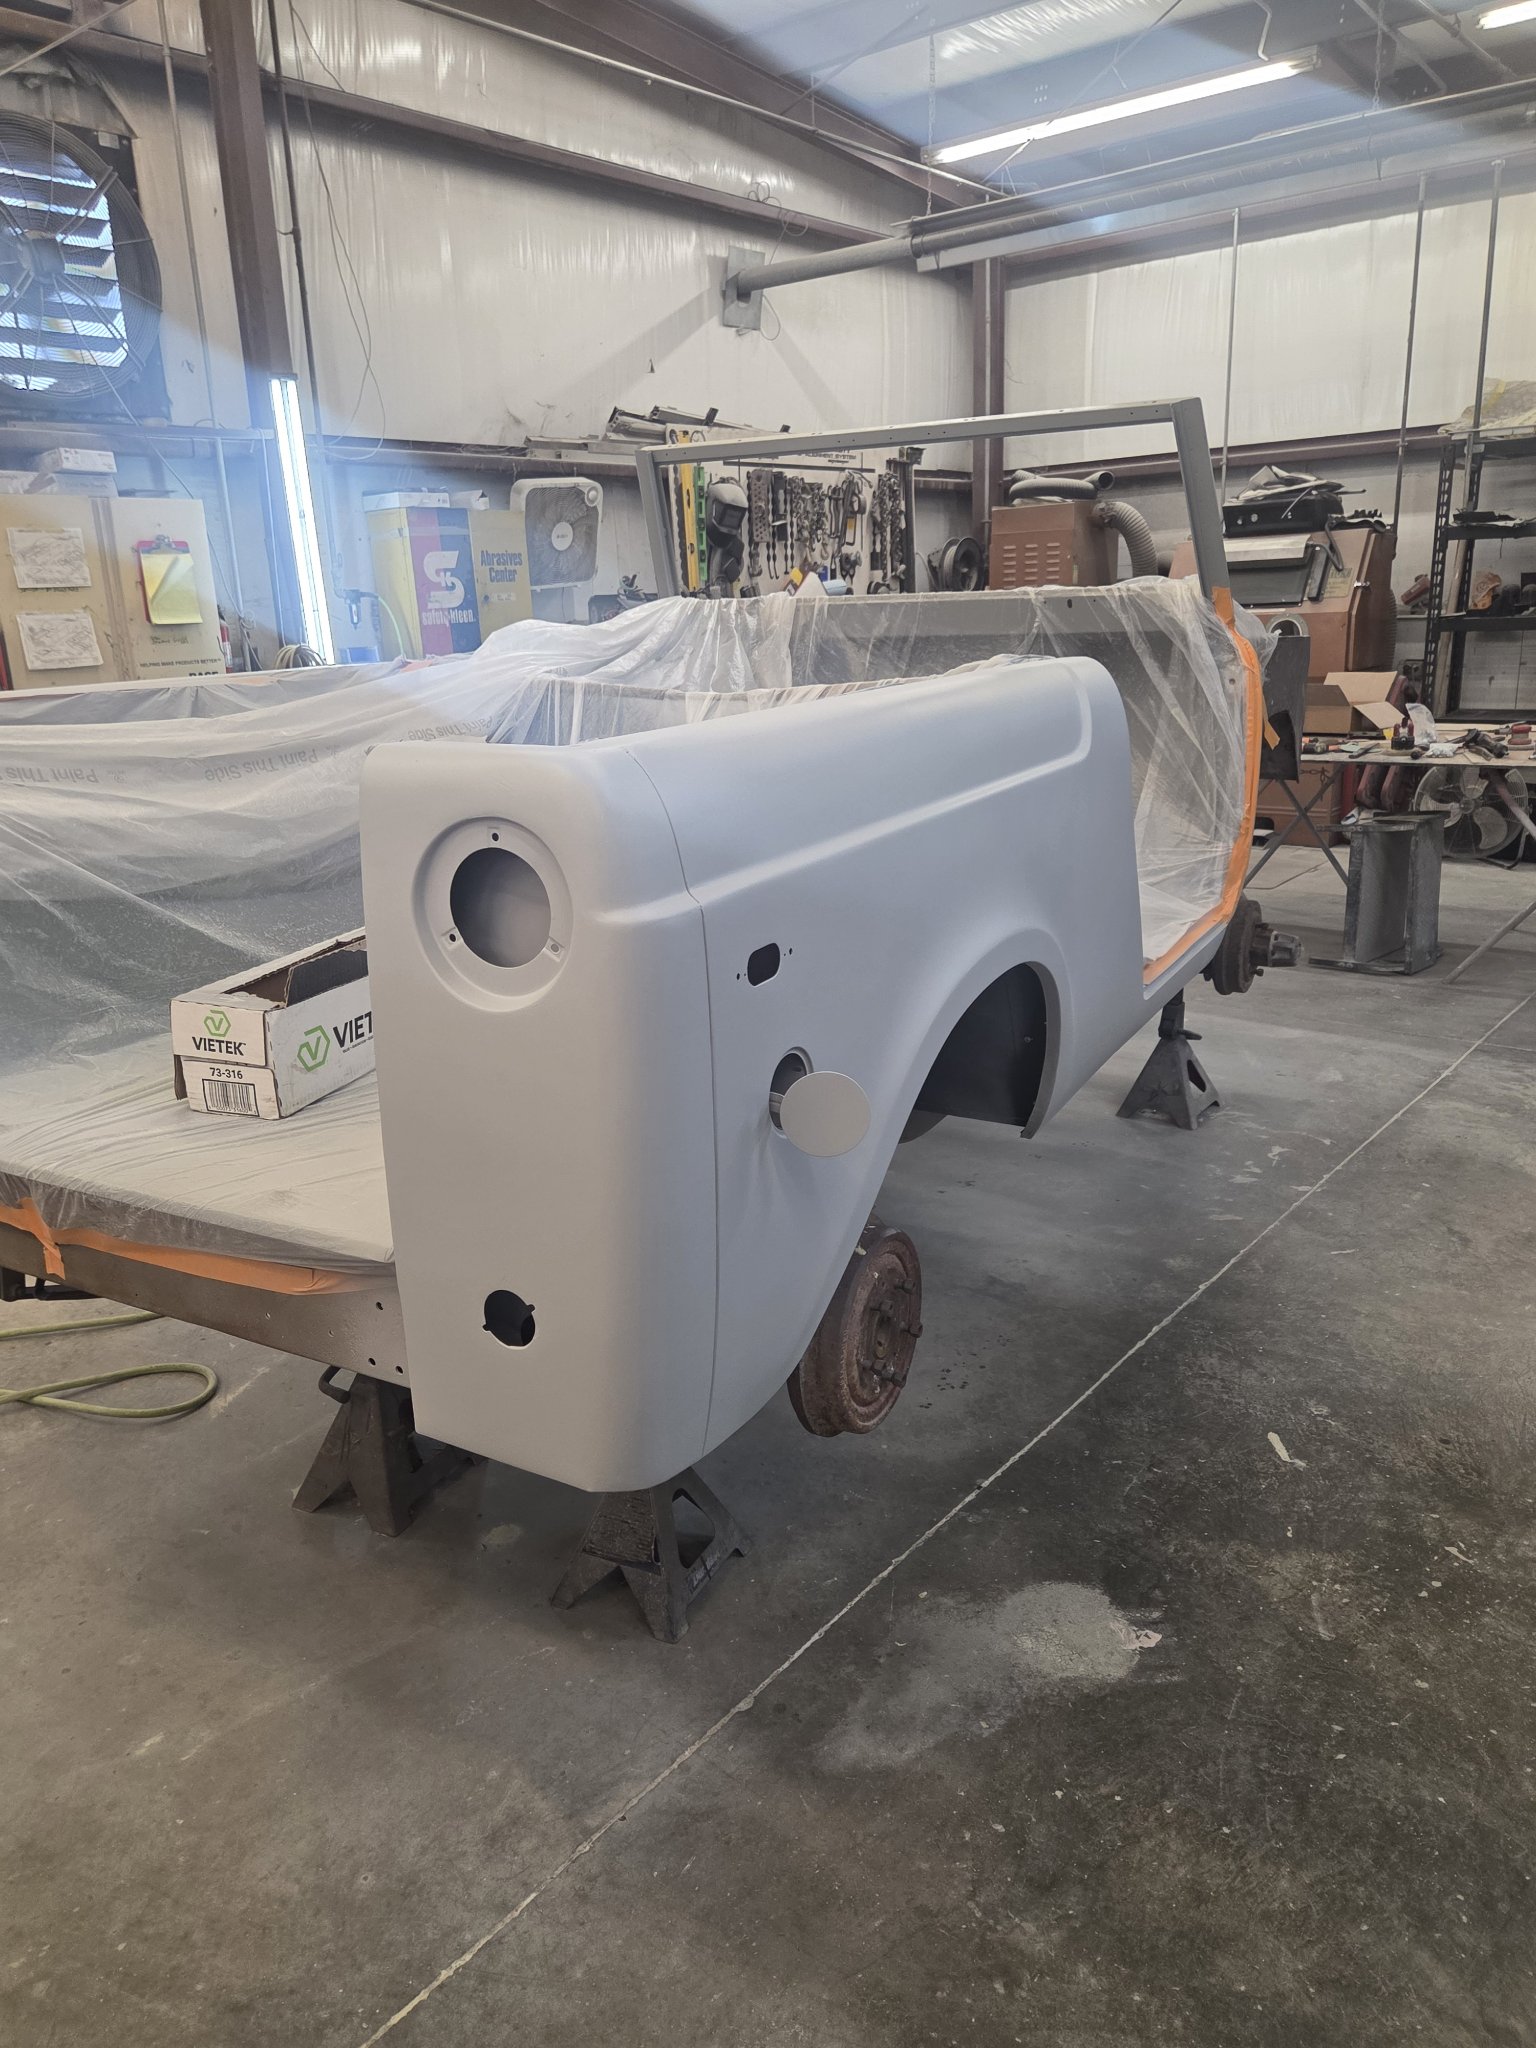
StageIn primer — body masked, primed and ready for paint
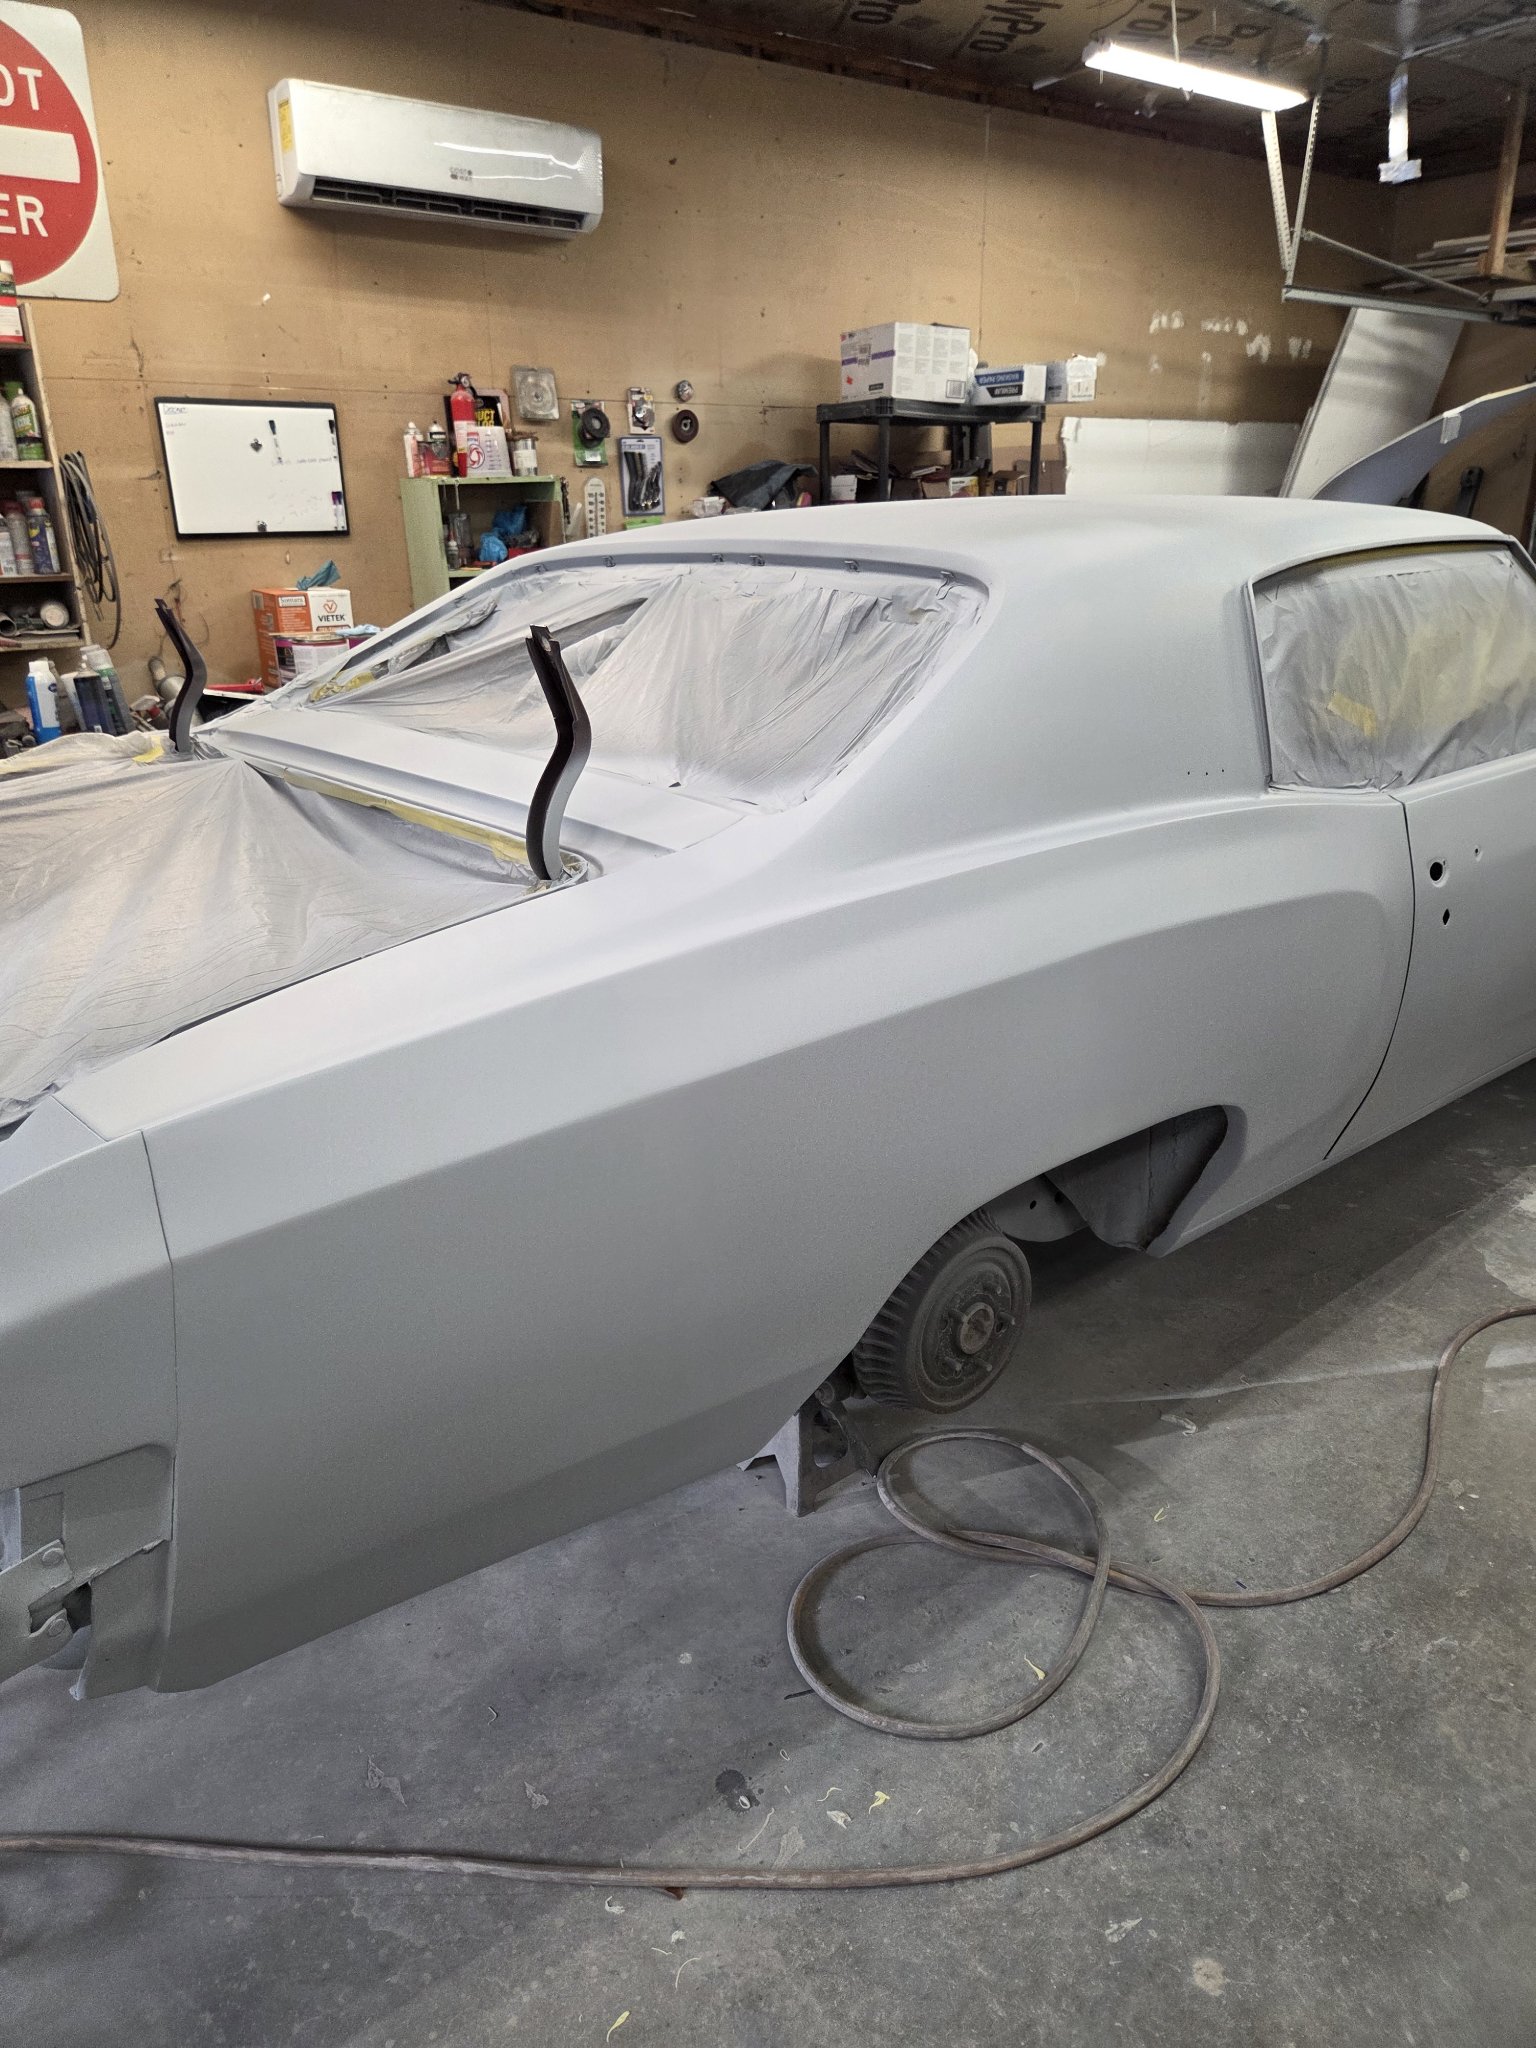
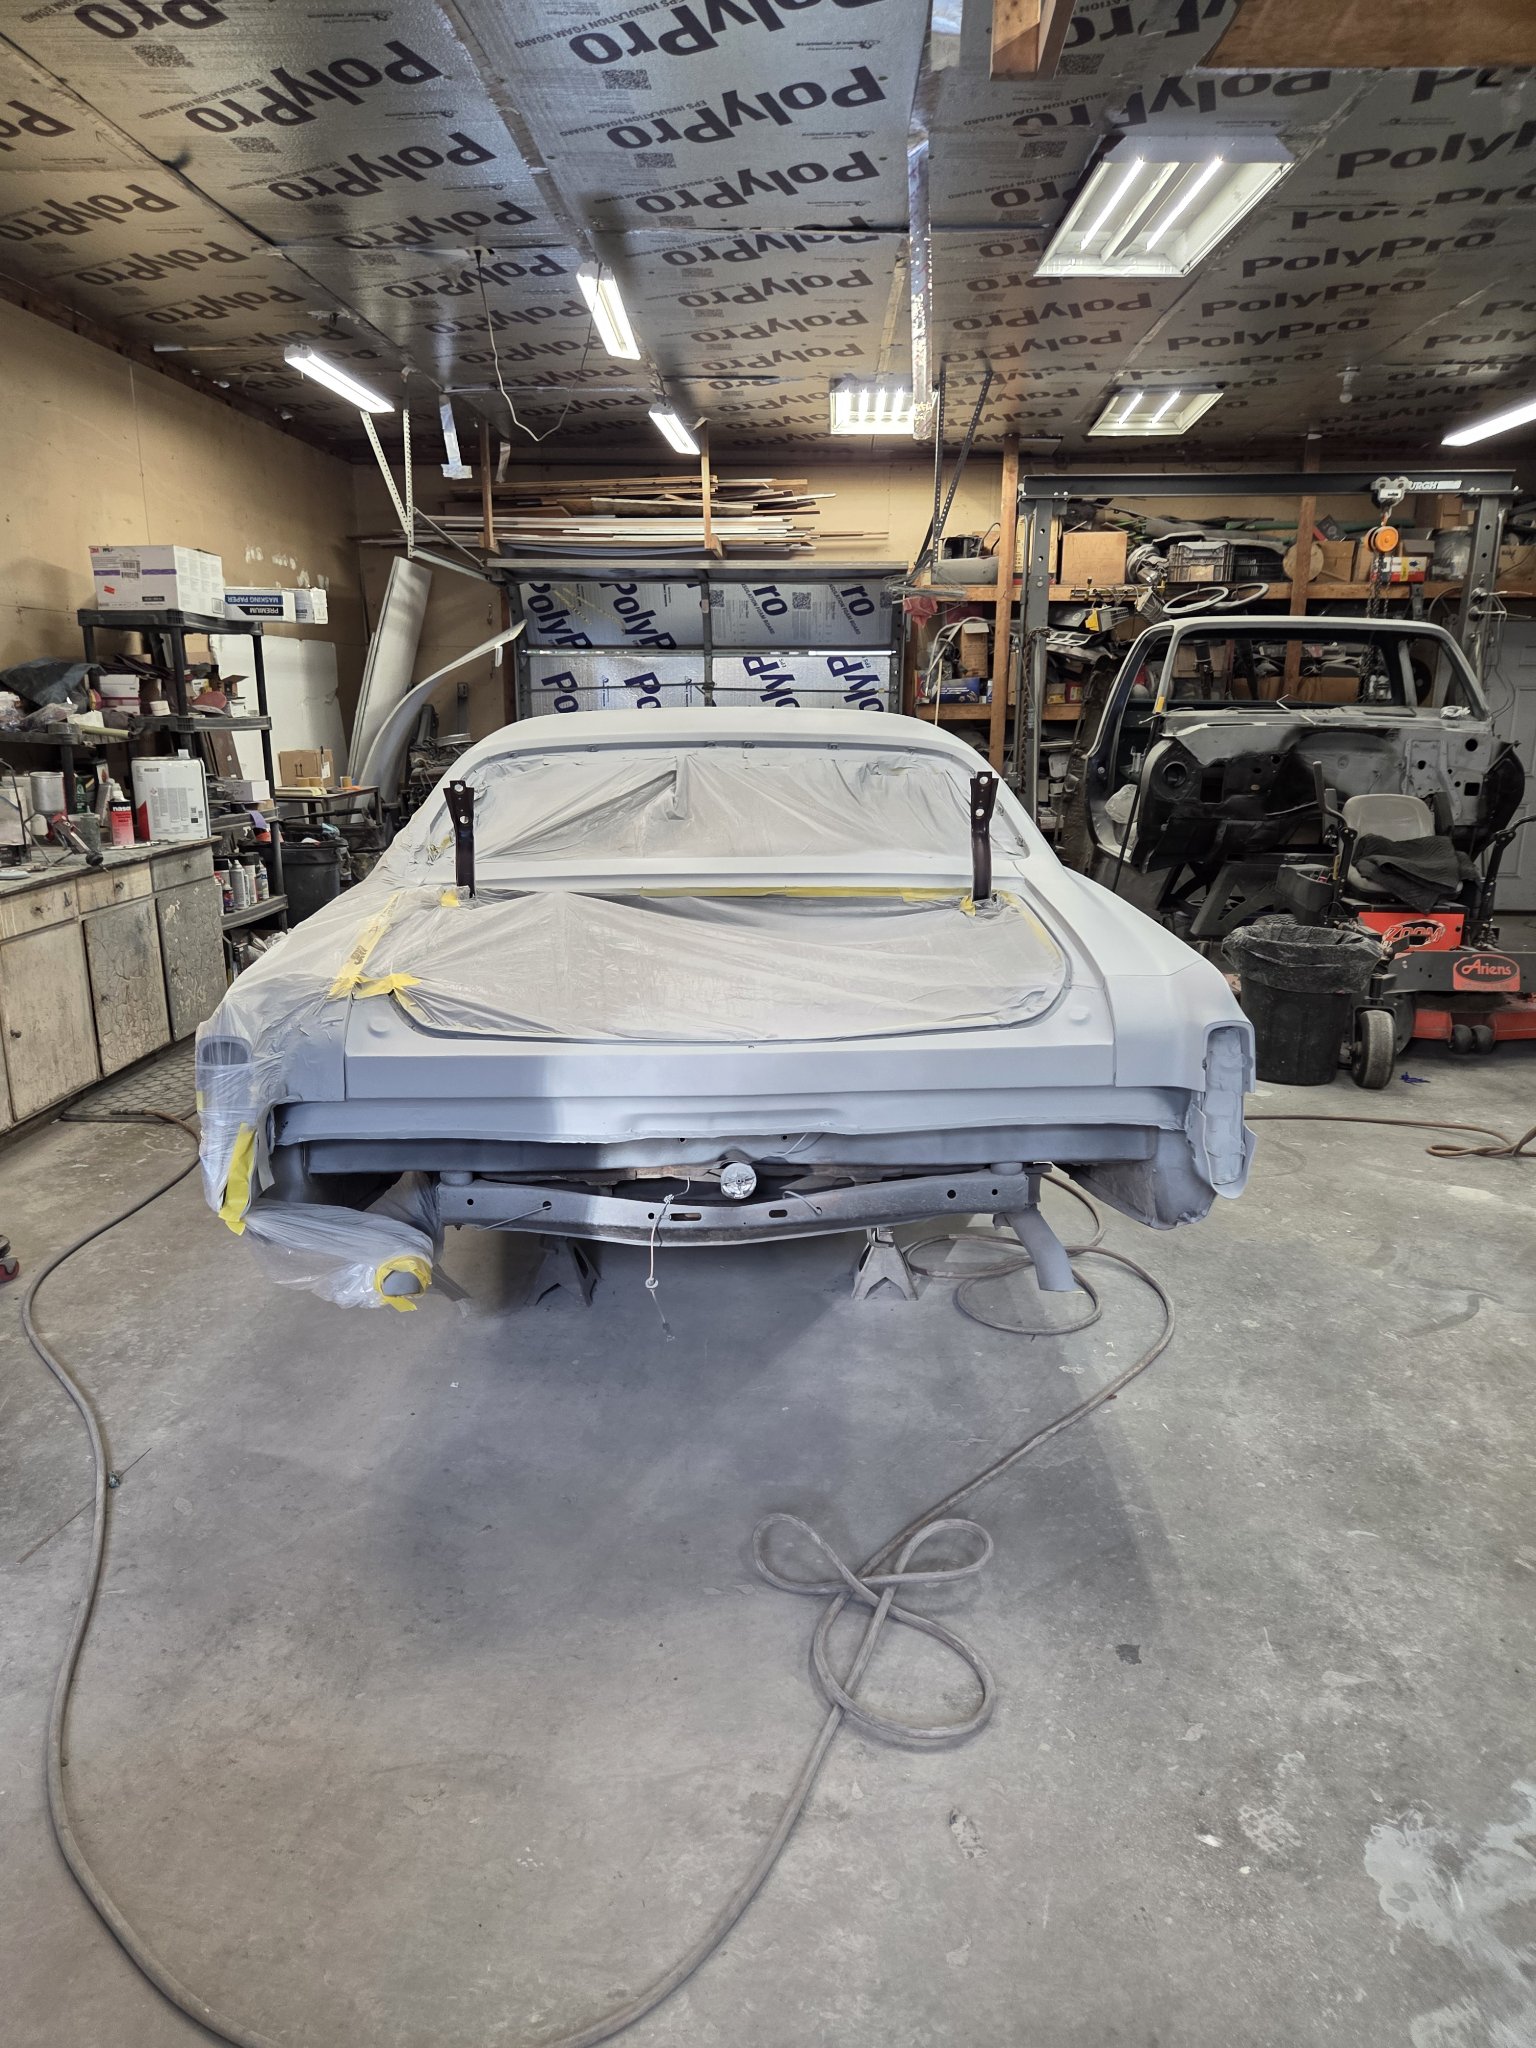
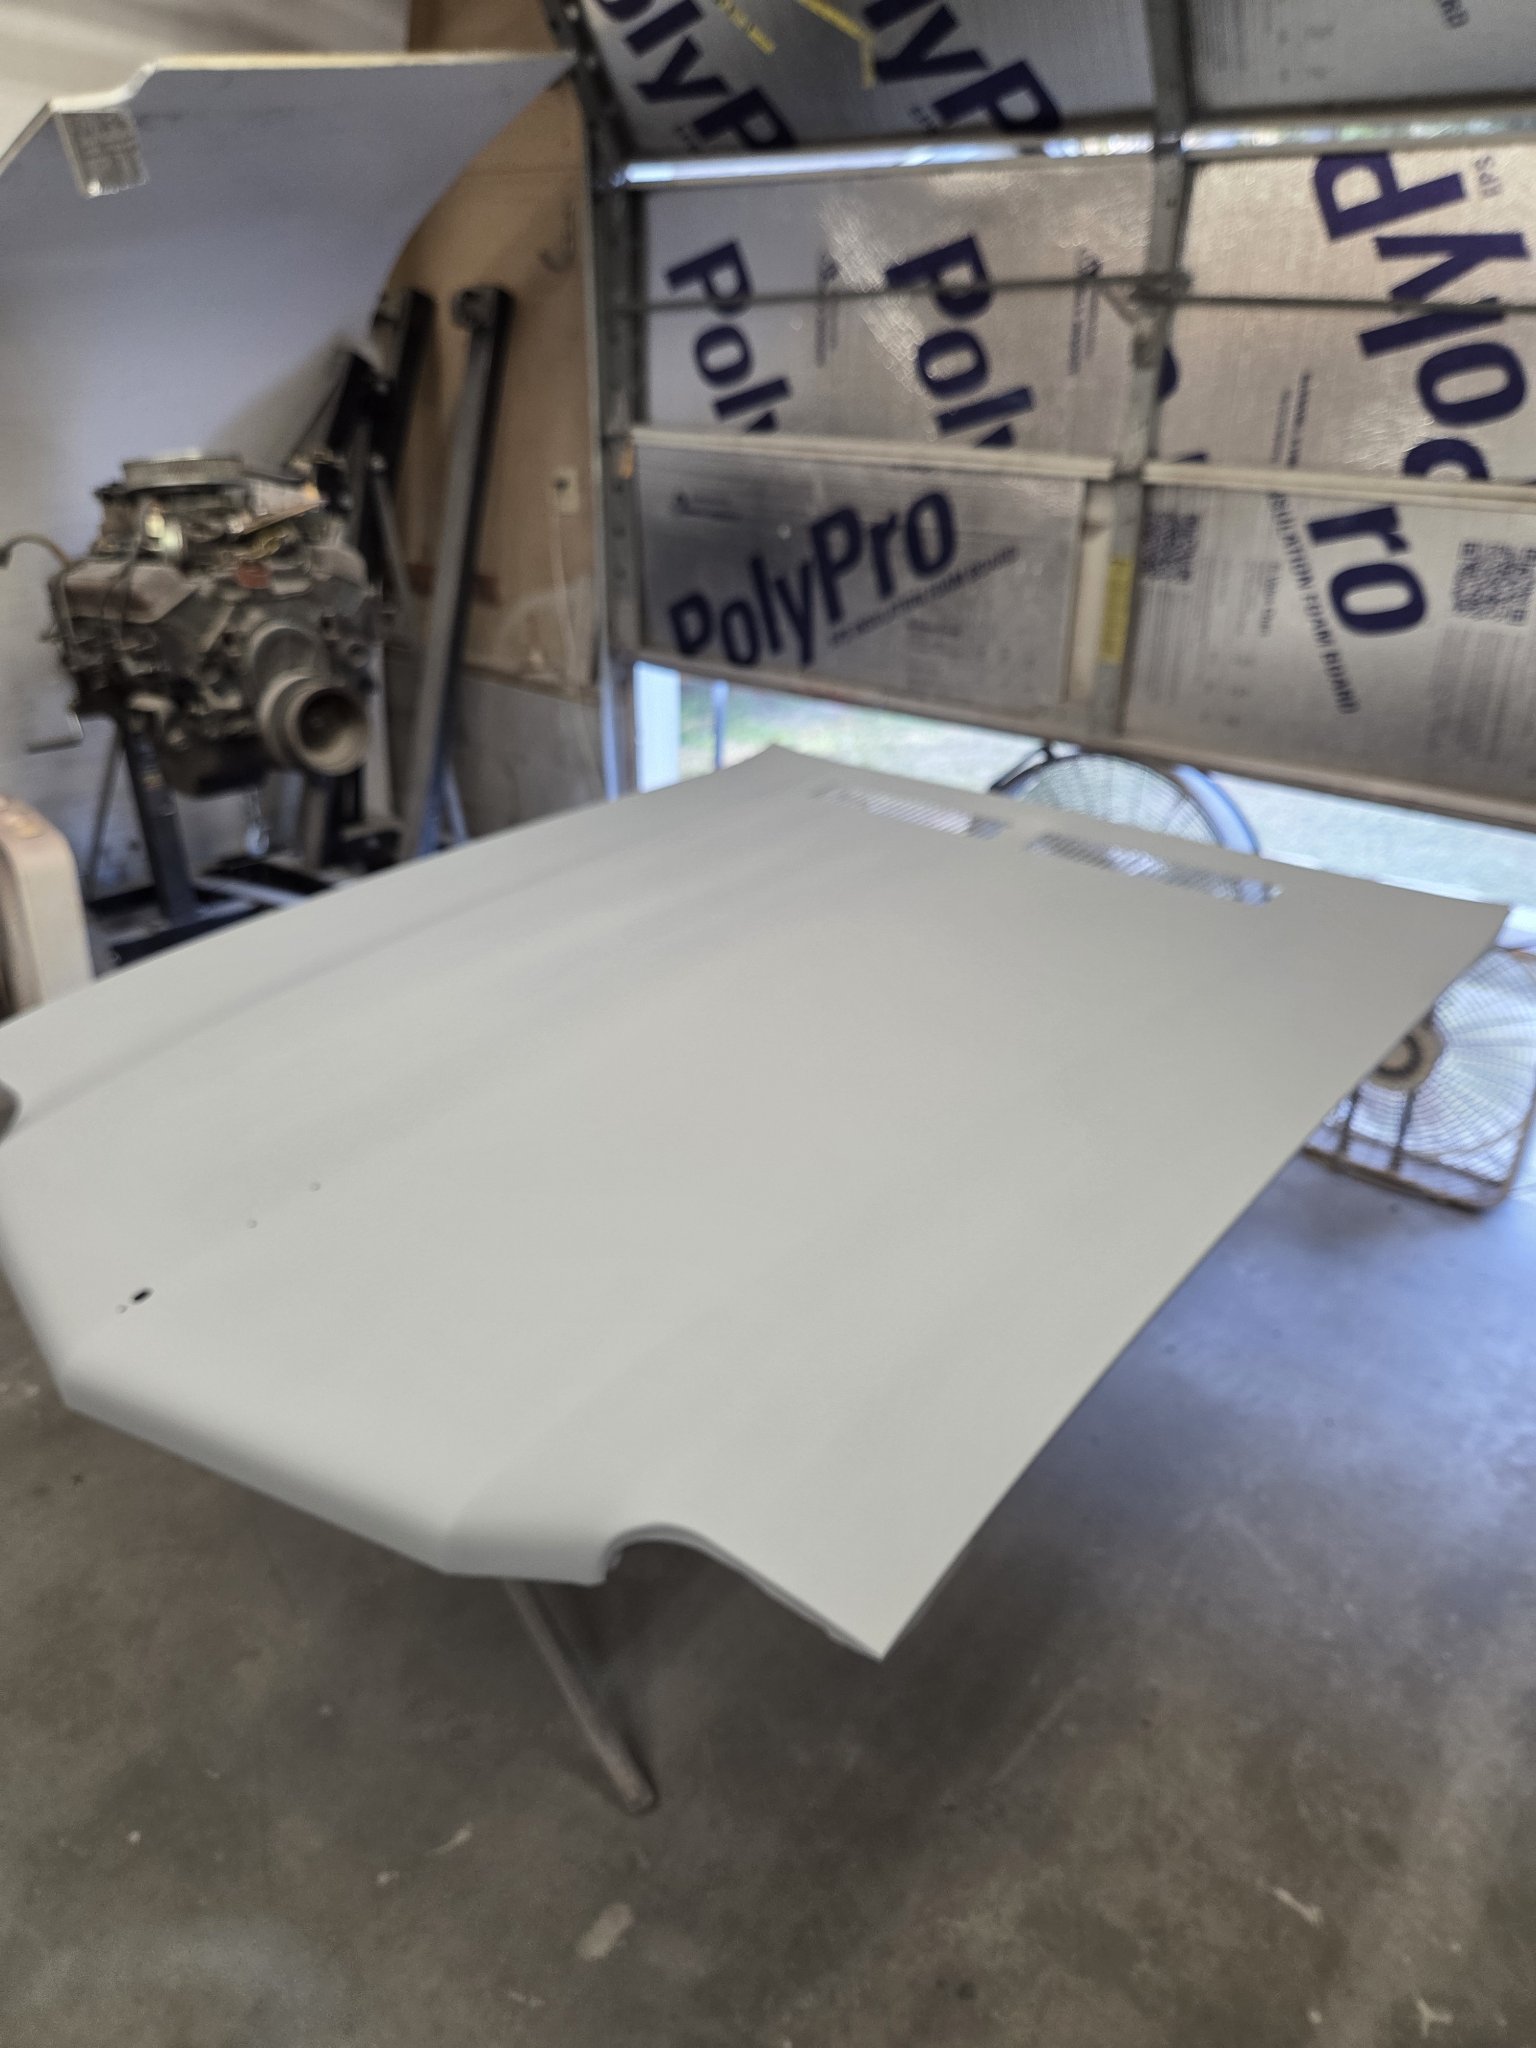
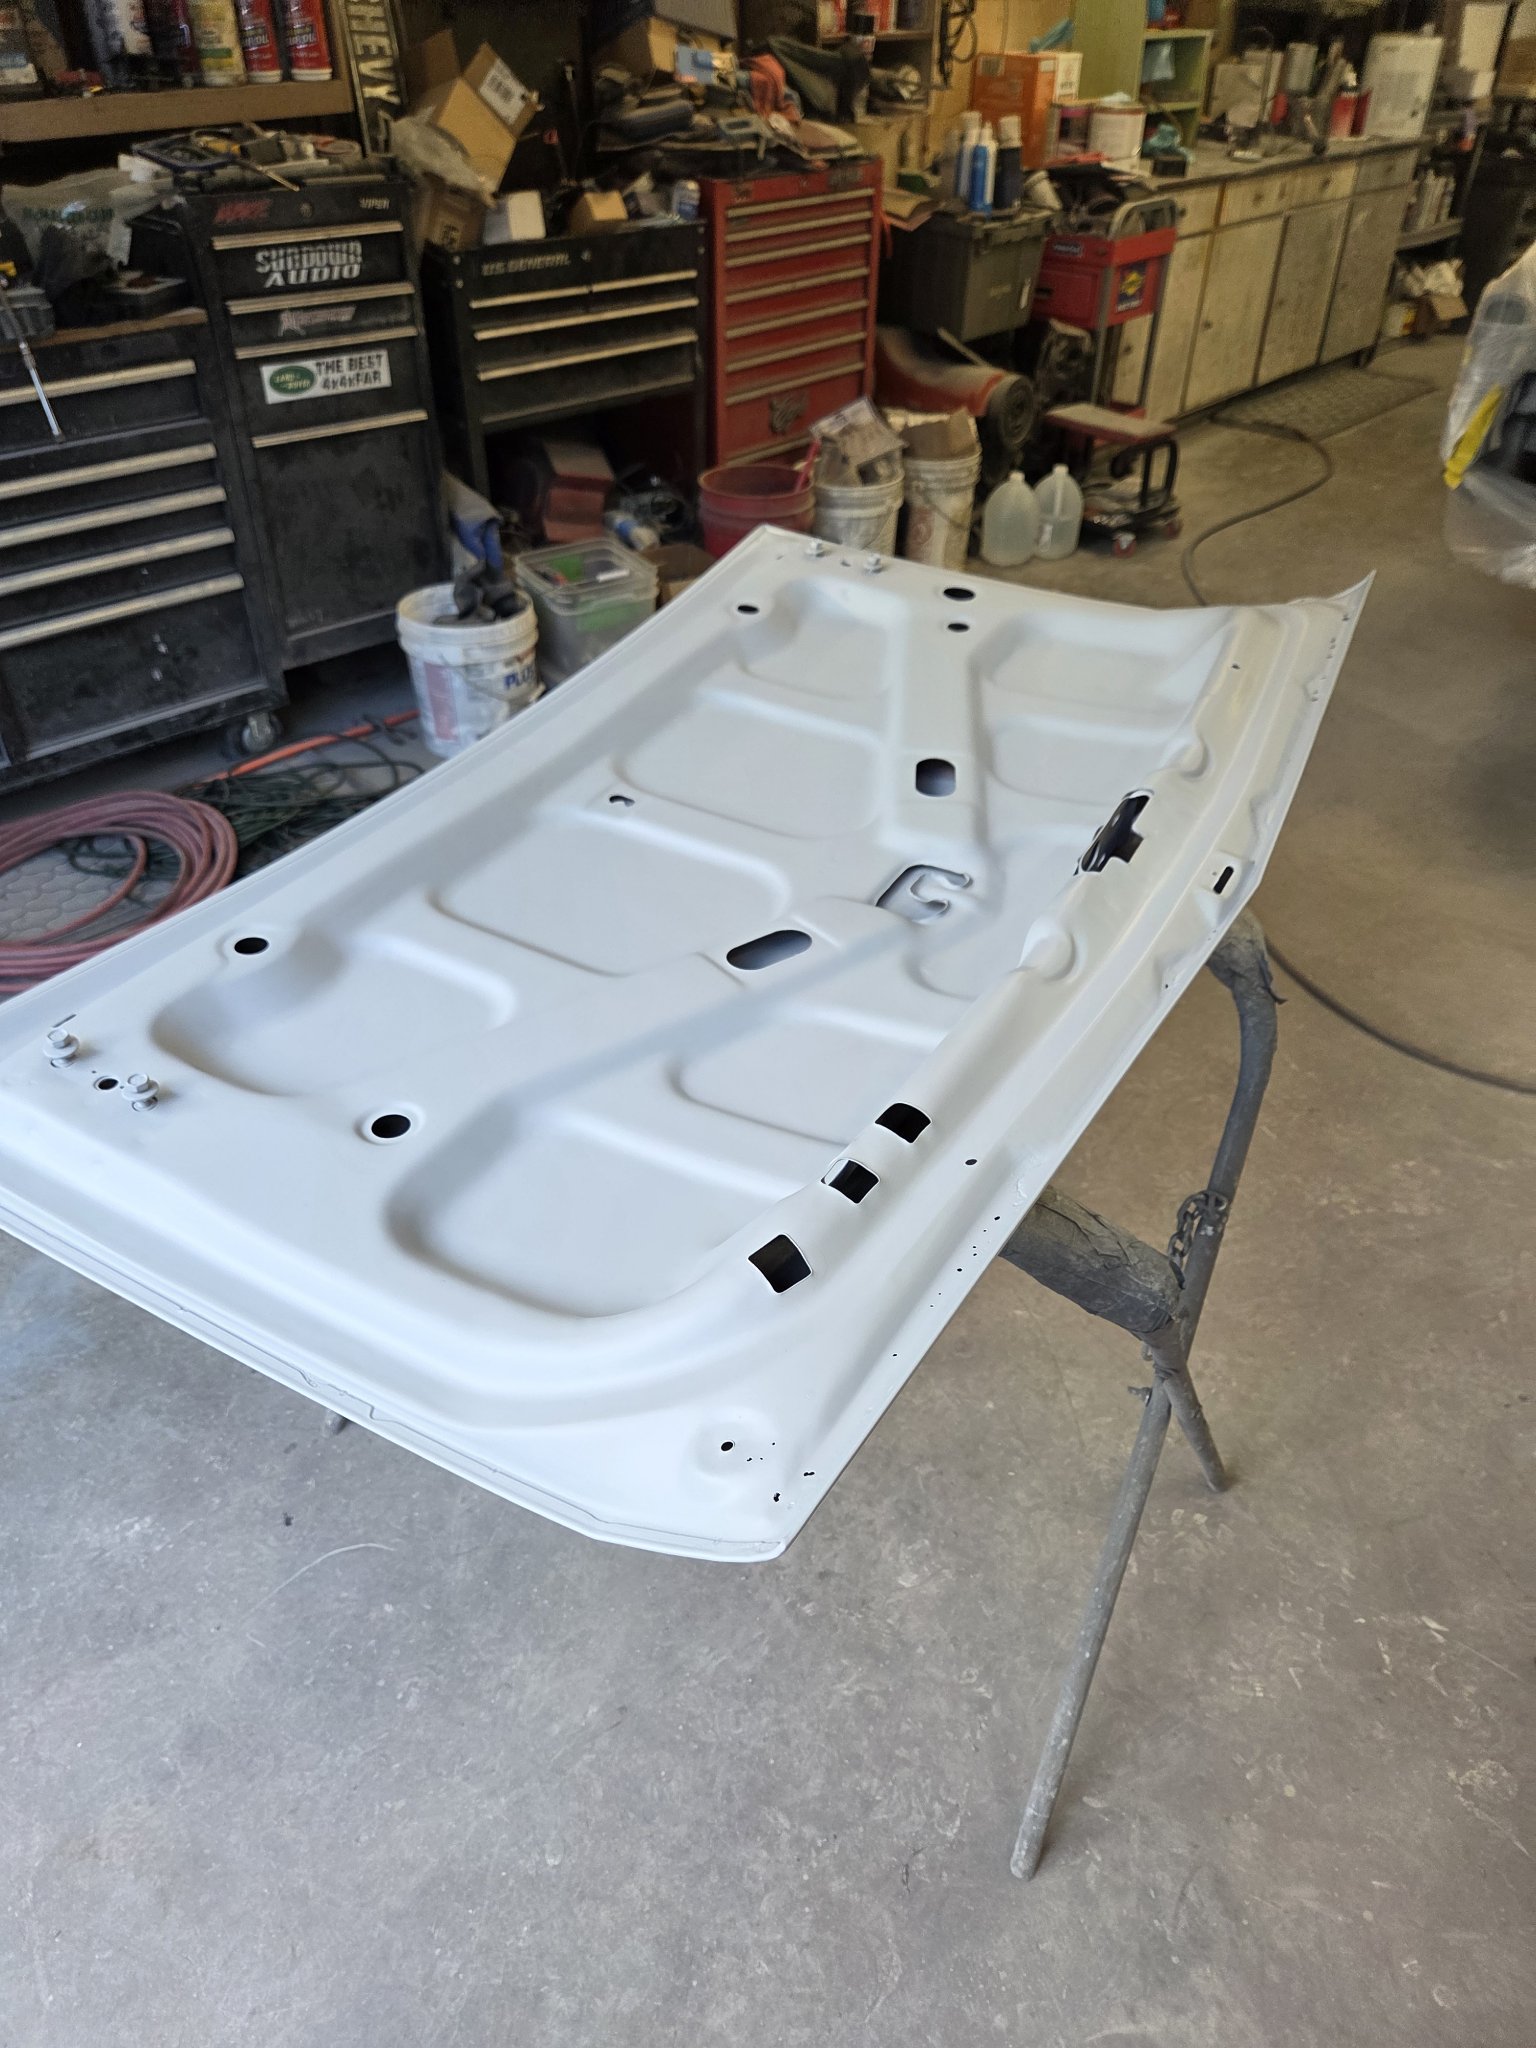
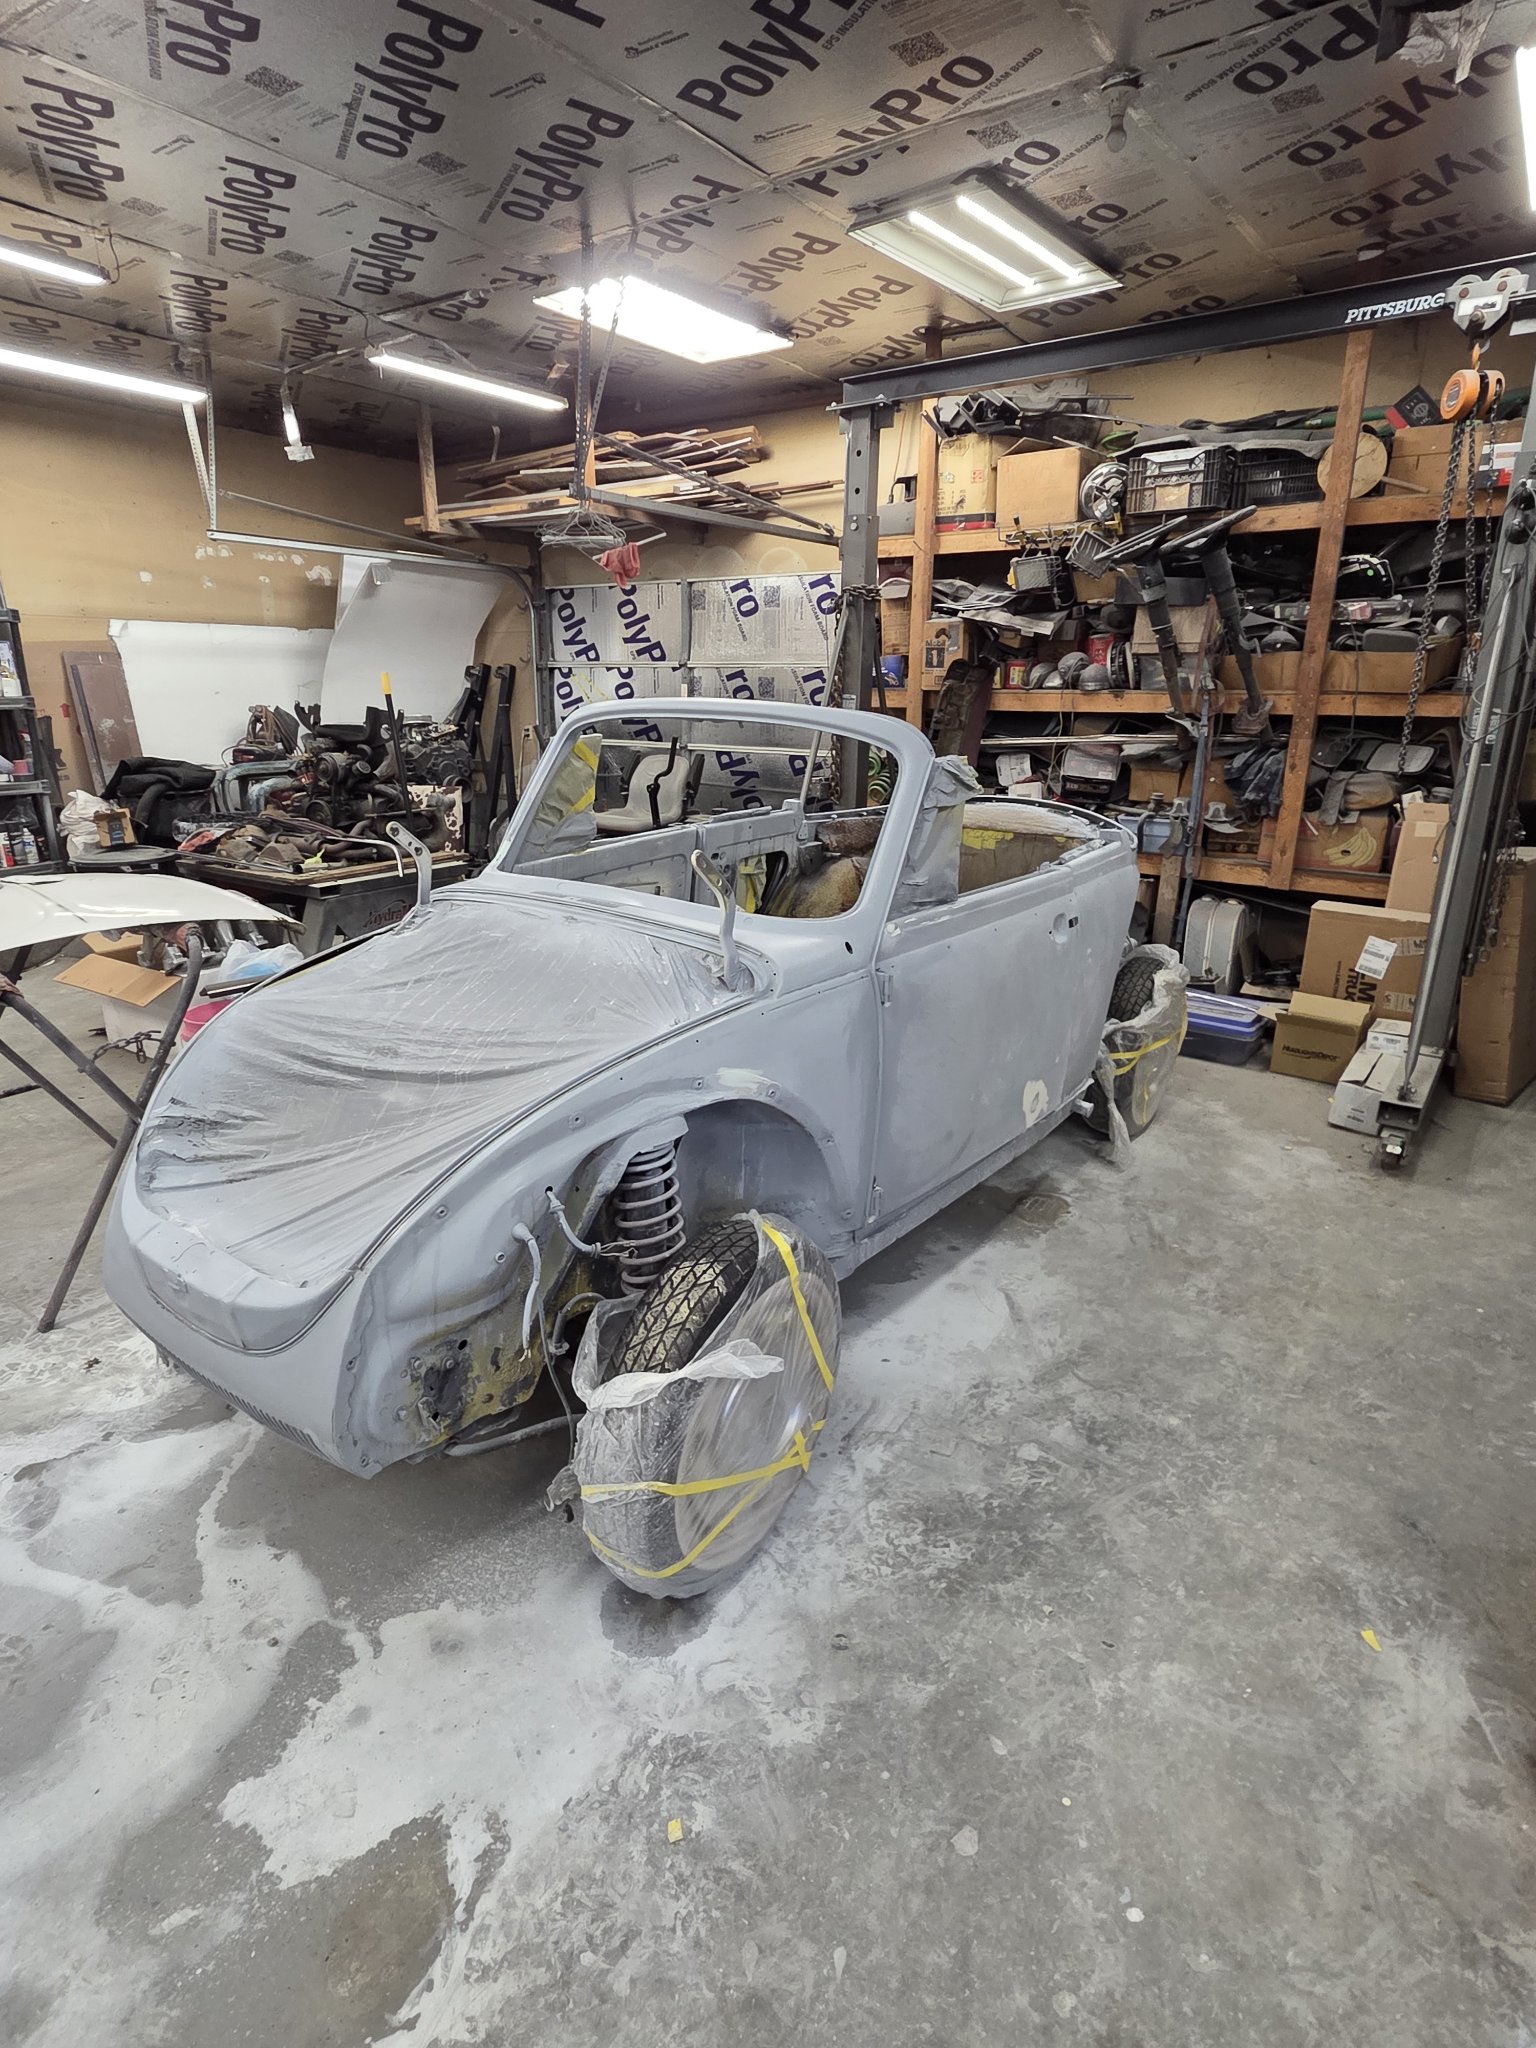
In progressBodywork done · full body, hood and trunk lid in primer, masked up
UpdatedNovember 2026 — primer photos added Nov 4, 2026
01 As it came in
Full side profile, as it came inGrille and bumper off, from the doorway
02 Rust & cowl repair
The cowl, before — heavy rustSame cowl, after — welded and coated
03 Patch panels, made by hand
The new patch panel, fabricated by handTacked in — more rot above to come out
04 Quarter & door bodywork
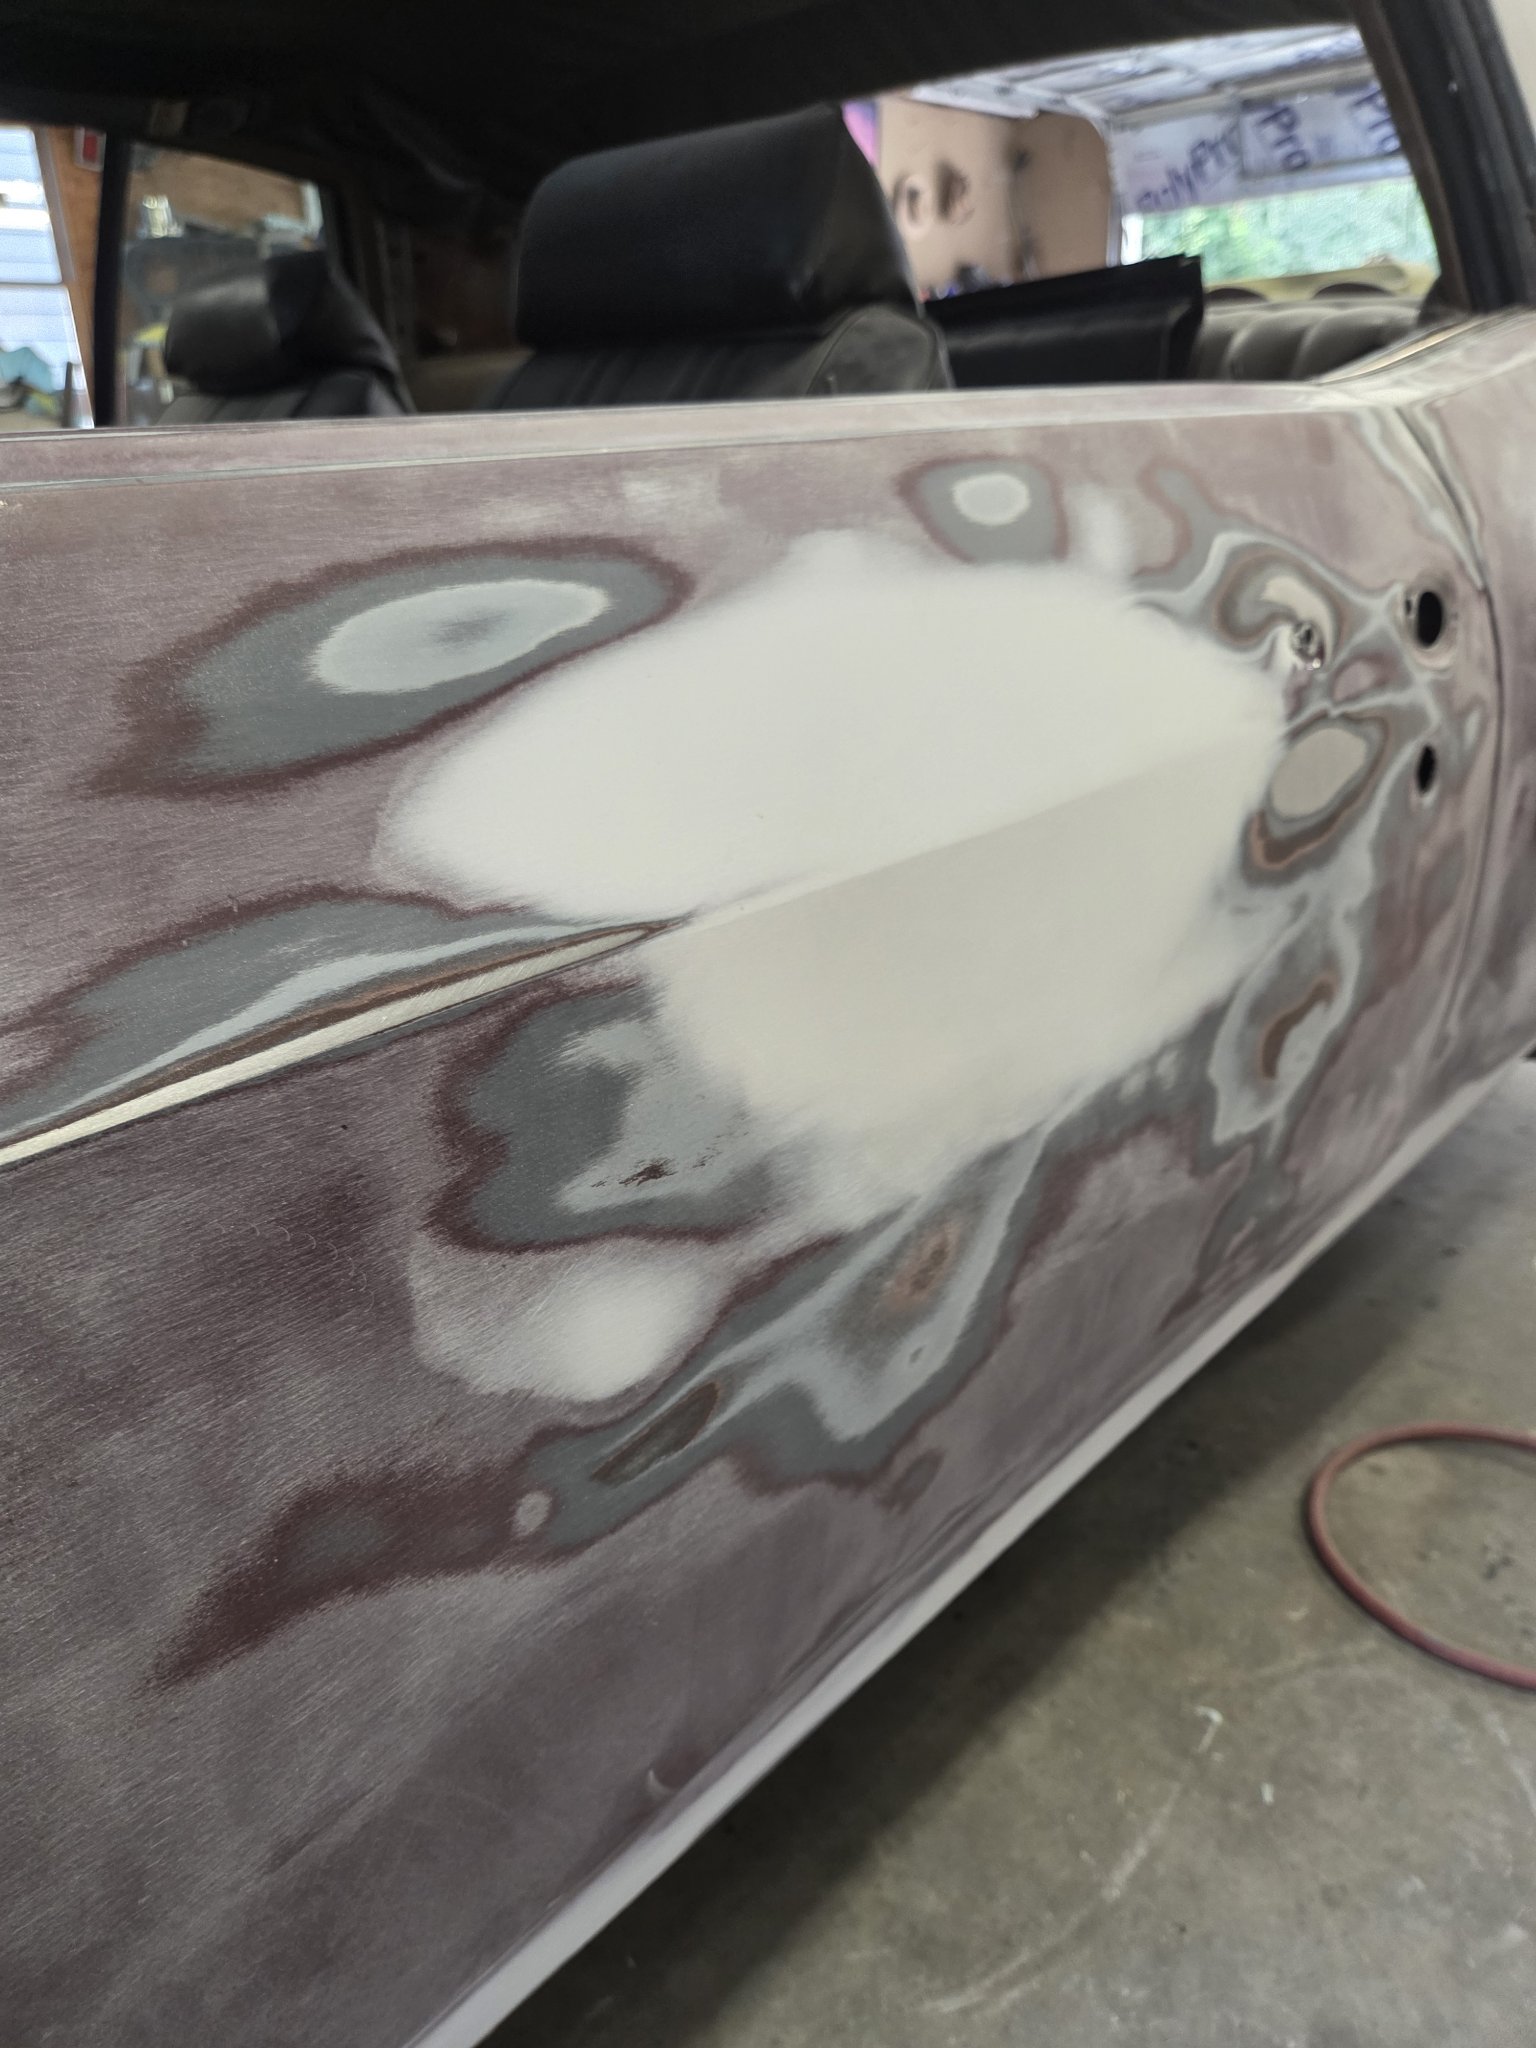
The whole side, in bodyworkUp on the stand, quarter in fillerDoor filler, blocked and sanded
05 Under the hood
The engine, waiting its turn
06 In primer — November 2026
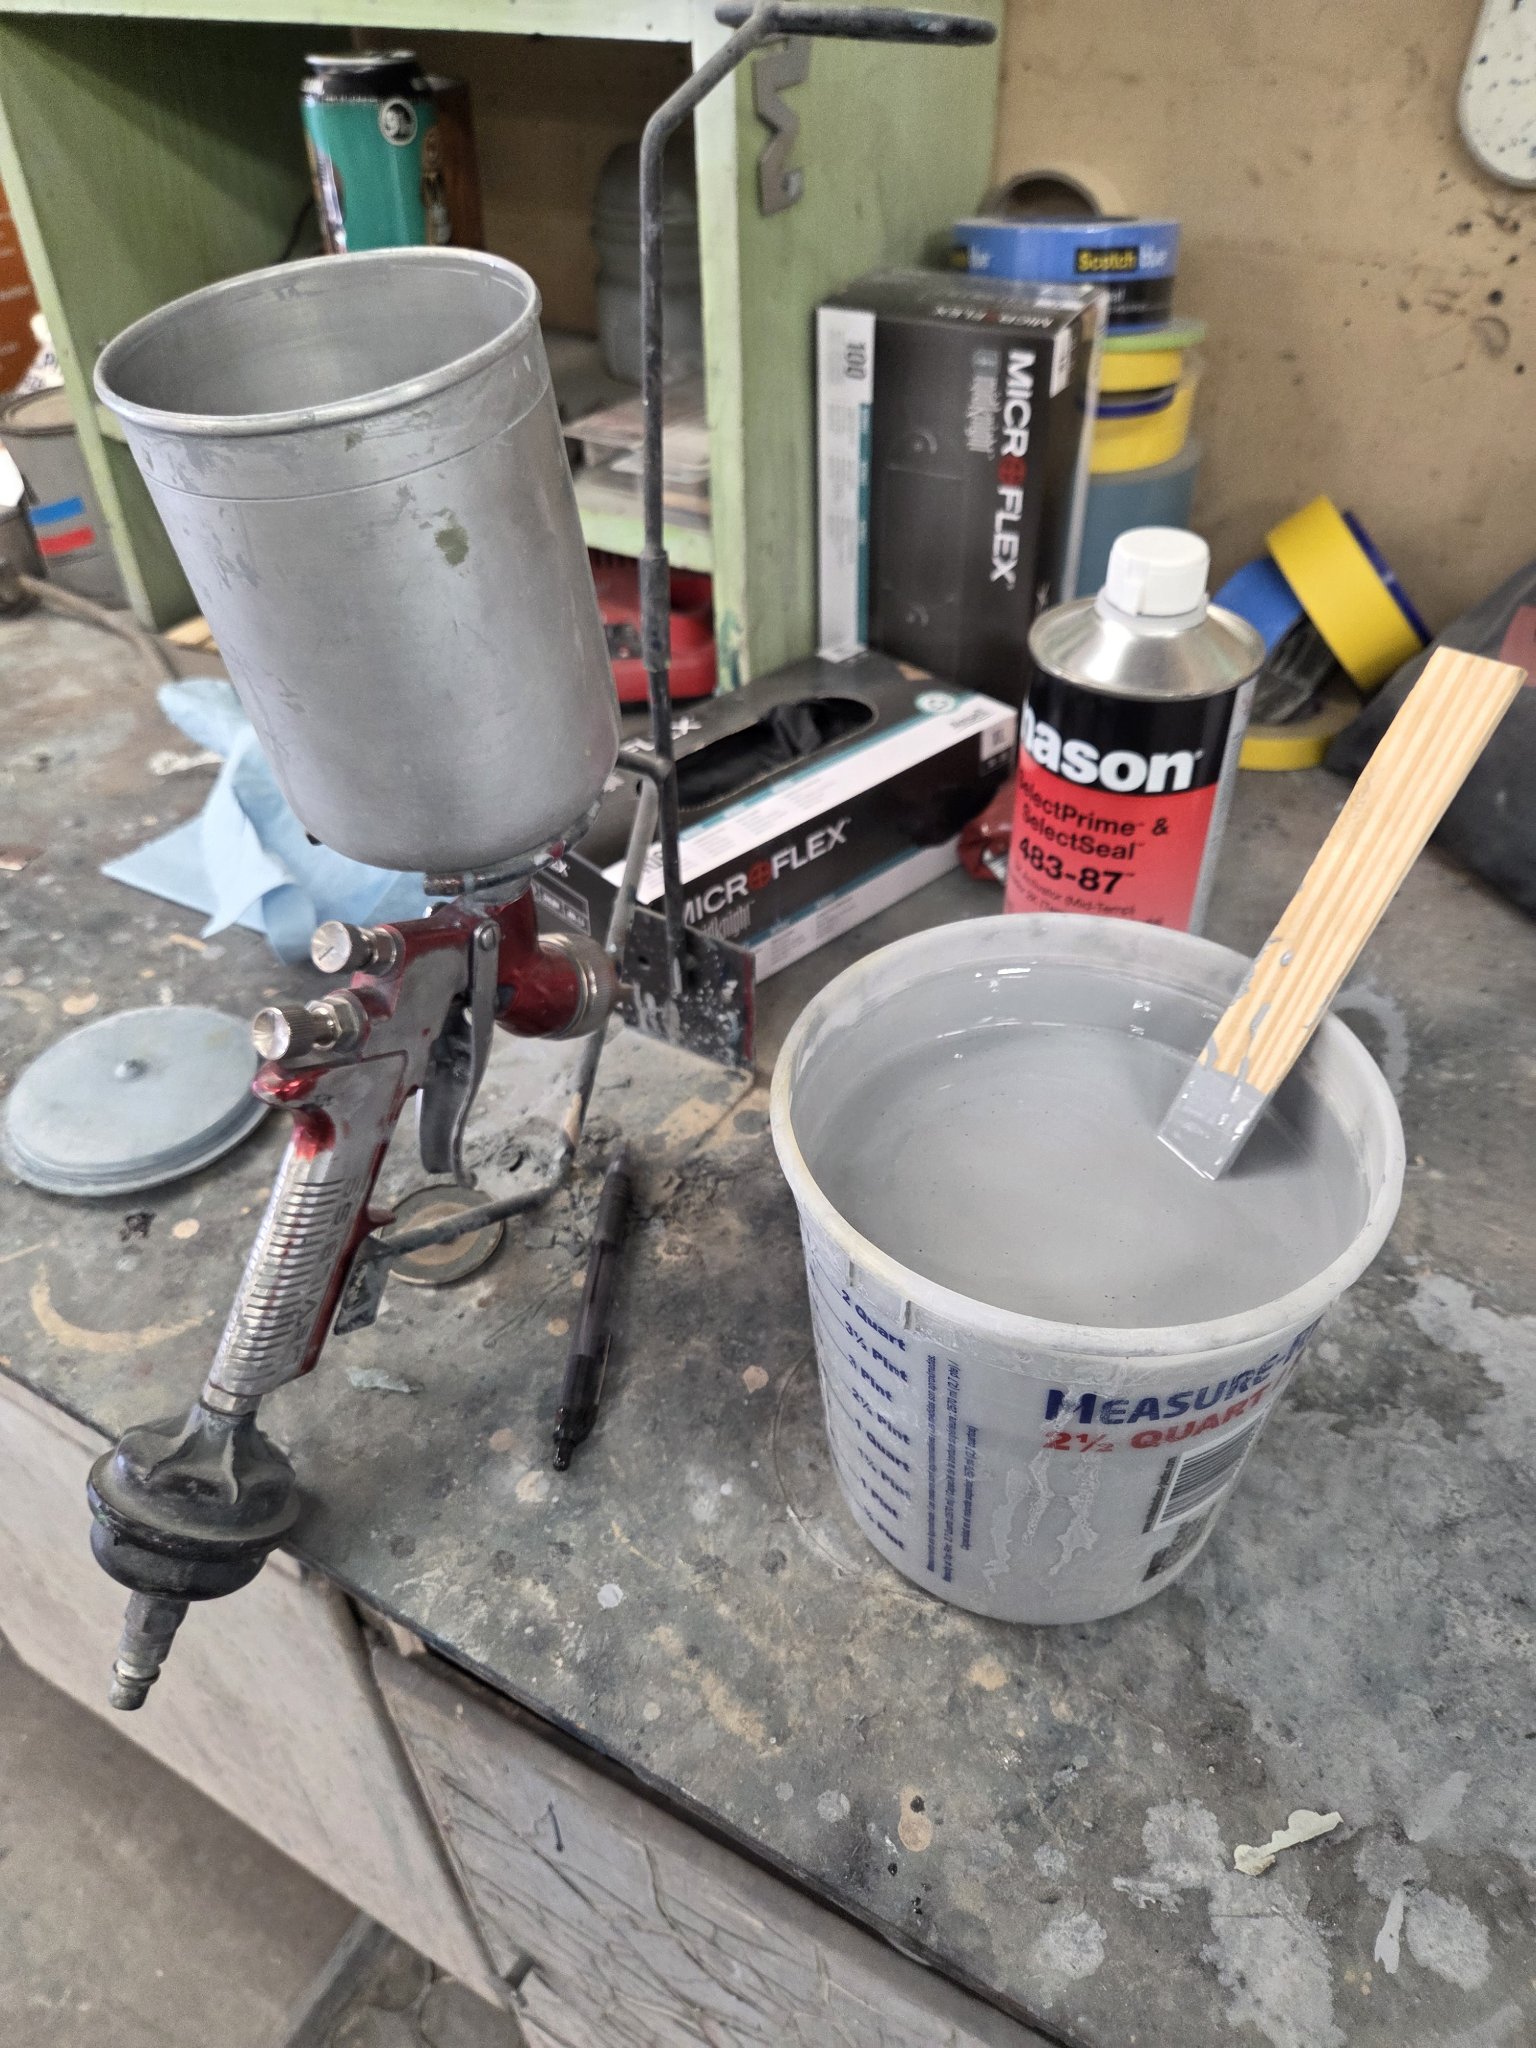
Primer mixed, gun readyMasked up, ready for primerMasked side view — primer nextFront fender, masked and readyMasked side — door and fender readyThe whole car, in primer — masked upSide view — door and quarter in primerFront fender, in primerDoor, in primerRear quarter, in primerRear view, in primerHood, off the car and in primerTrunk lid, in primer
The whole body in gray primer, fenders off — bodywork is underway.
Volkswagen Super Beetle Convertible
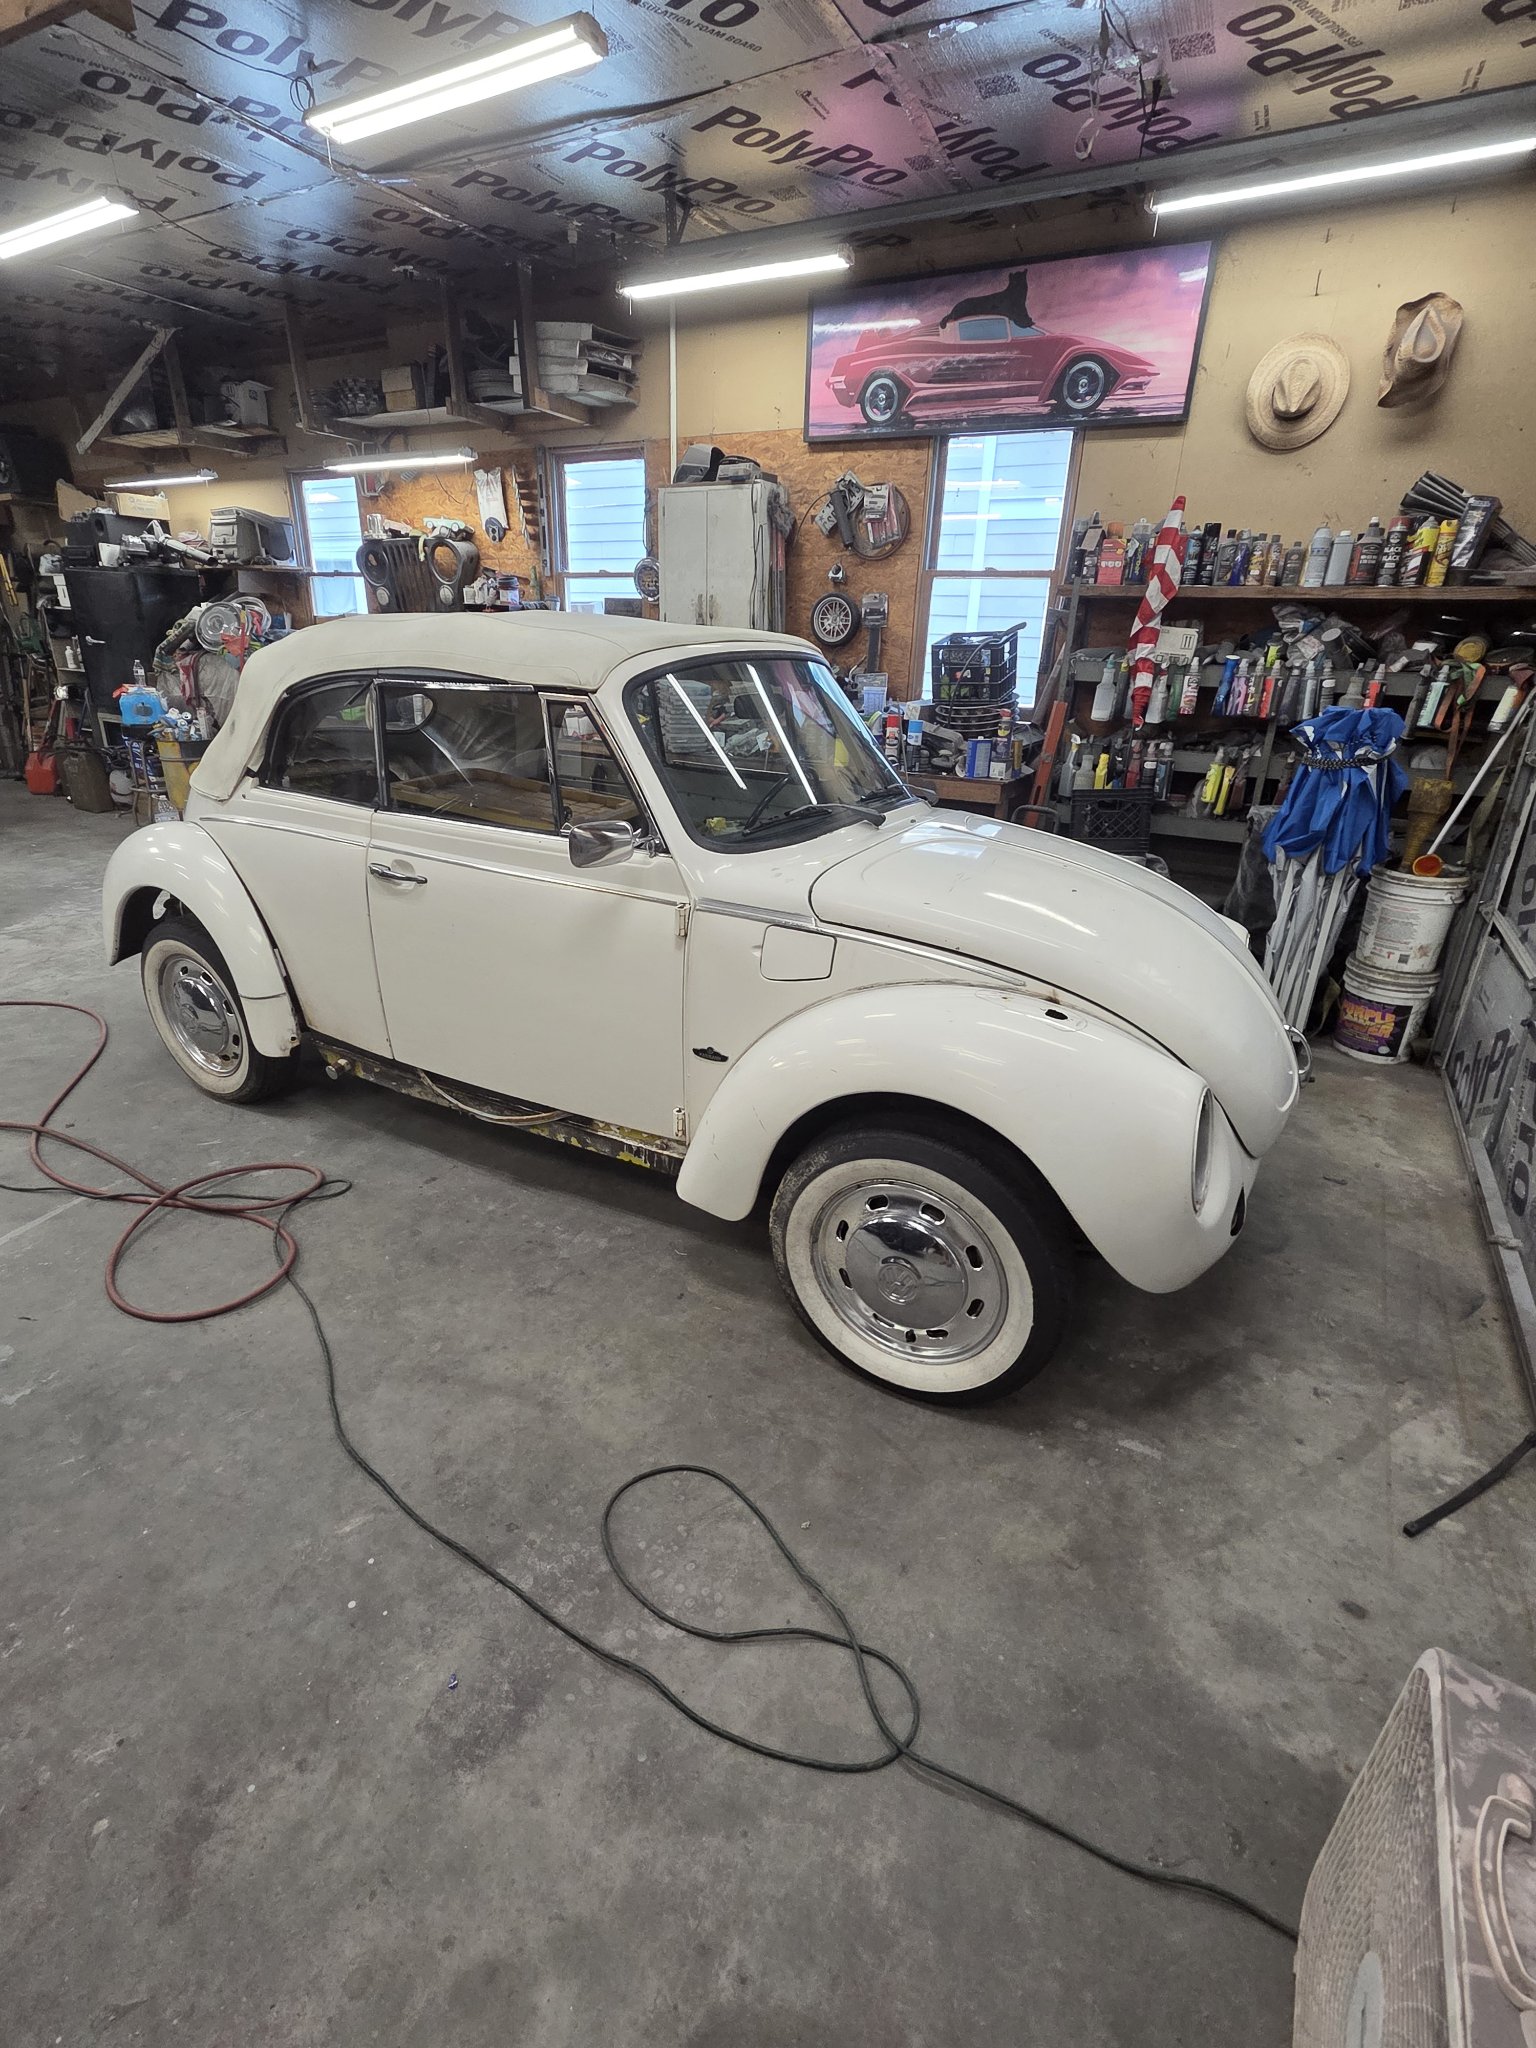
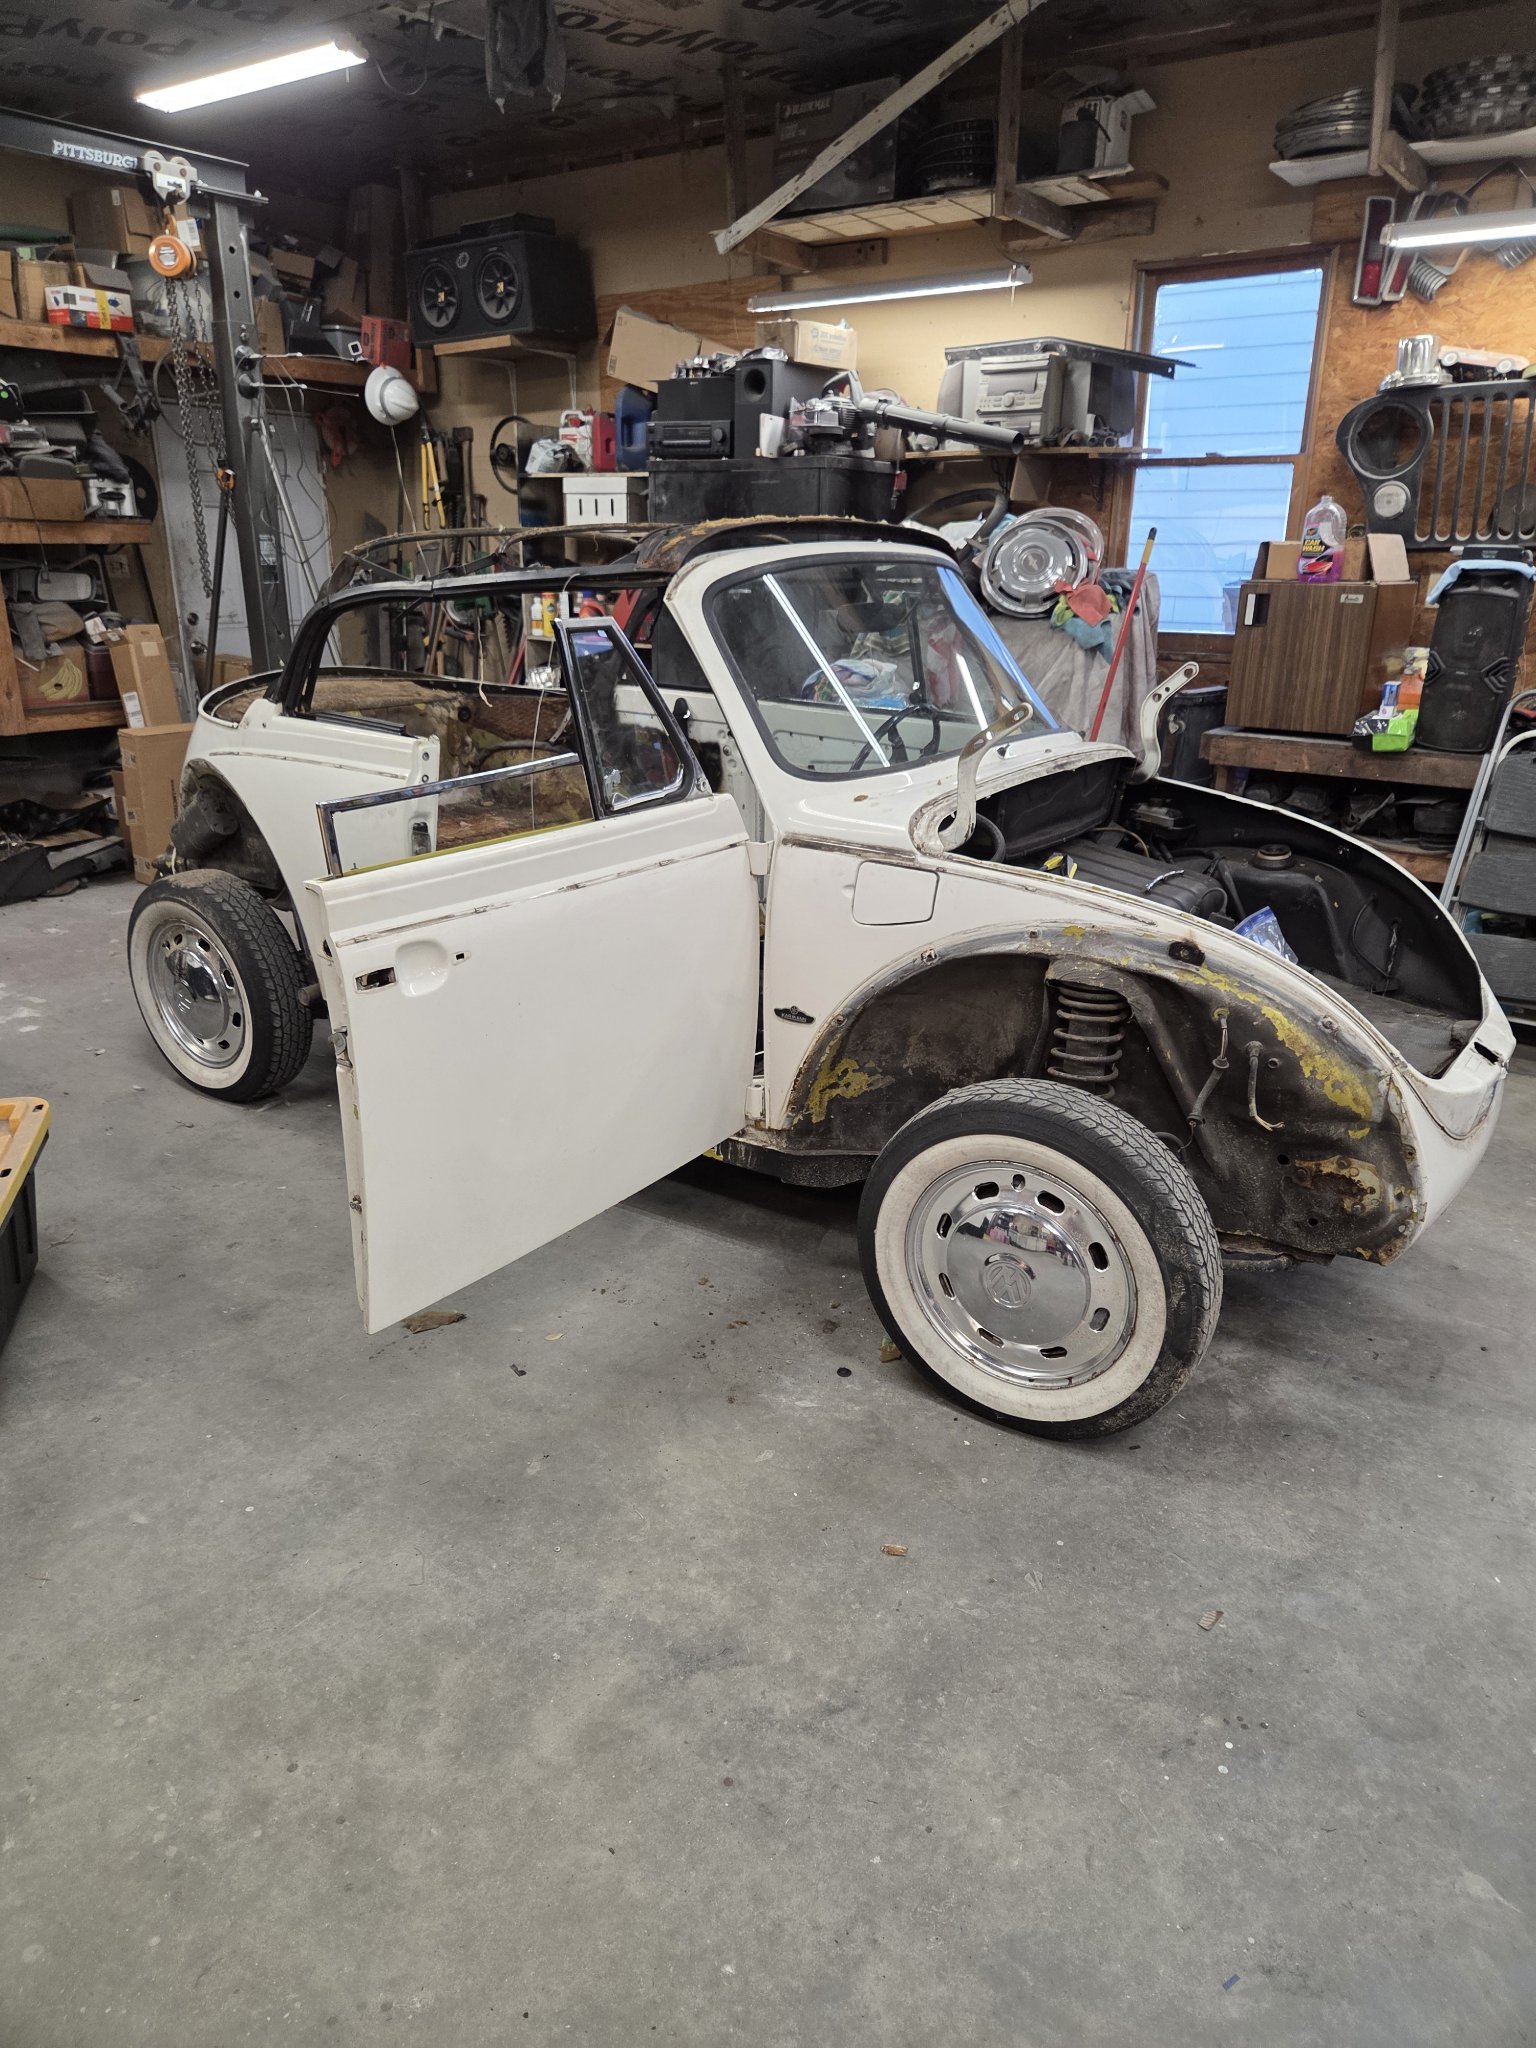
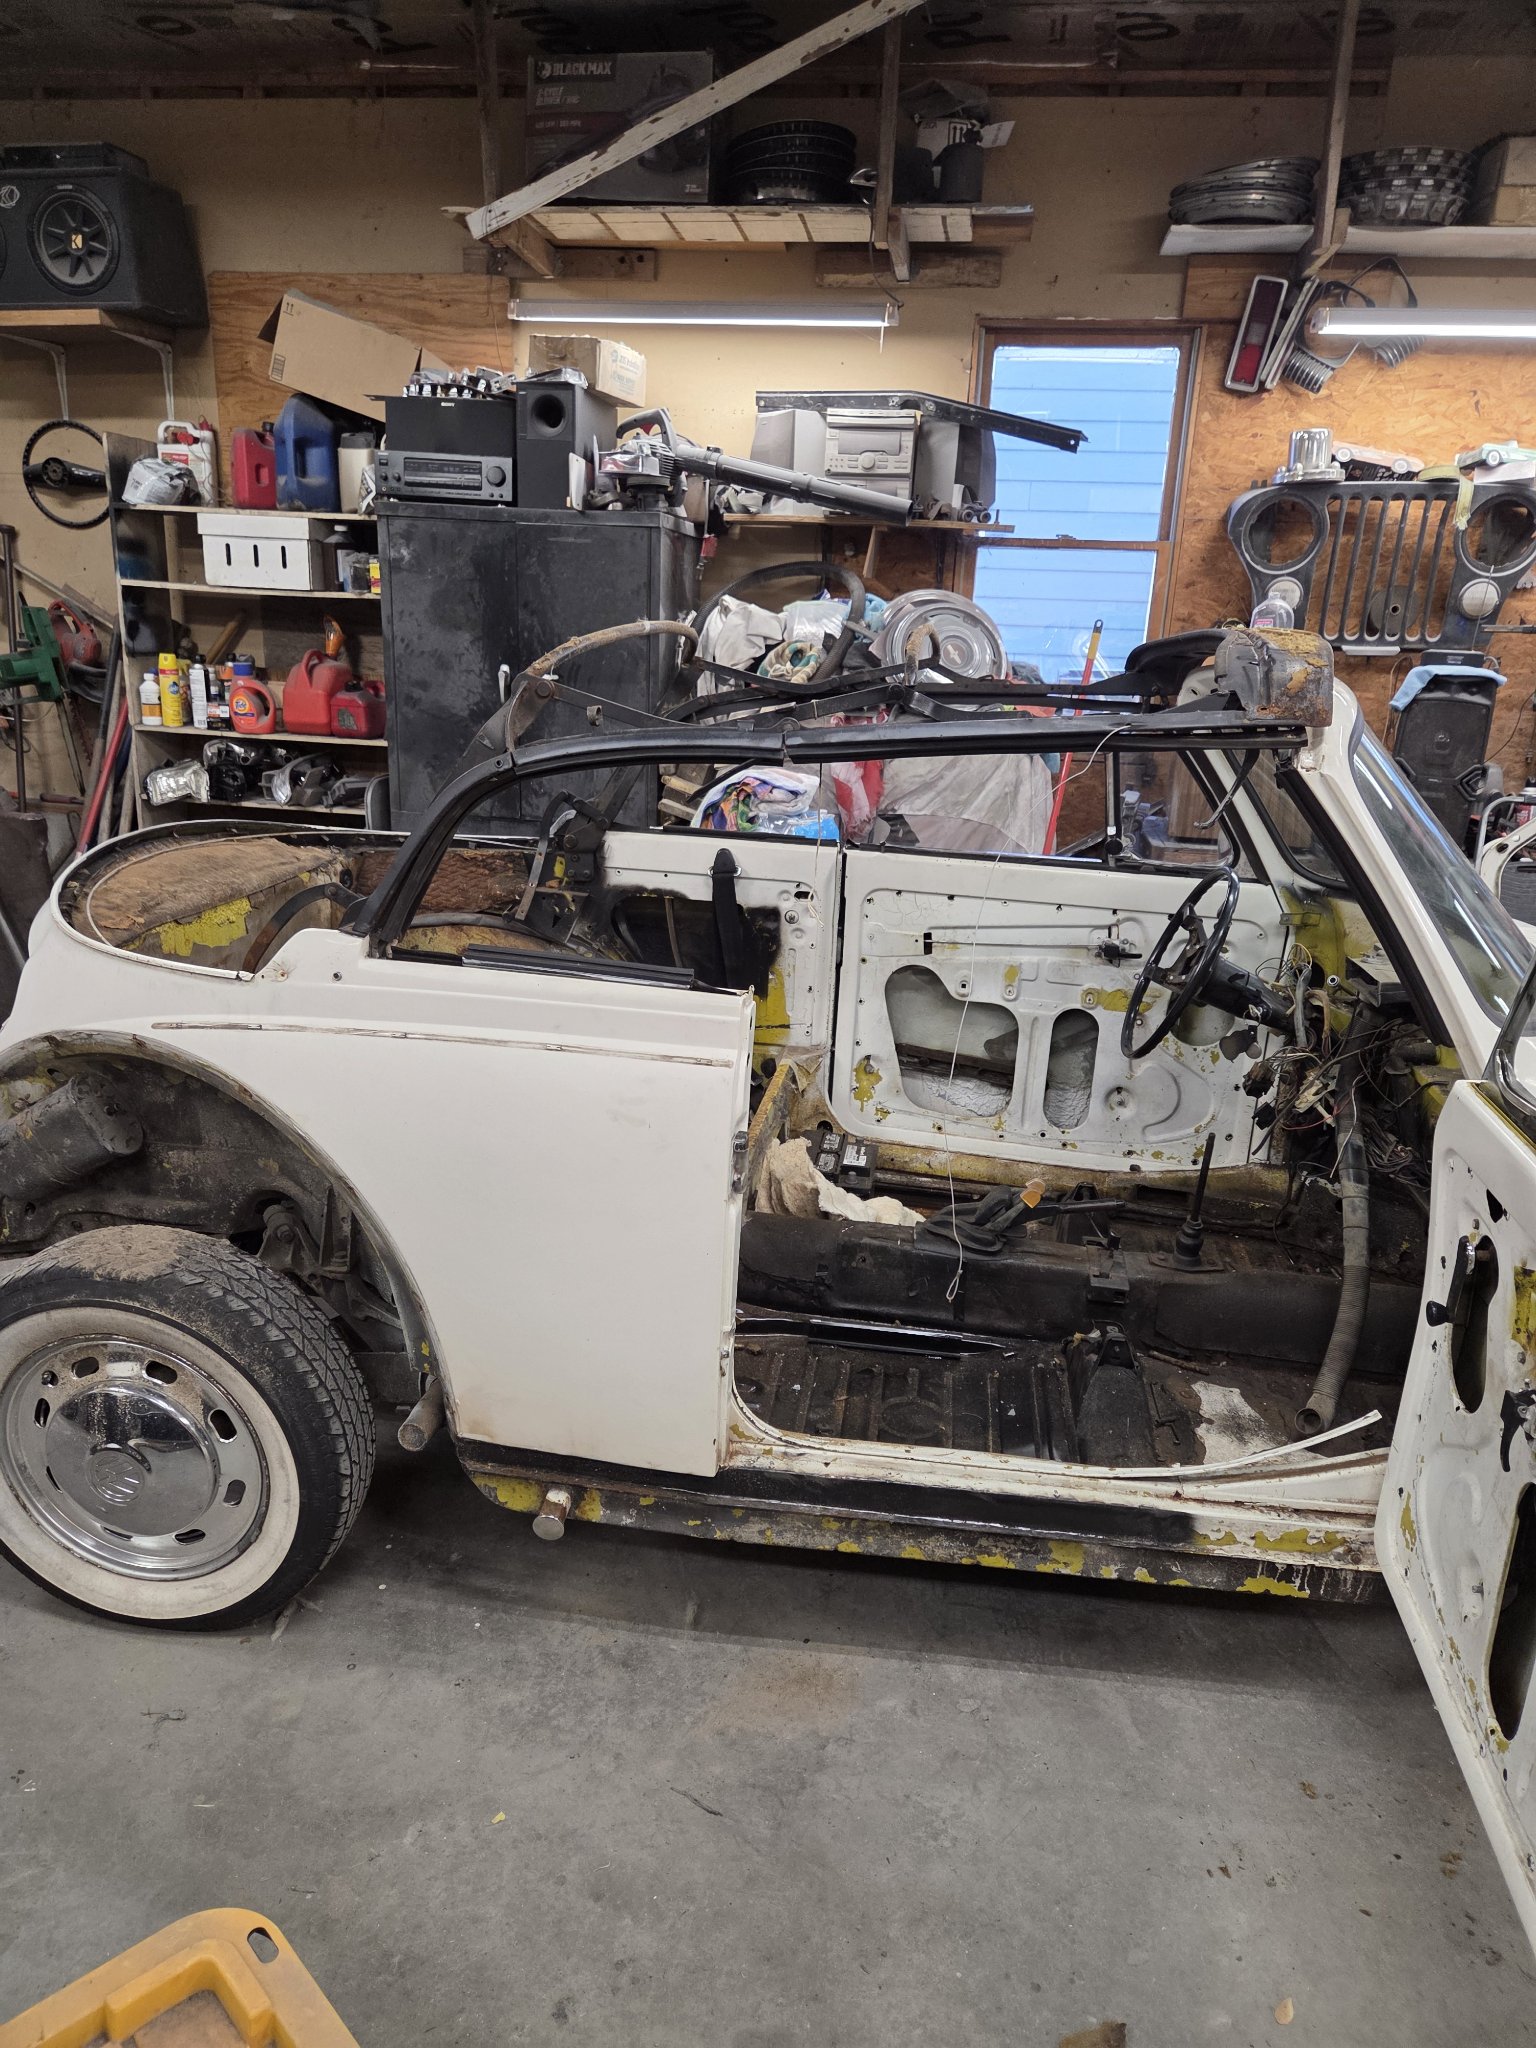
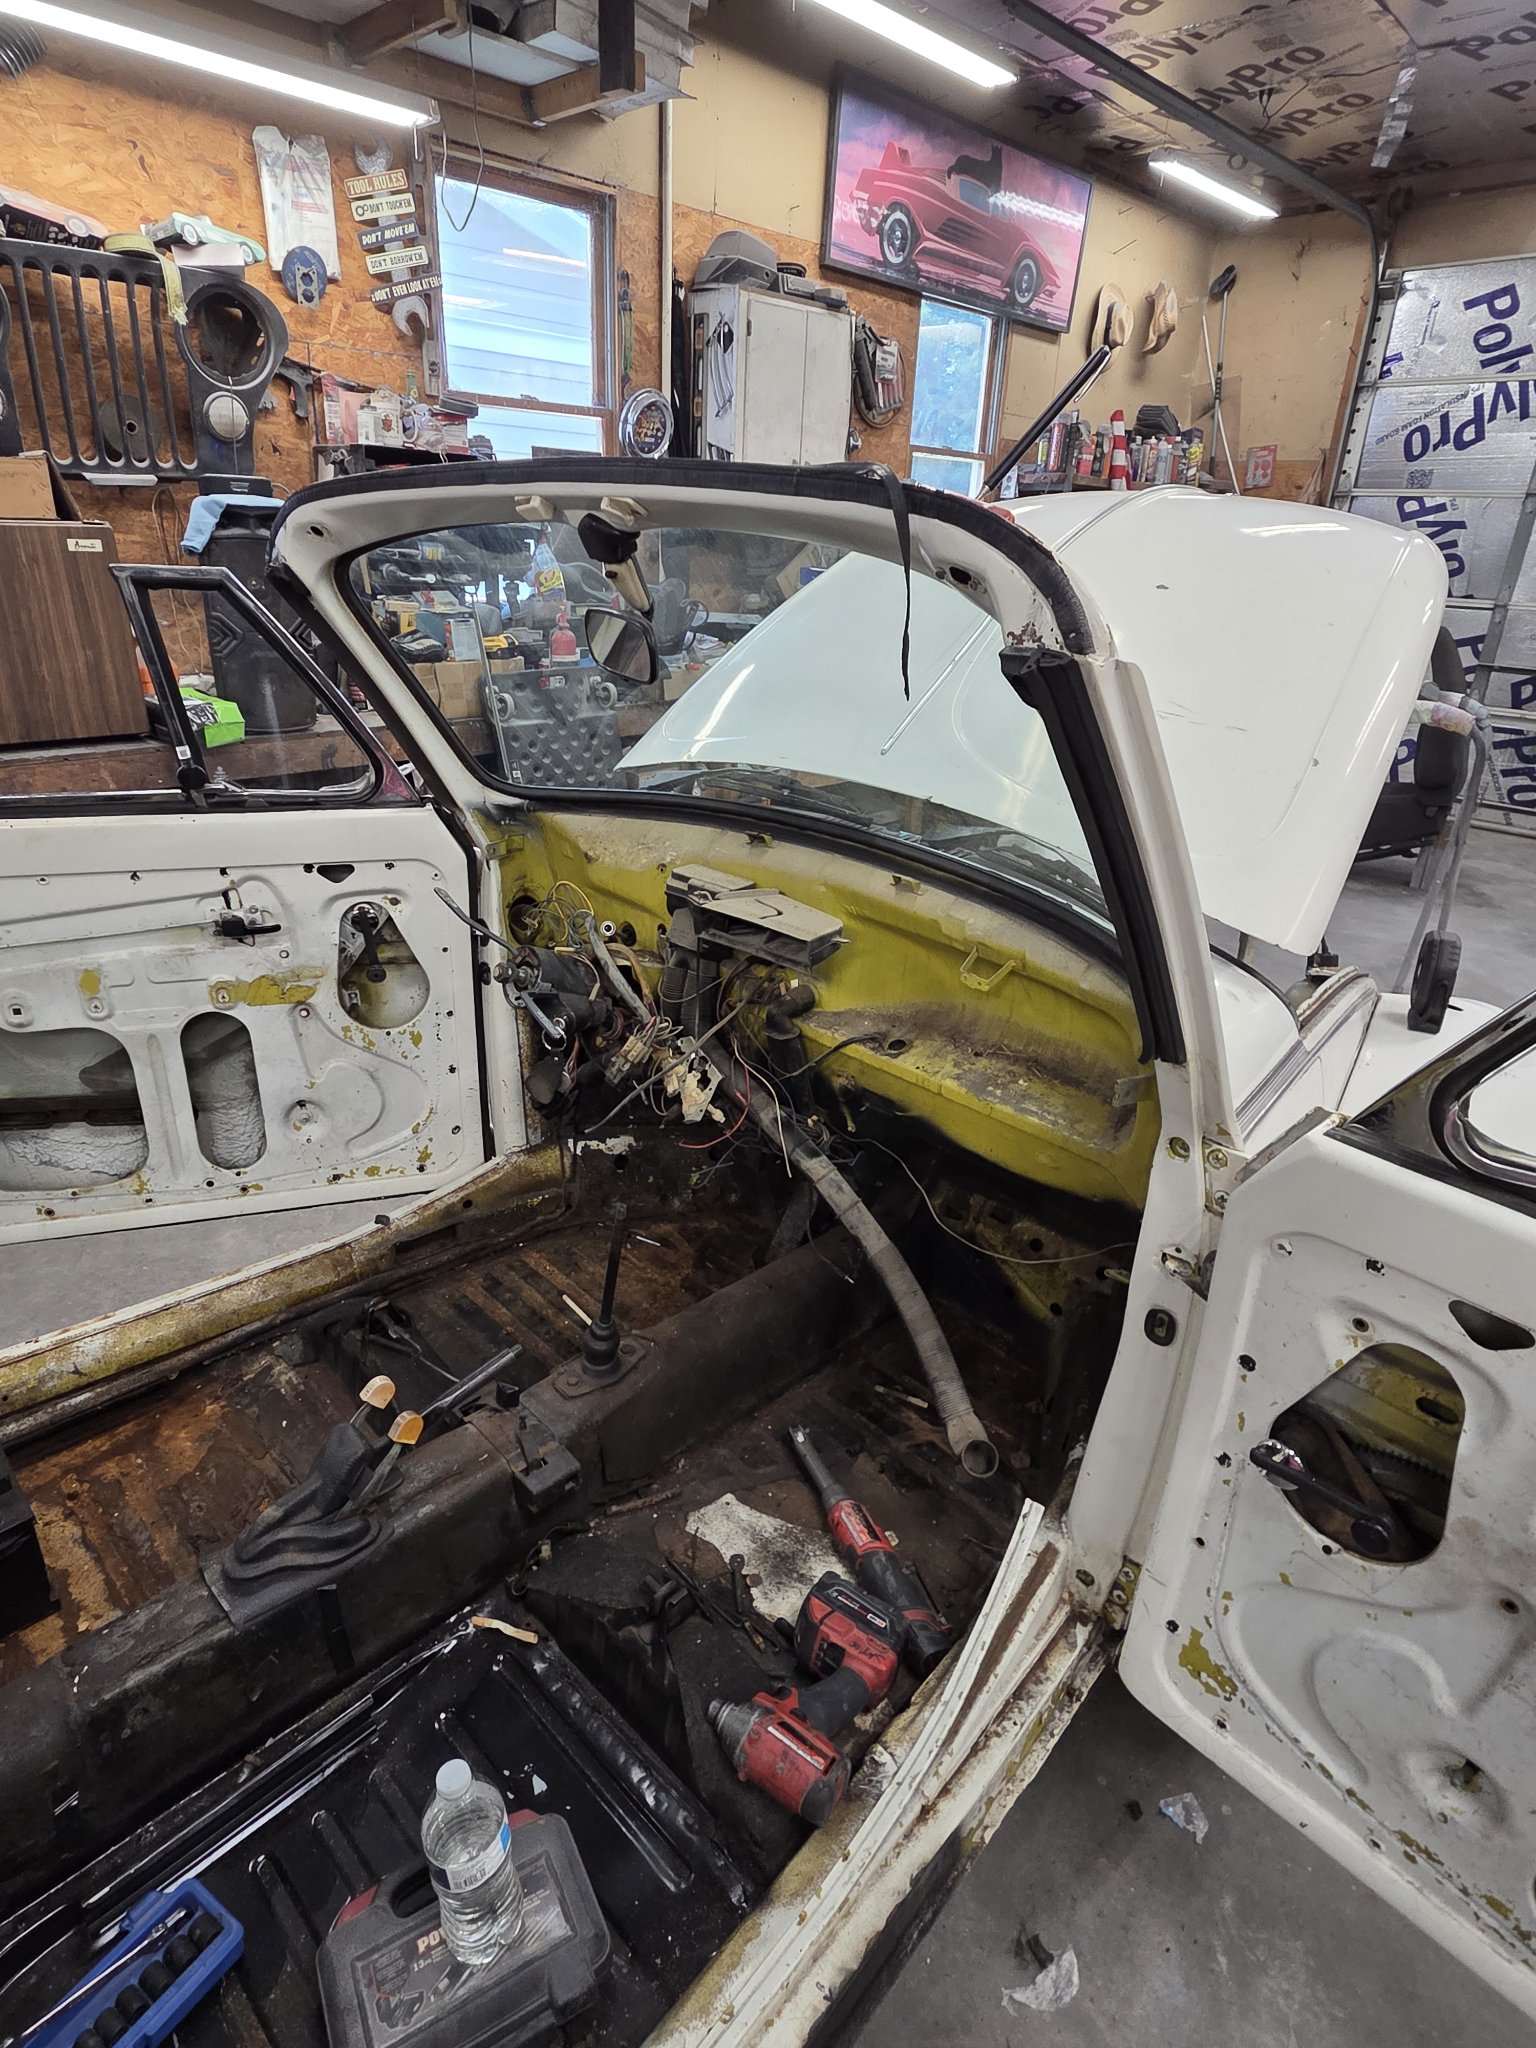
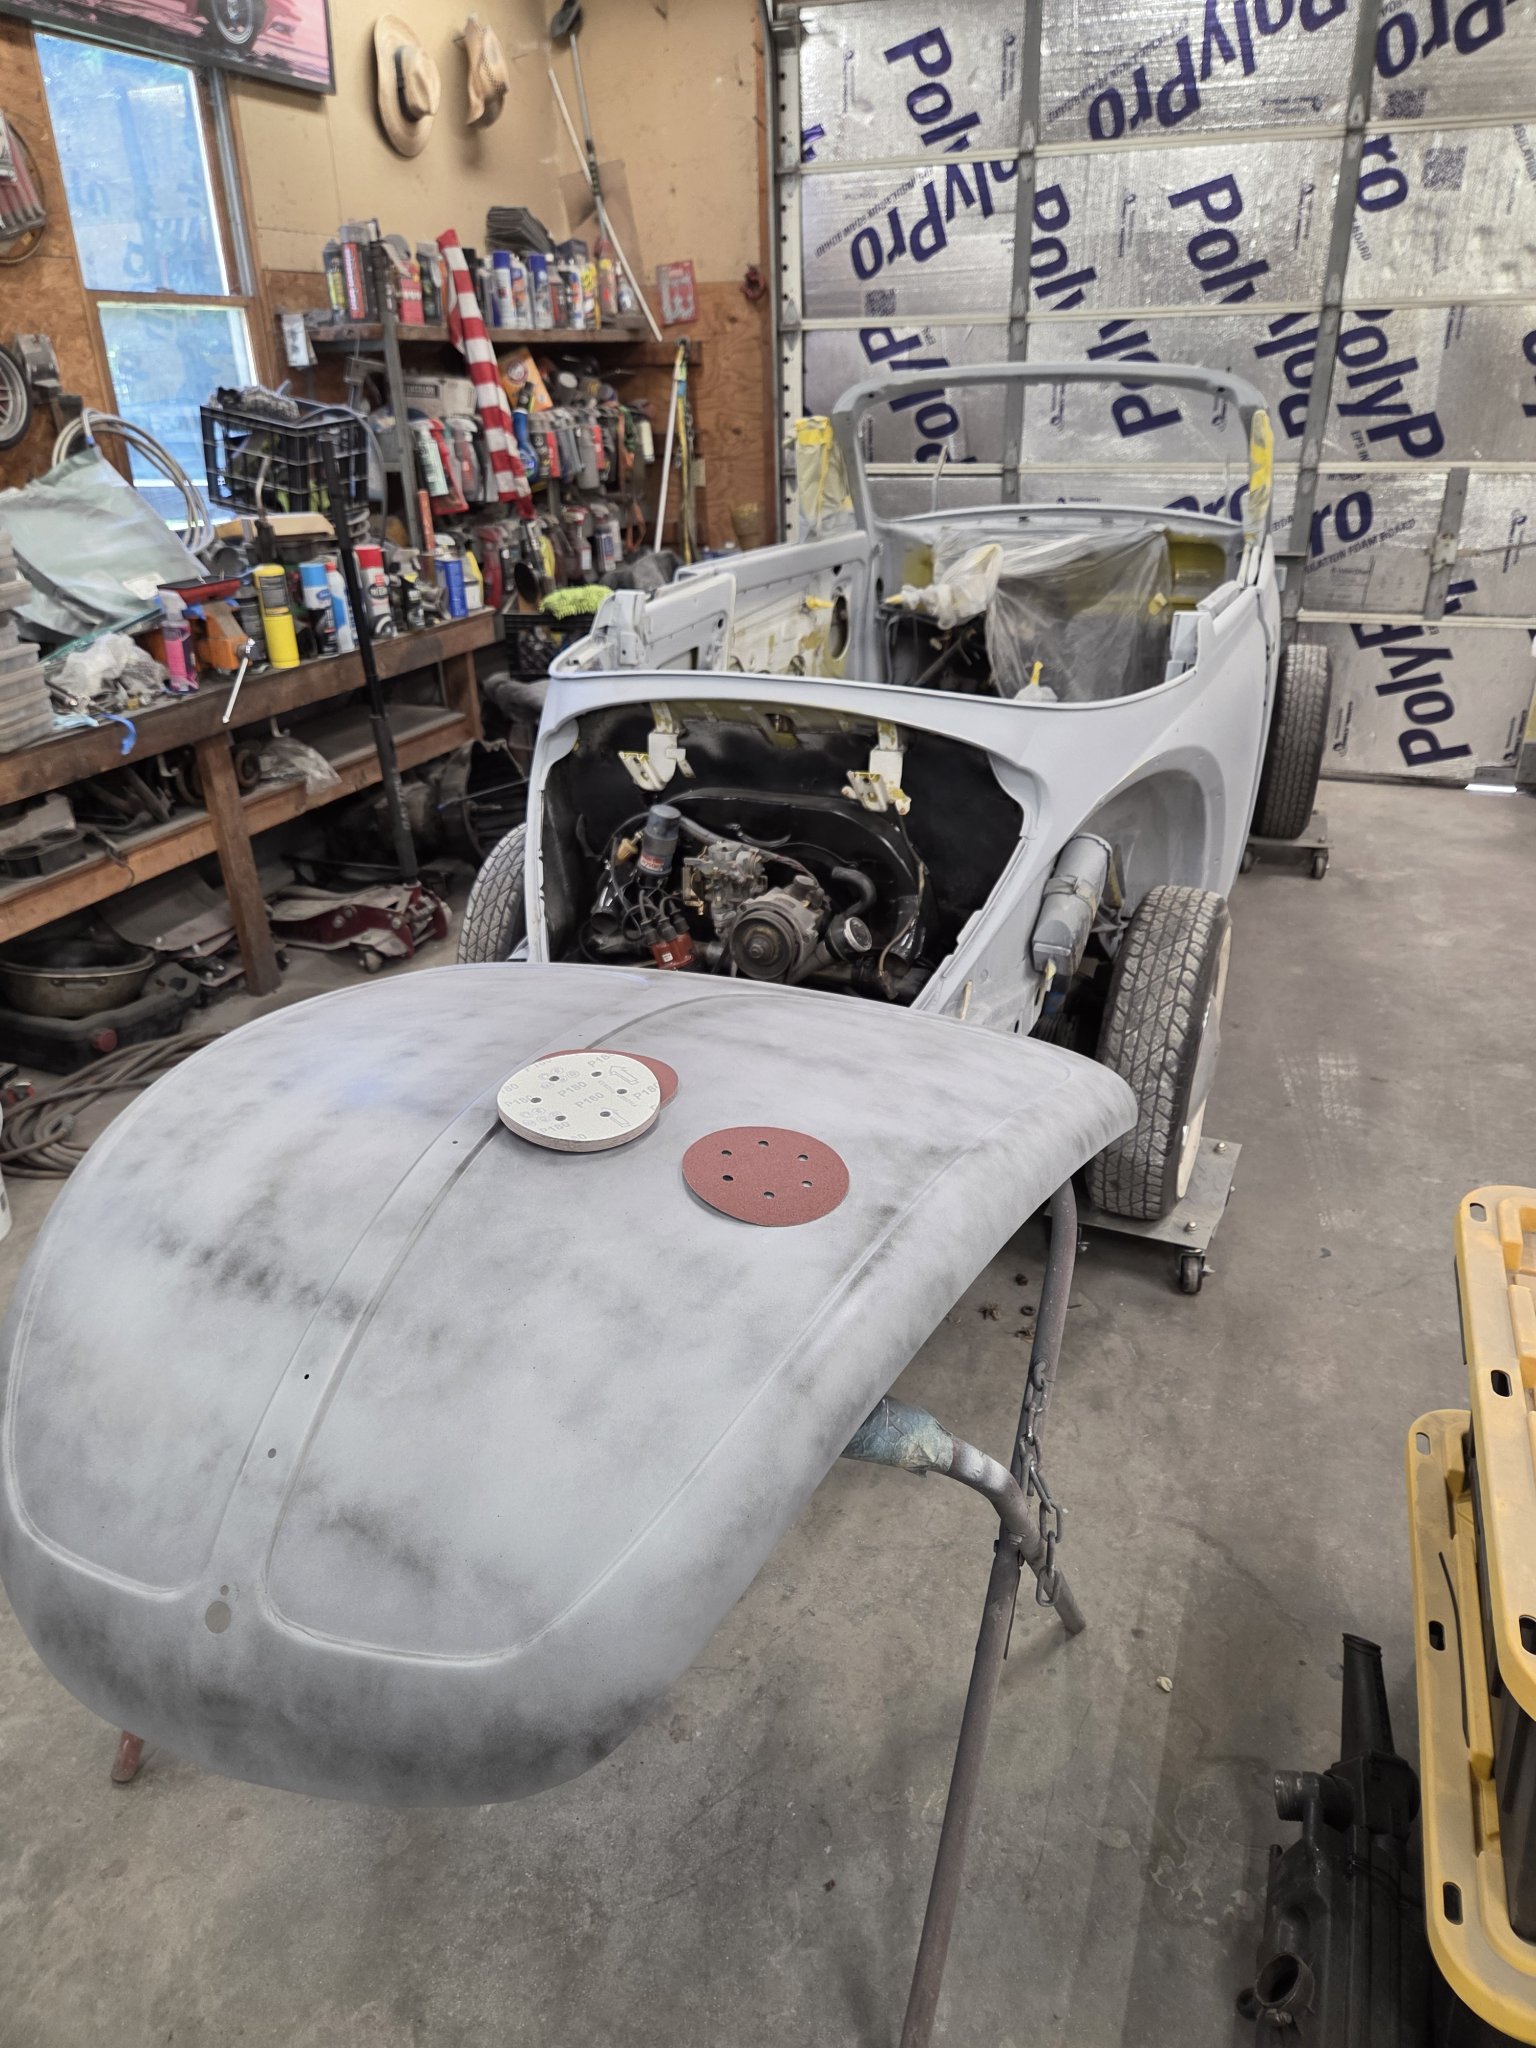
Running right alongside the Monte Carlo is a full restoration of a Volkswagen Super Beetle convertible. It came in white and tired, and the first job was taking it apart — fenders off, lights out, interior gutted down to the floor pans. From there it's being taken back panel by panel: stripped to bare metal where it counts, worked straight, and sealed in primer ahead of paint.
Same deal as the Monte Carlo: this is its journal. Teardown, stripping, bodywork, primer, paint, assembly — the newest photos go up as each stage lands.
StageBodywork & paint prep
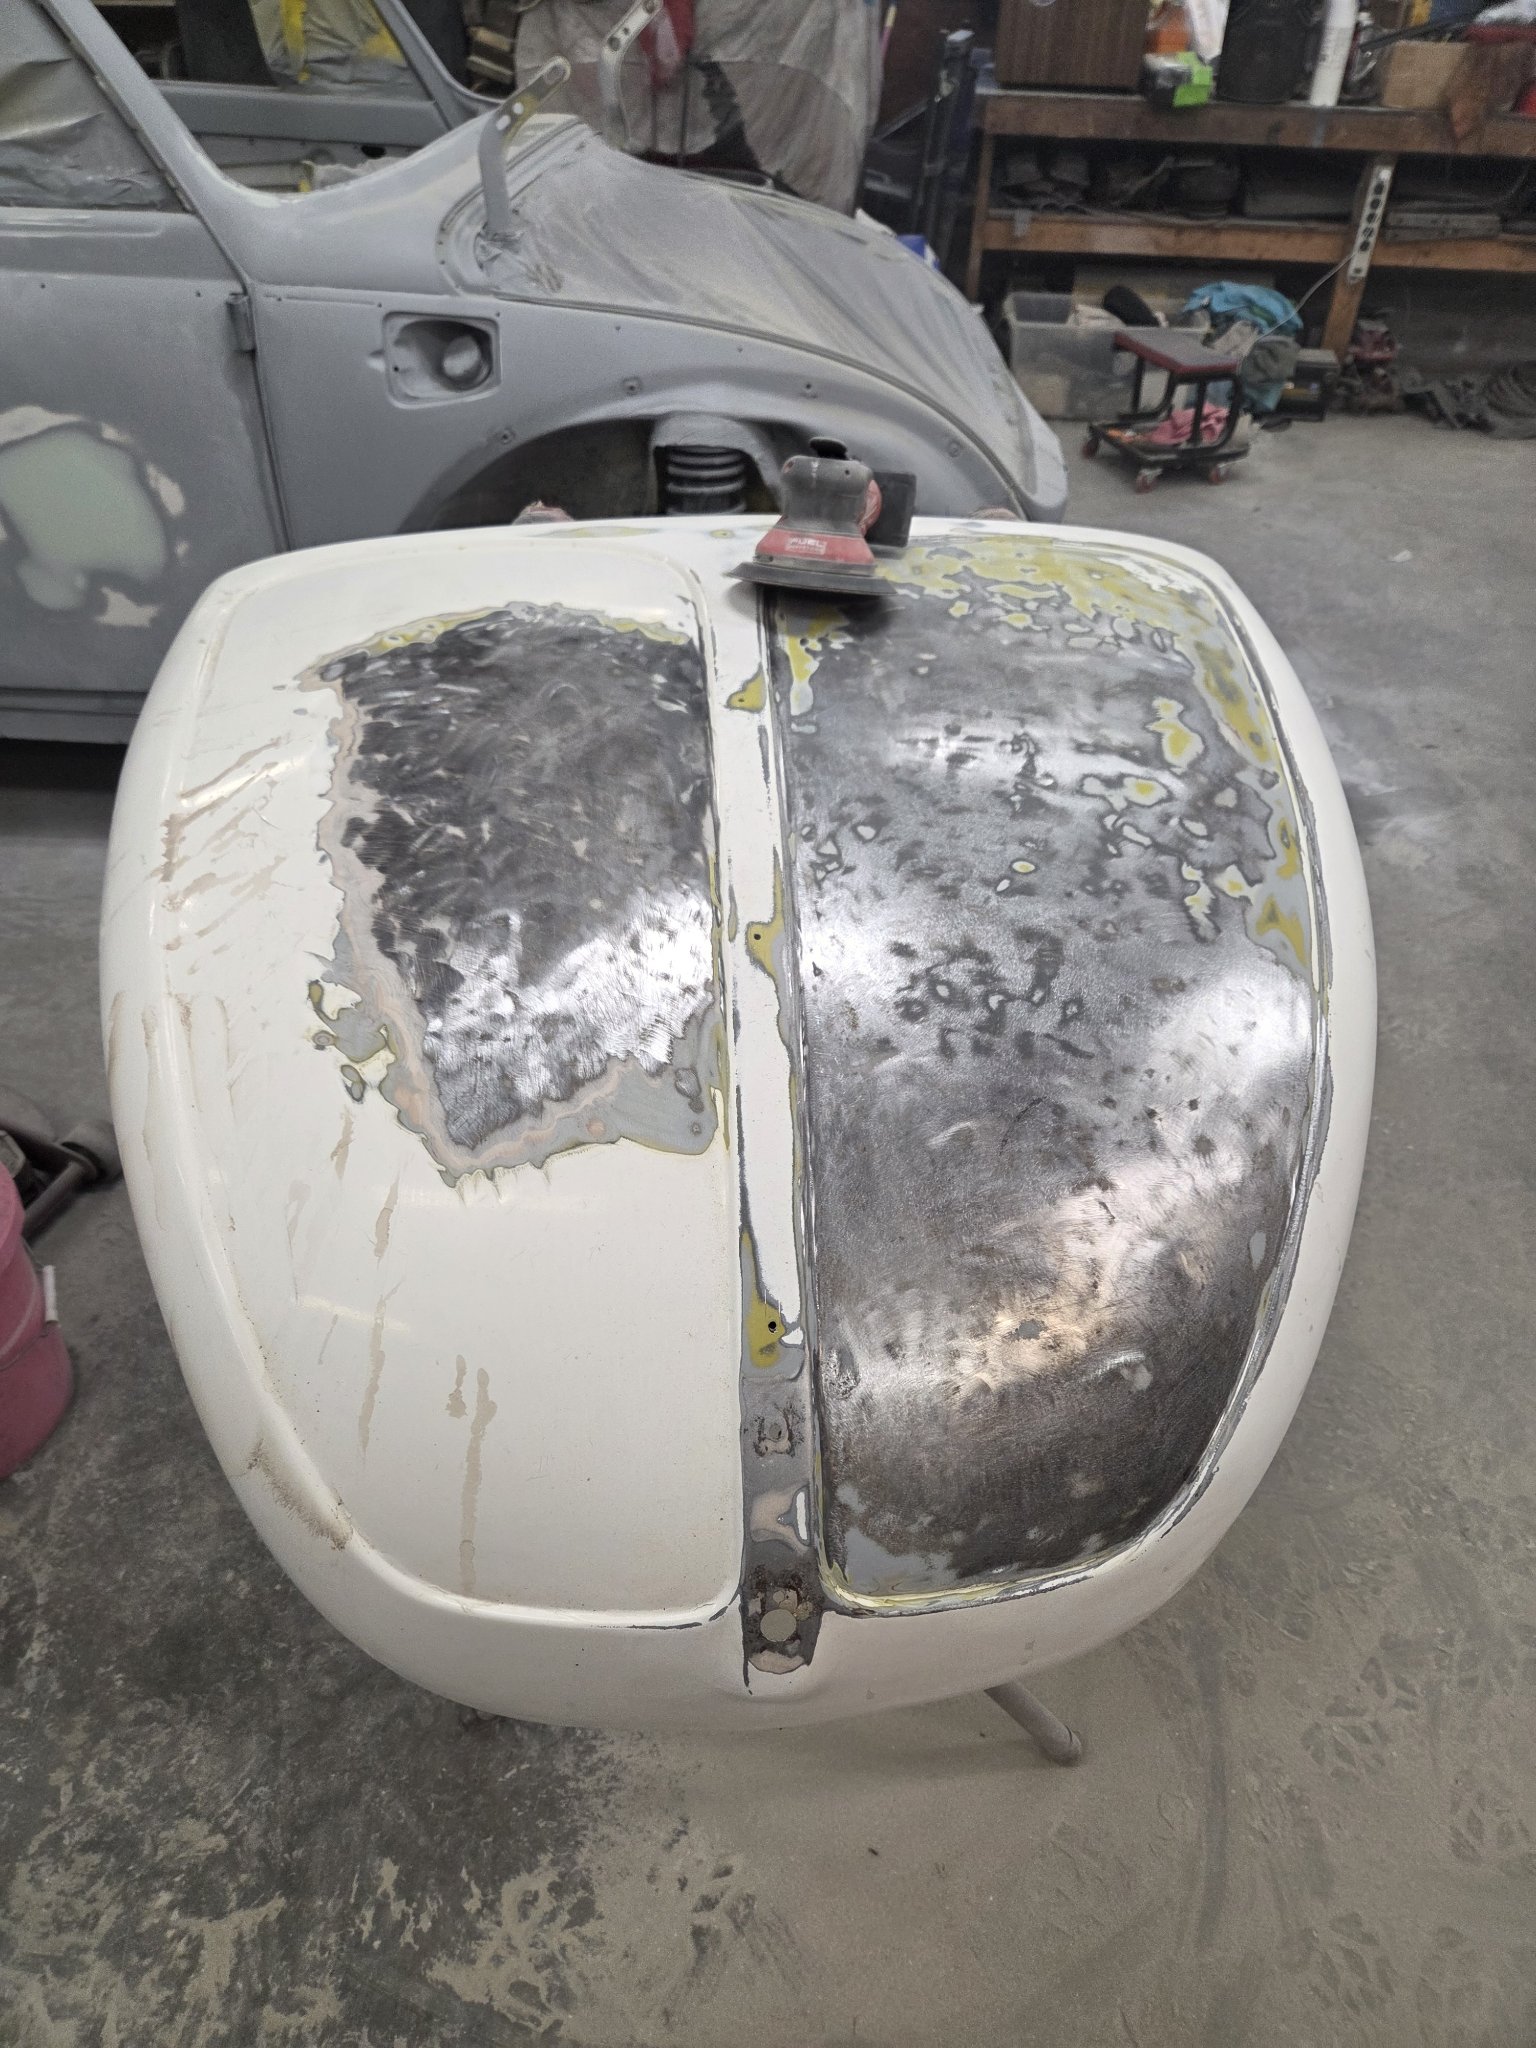
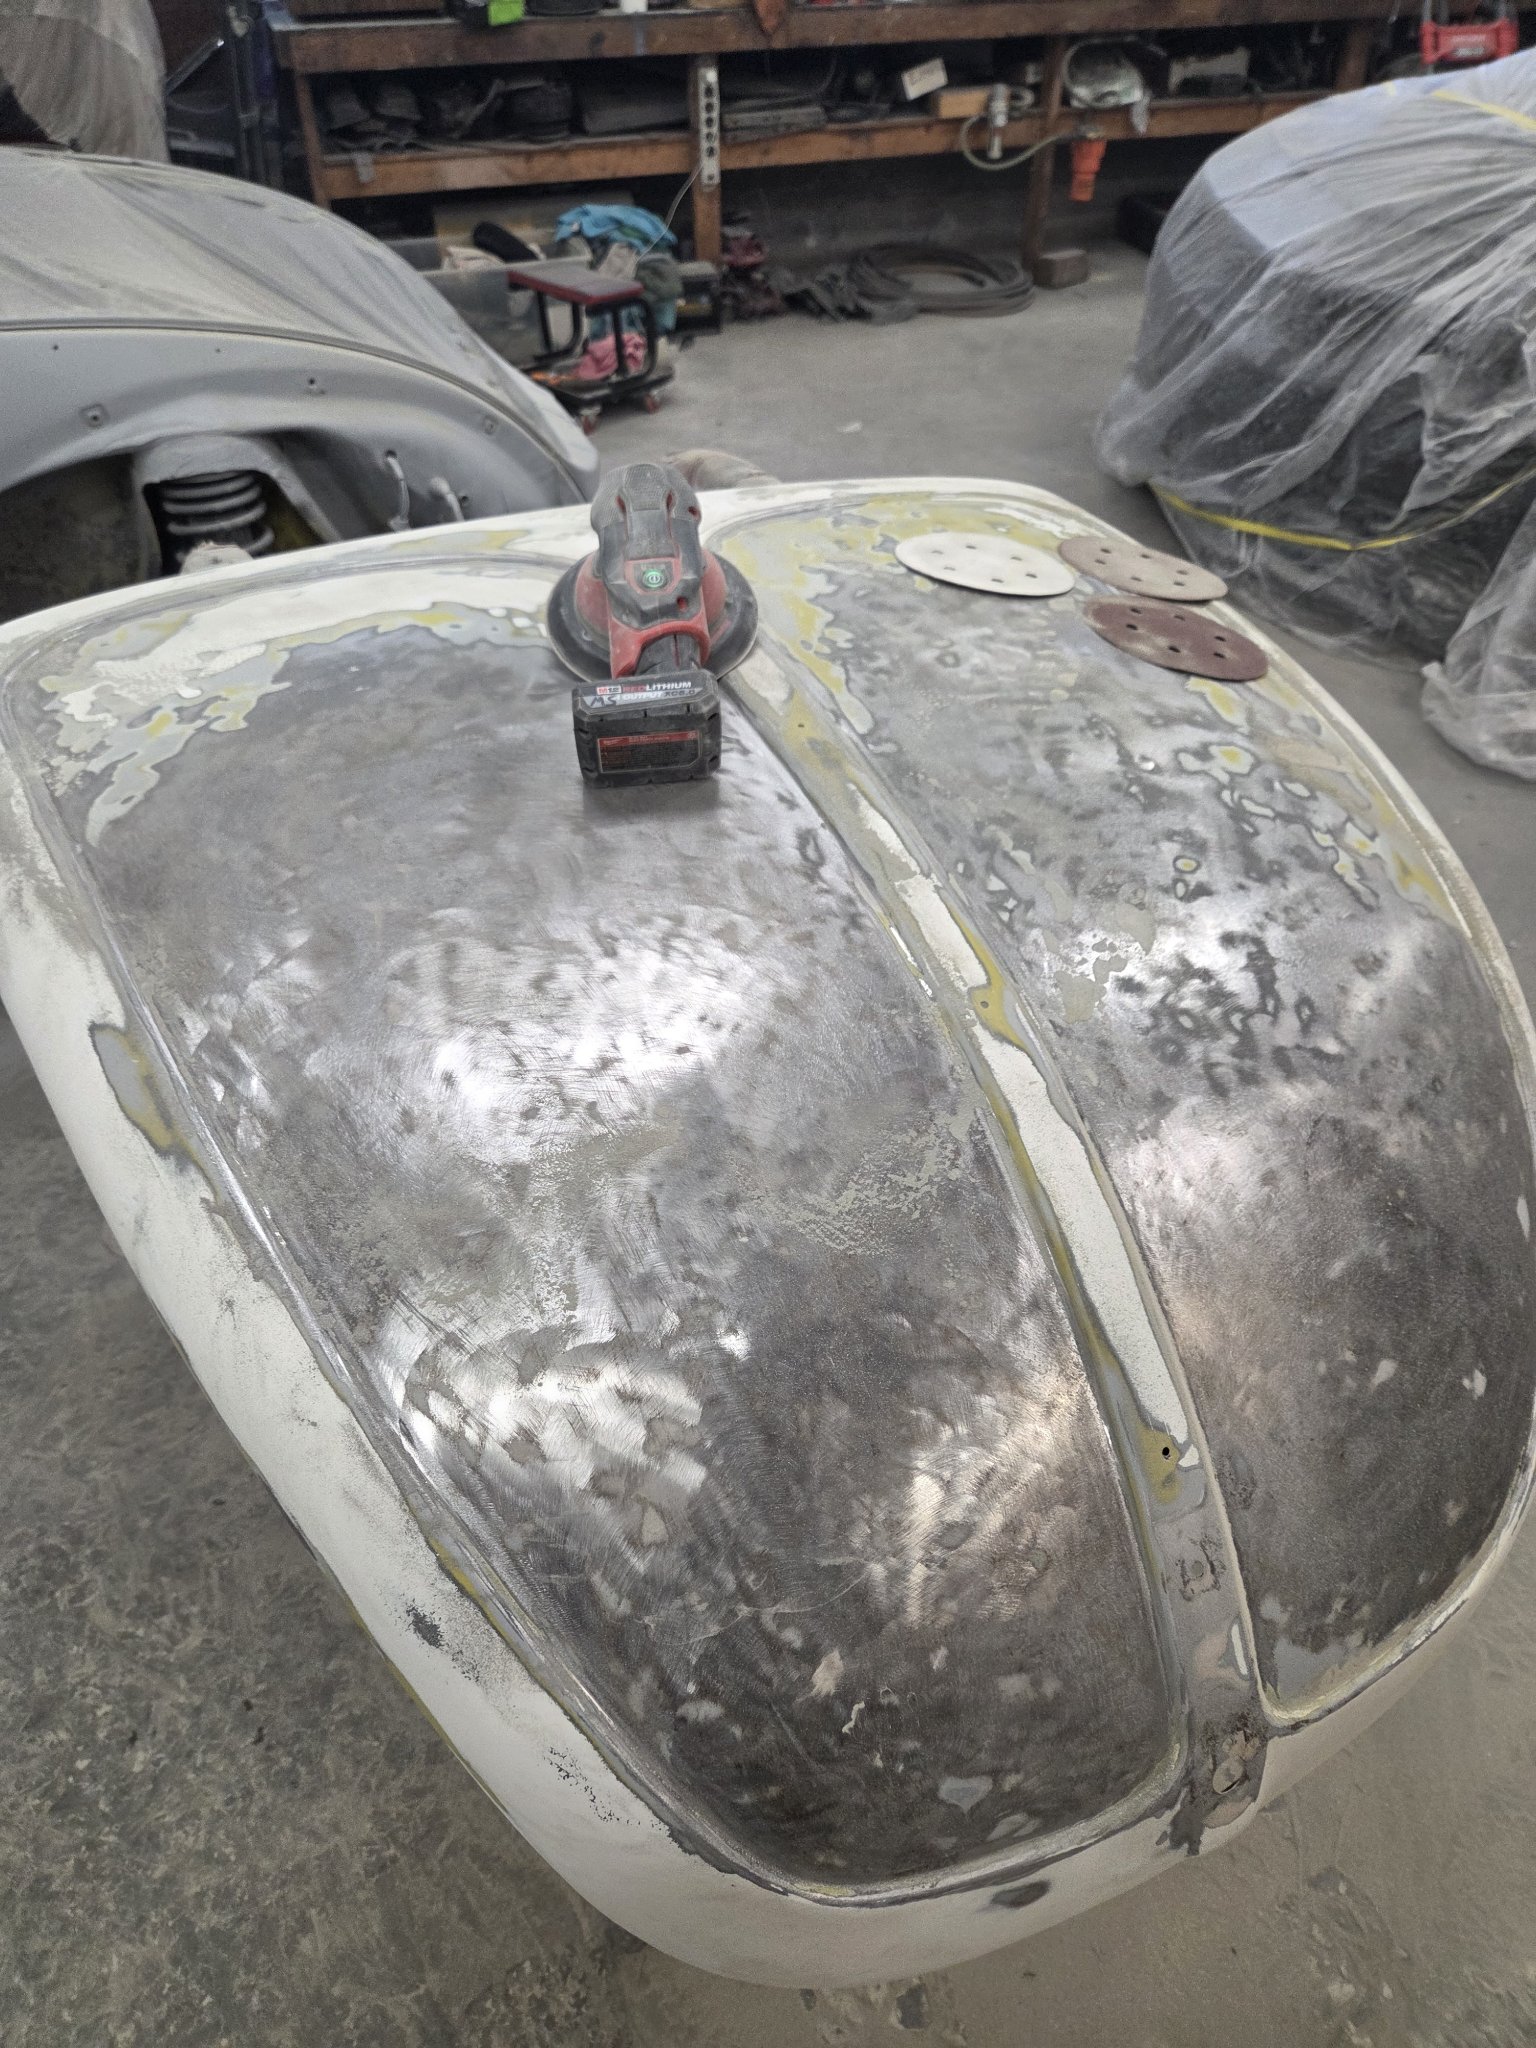
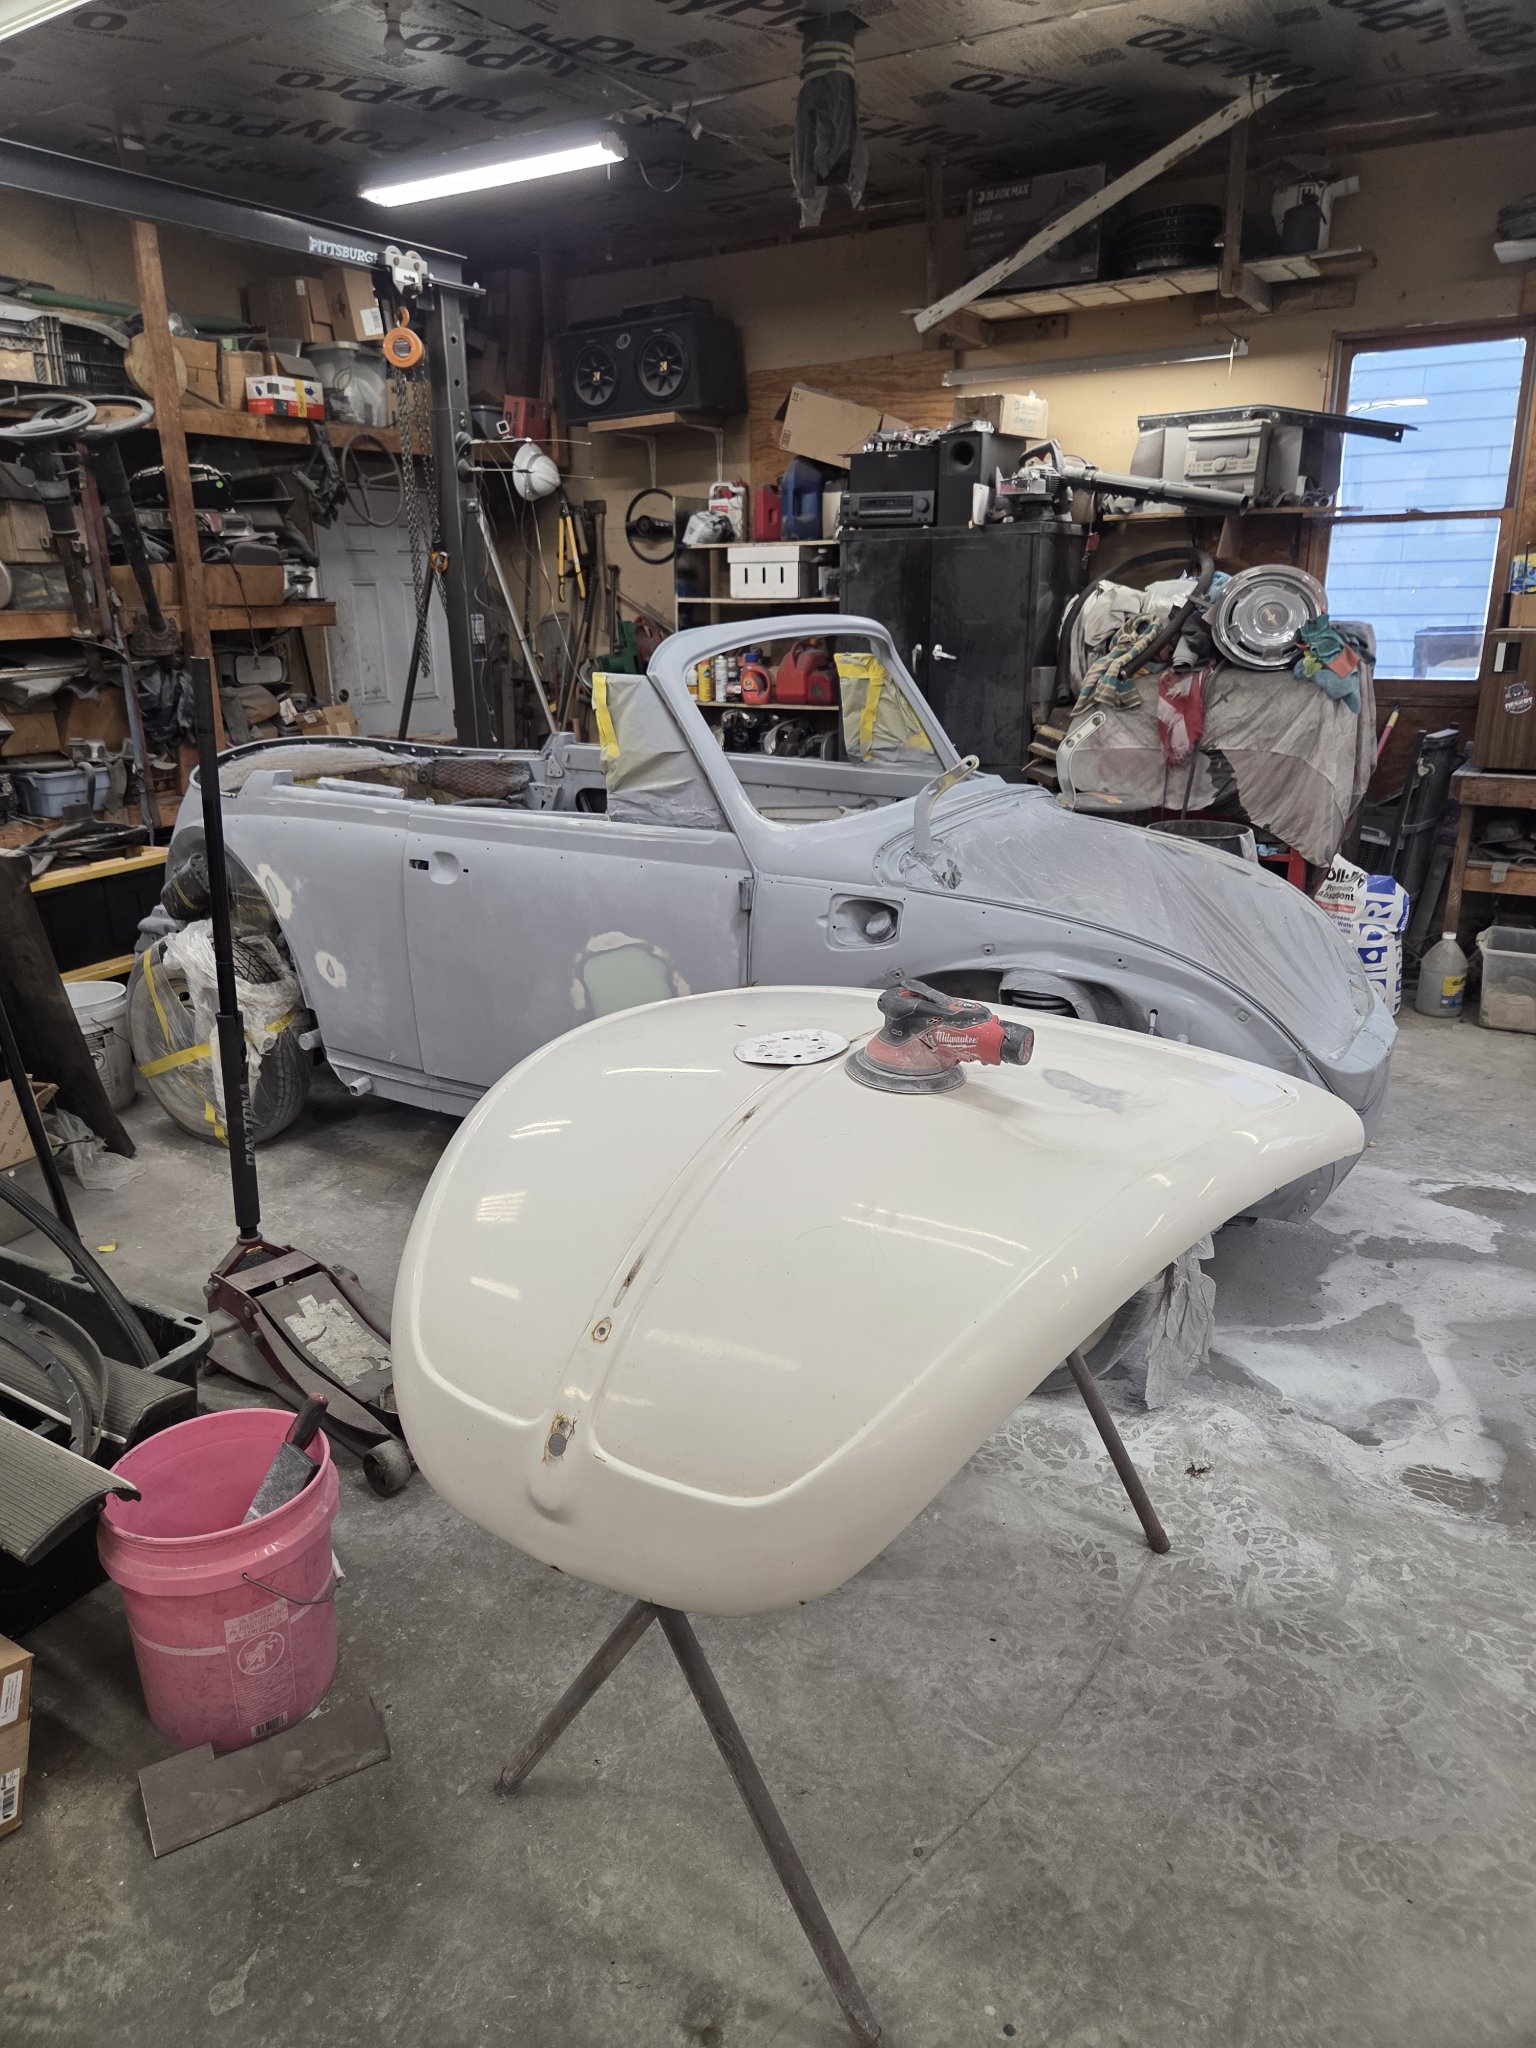
In progressHood stripped to bare metal · body in primer · first fender in paint
UpdatedNovember 2026 — primer photos added Nov 4, 2026
01 As it came in
Top up, whitewalls on — how it rolled in
02 Teardown
Door open, front fender offGutted to the floor pansDash out, wiring exposed, pans showing their age
03 Stripping & prep
The hood, coming down to bare metalNearly there — bare metal across the hood
04 Body in primer
Hood on the stand, body in primer behindFrom the back — engine out in the open
05 Paint starting
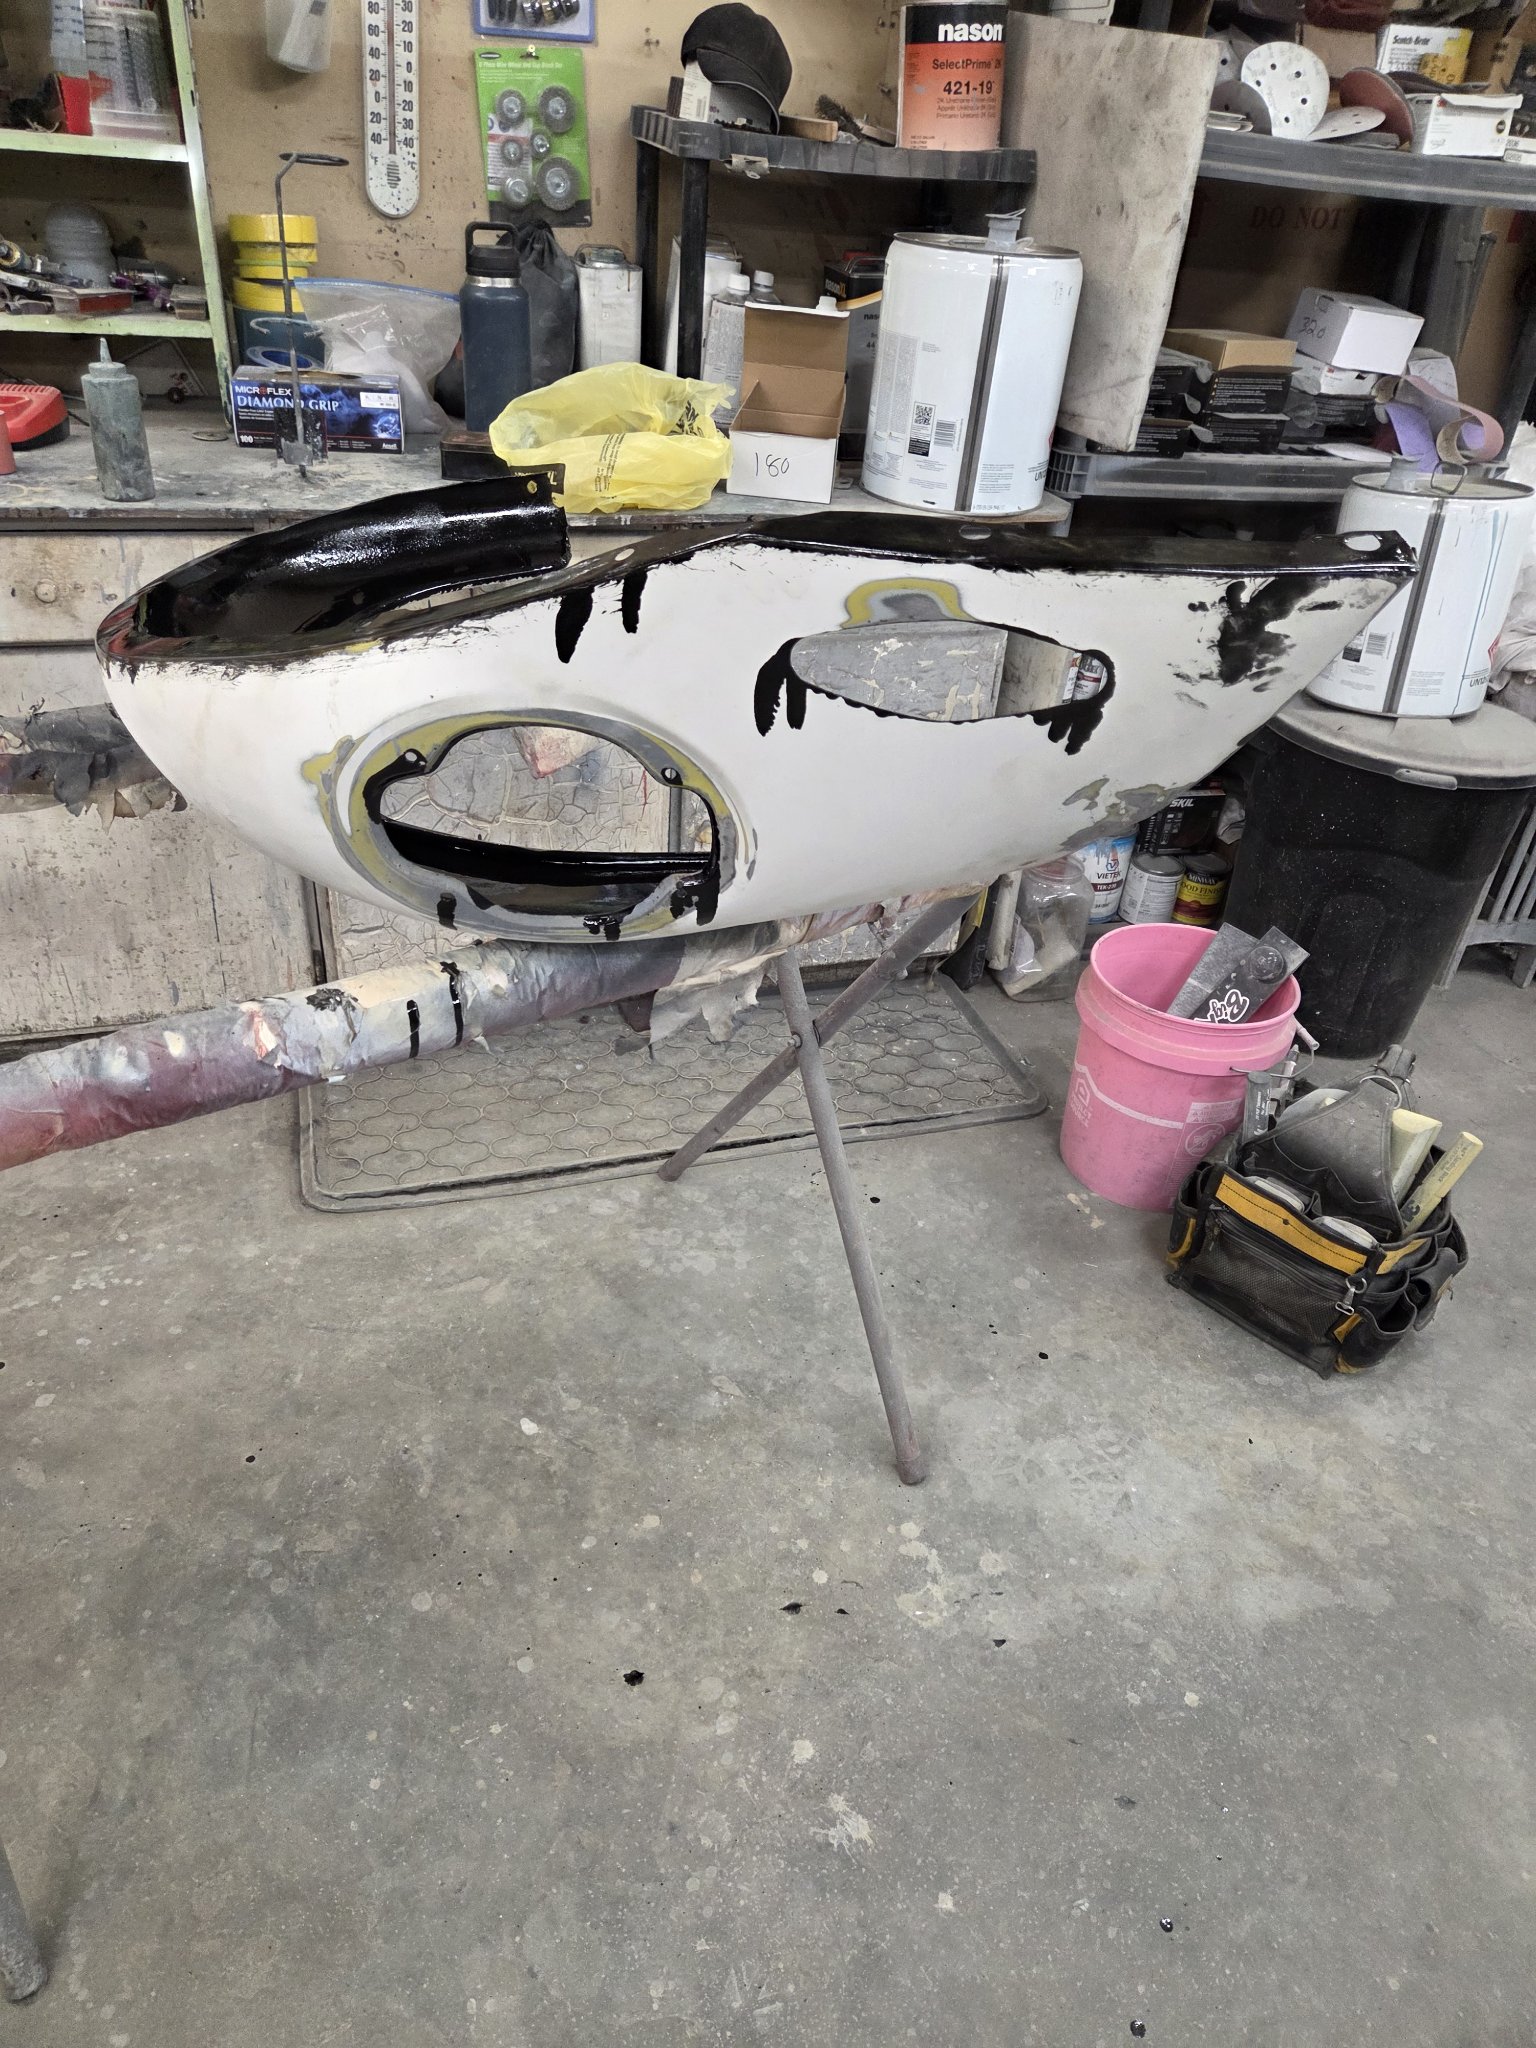
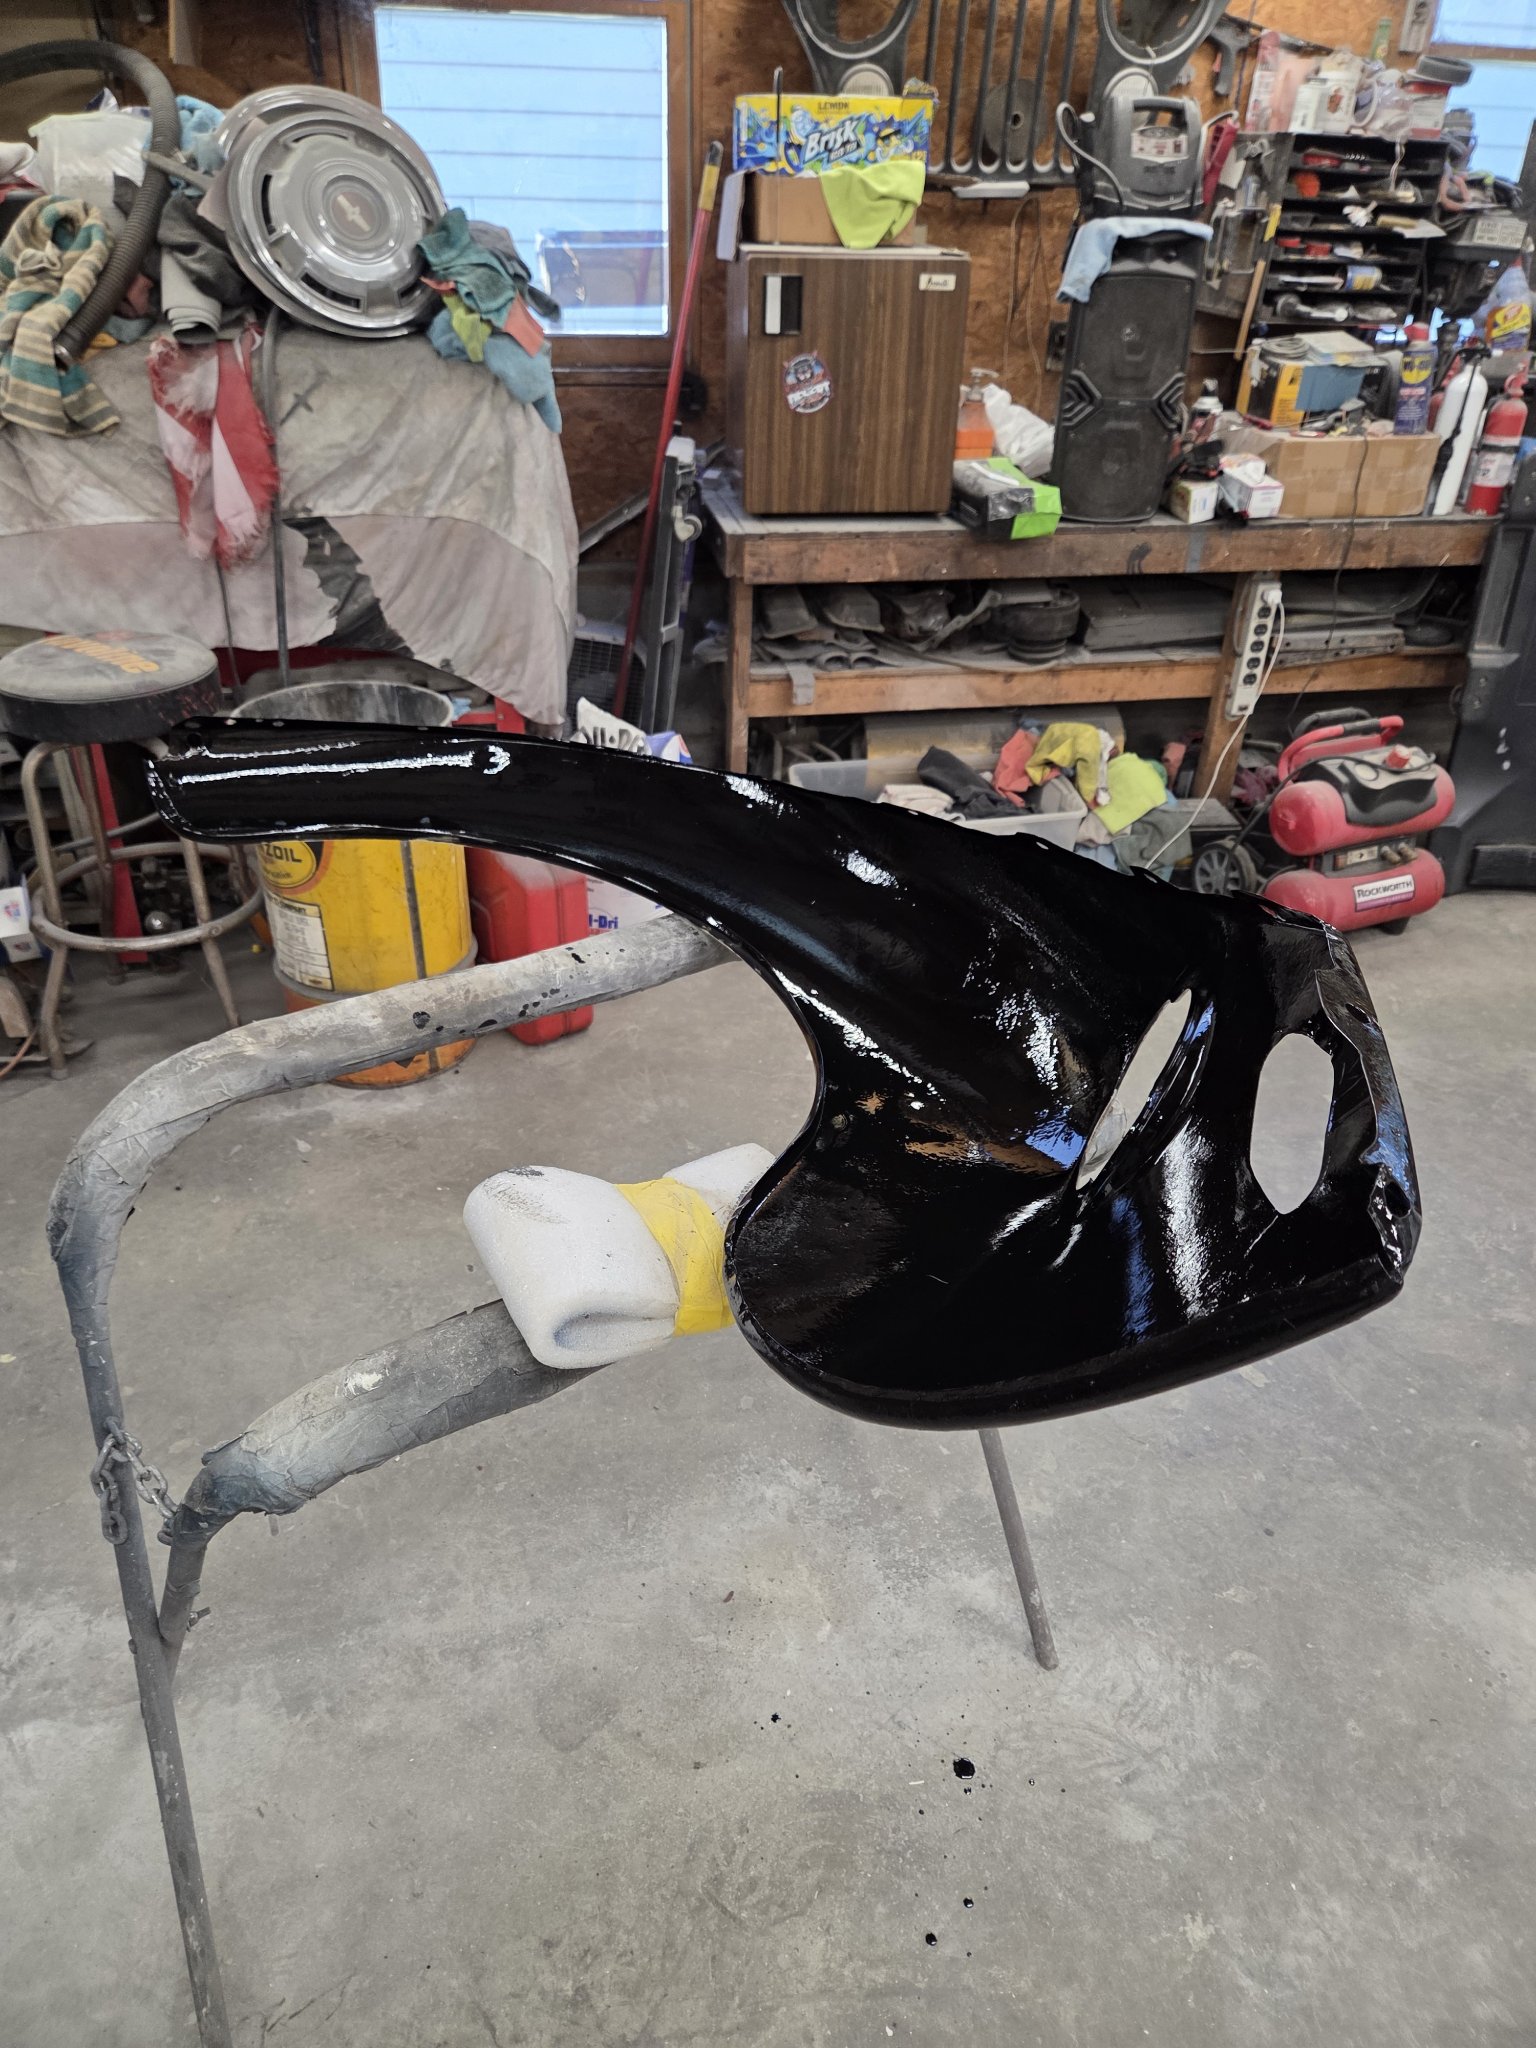
First fender, black going onSame fender — full gloss black
06 The vision
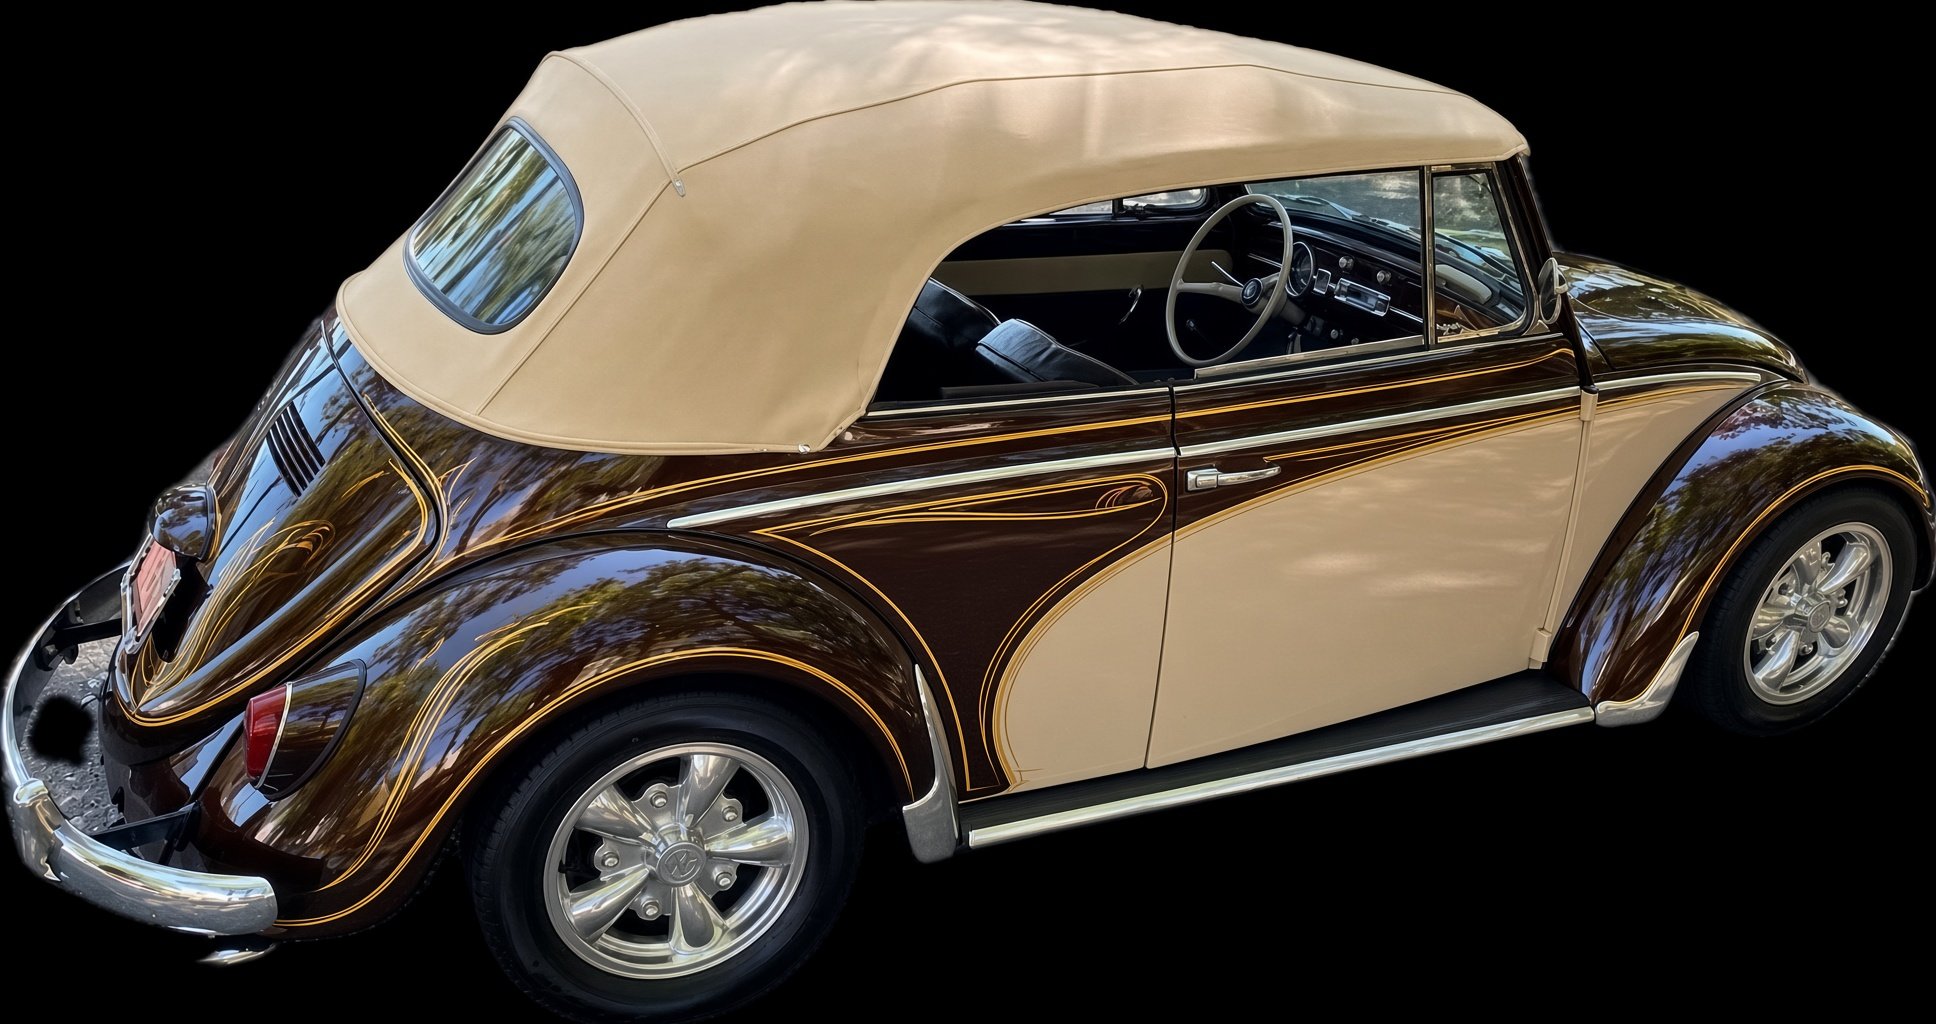
The rendition — where this Super Beetle is headed: two-tone brown and cream with hand-laid pinstripes and a tan top. A target, not a finished car — yet.
Proof, not promises
Recent Work
Real jobs, start to finish. This is the part where the dark horse stops talking and lets the work run.
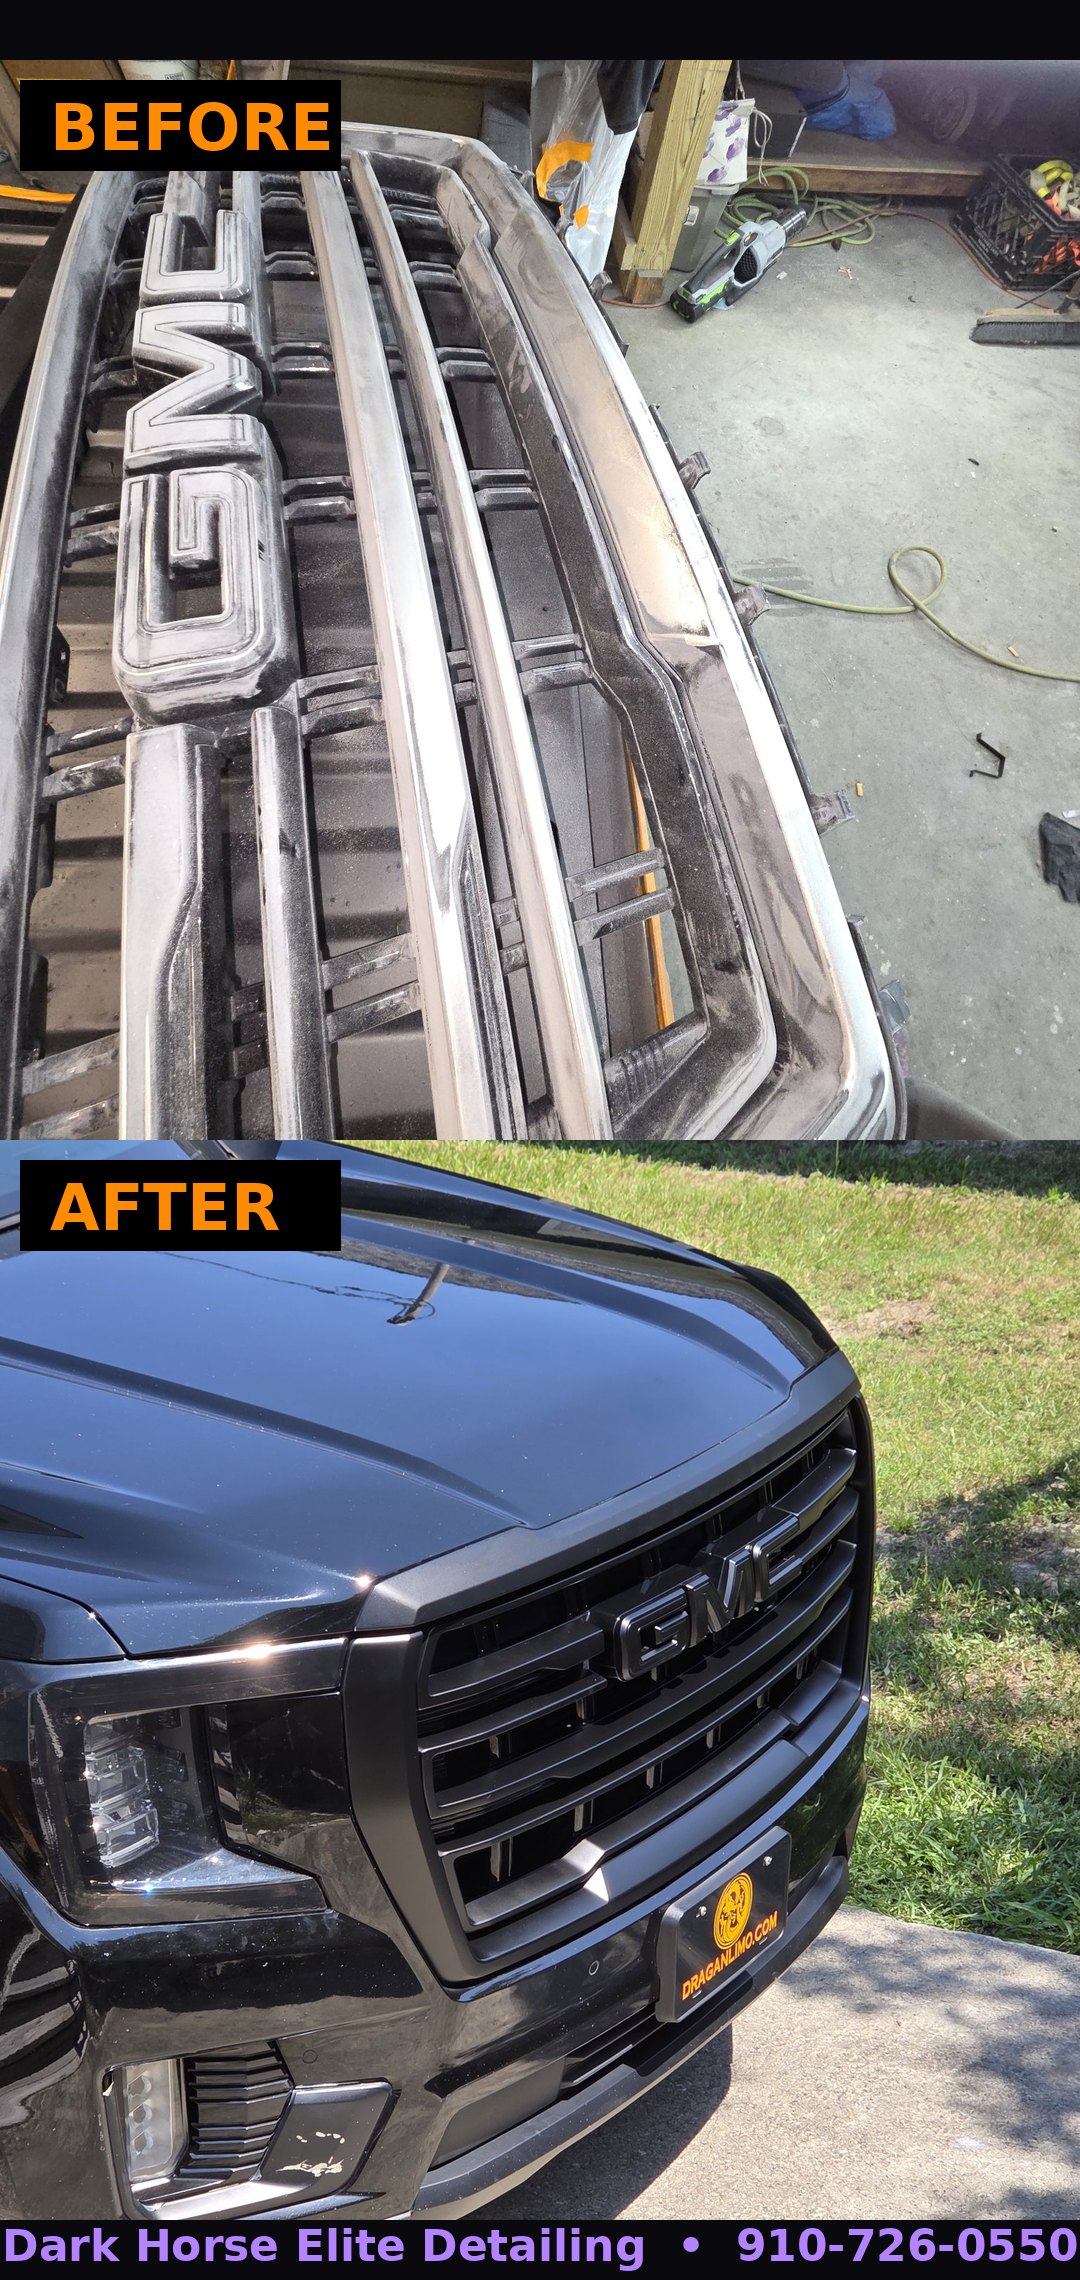
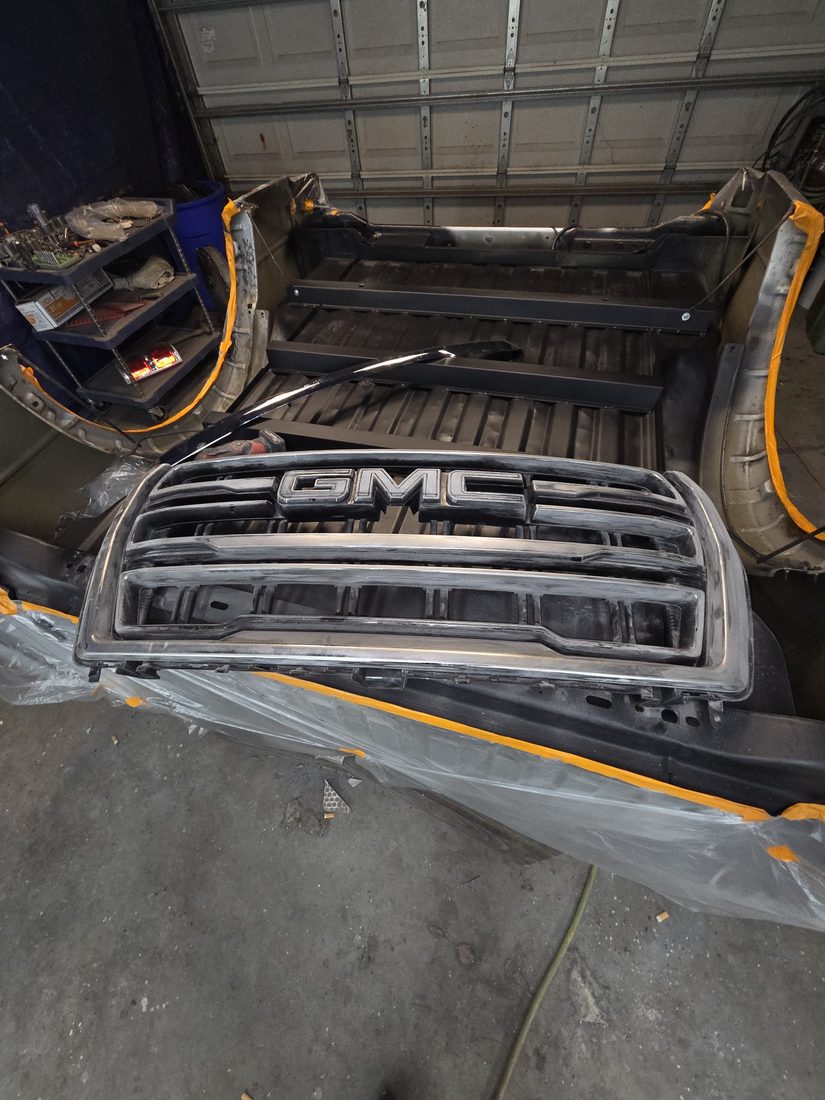
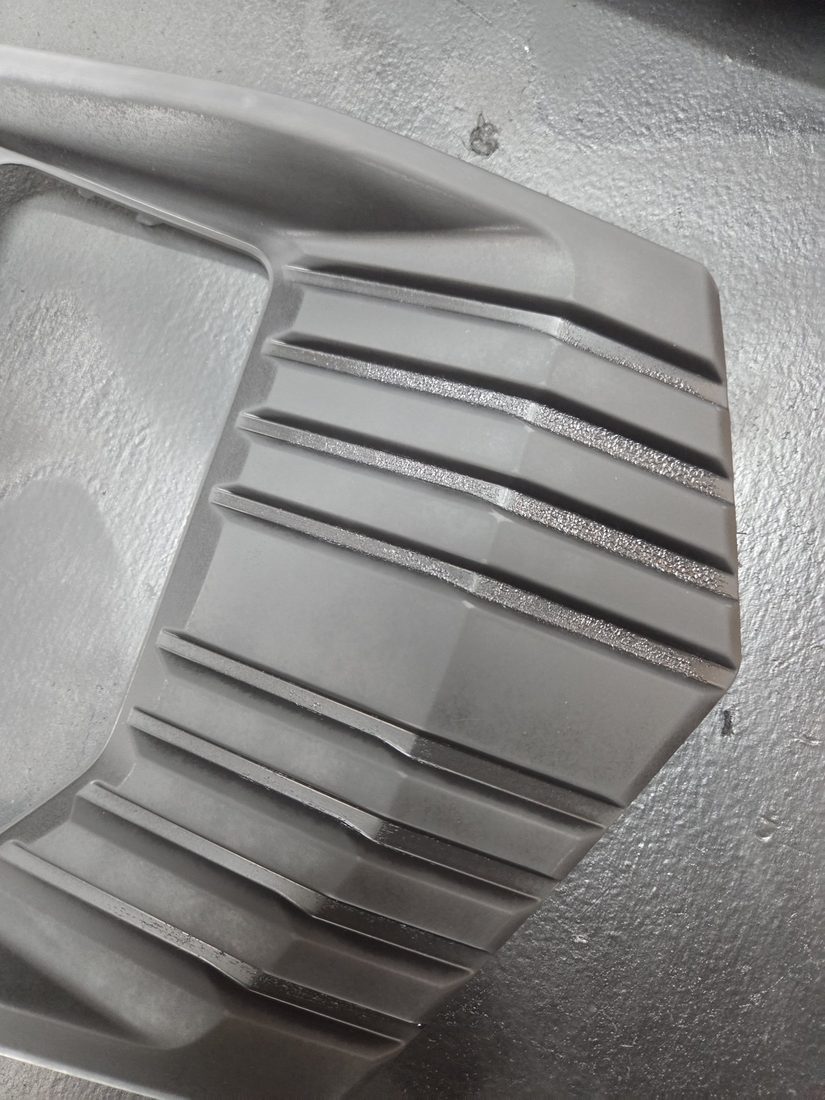
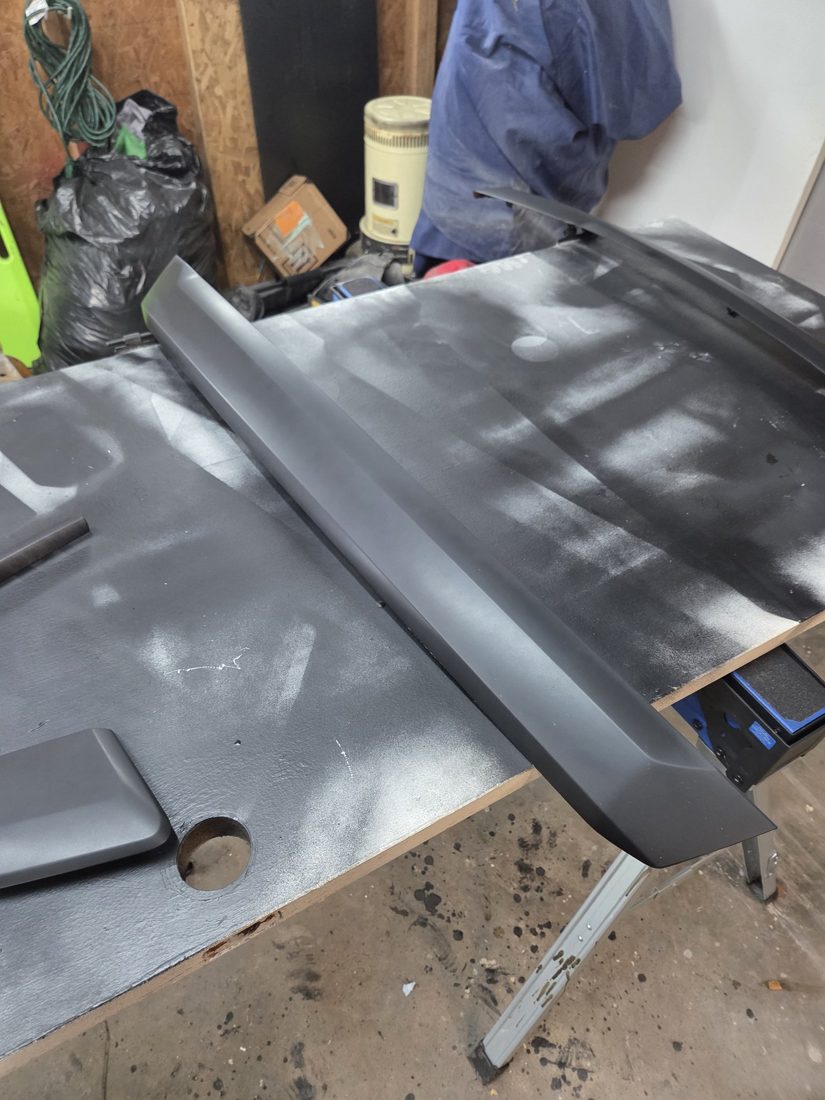
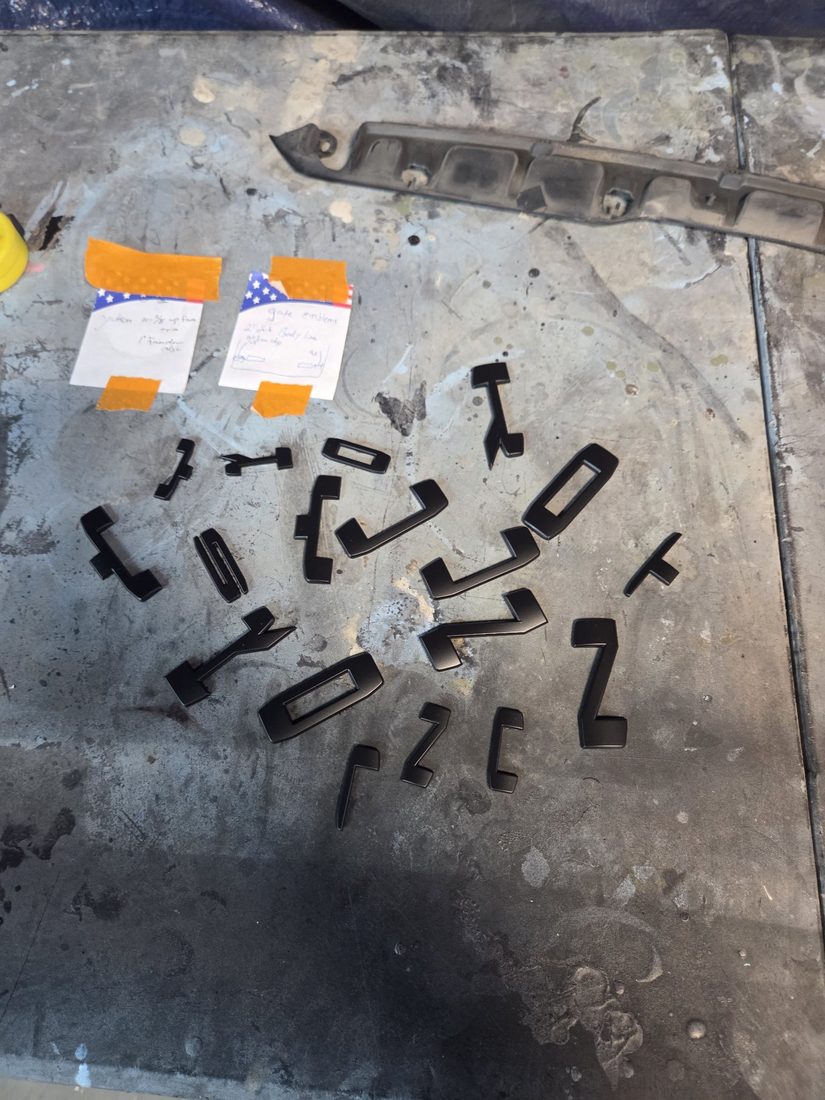
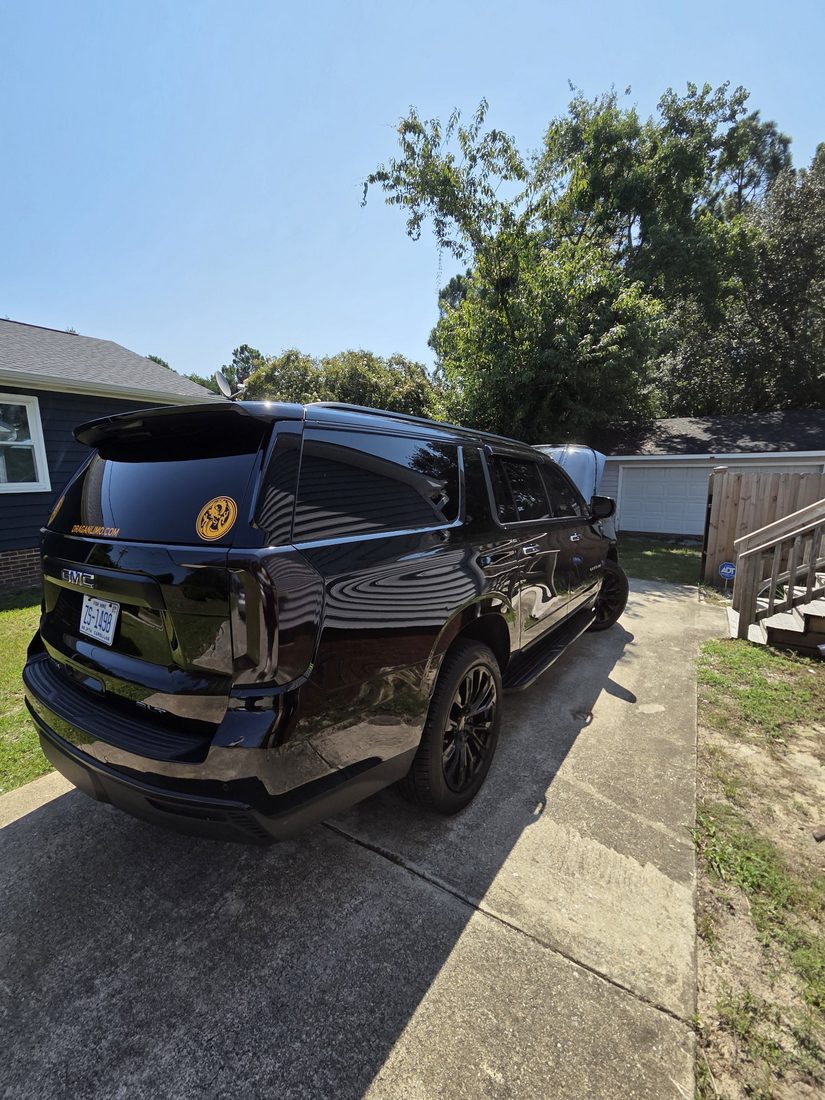
GMC Yukon — Chrome Delete
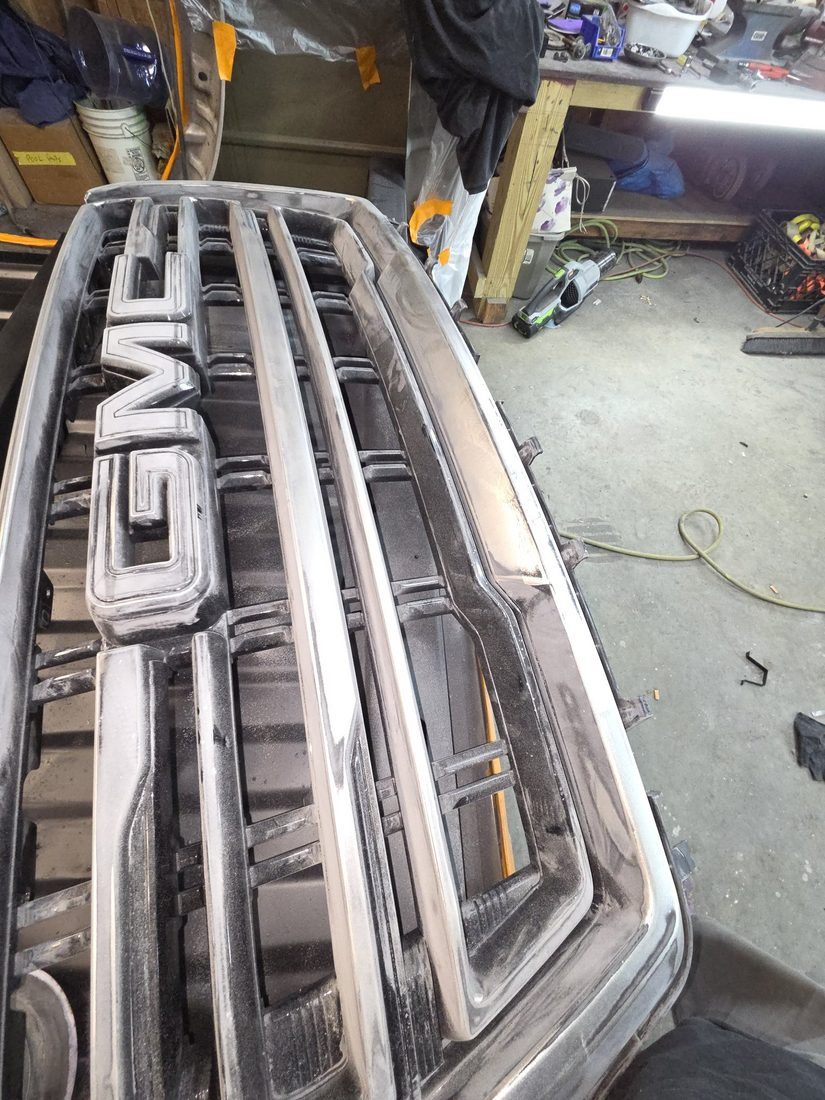
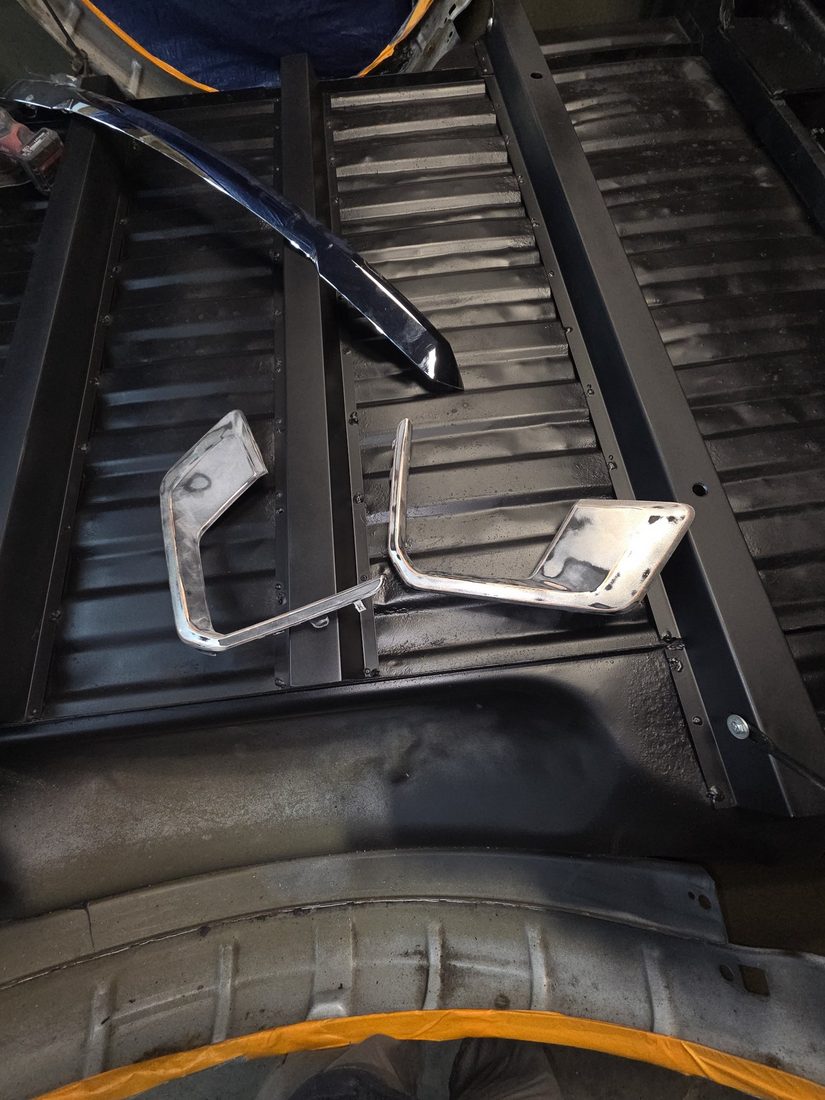
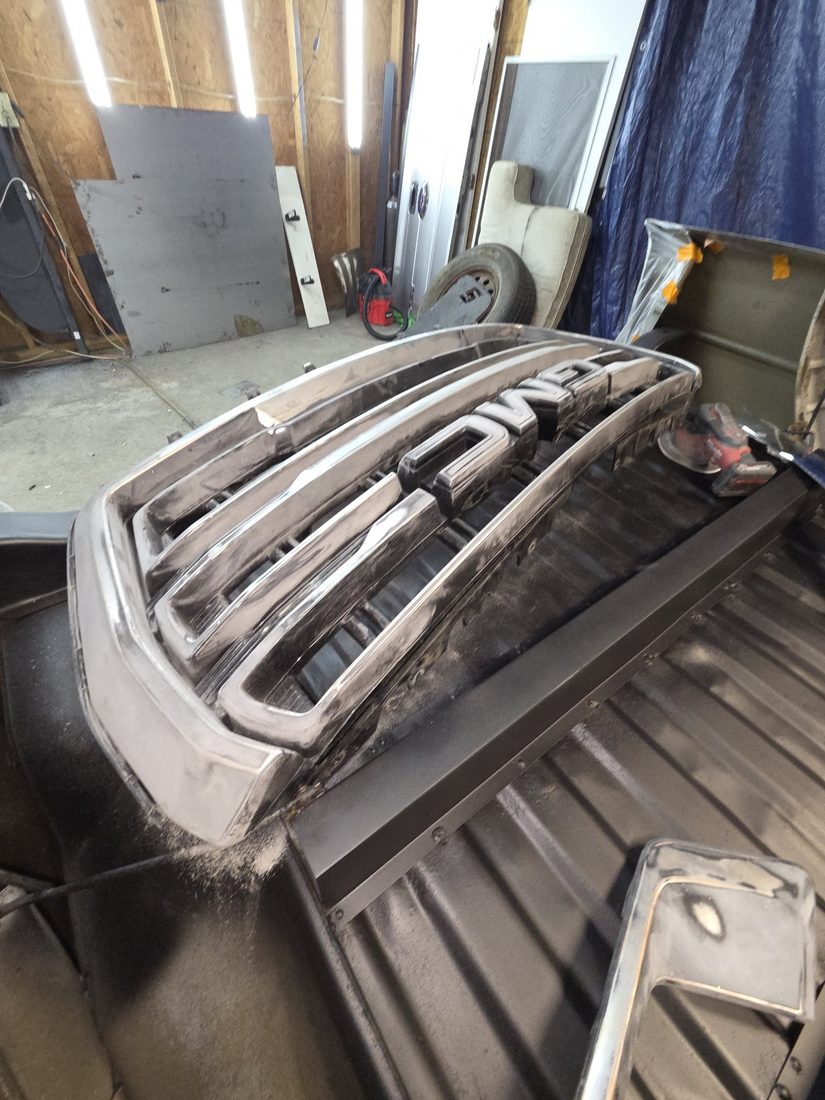
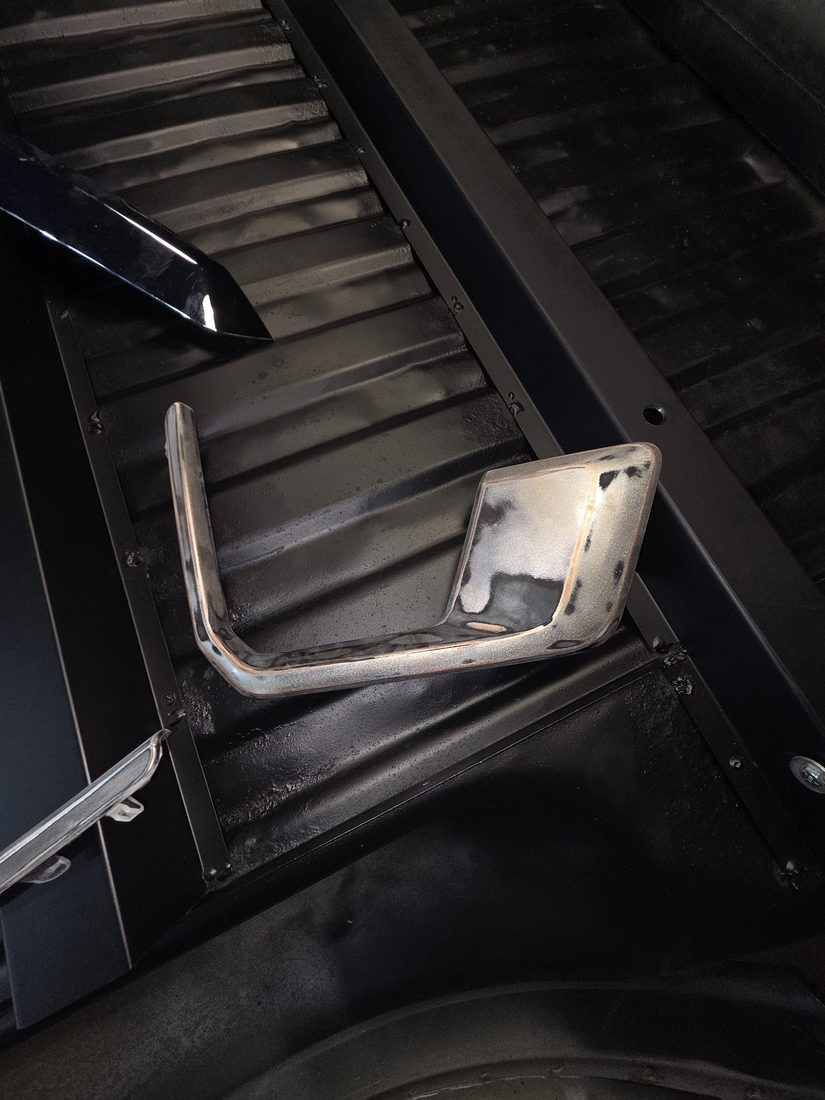
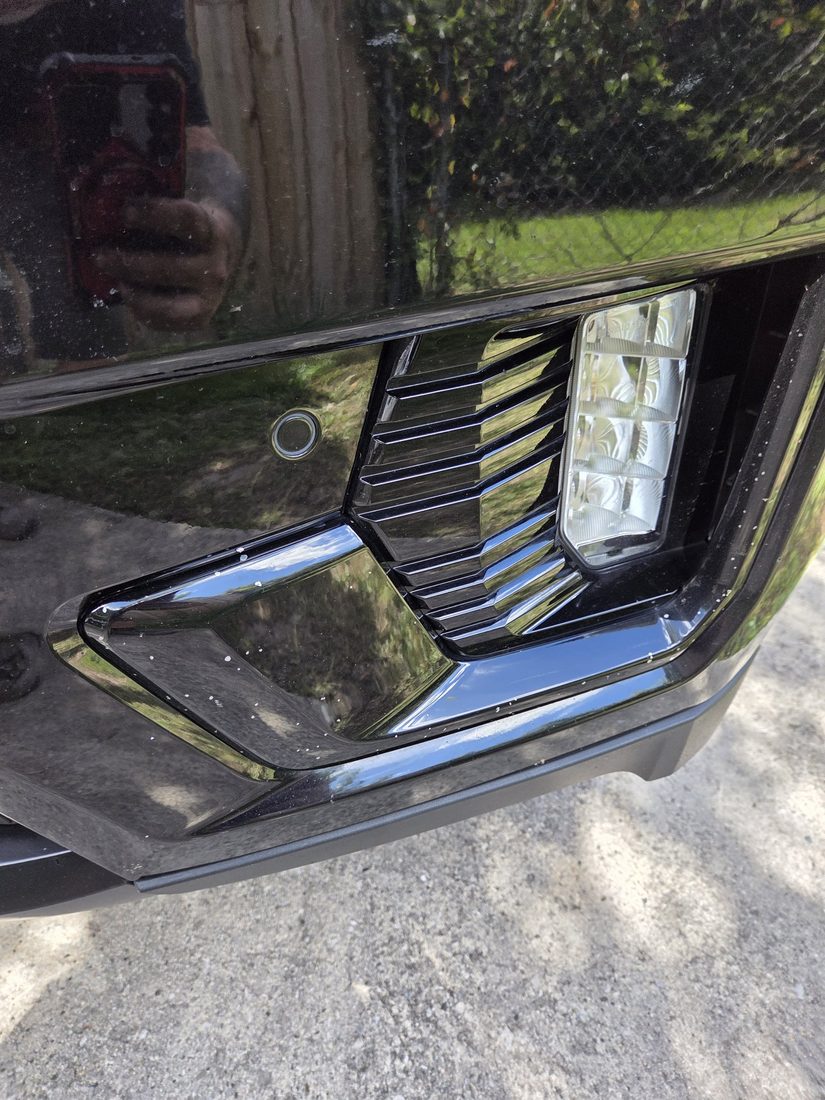
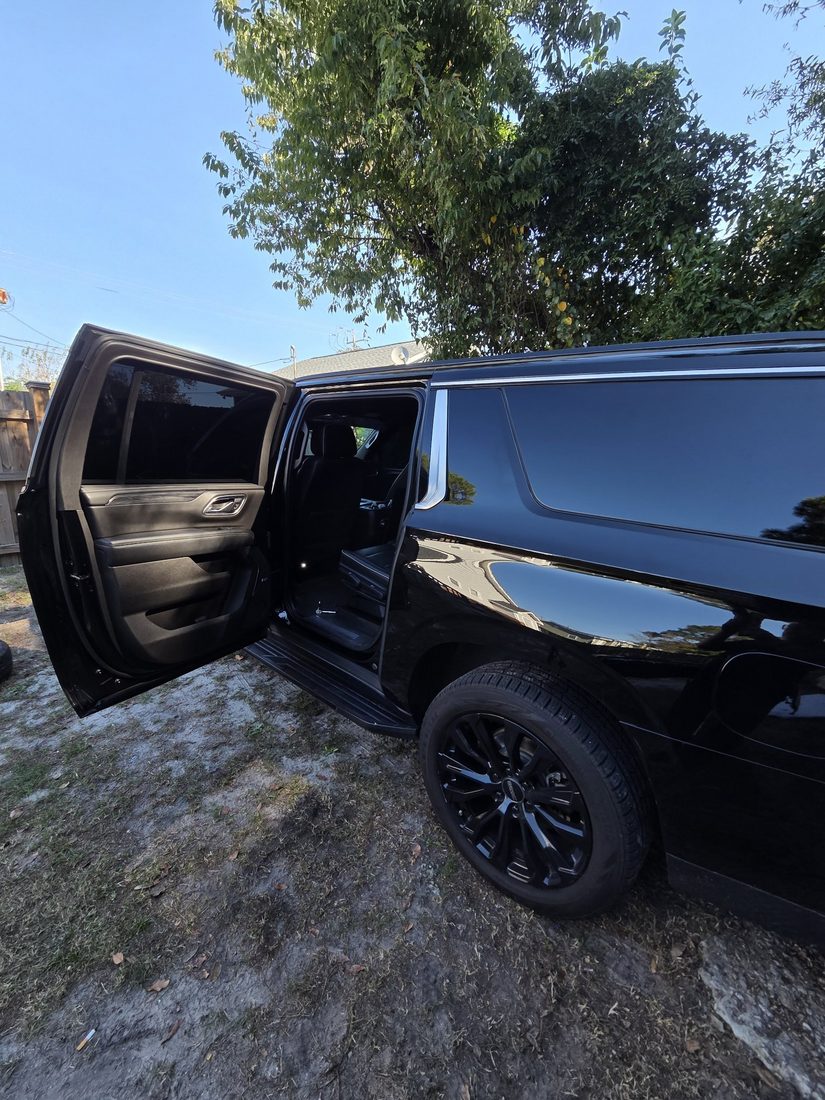
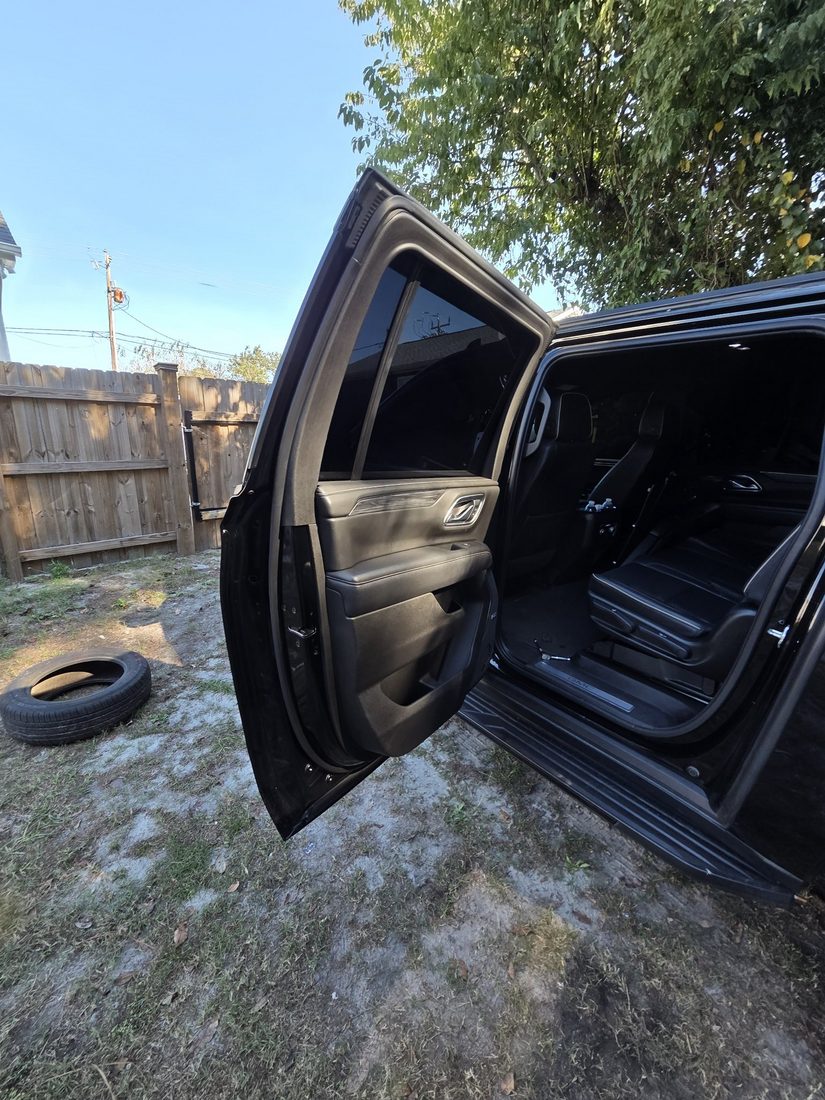
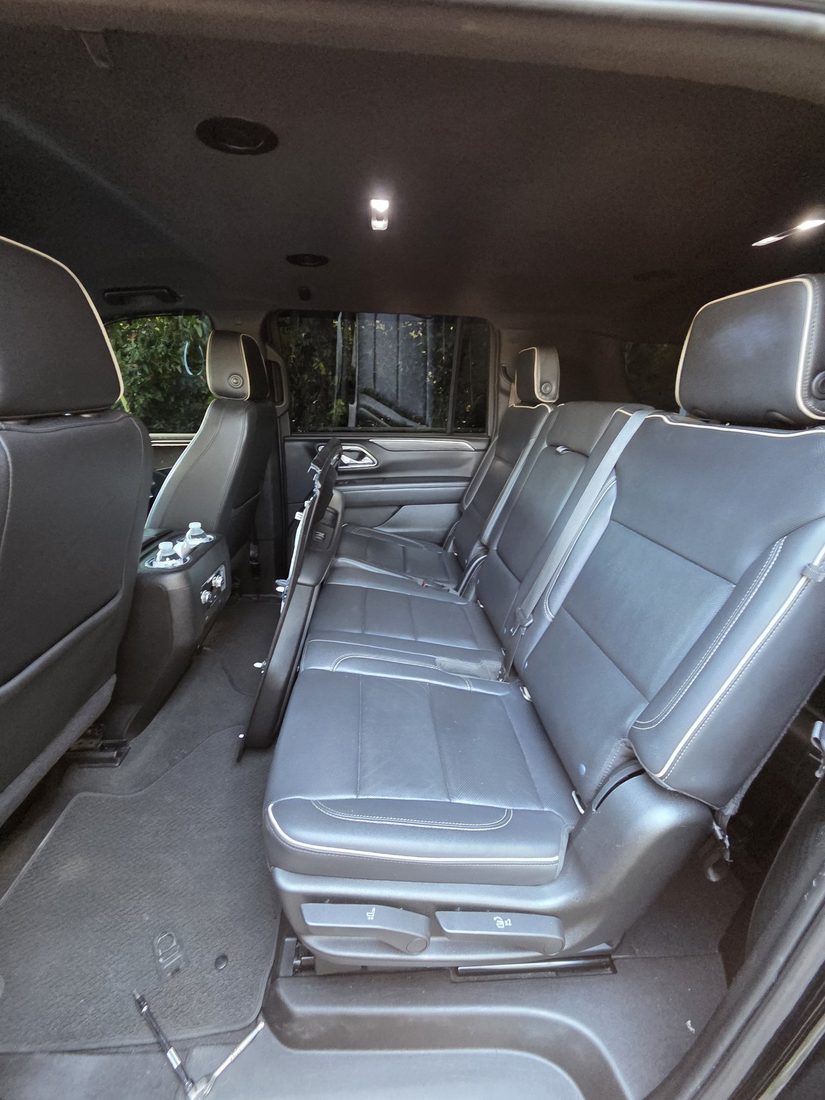
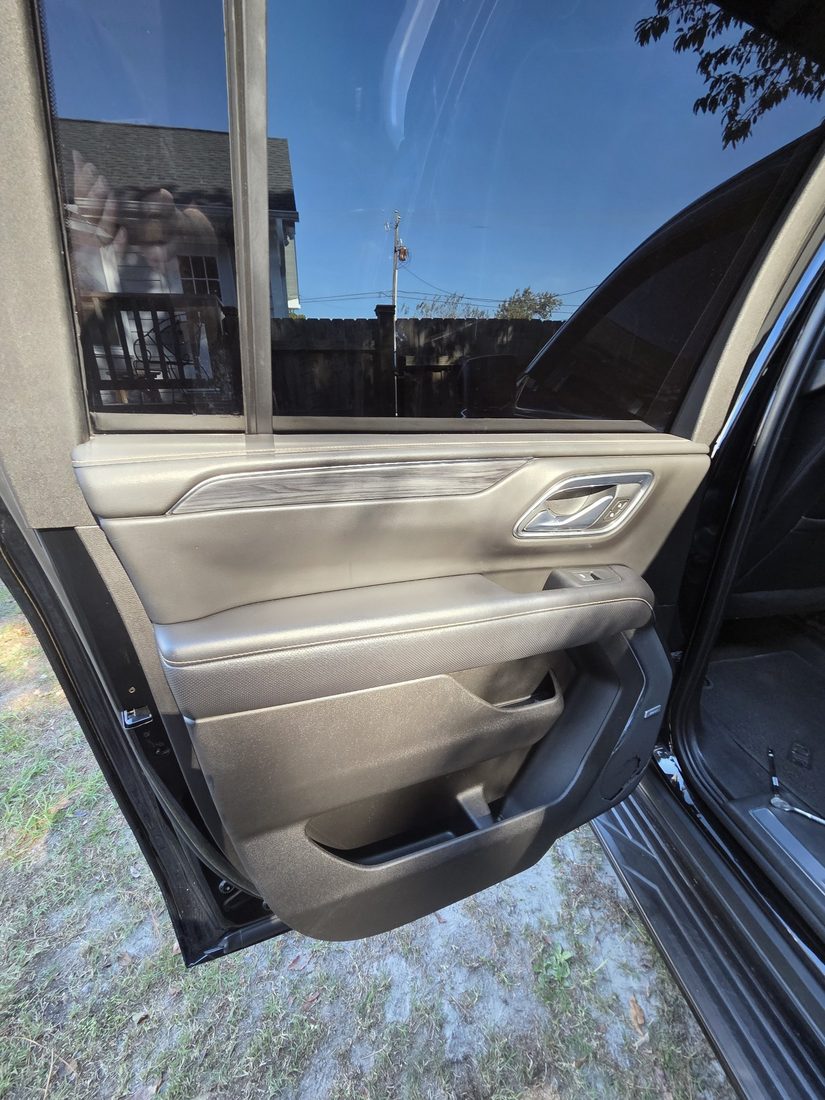
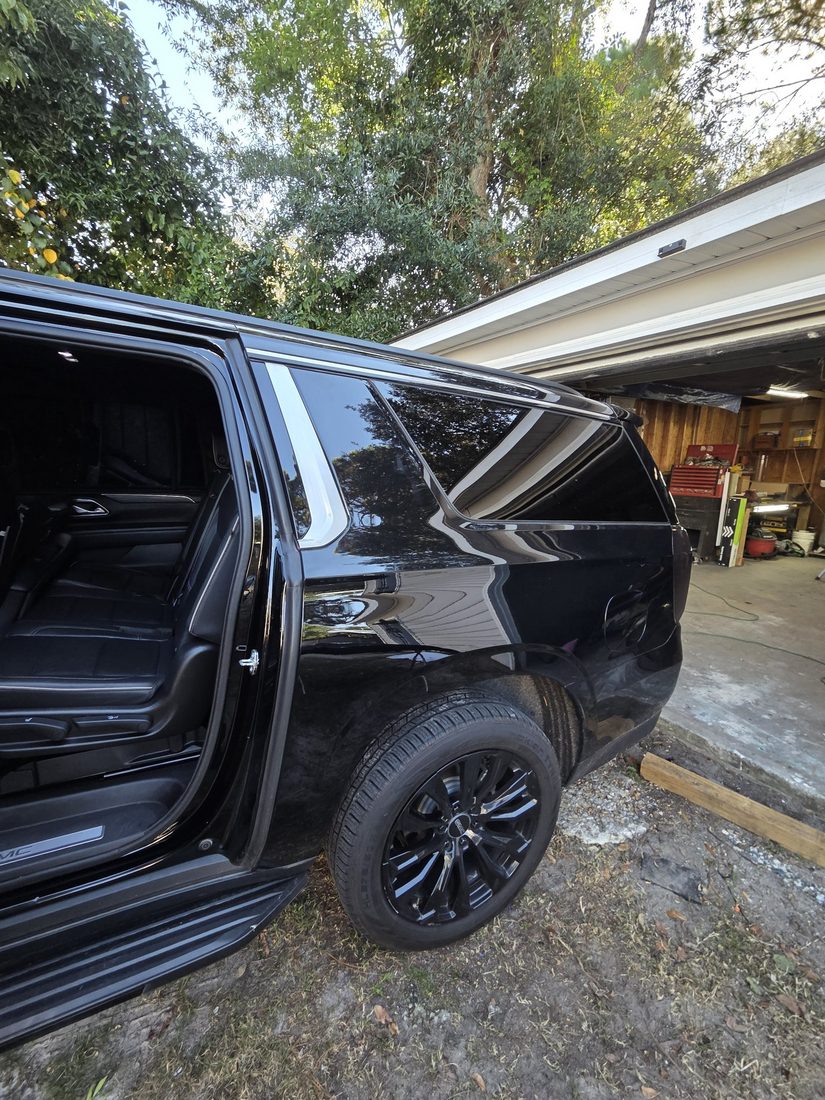
Every piece of chrome on the front end sanded, primed, and blacked out — grille, trim, and emblems — with a full interior detail to match. This one was for our client Dragan.
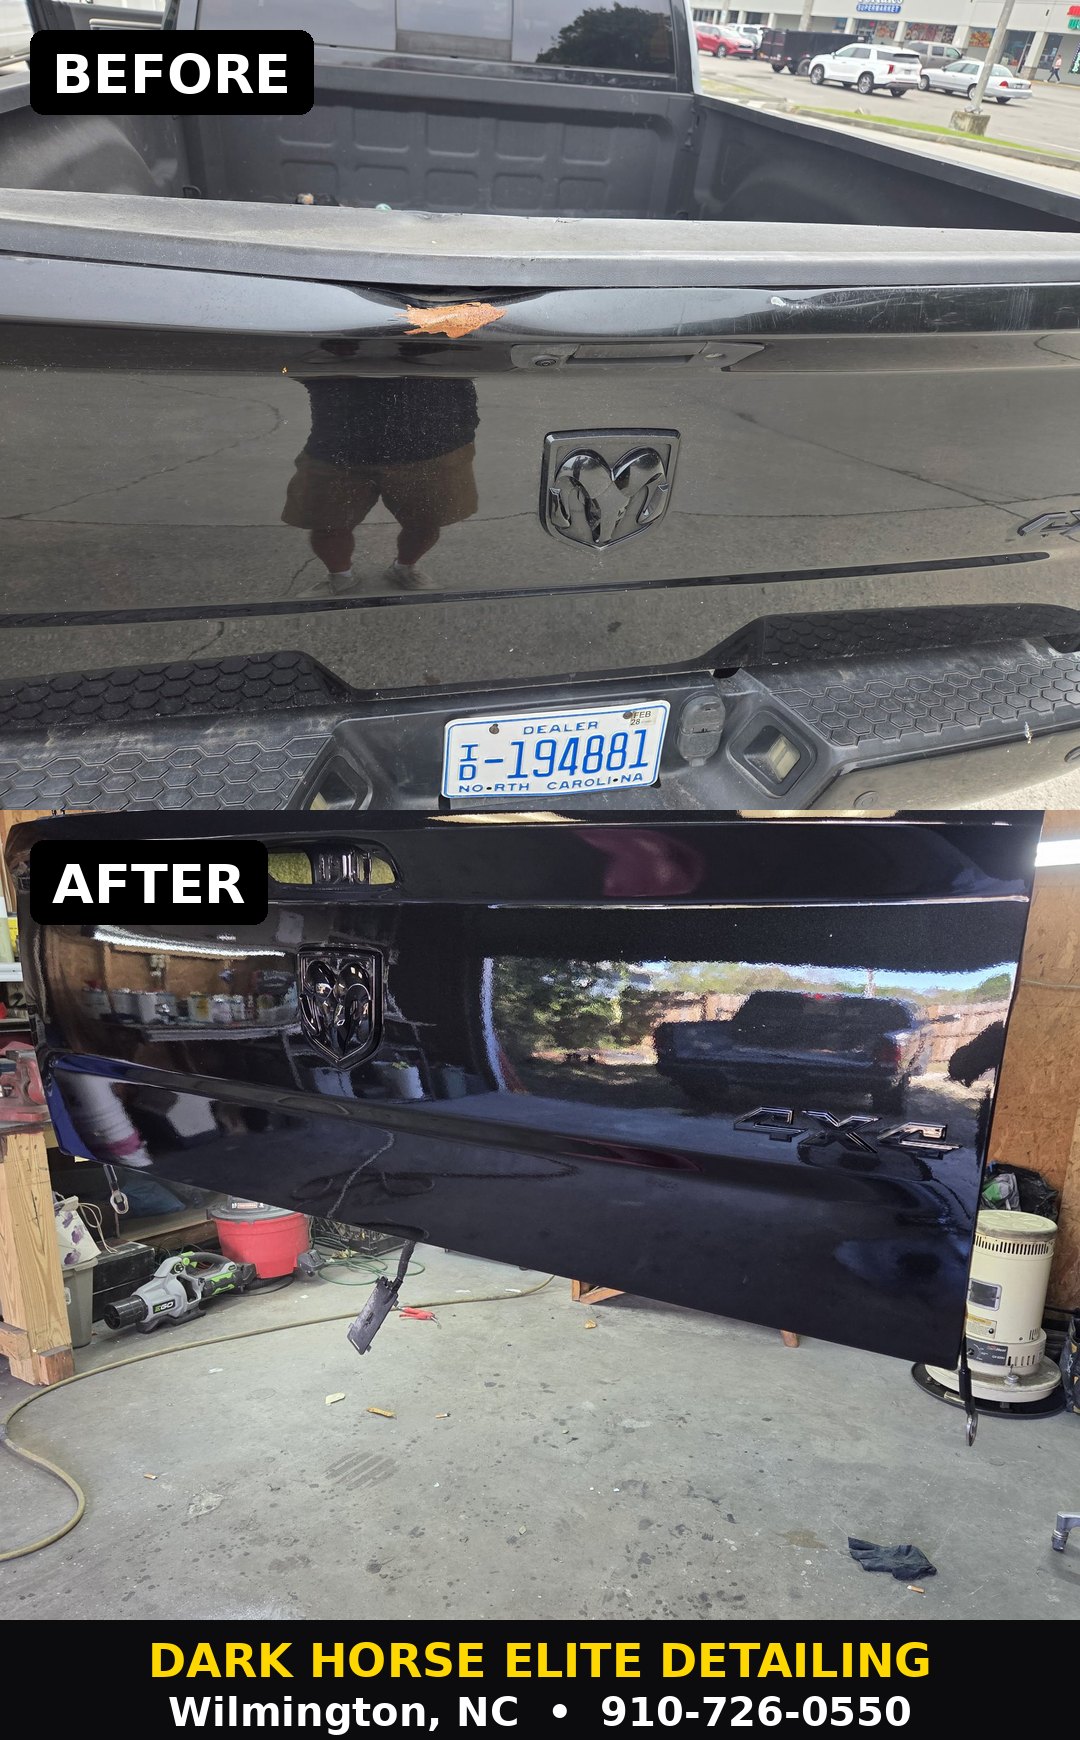
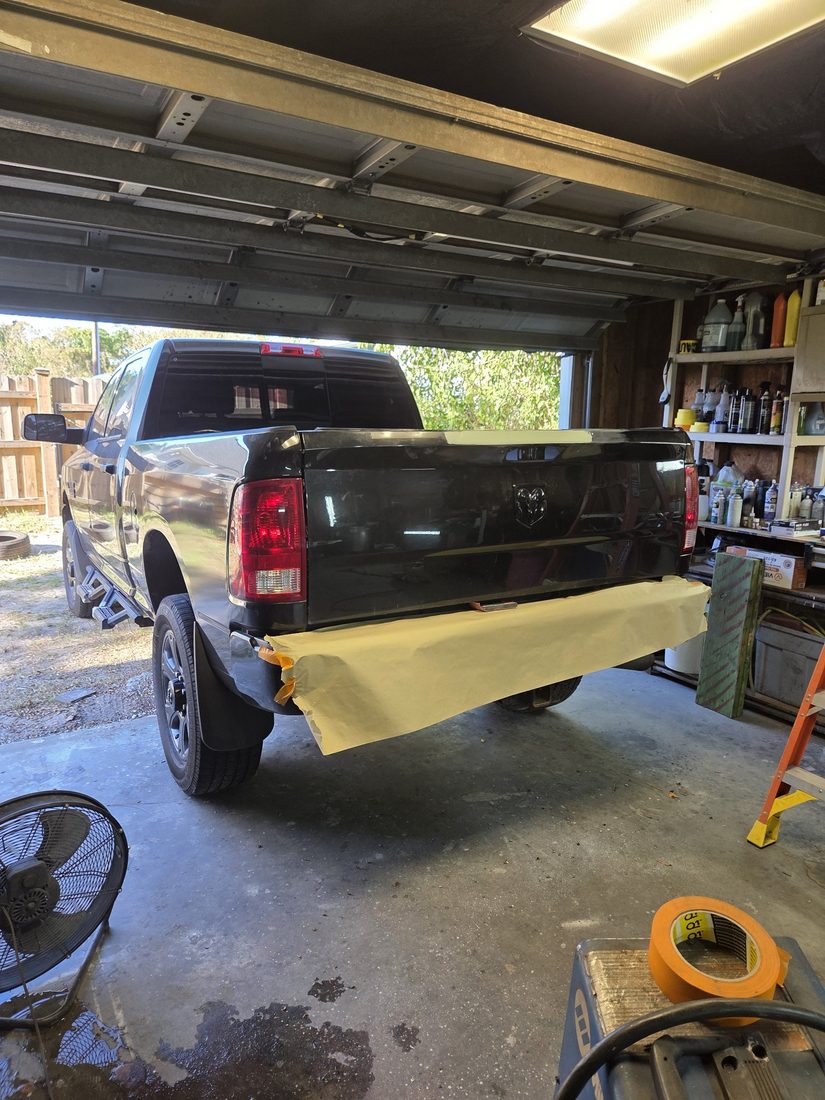
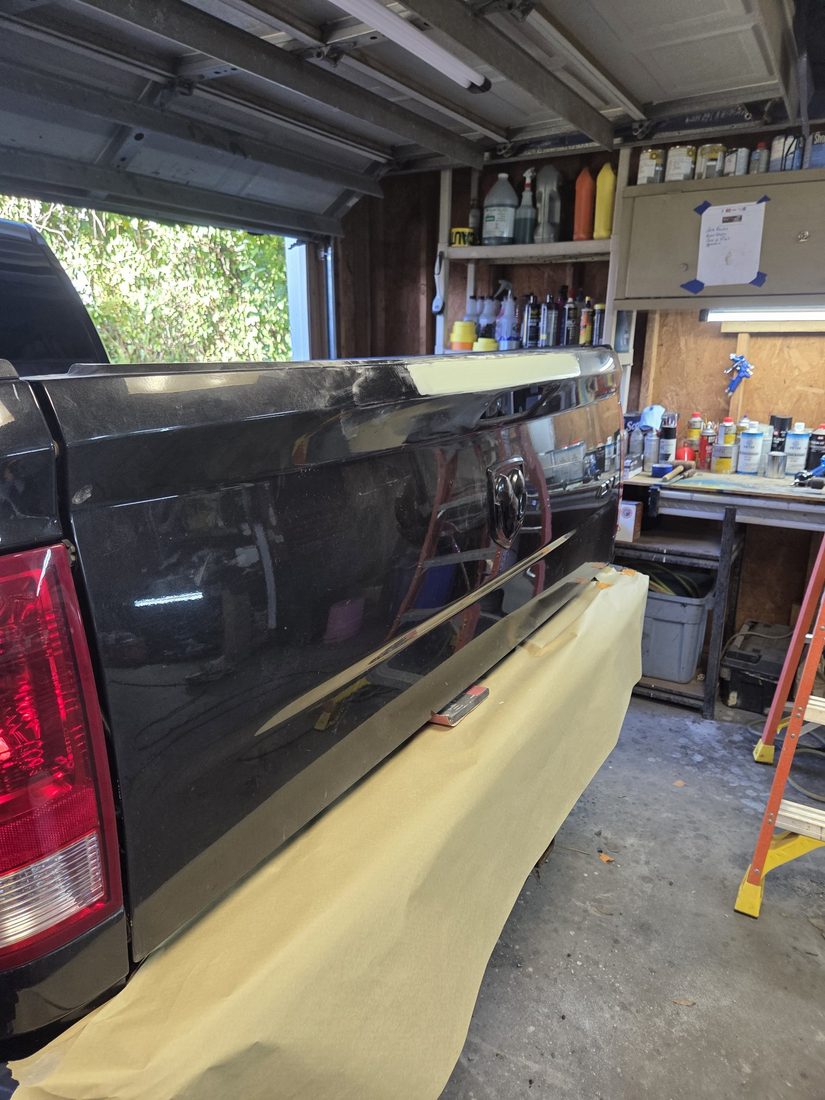
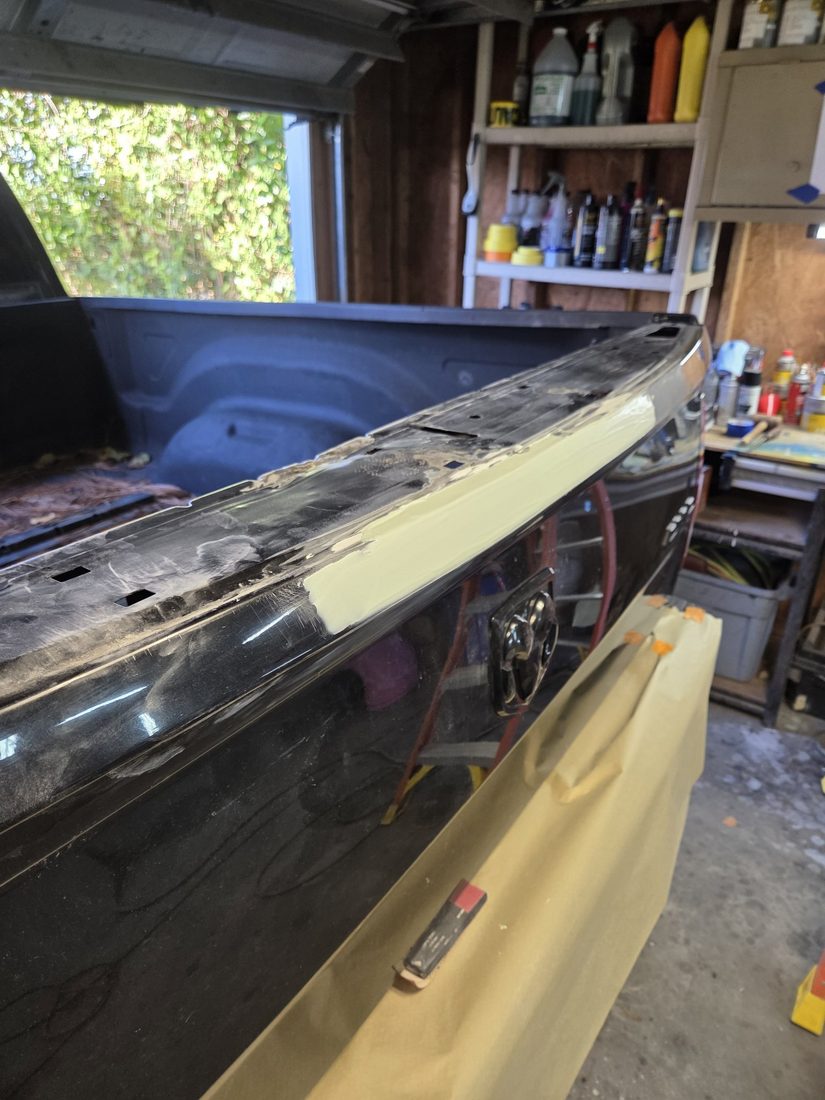
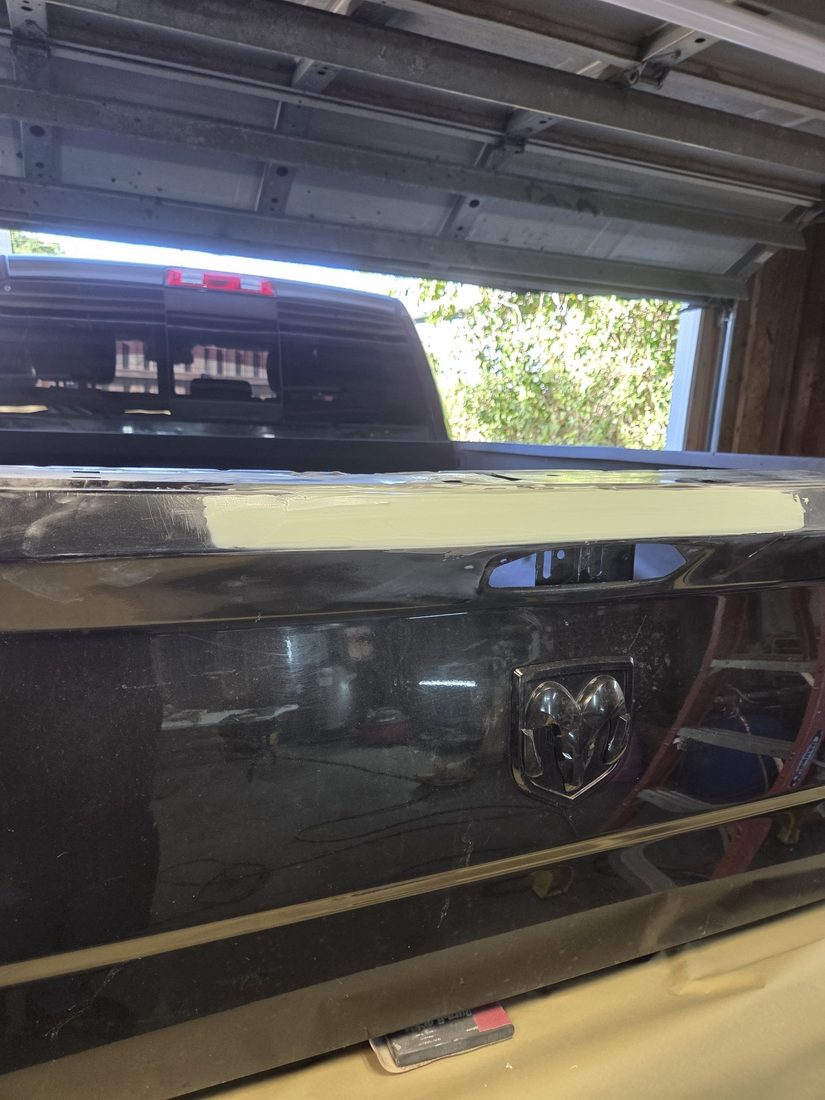
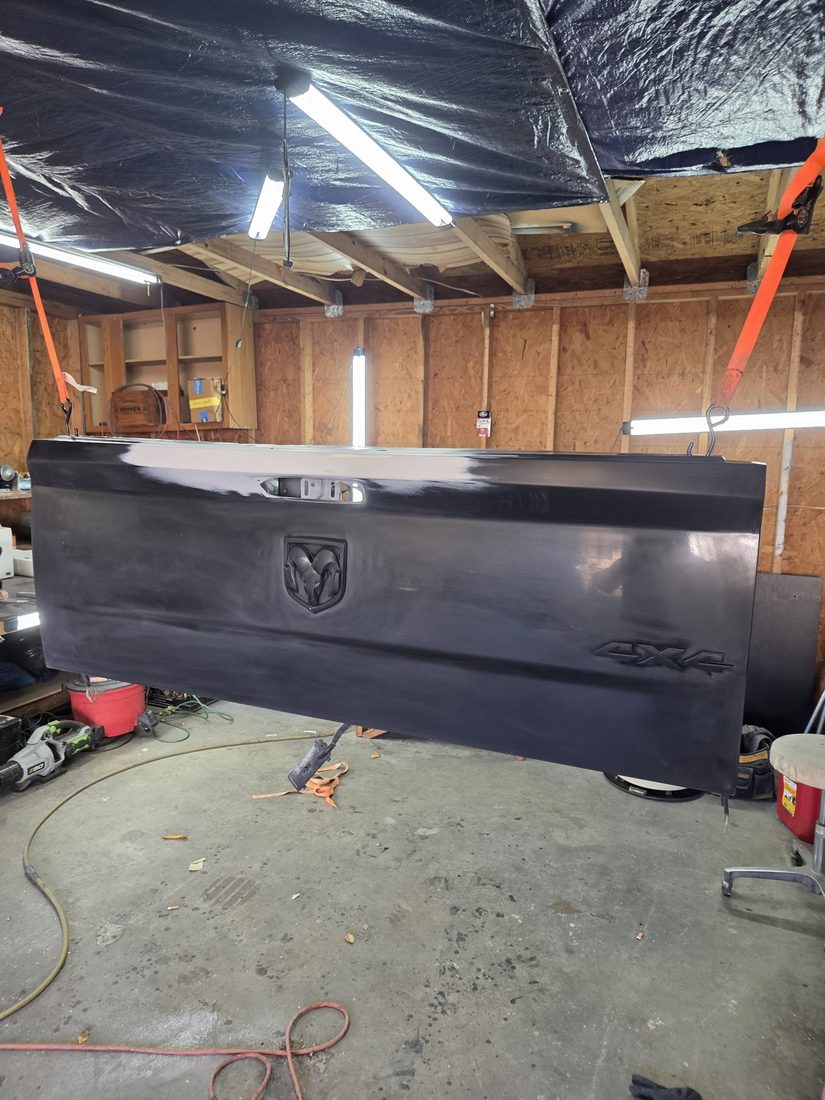
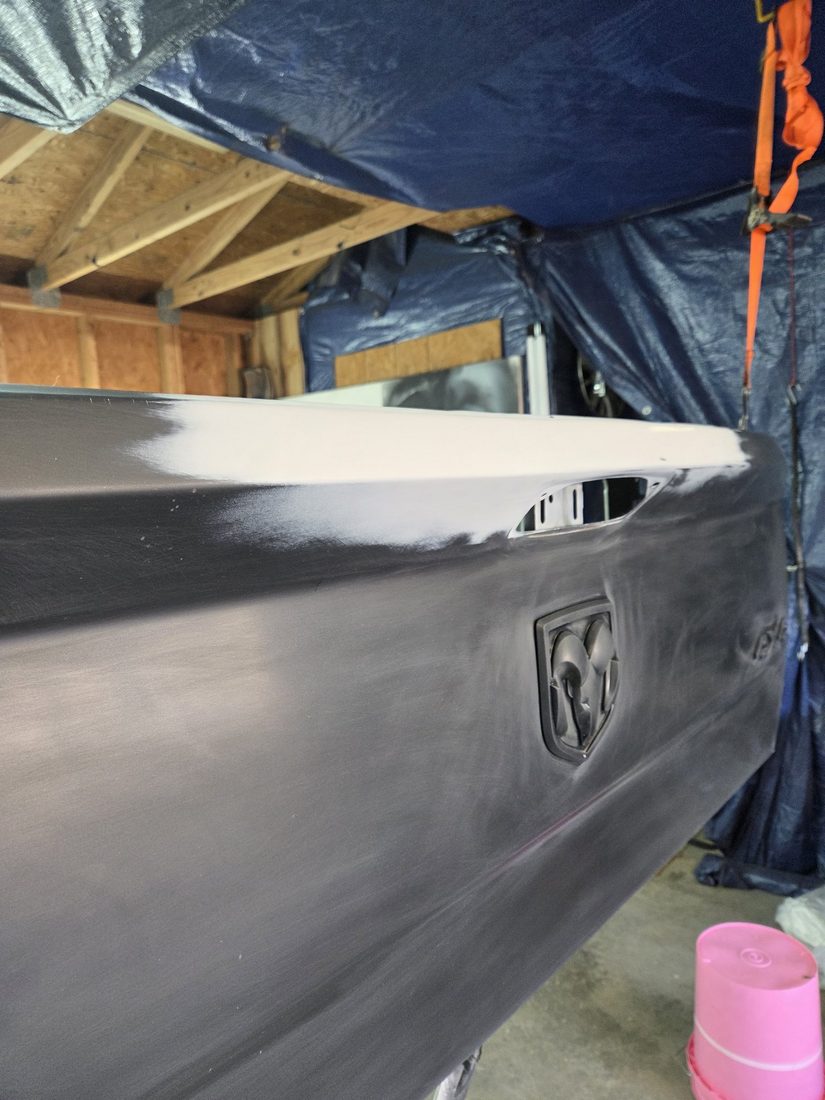
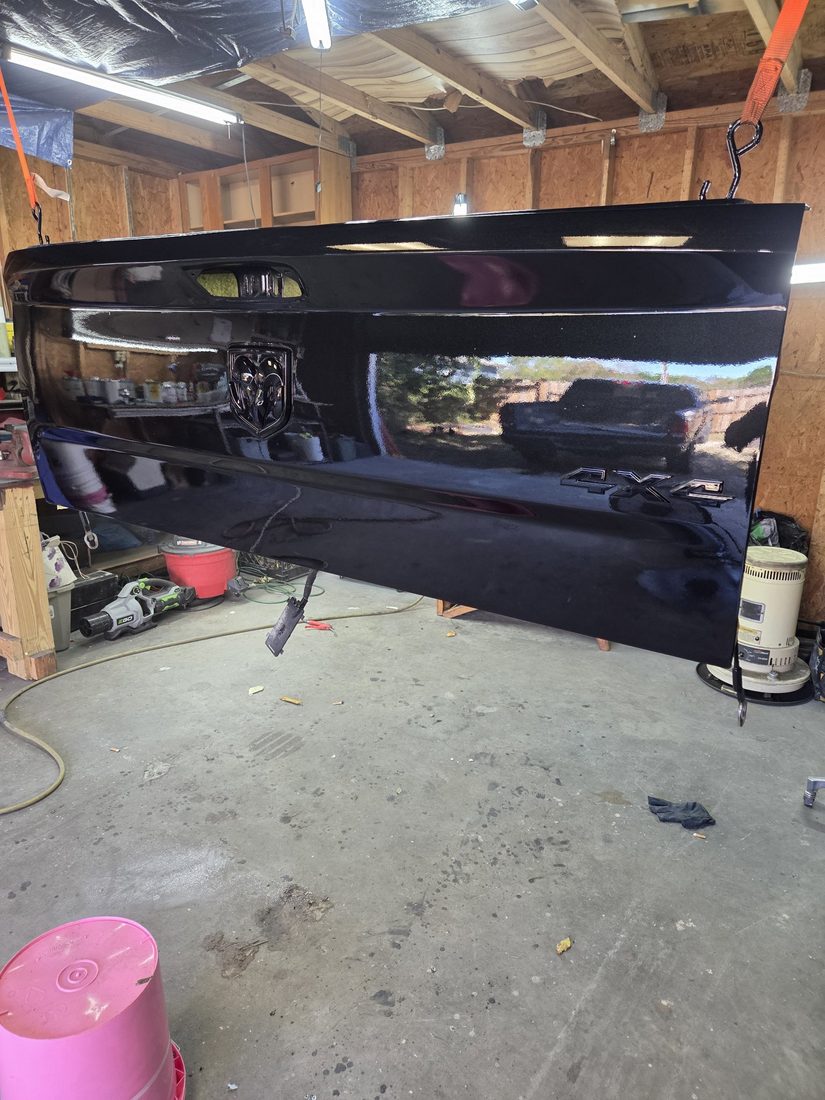
Ram Tailgate — Dent & Rust Repair
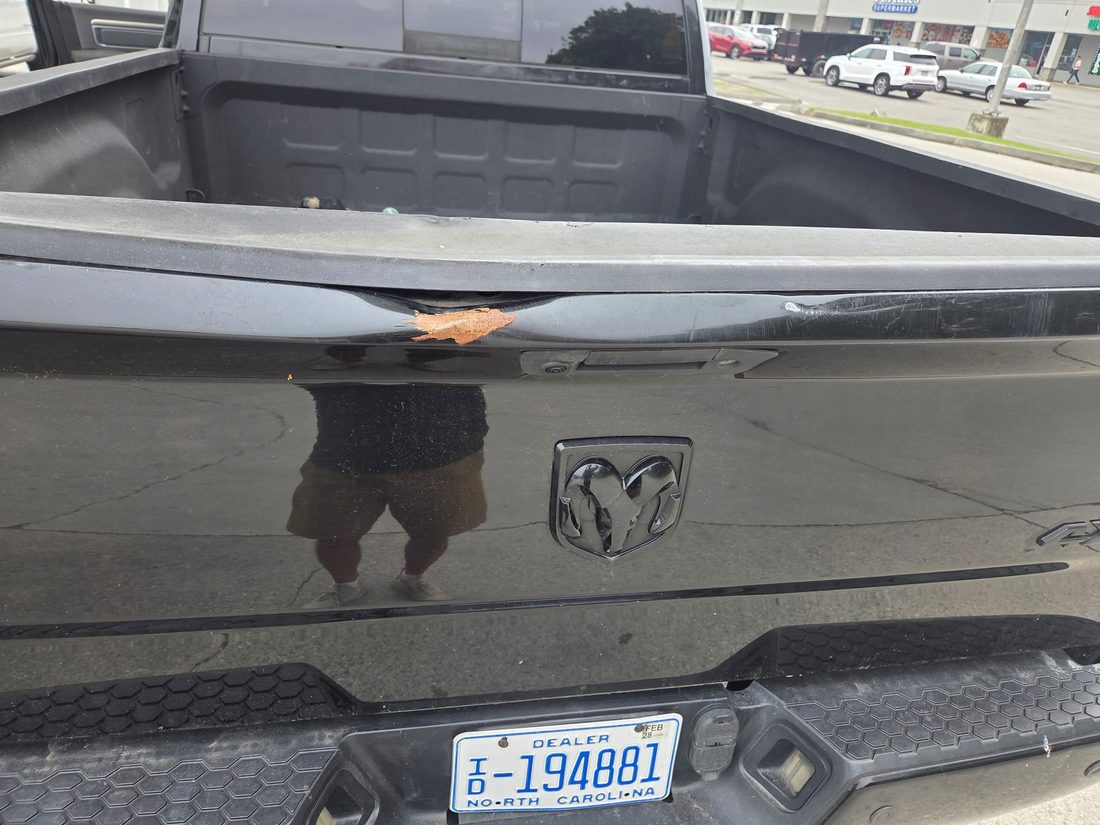
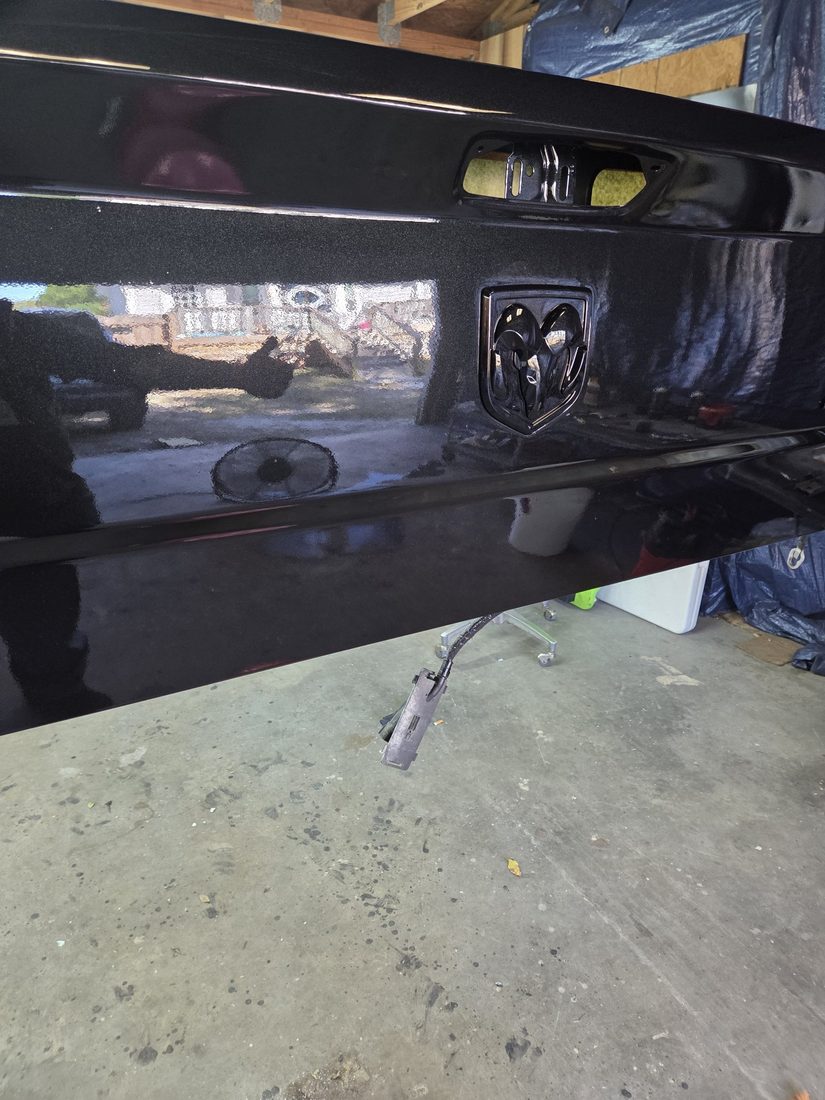
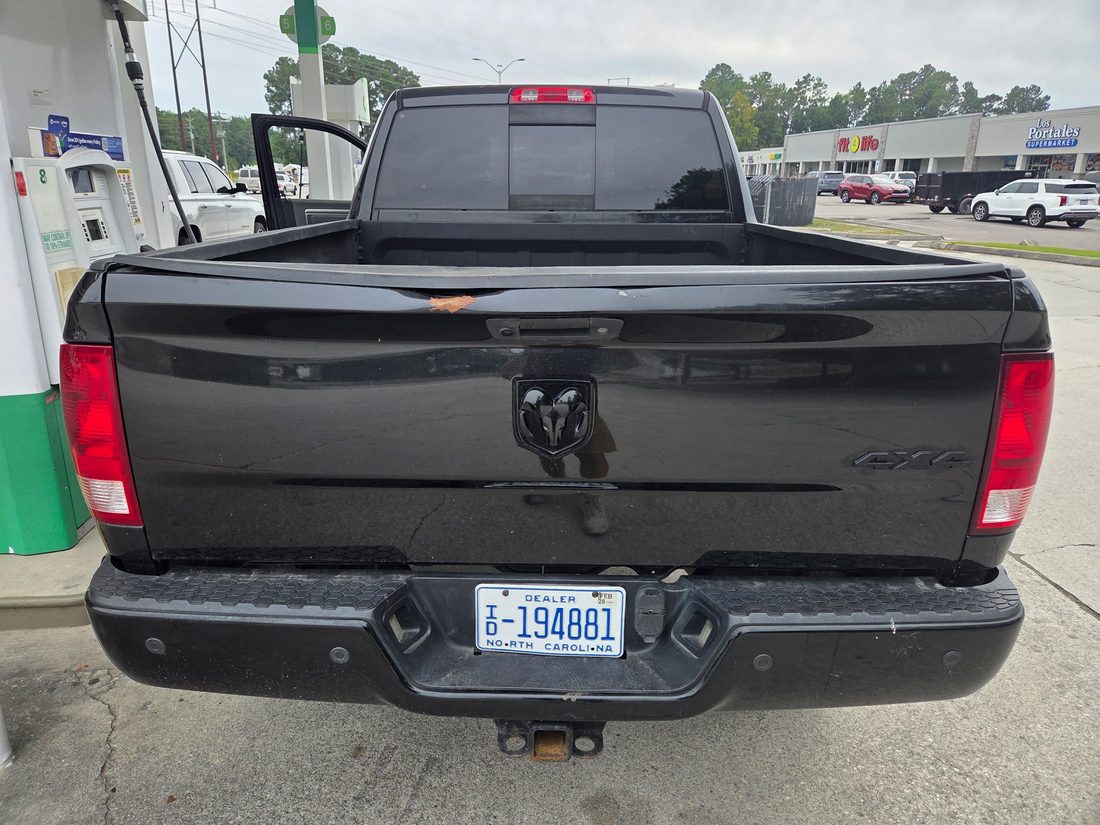
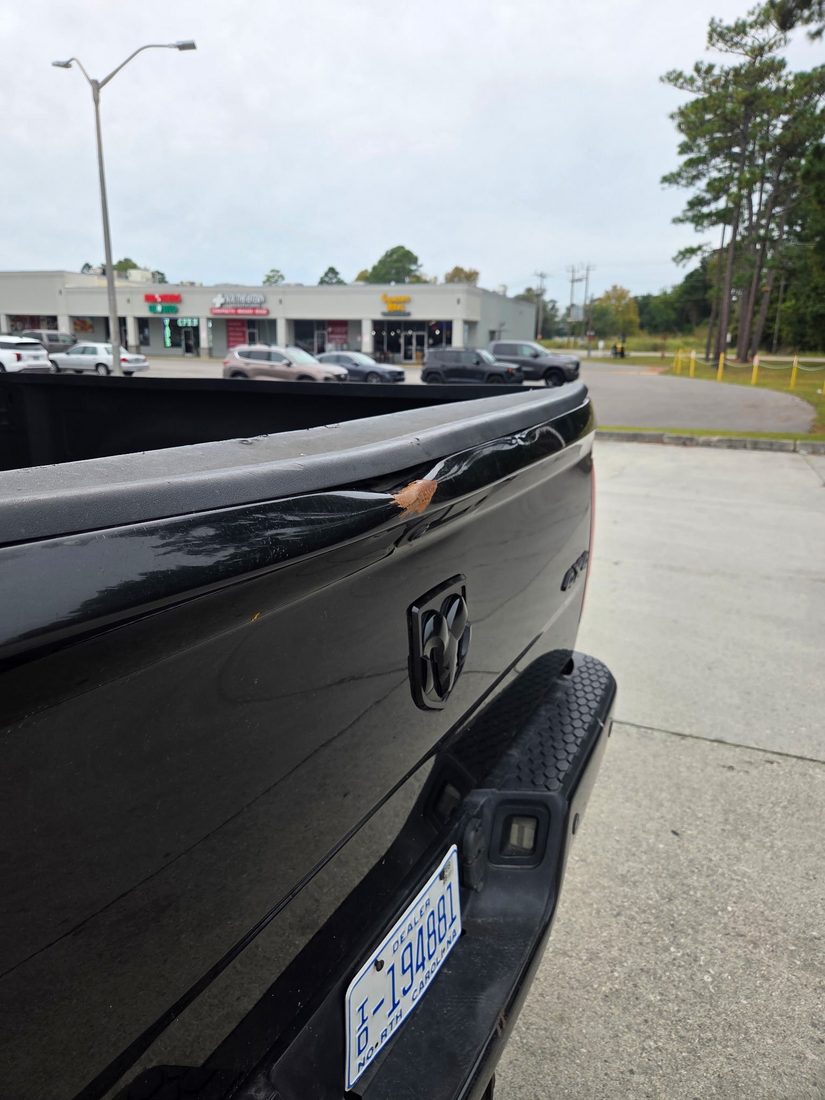
A crushed, rusting tailgate edge cut back, filled, blocked straight, and repainted until it reflected like a mirror.
BeforeAfter
Drag the handle. Same tailgate — rust and a caved-in edge on the left, mirror-black paint on the right.
The Yukon Chrome Delete
GMC Yukon · chrome delete + full detail
01 Off with the chrome
Grille off and sanded downTrim pieces preppedChrome scuffed, shine killedEvery piece gets the same treatment
02 Primer & blackout
Grille in primerPrimed smooth and evenTrim in primerEmblems blacked out
03 The finish
The finished front endFinal check under the hoodBumper, up closeFront three-quarter, finishedRear three-quarter
04 Inside, too
Doors open, cabin detailedSide door, detailedBack seat brought backDoor panel, every switch cleanRear door and cargo area
The Ram Tailgate Save
Ram 4x4 · dent removal + rust repair + paint
01 How it rolled in
How it rolled inDent and rust on the edgeThe damage, from the side
02 Bodywork
Masked off, ready to workFiller laid on the edgeShaped by handBlocked and sanded smooth
03 Paint
Basecoat going downBlending the edge
04 Mirror finish
The finished tailgateMirror gloss, up close
The Lincoln Mark VII
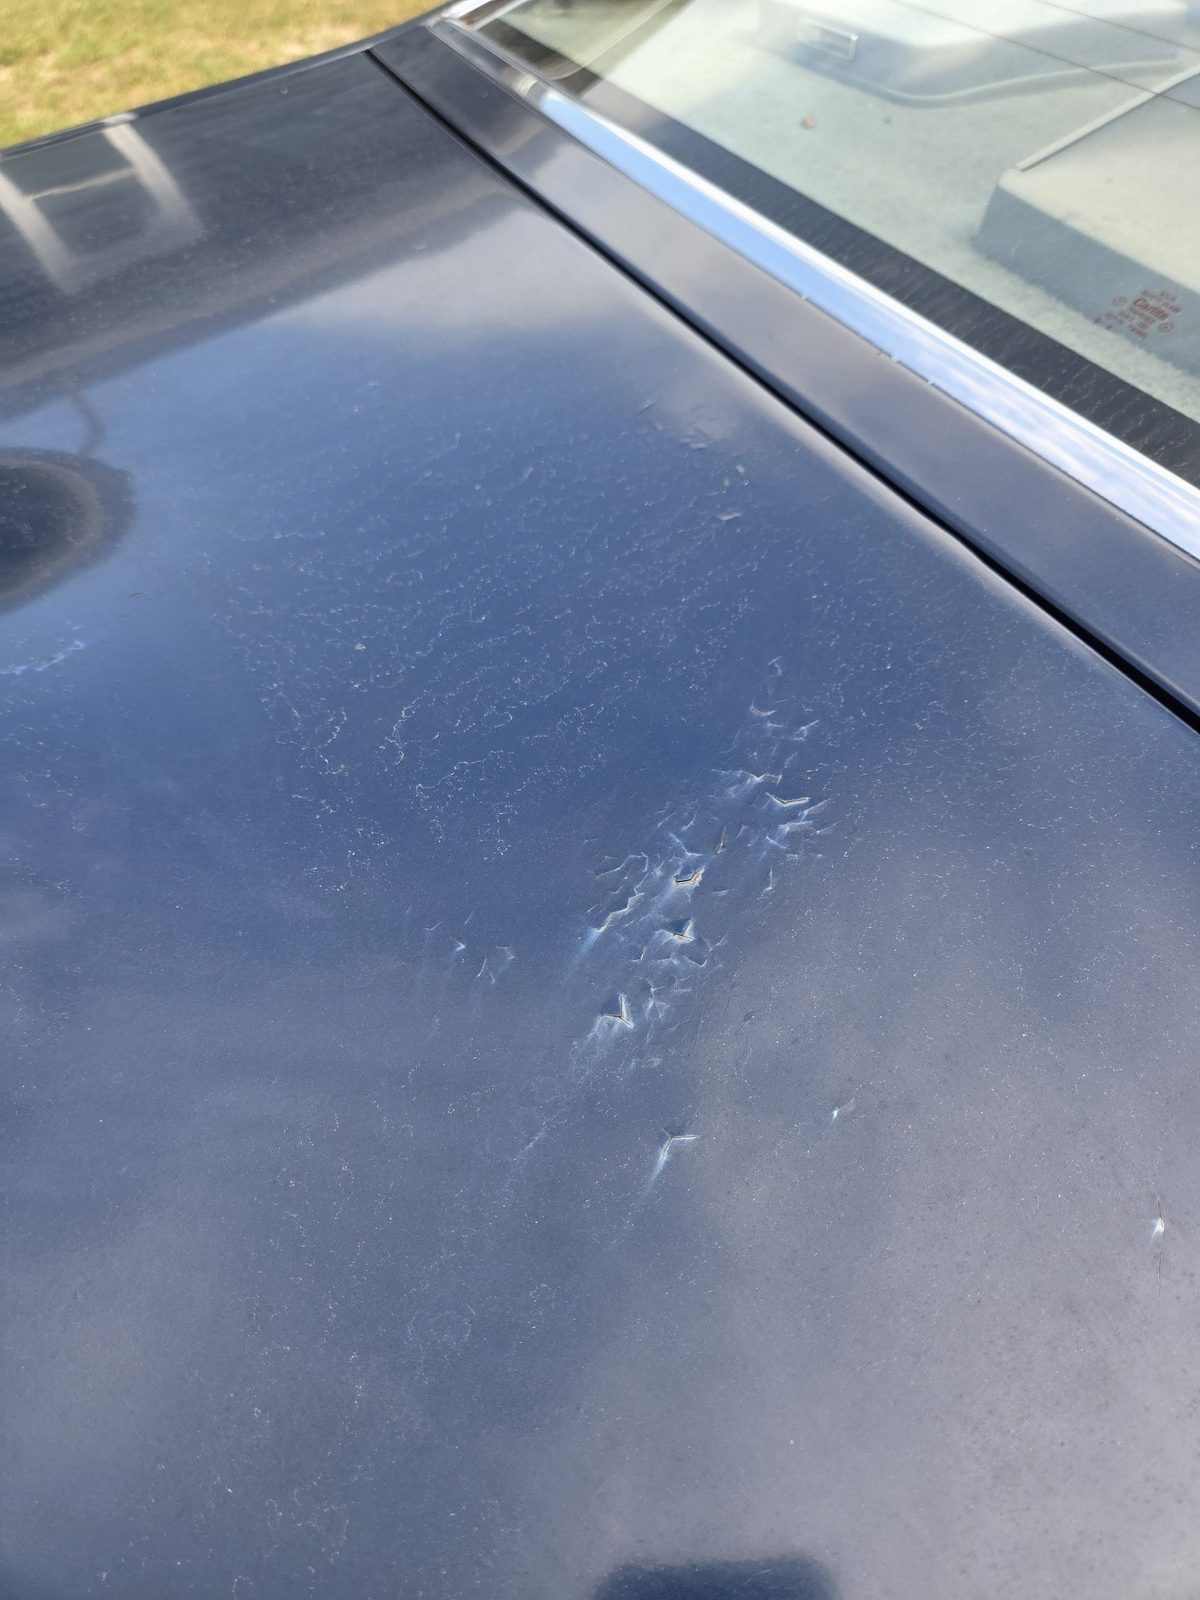
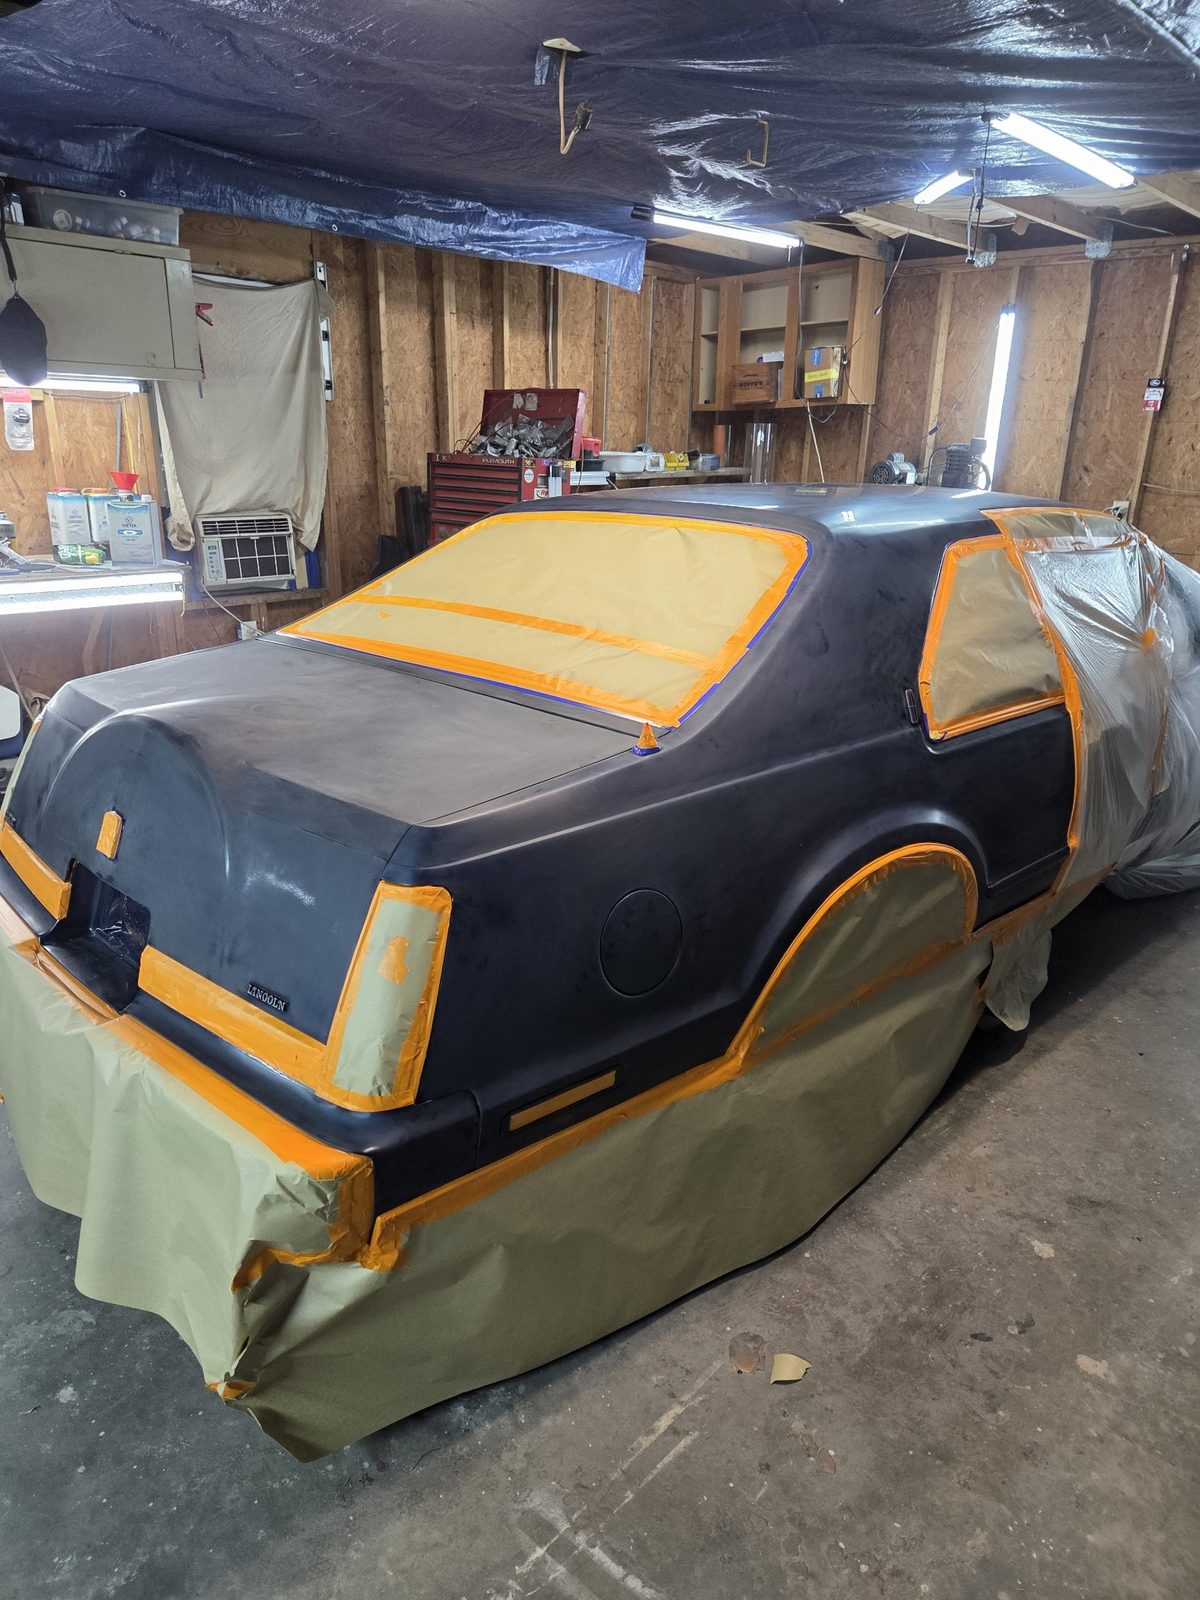
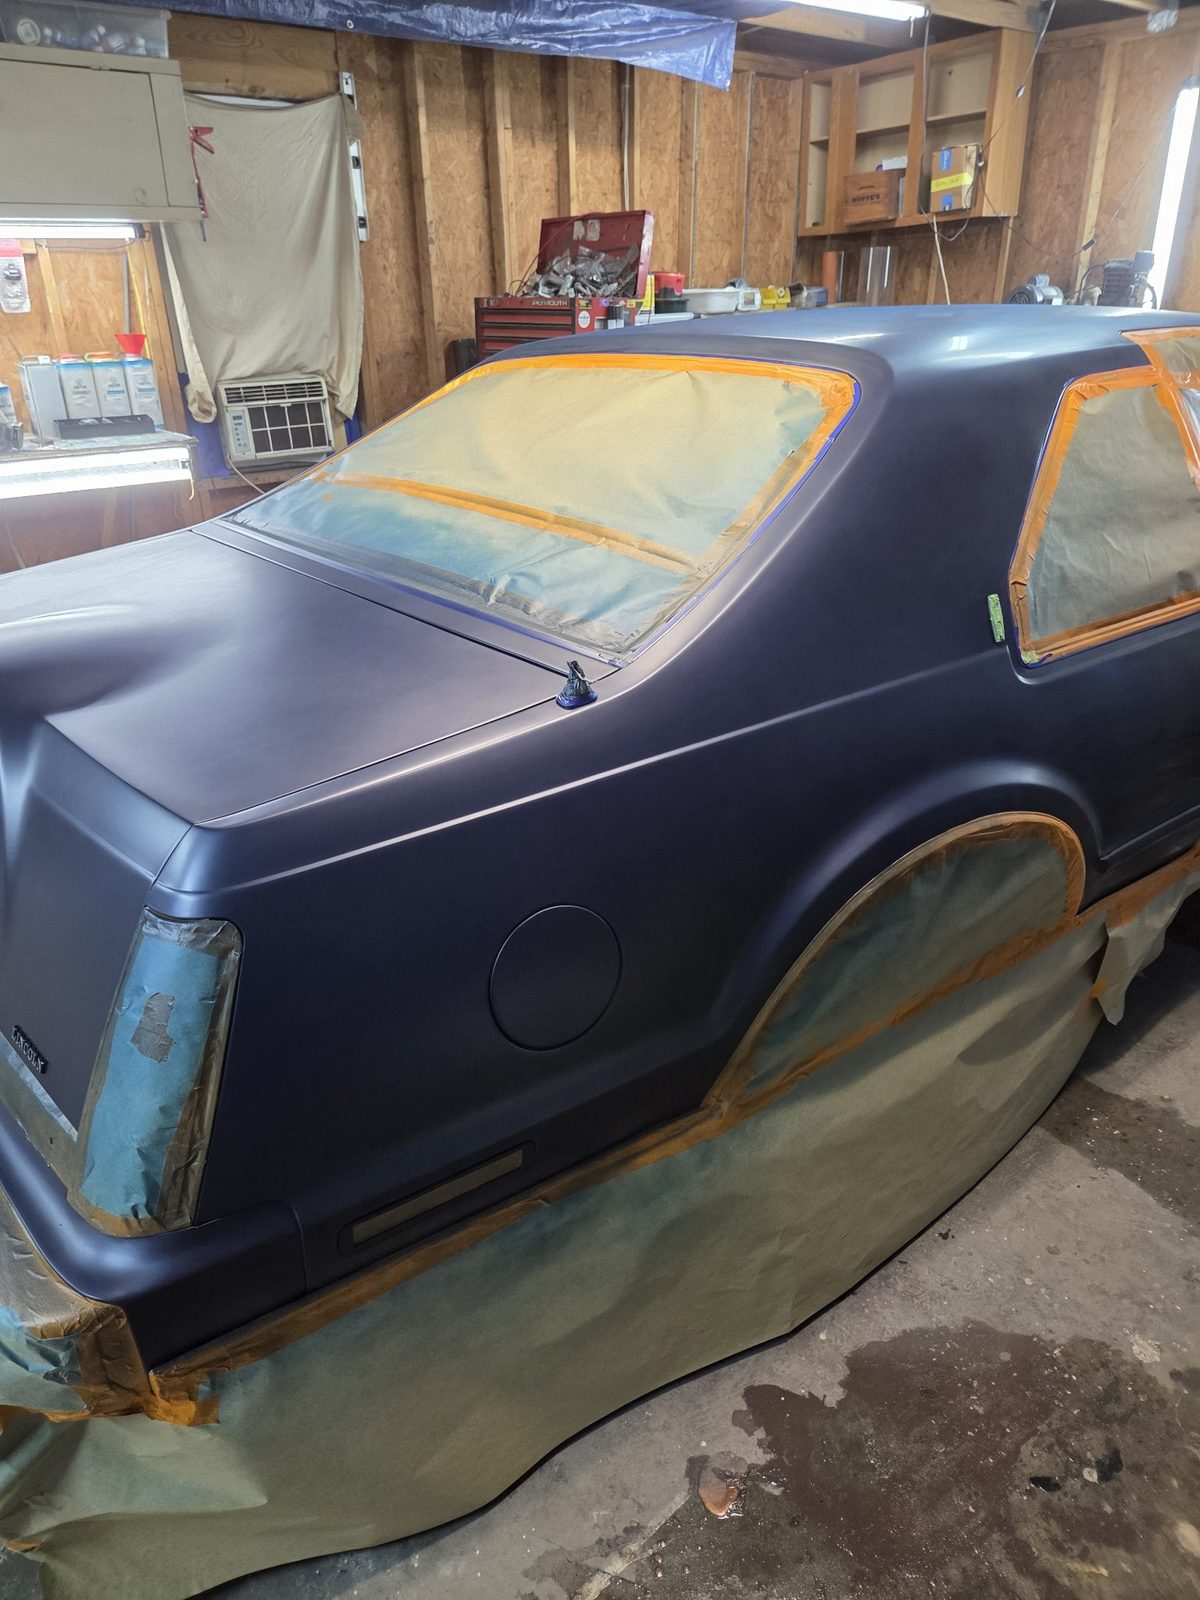
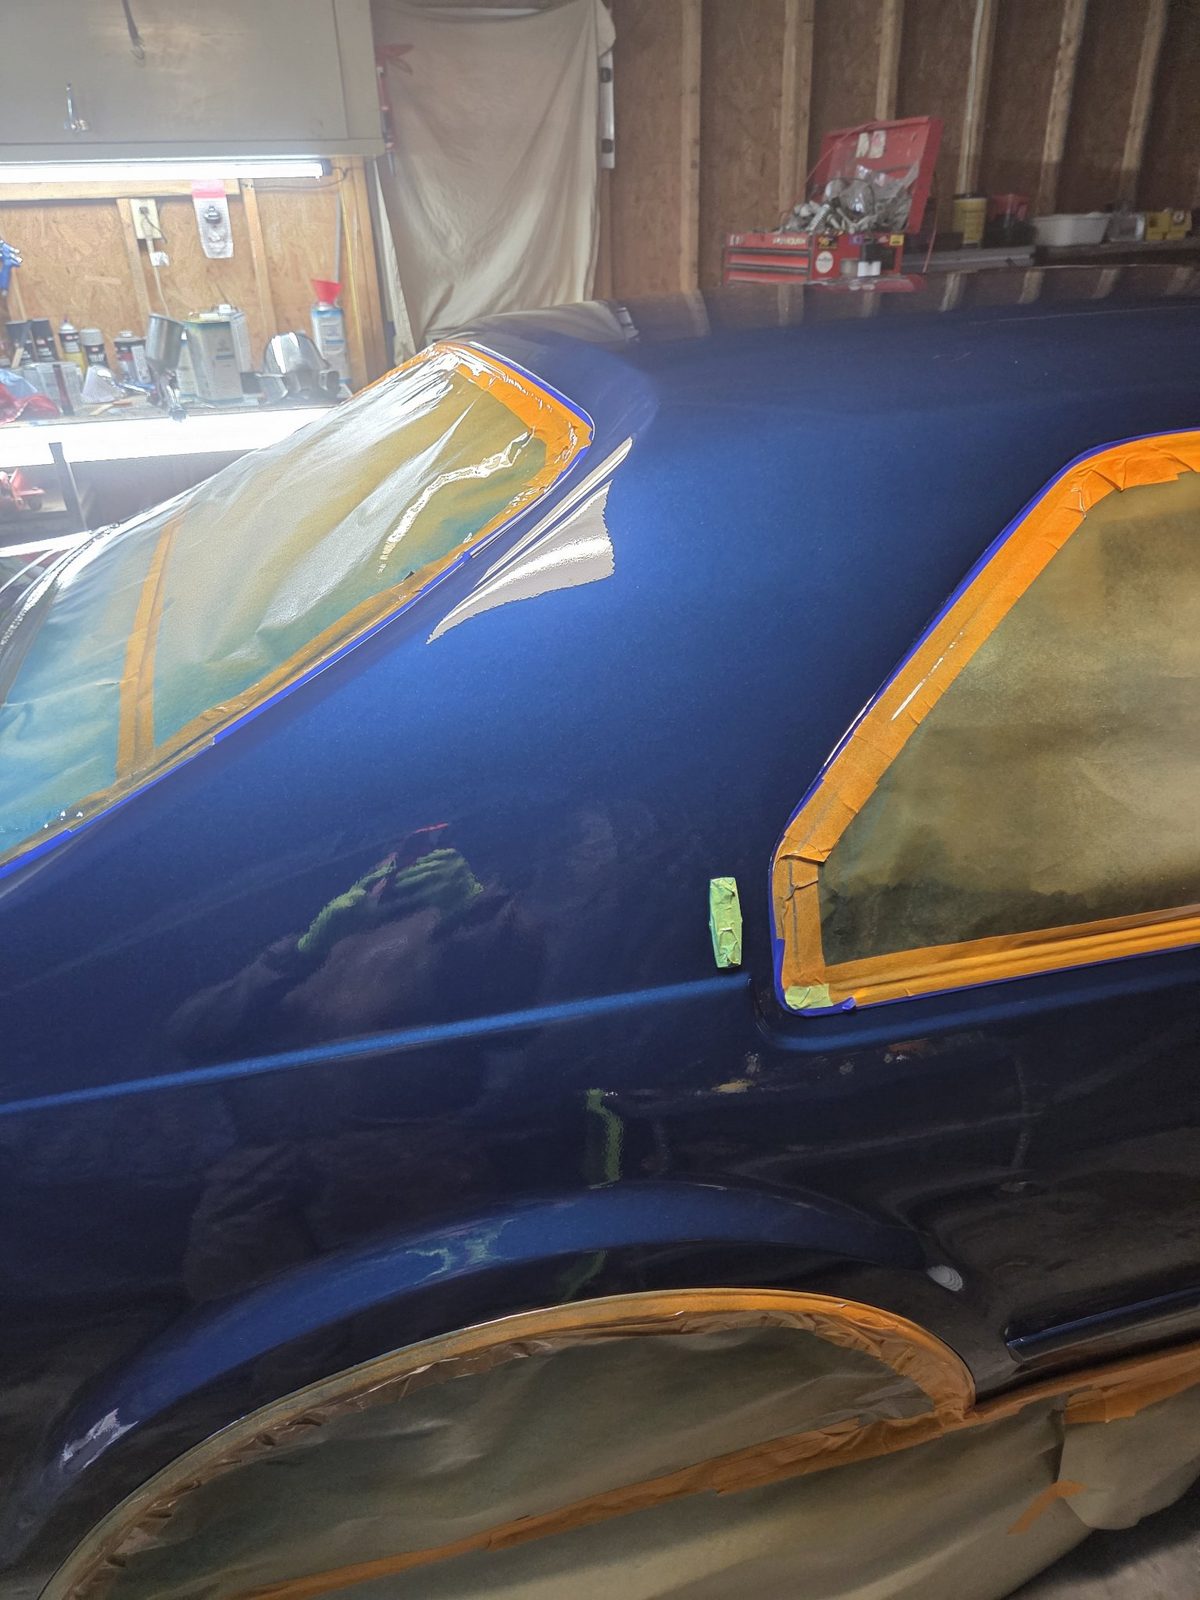
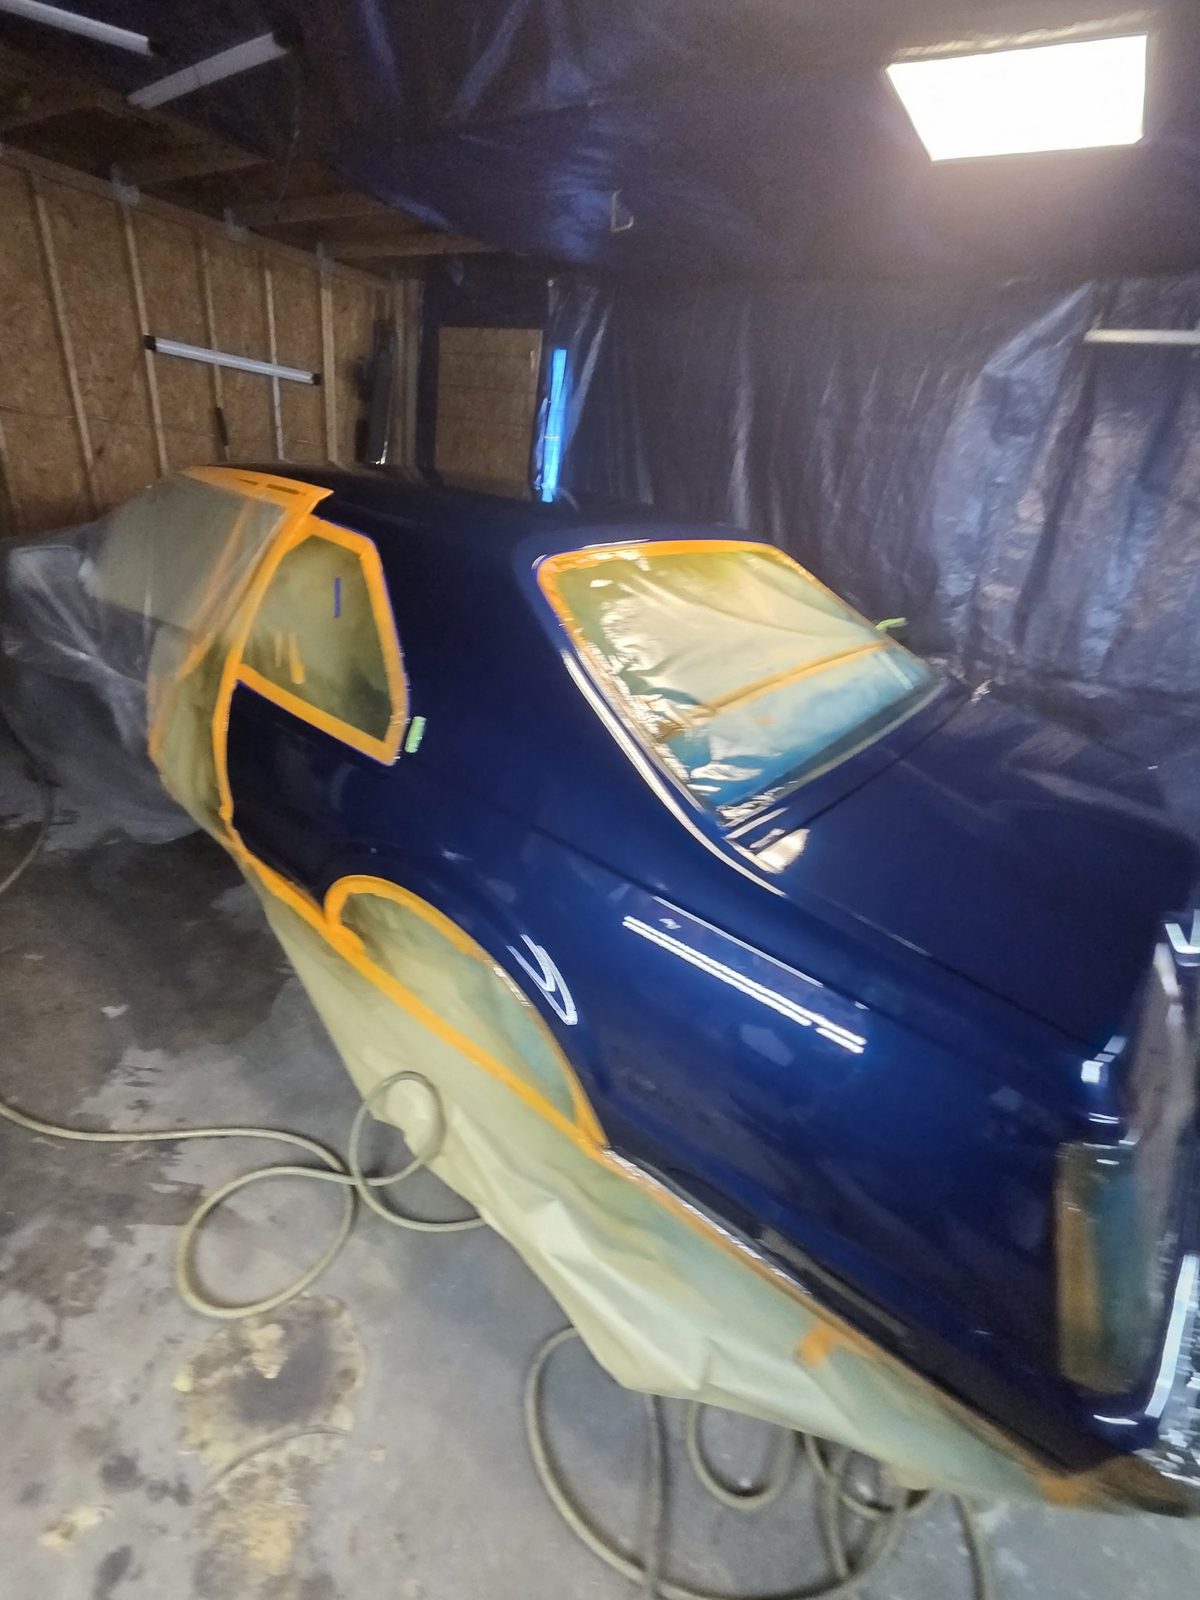
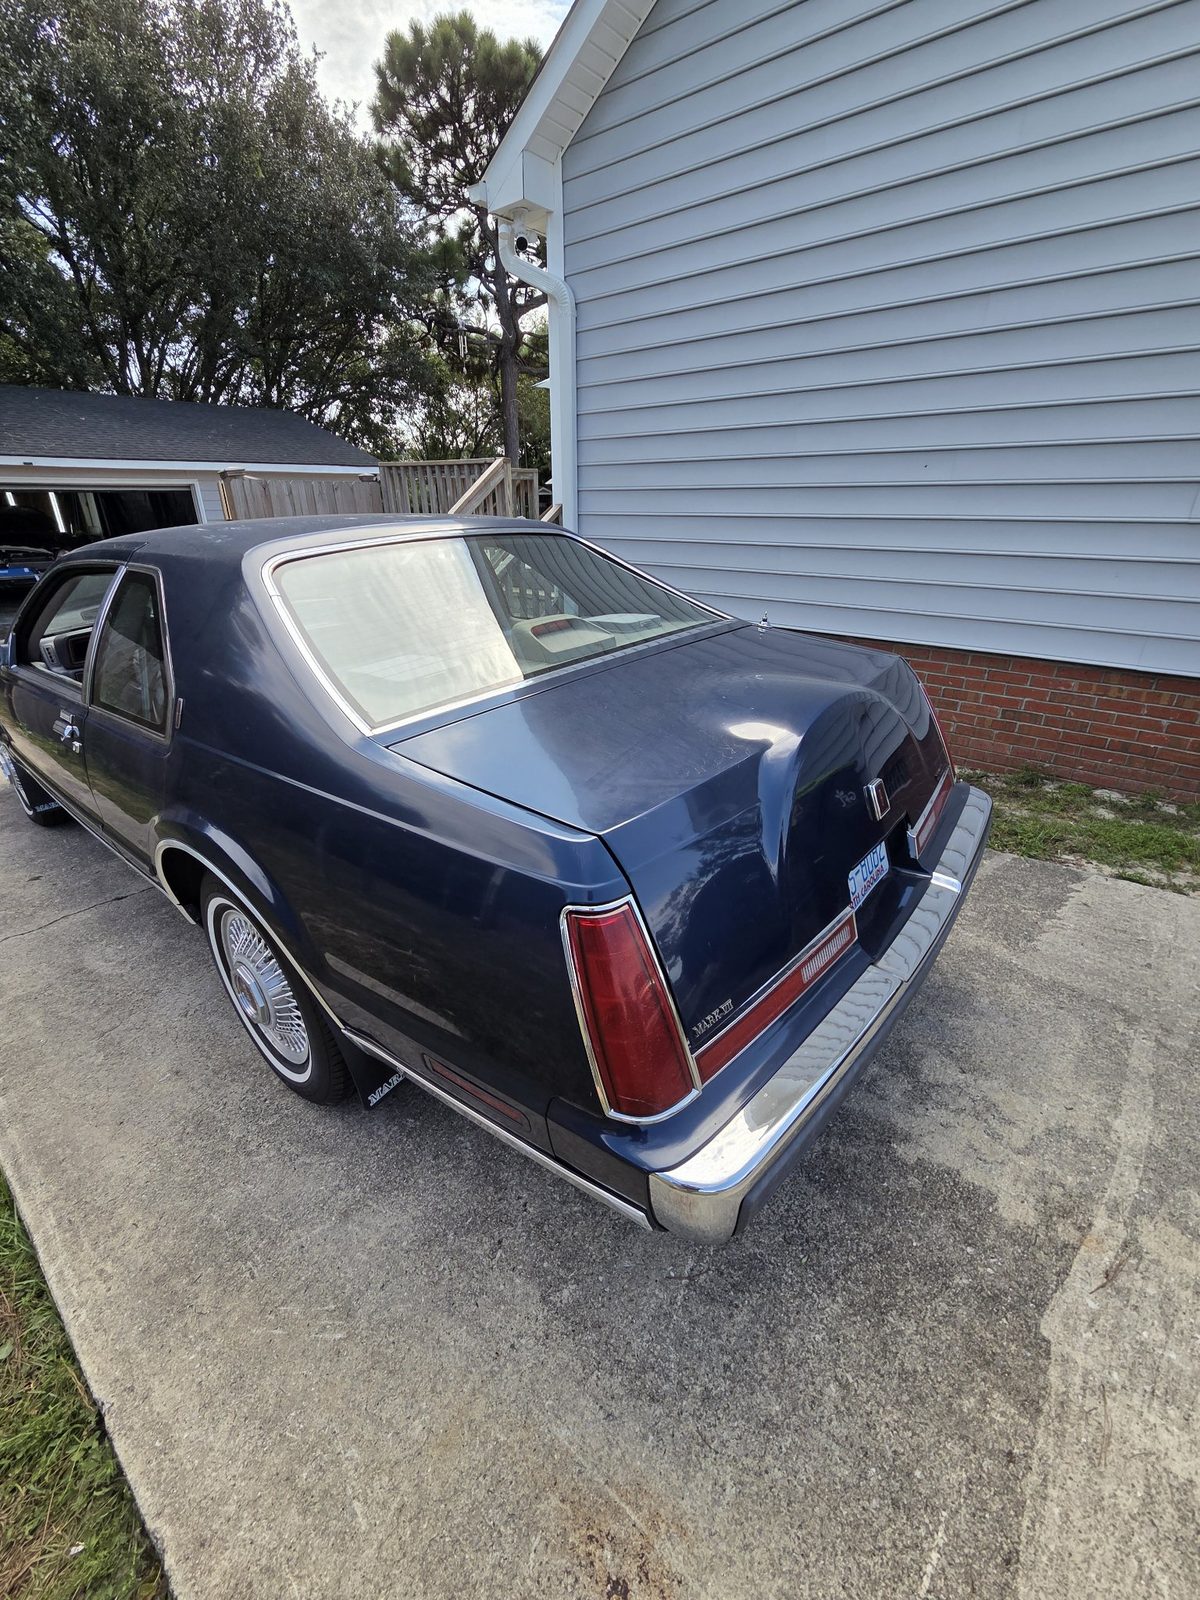
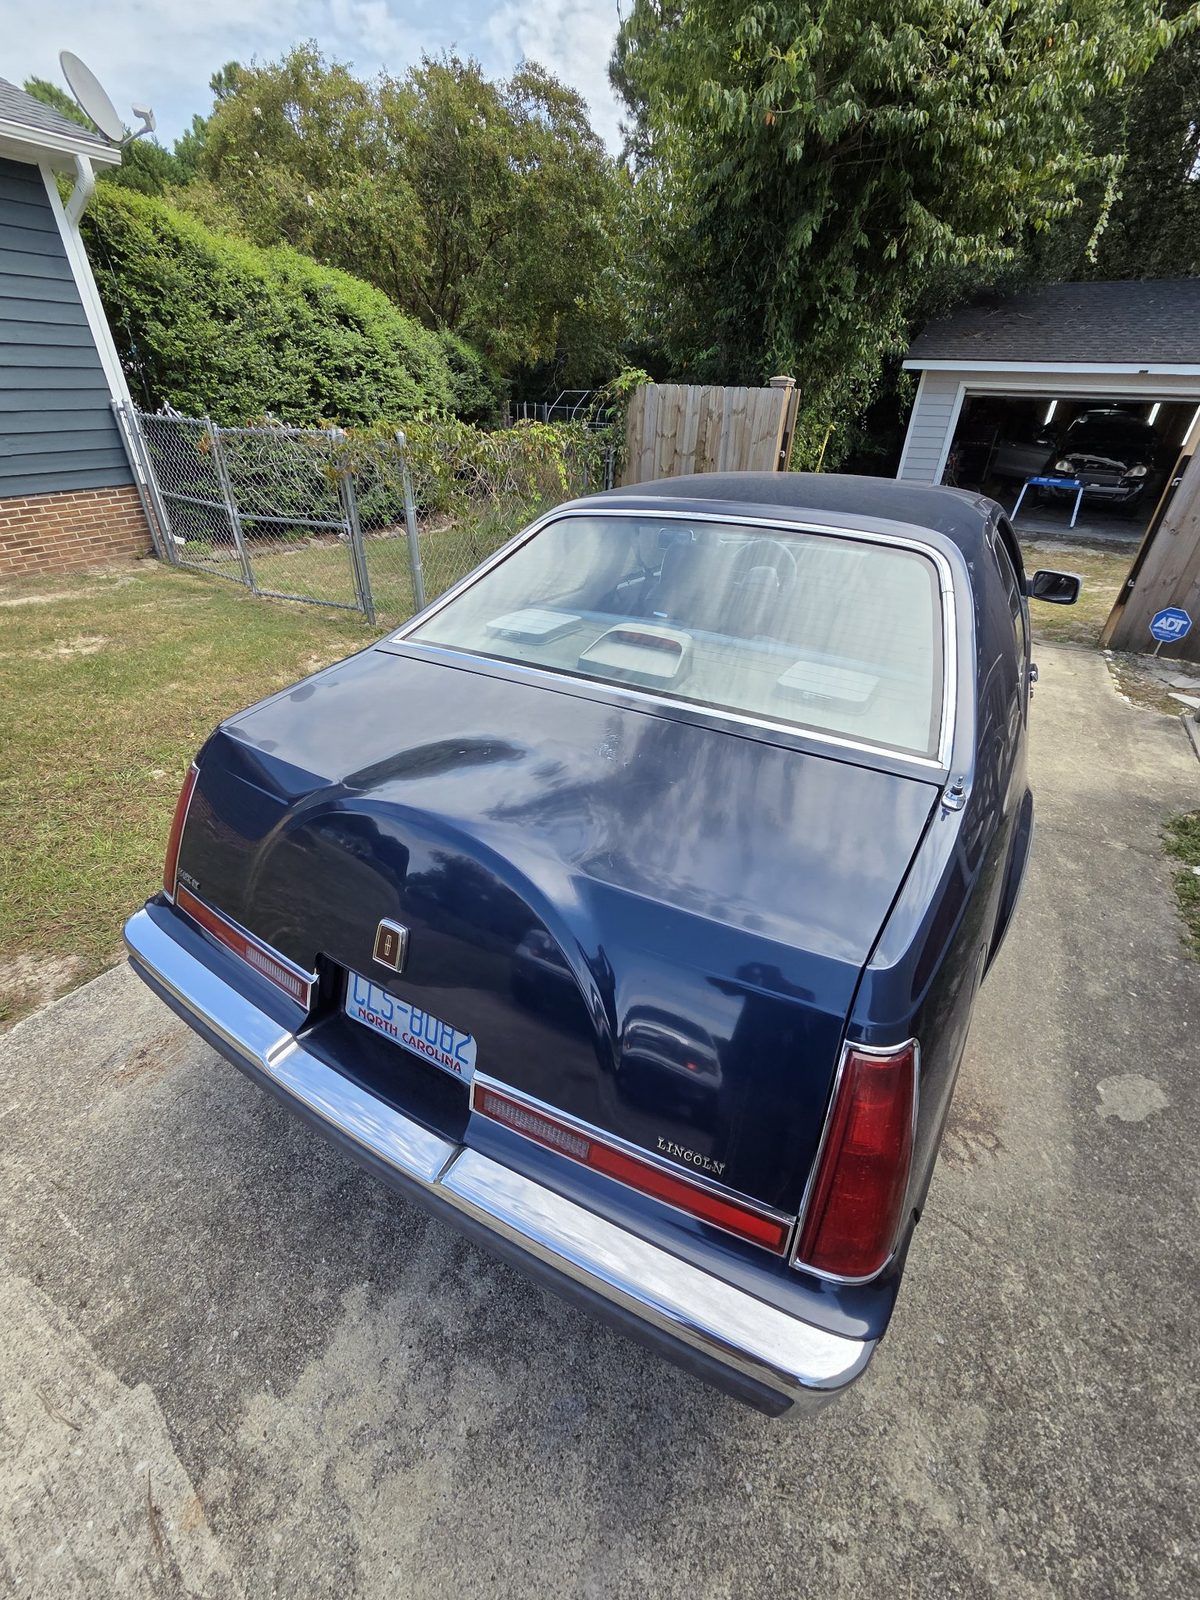
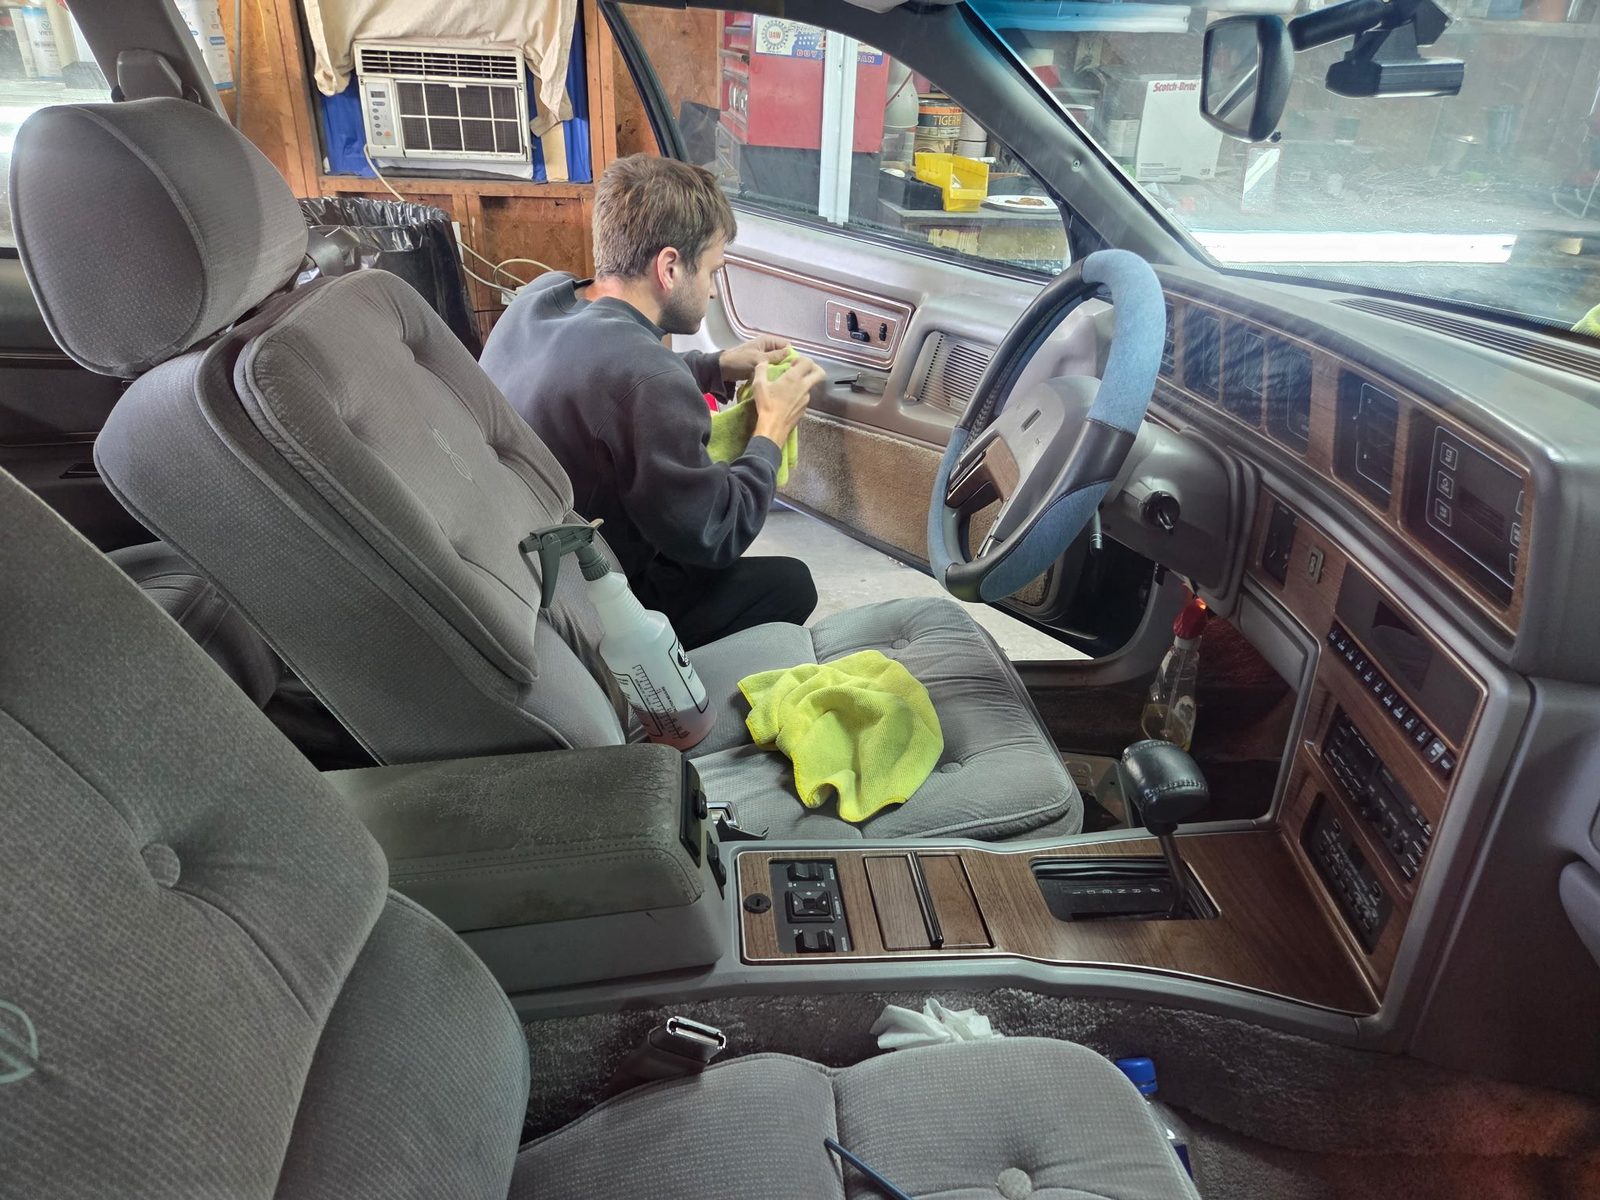
Lincoln Mark VII · paint crack repair + repaint + full detail
01 The damage
Cracked paint — how it came in
02 Masked & in paint
Masked off, trunk and roof in base coatBase coat laid on the rearFresh paint on the quarterTrunk and roof, fresh gloss
03 Polish & full detail
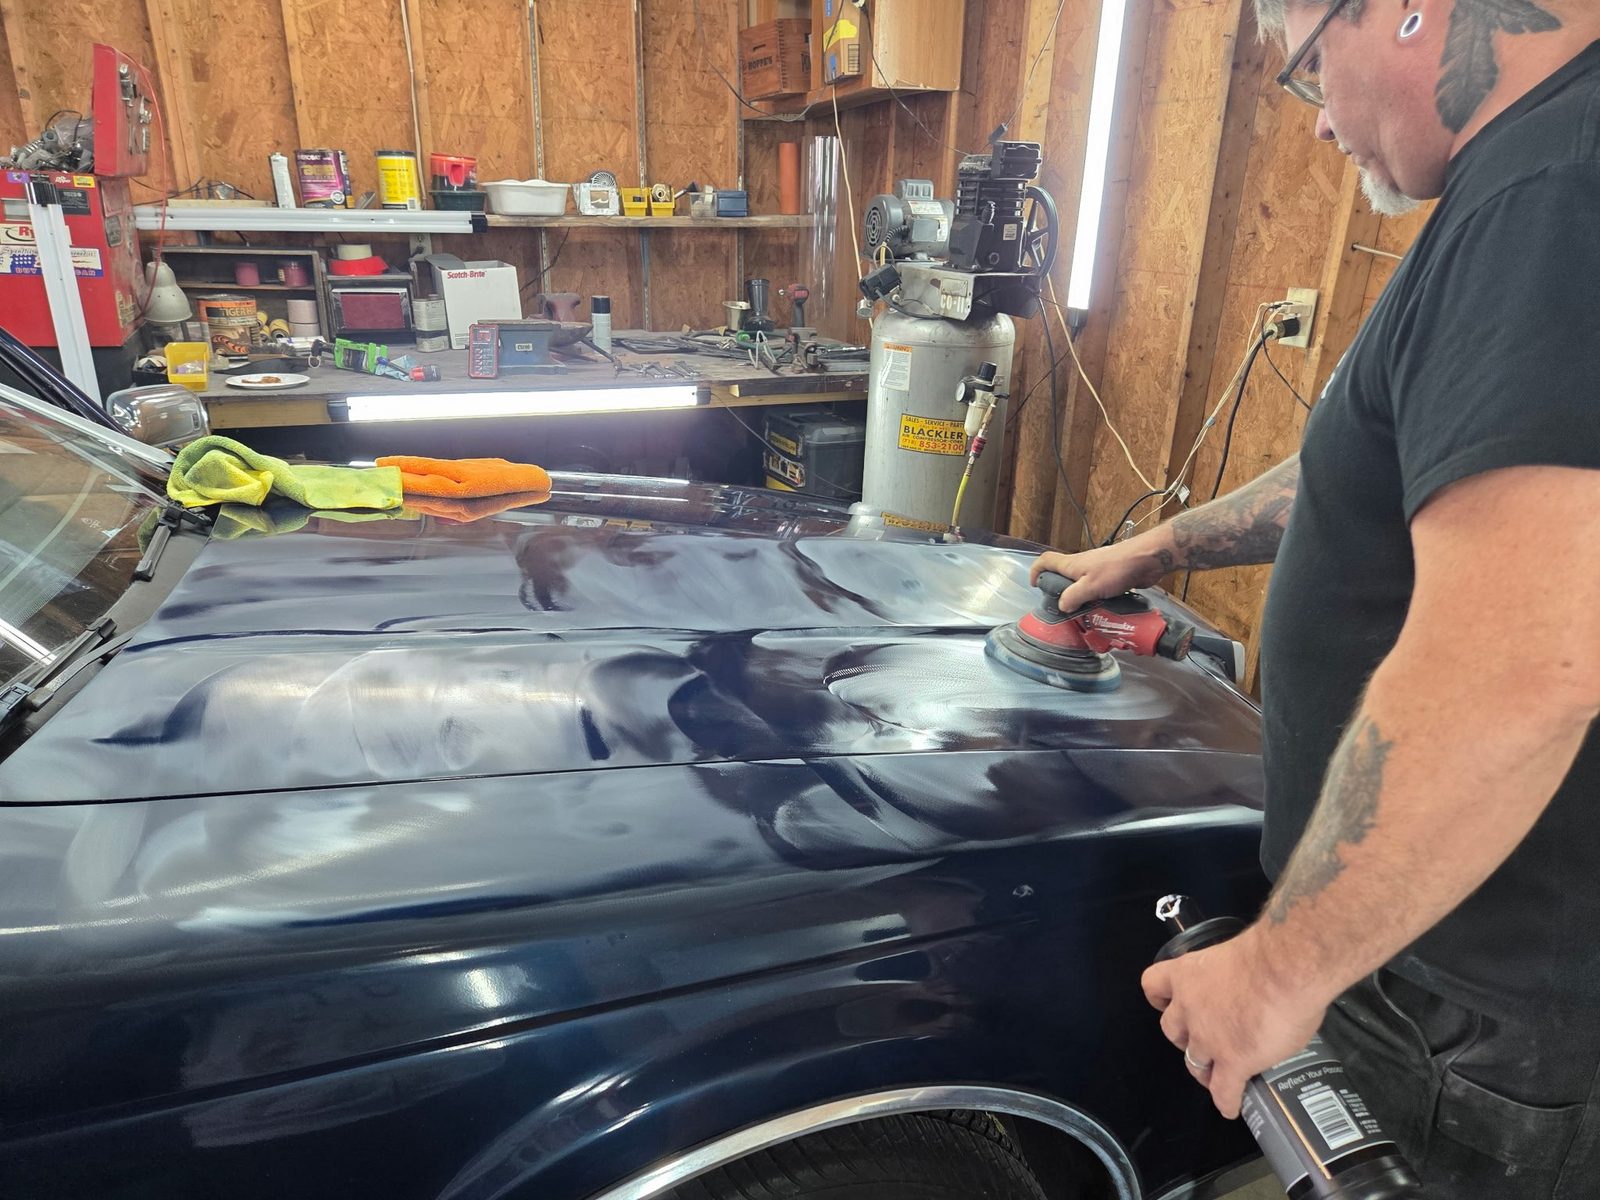
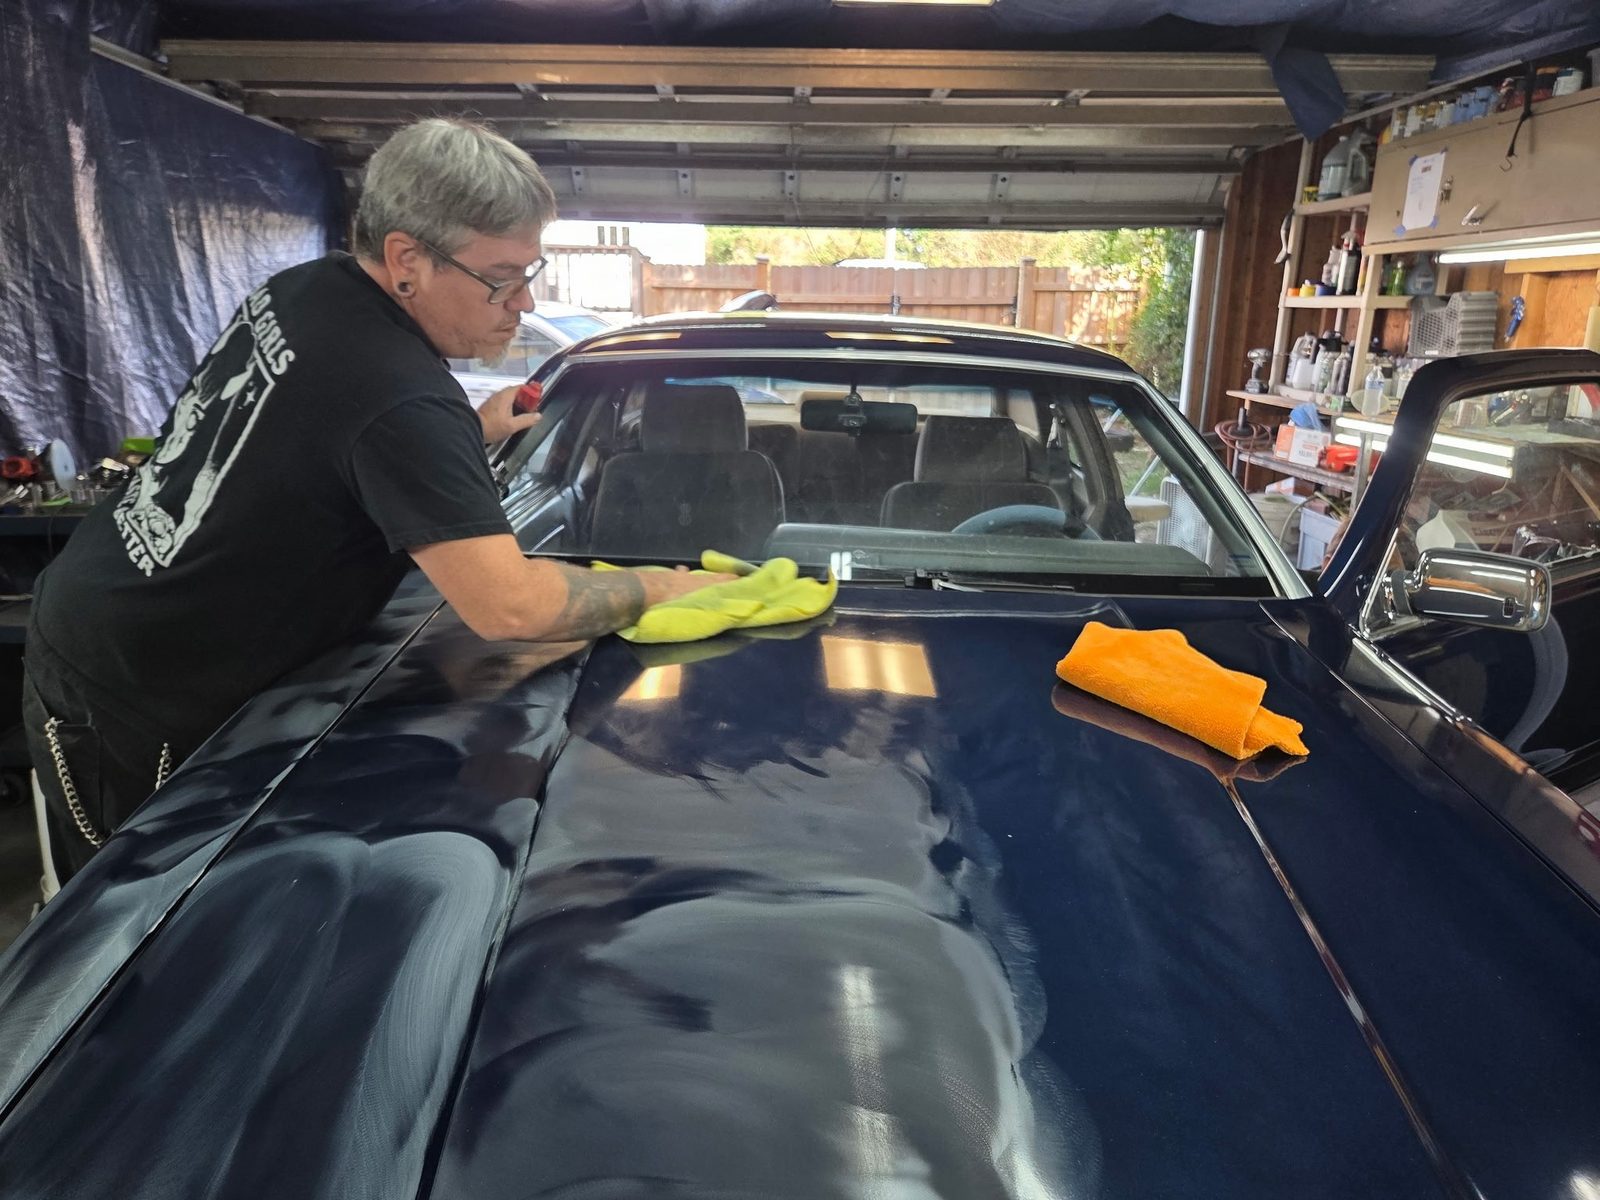
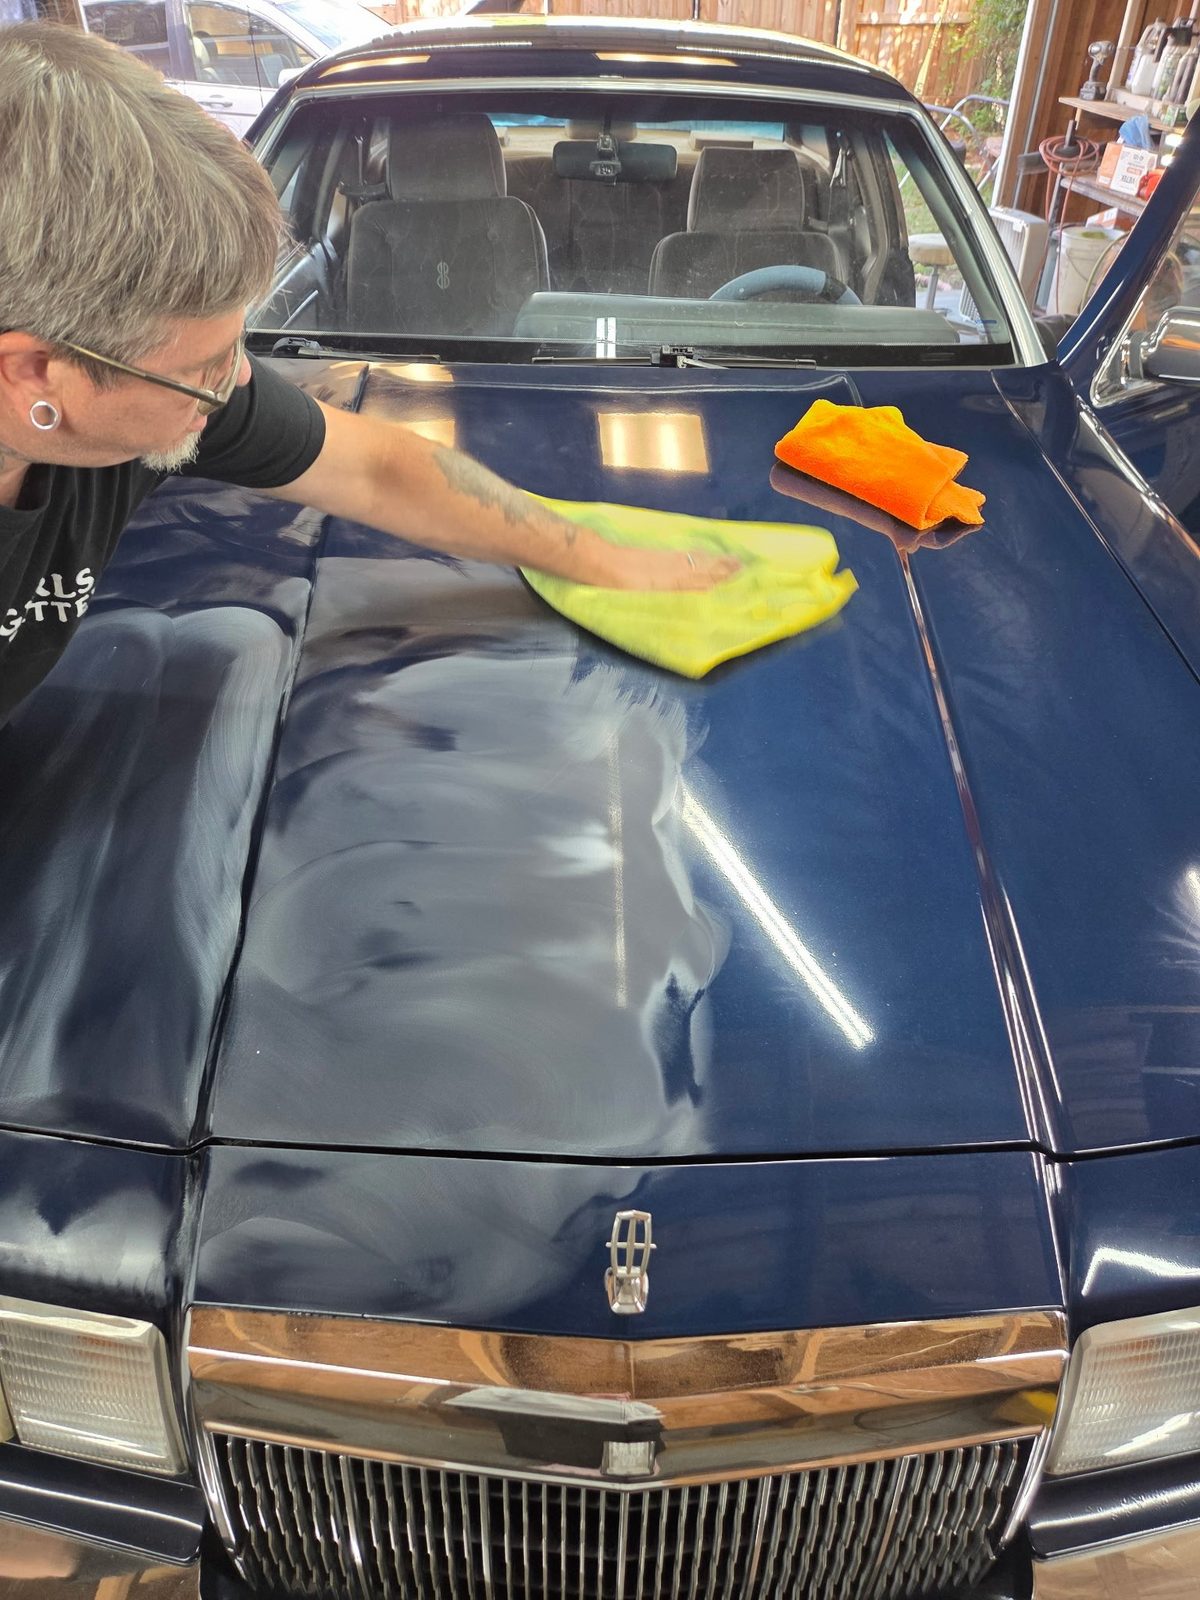
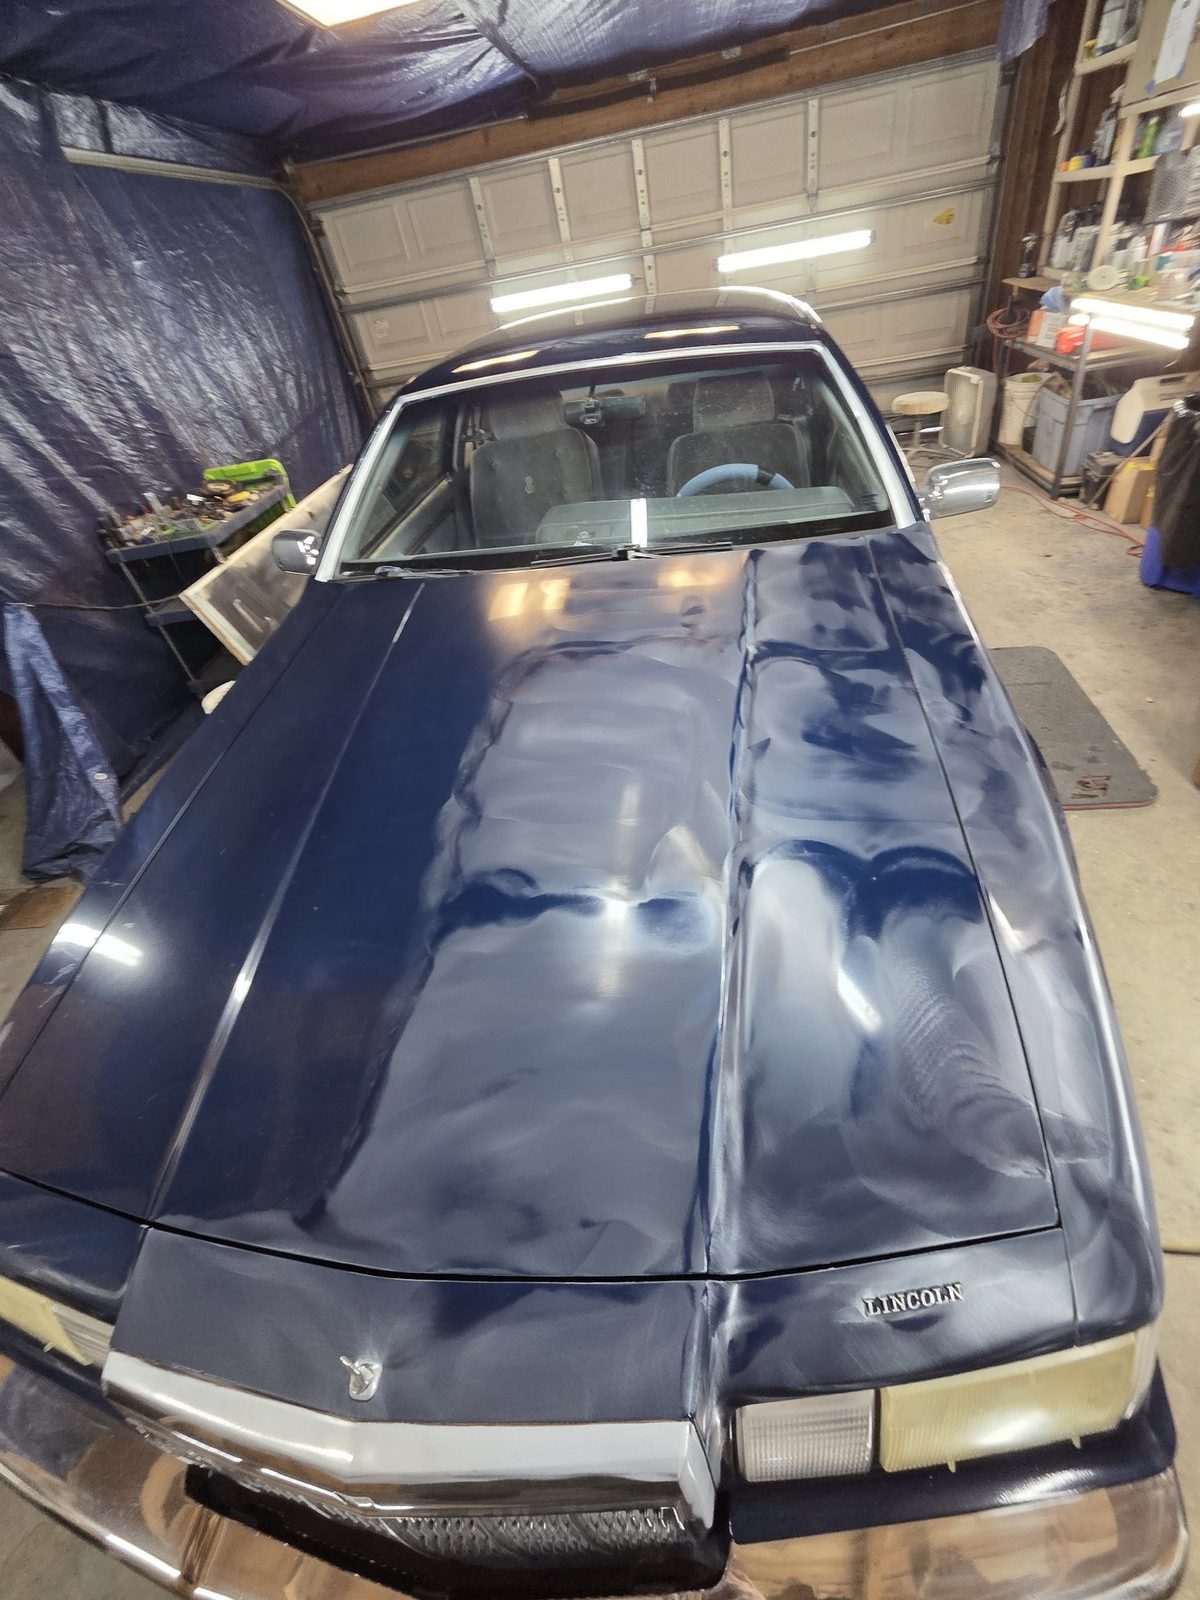
Polishing the hoodFinal wipe-down, by handThe hood, brought backFinished — deep gloss blueRear quarter, out in the daylightTrunk and roof, repaintedLucas on the interior detail
The Rotted Bed
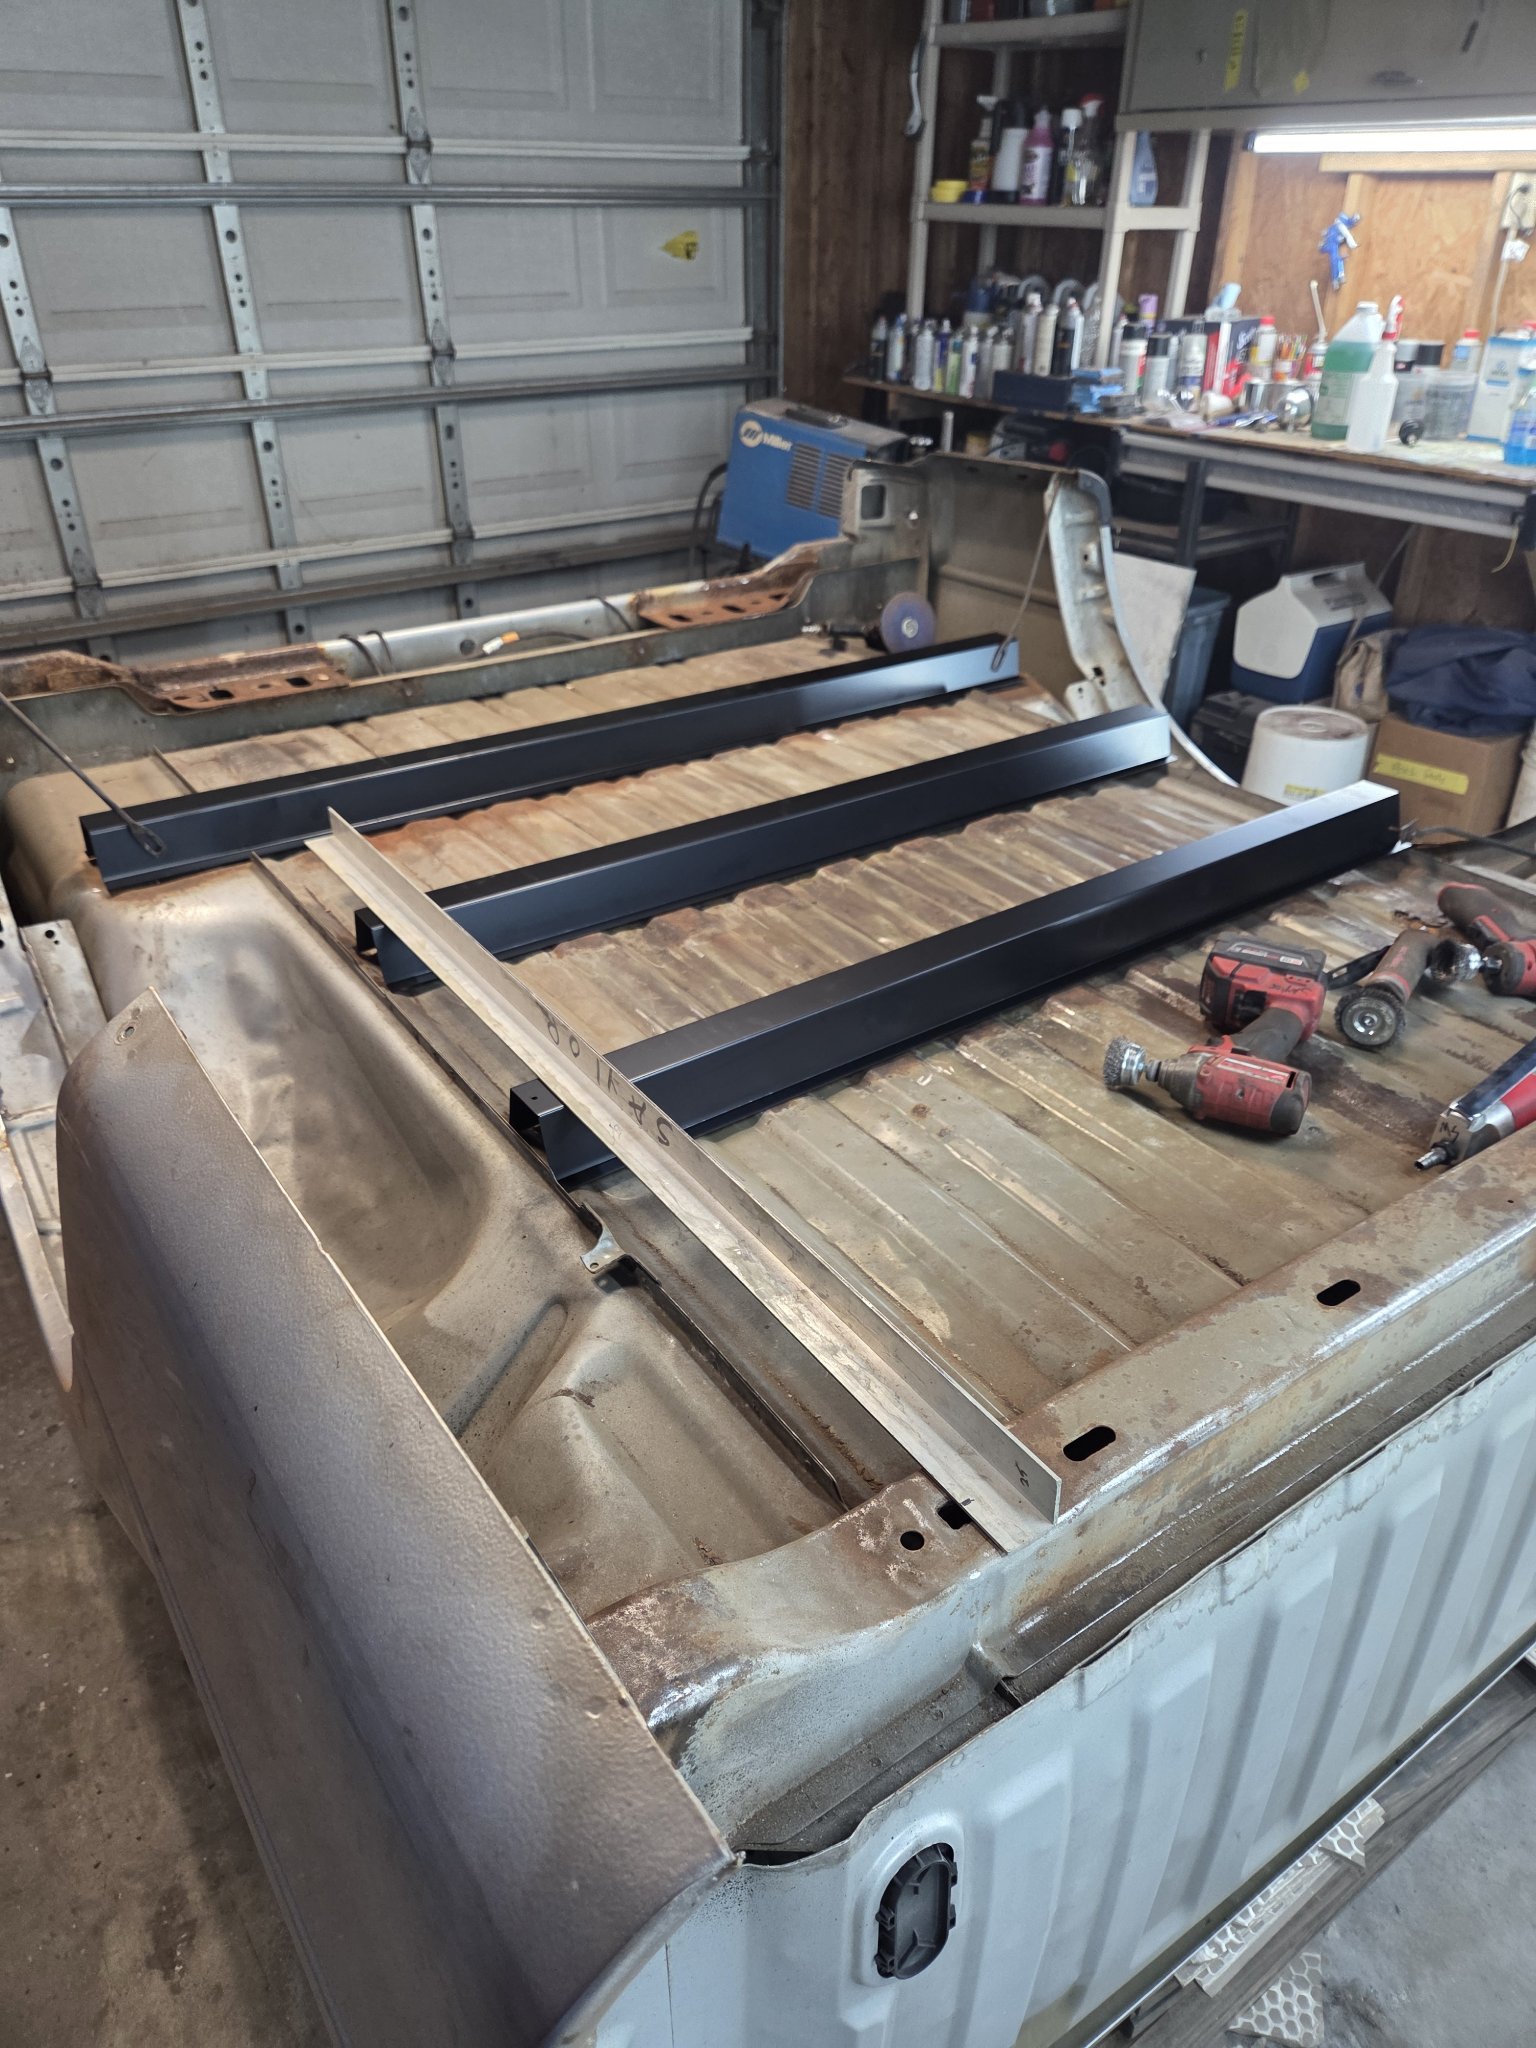
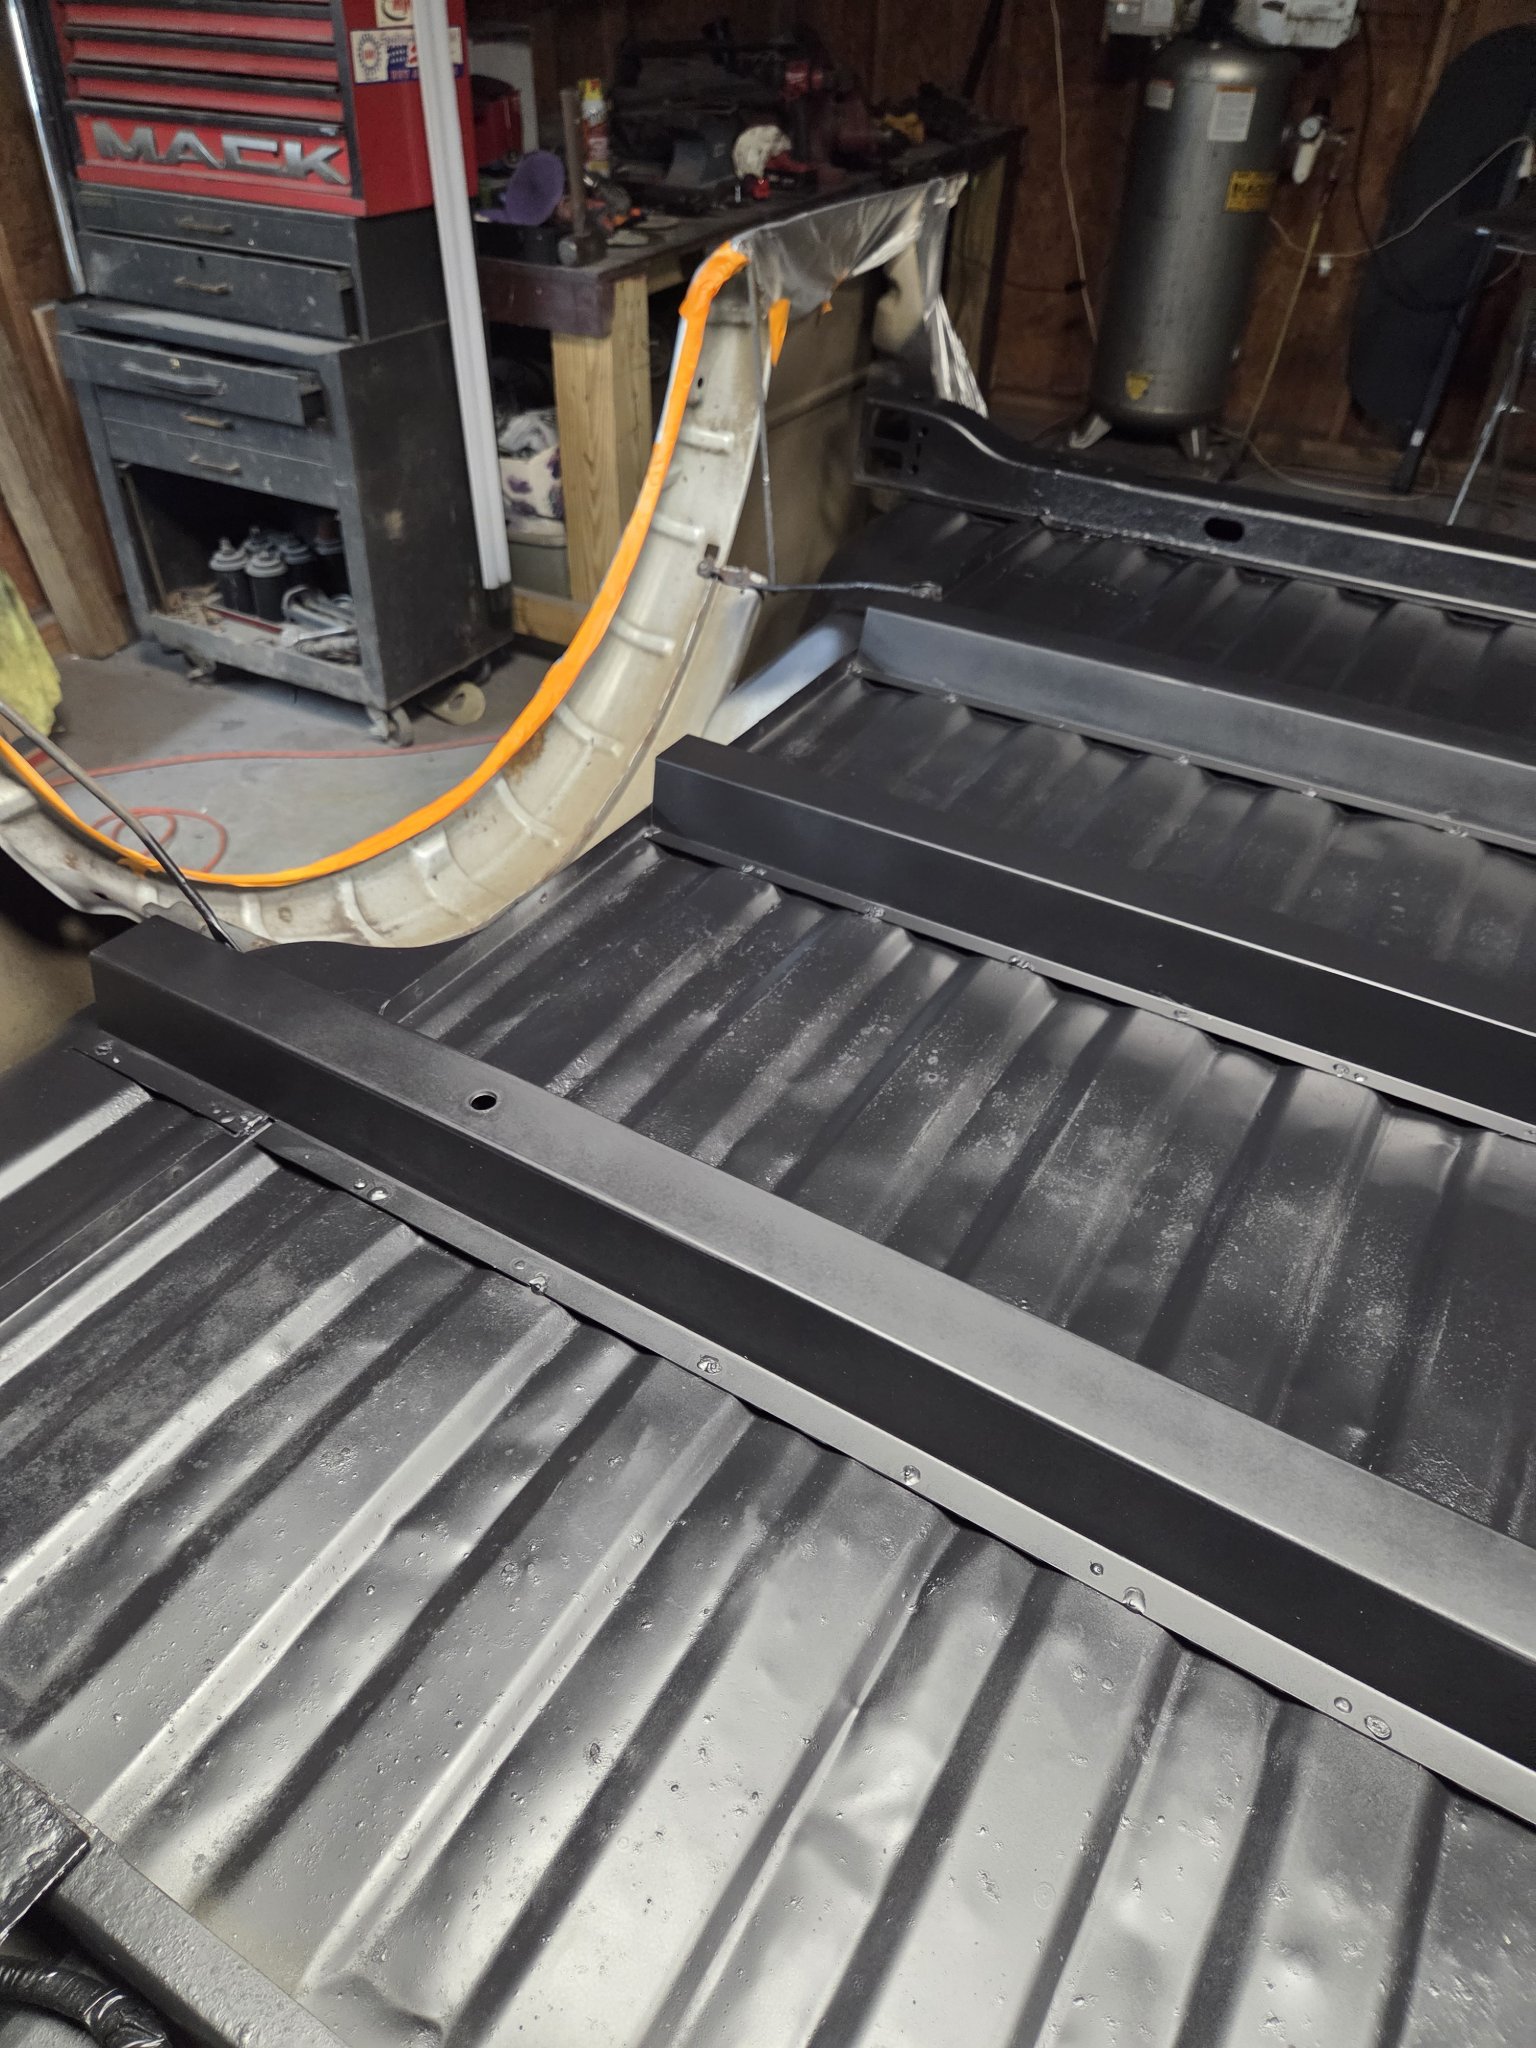
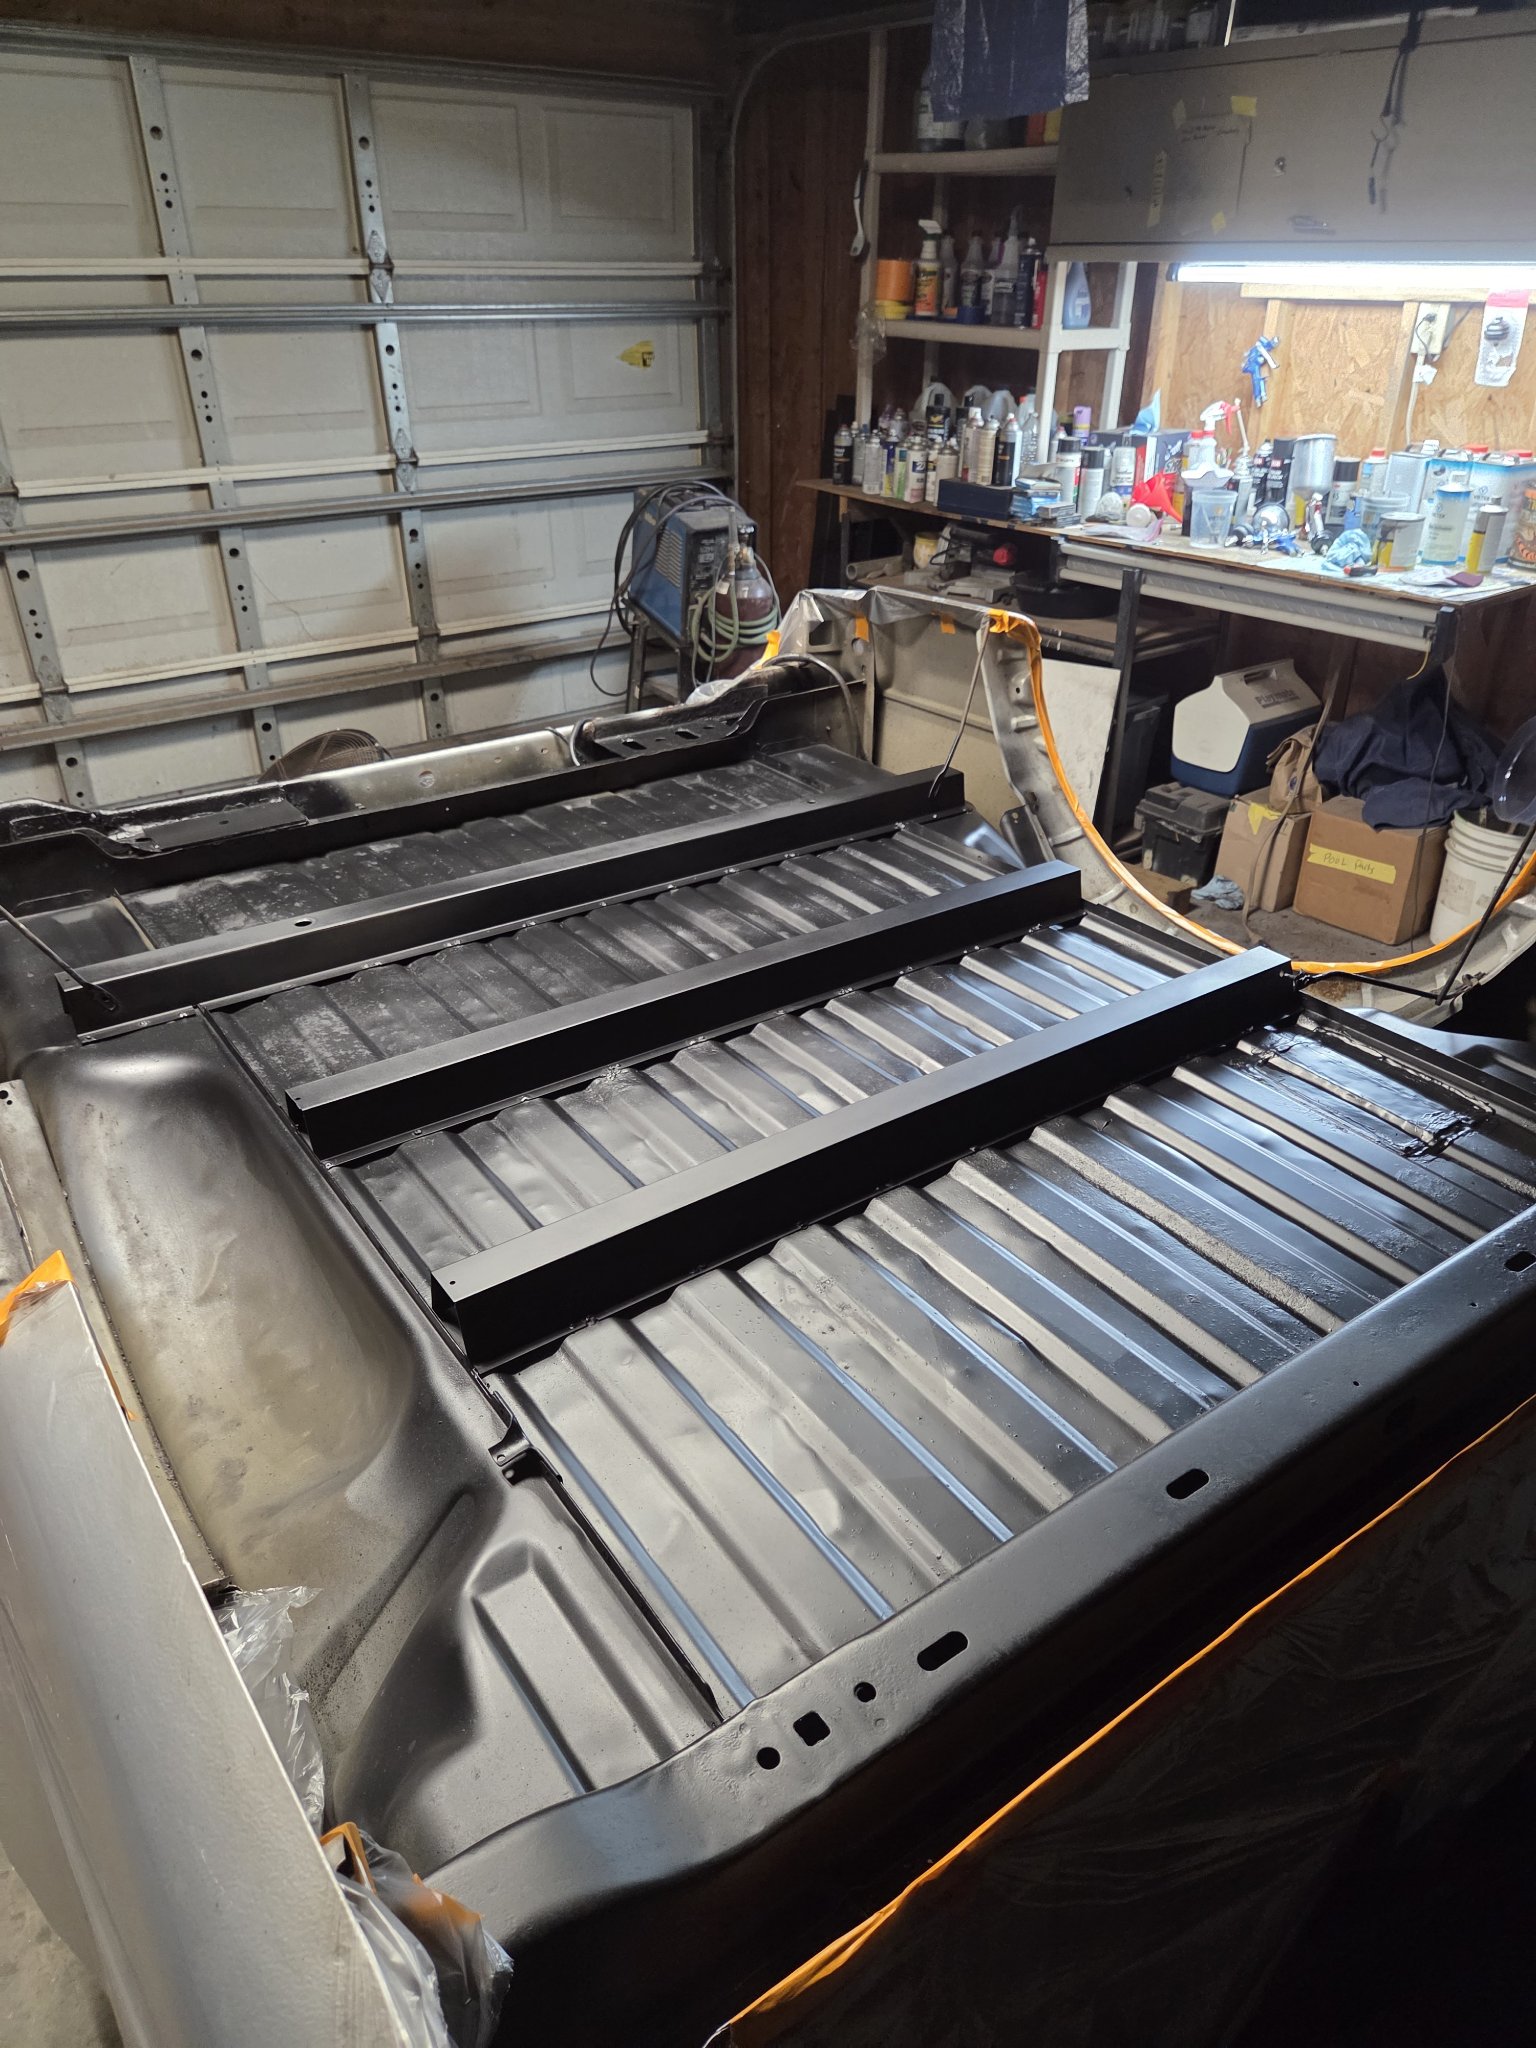
Pickup truck · bed rail replacement + underside sealed
Rotted From Underneath
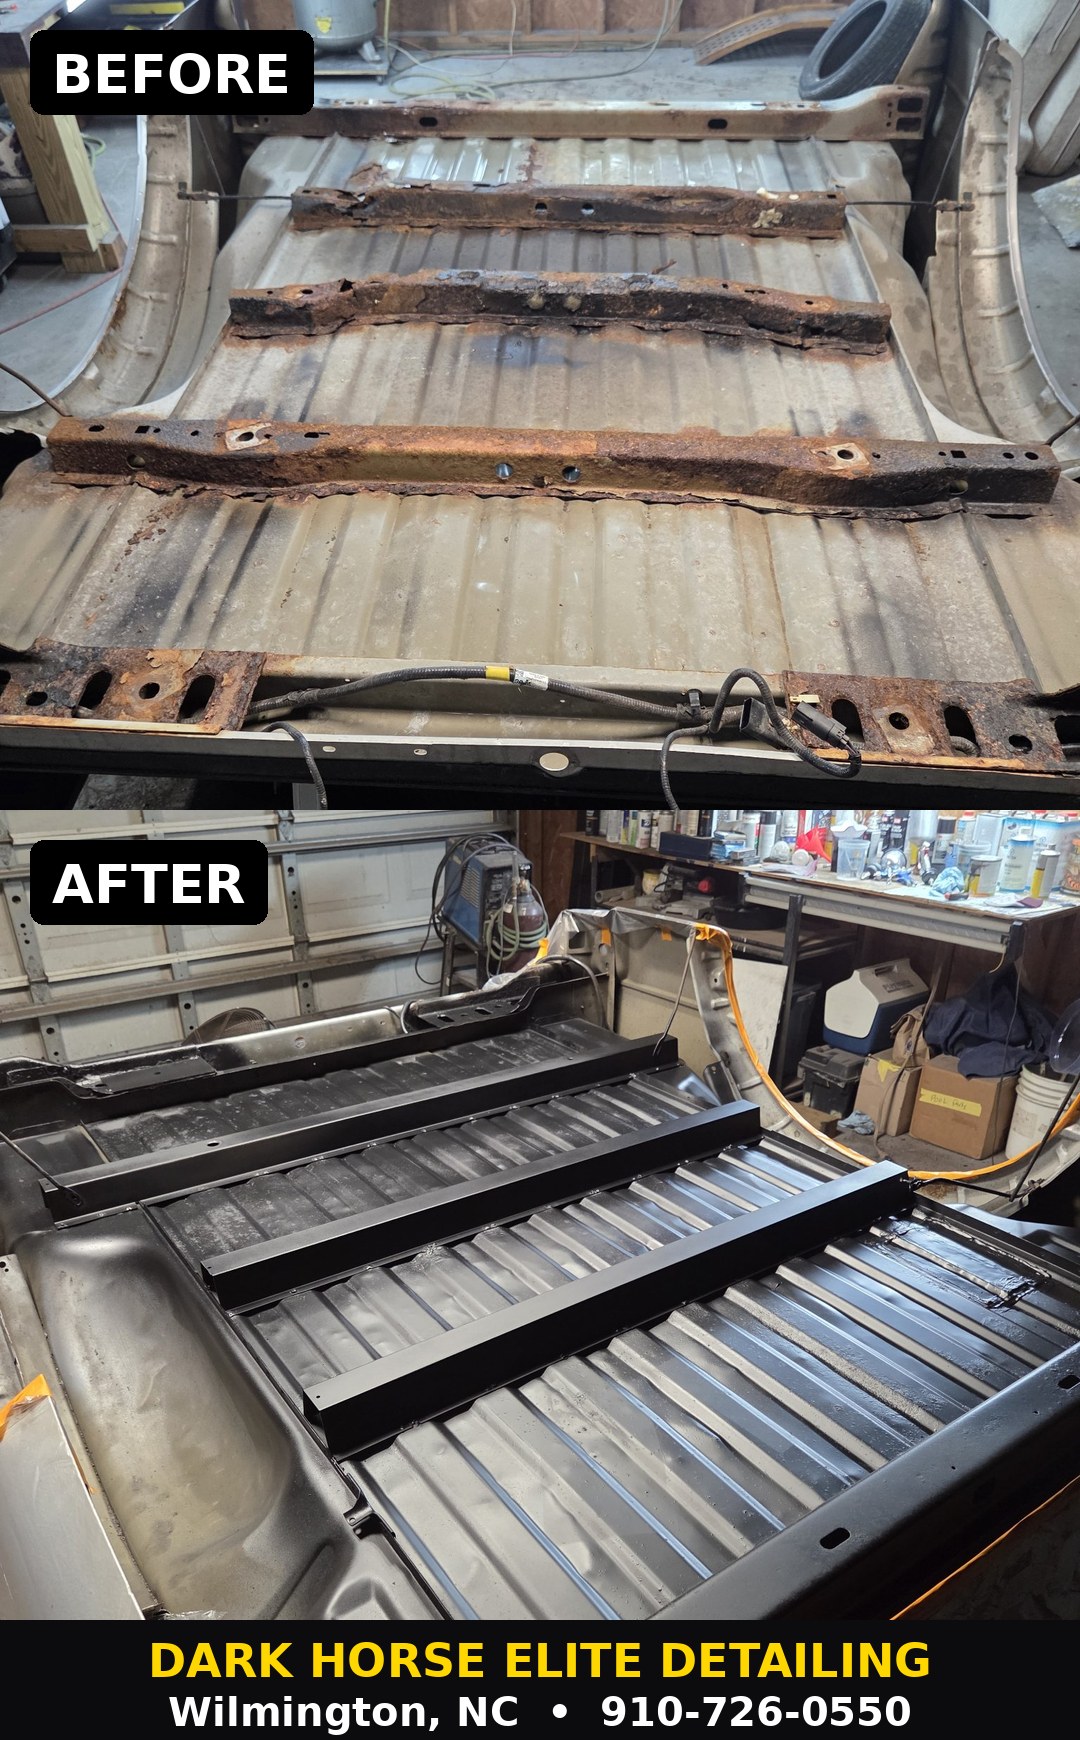
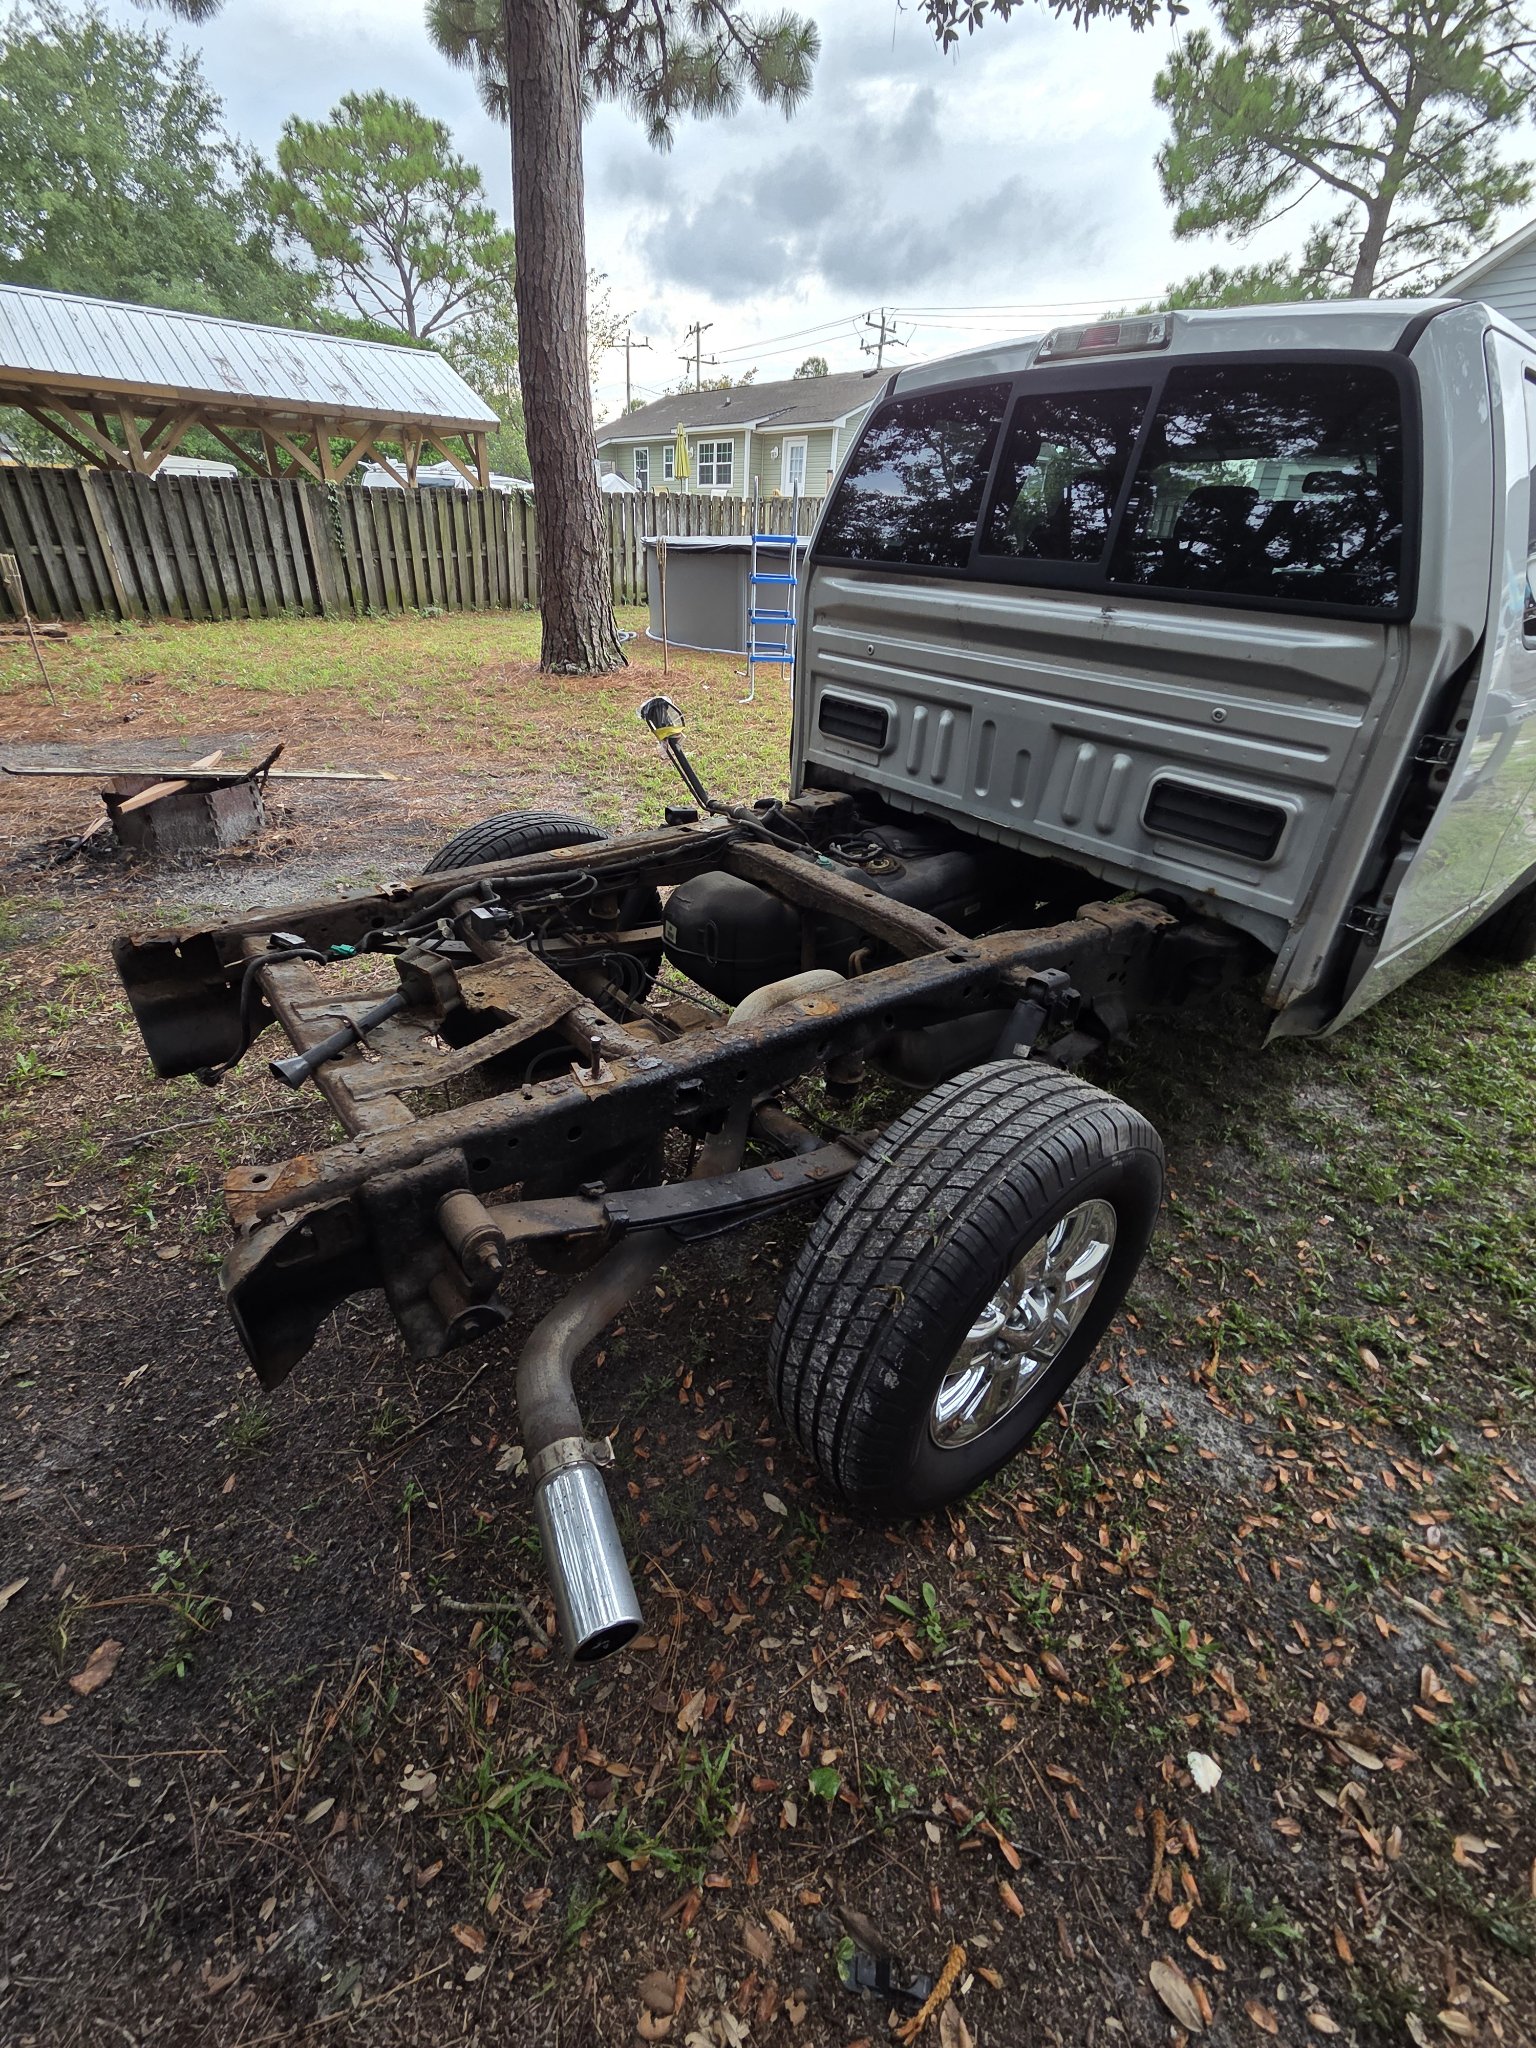
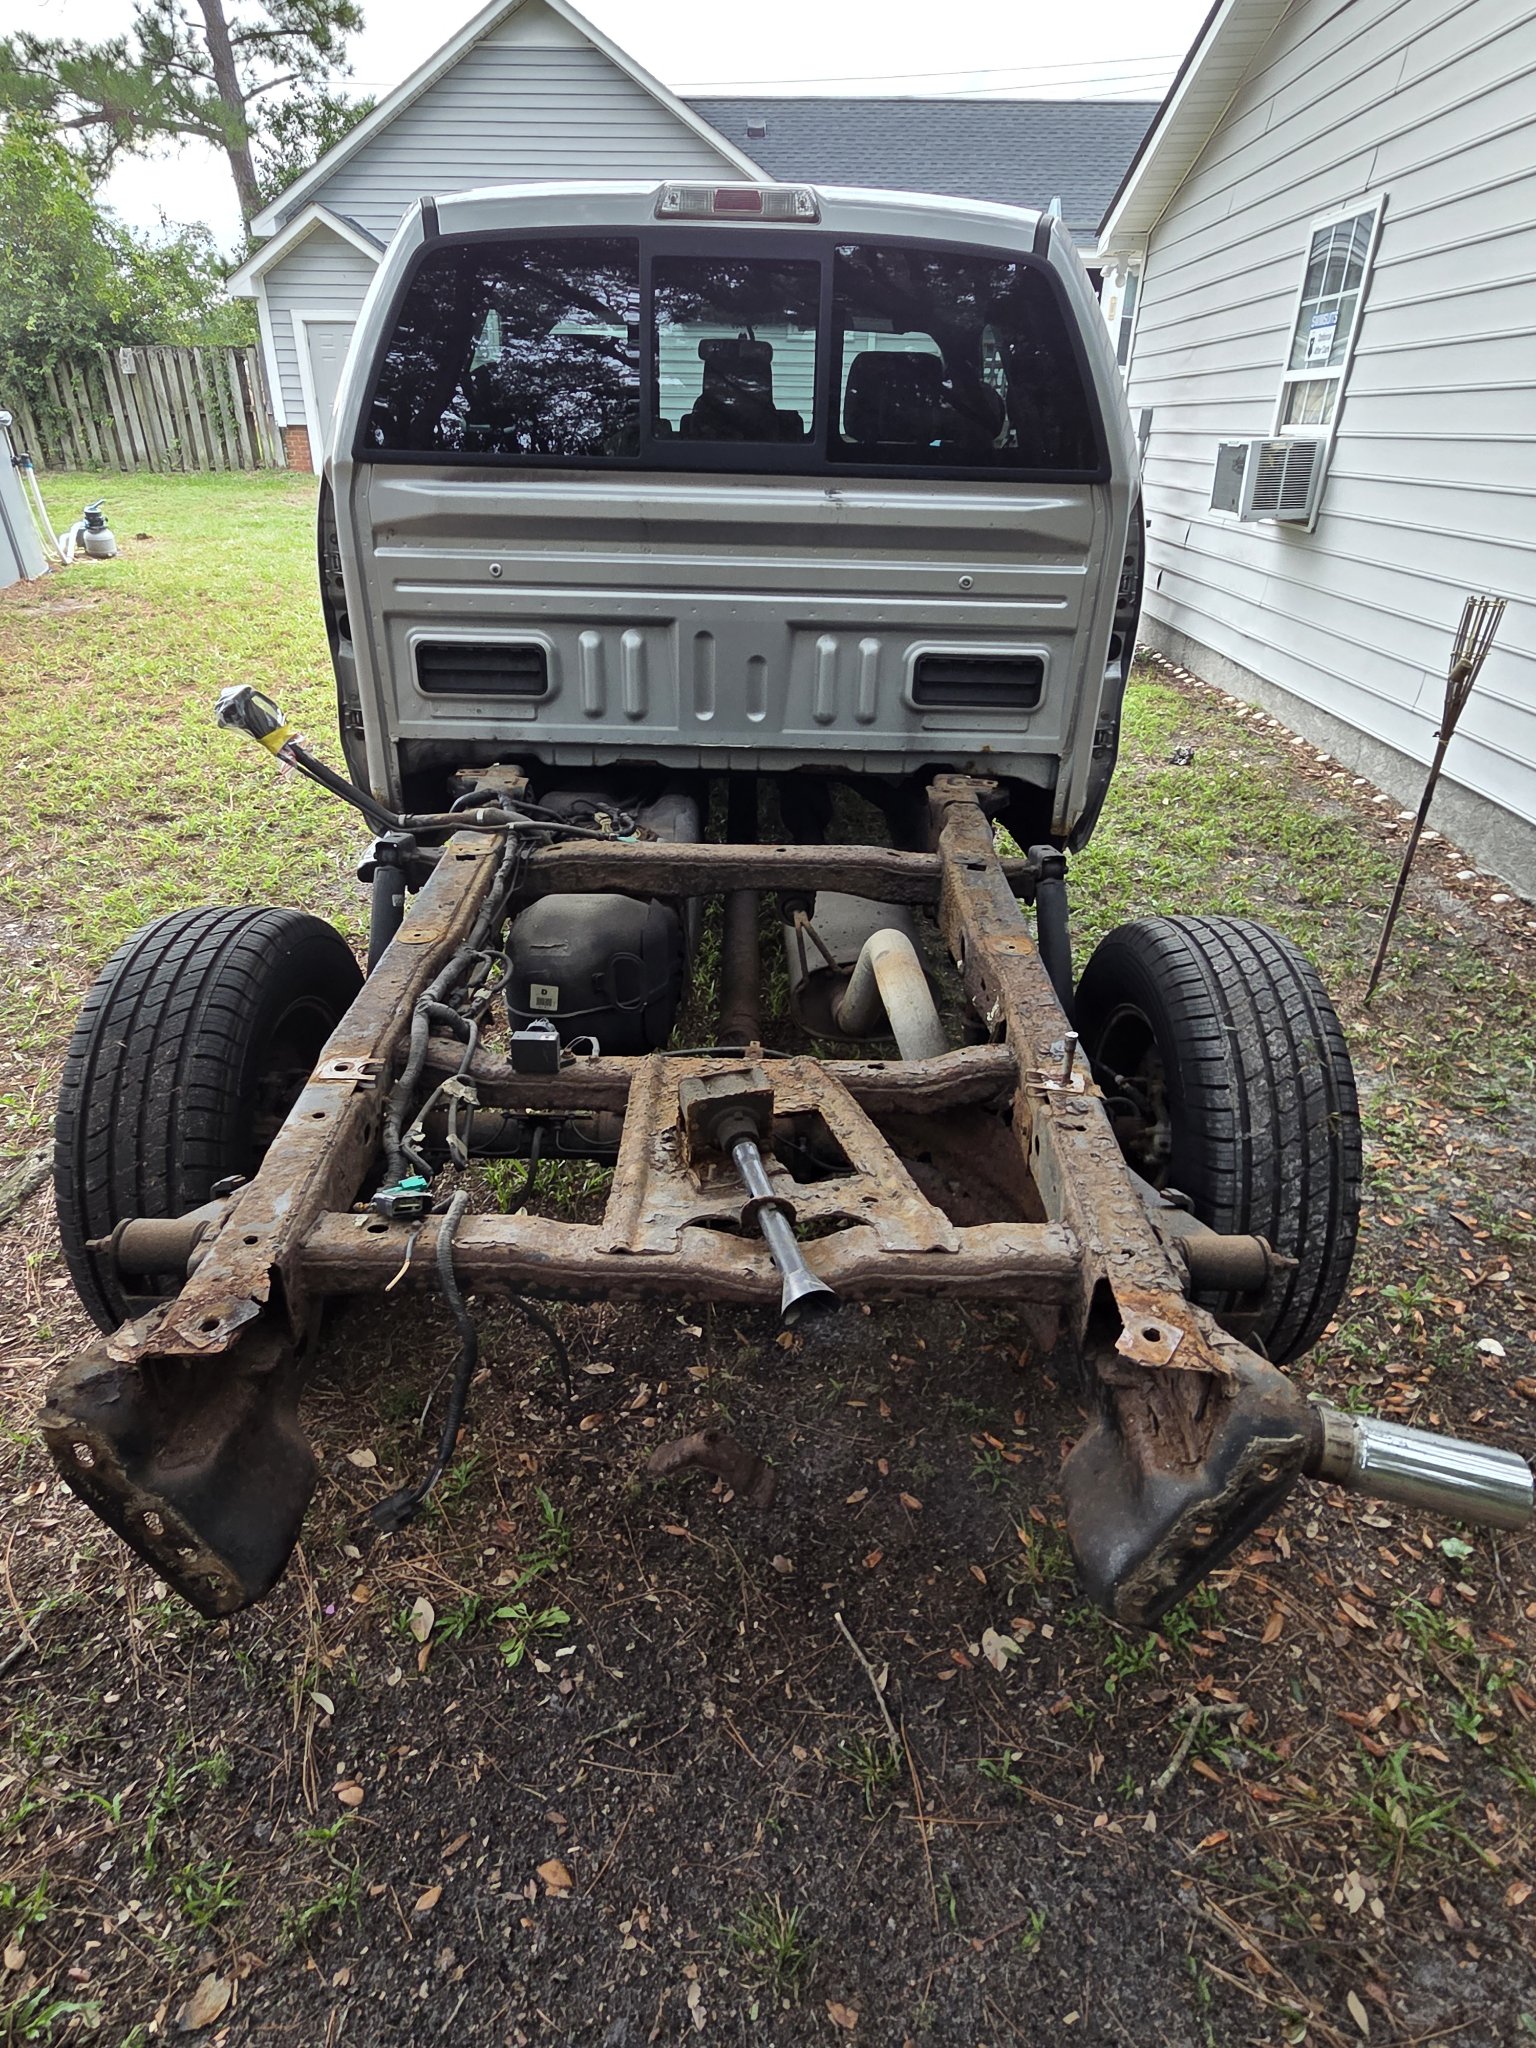
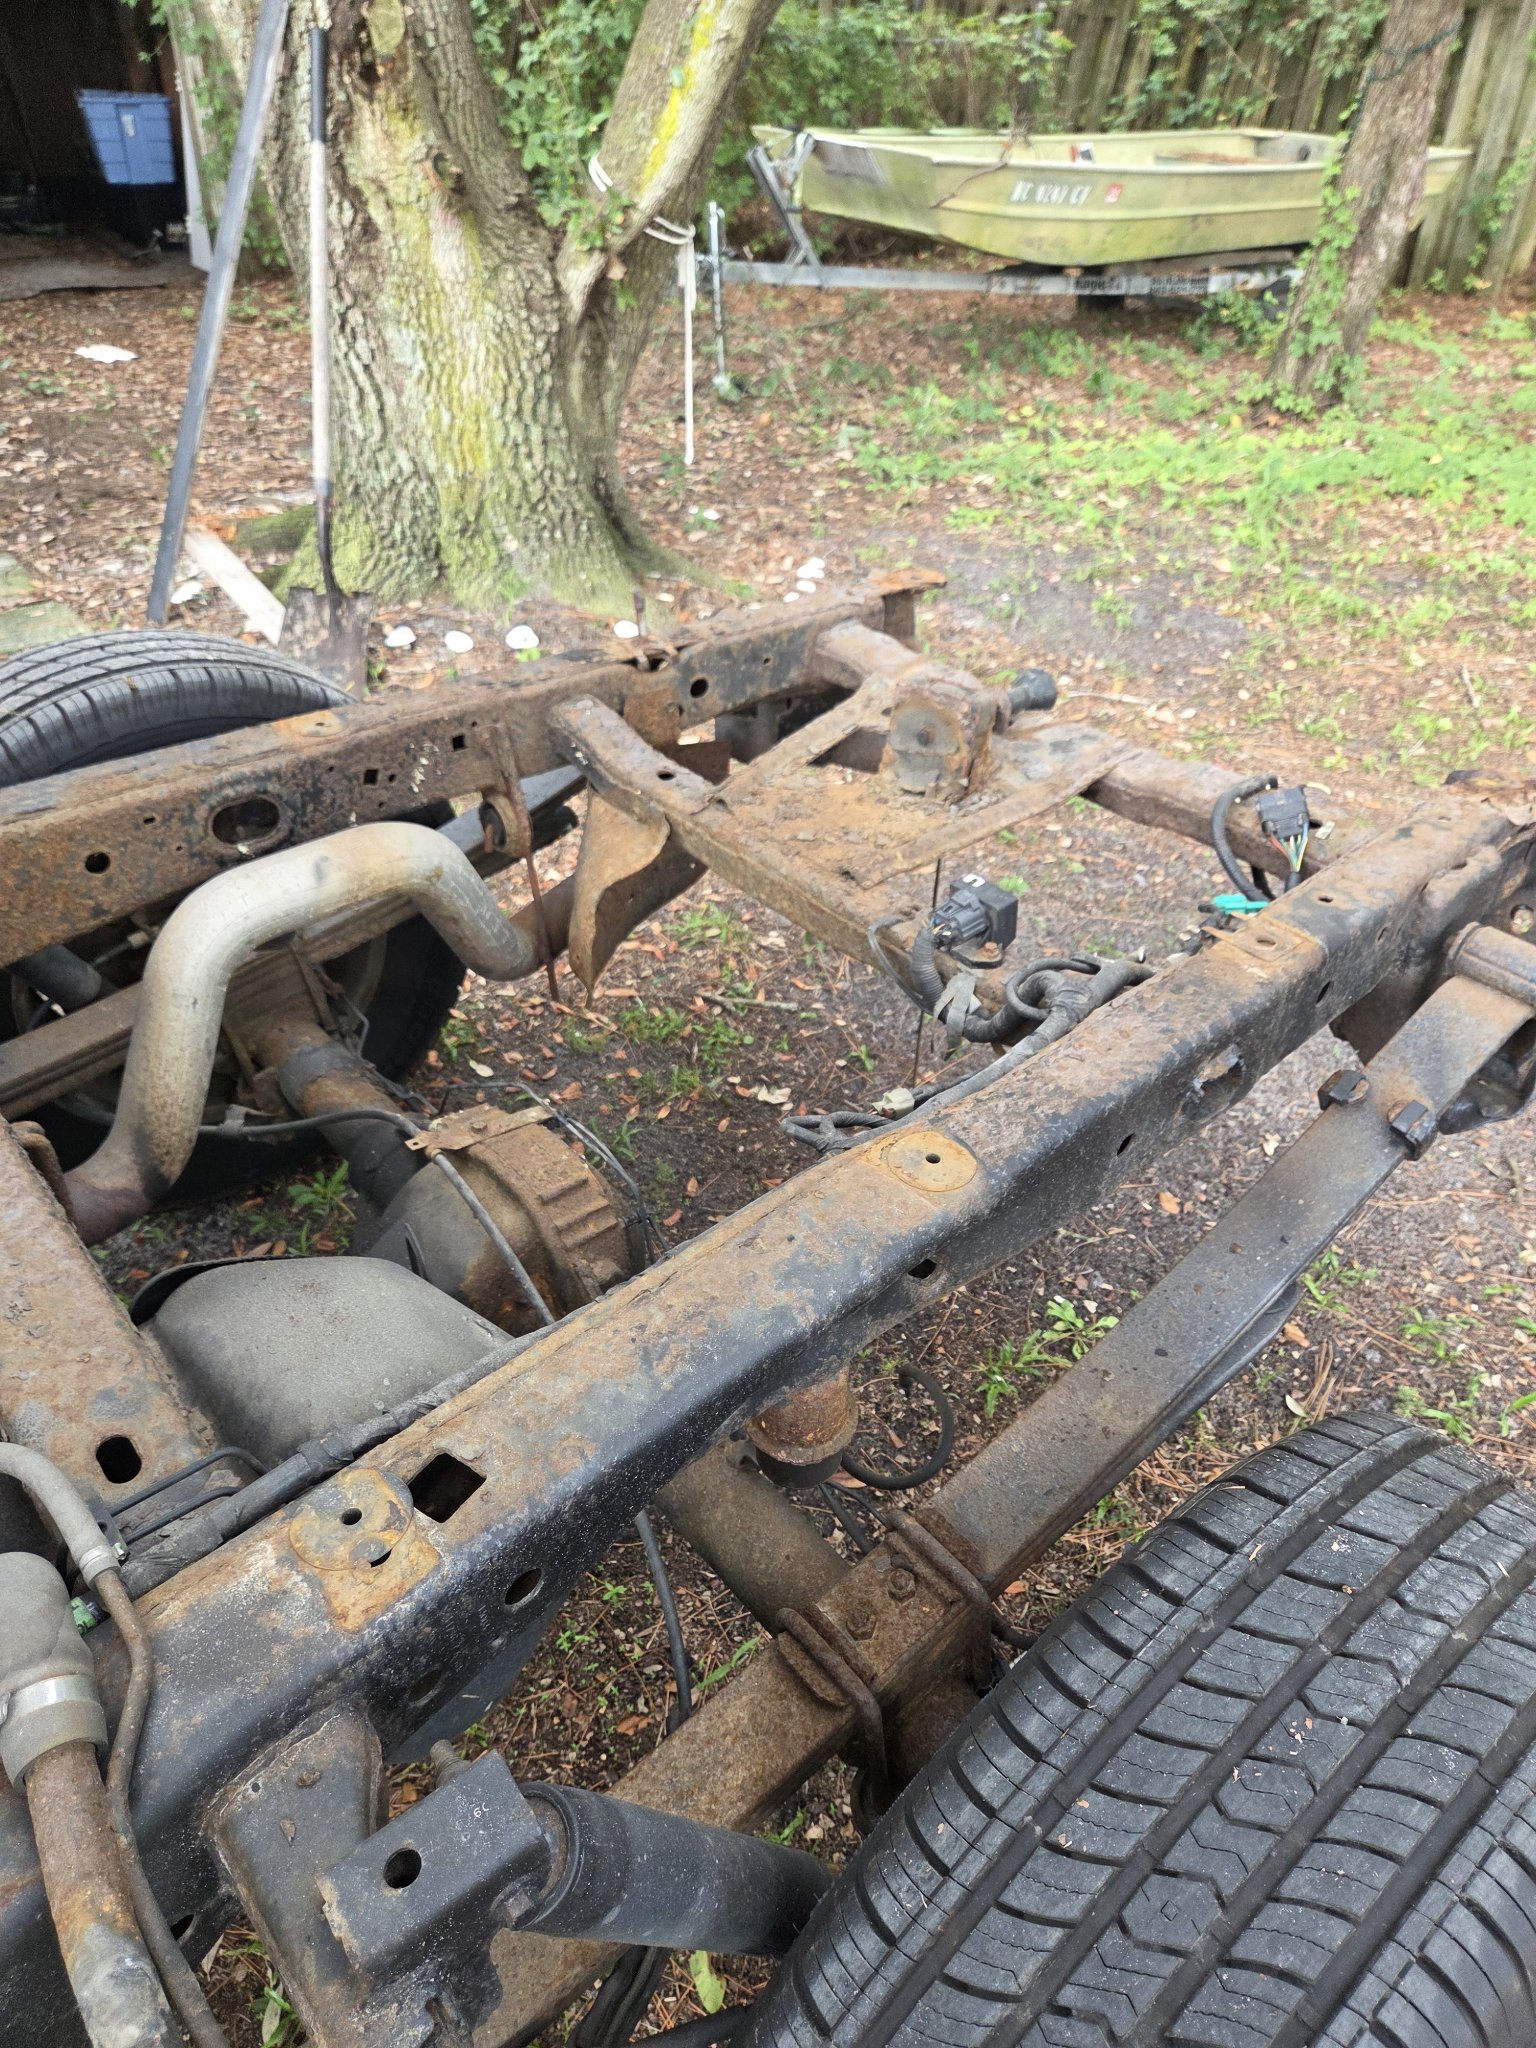
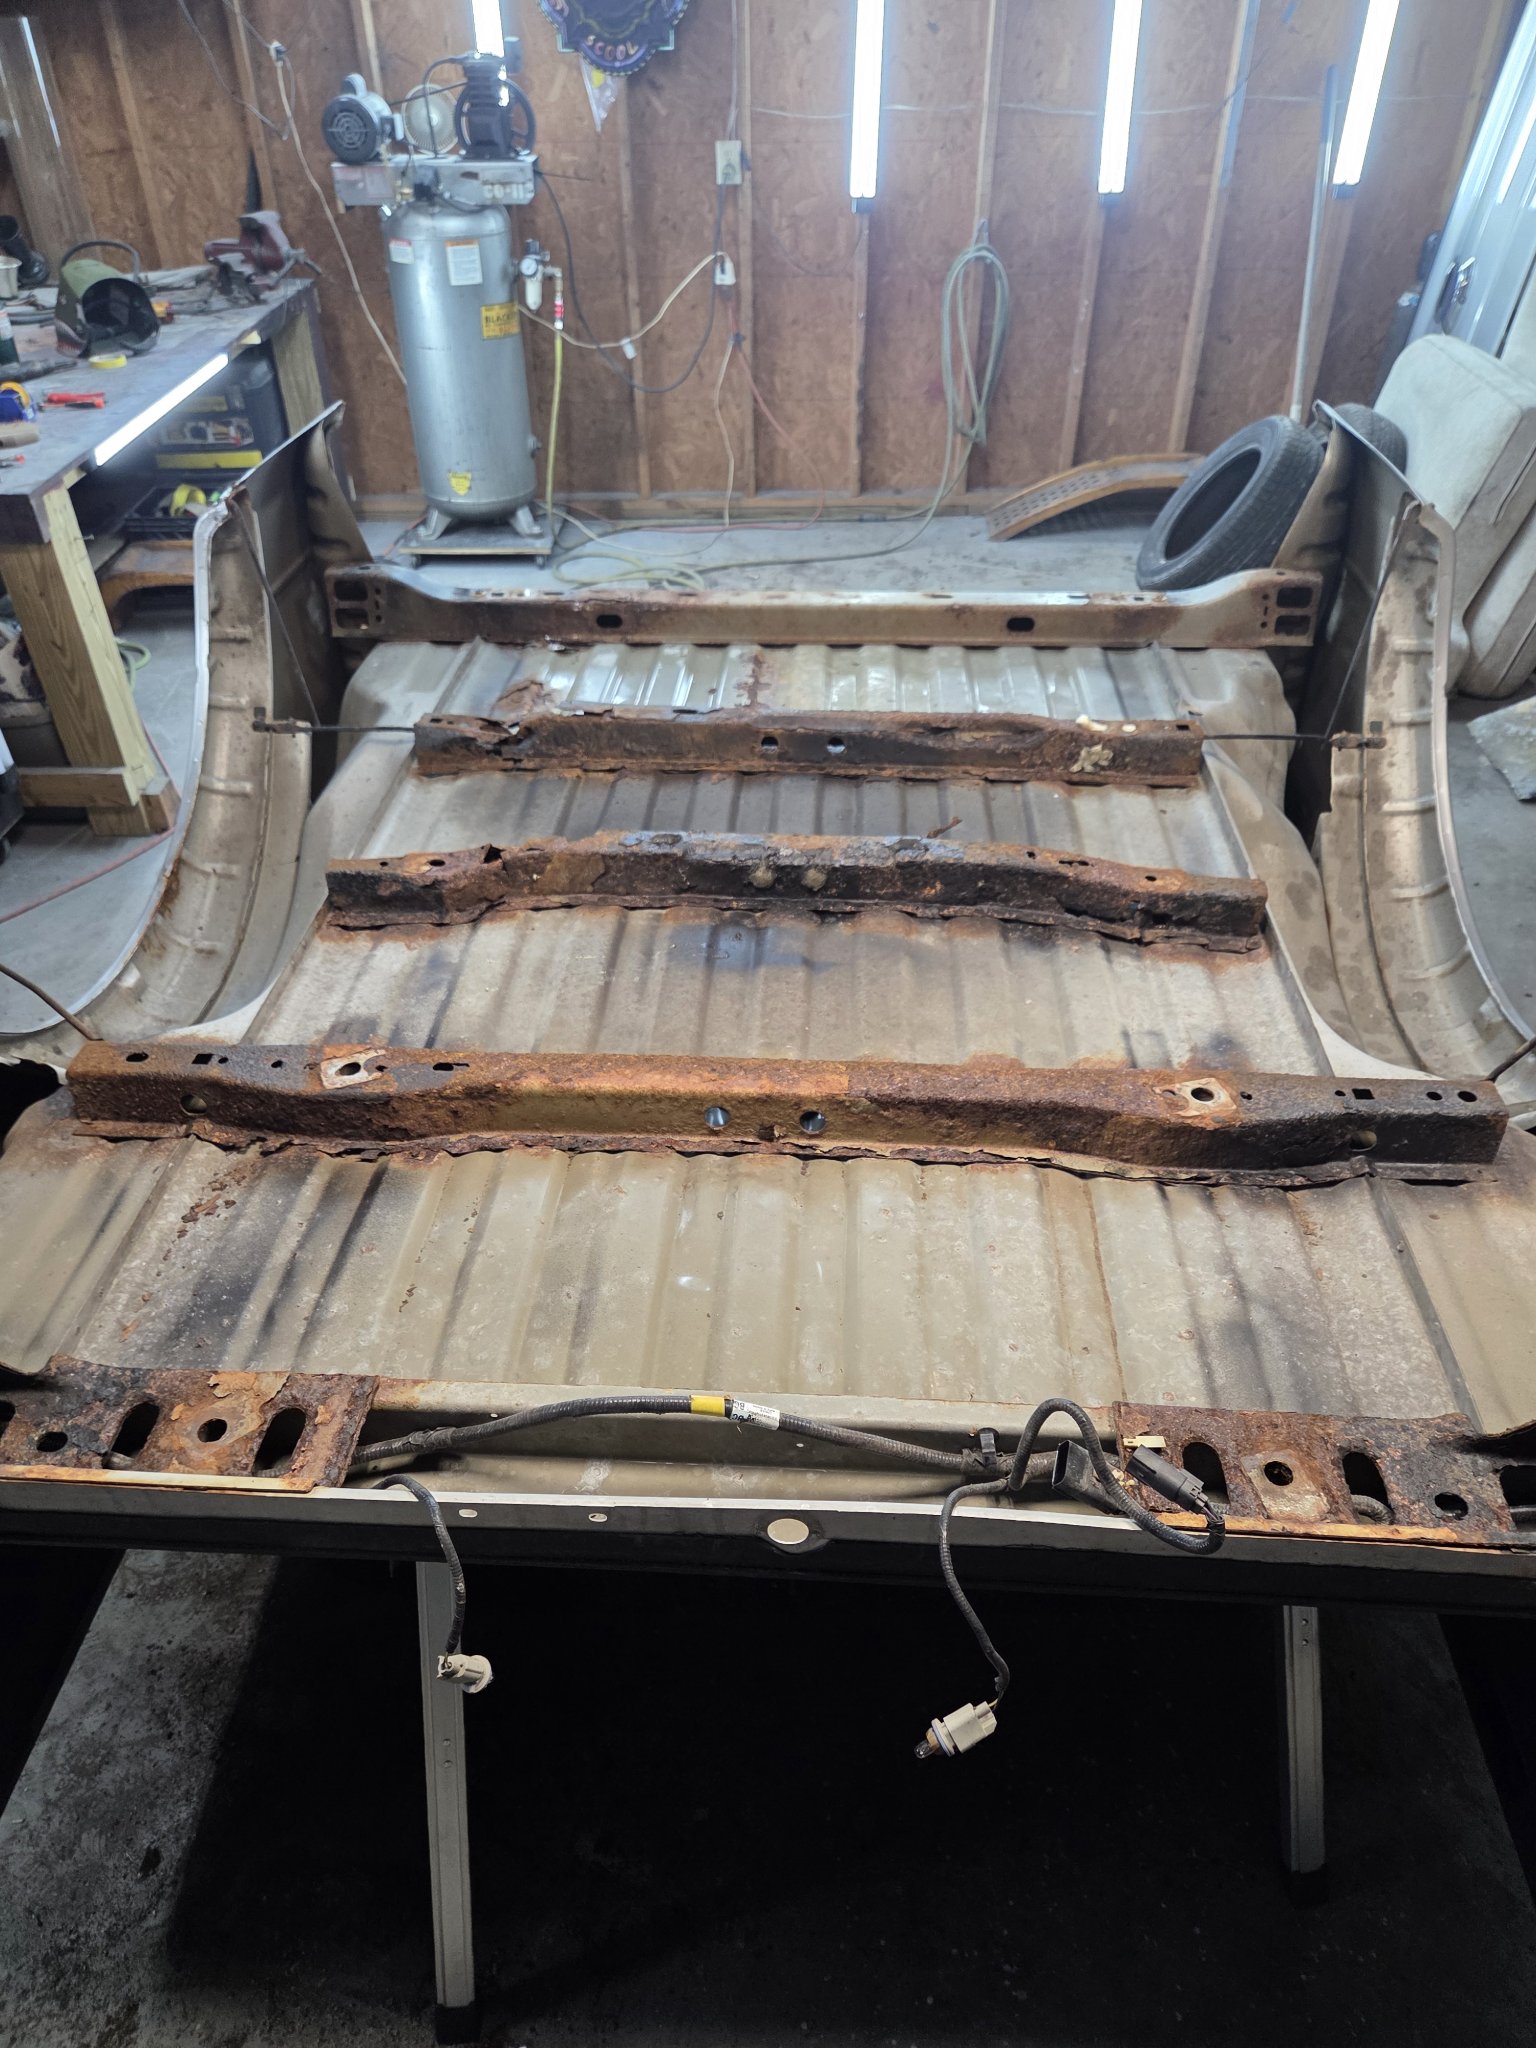
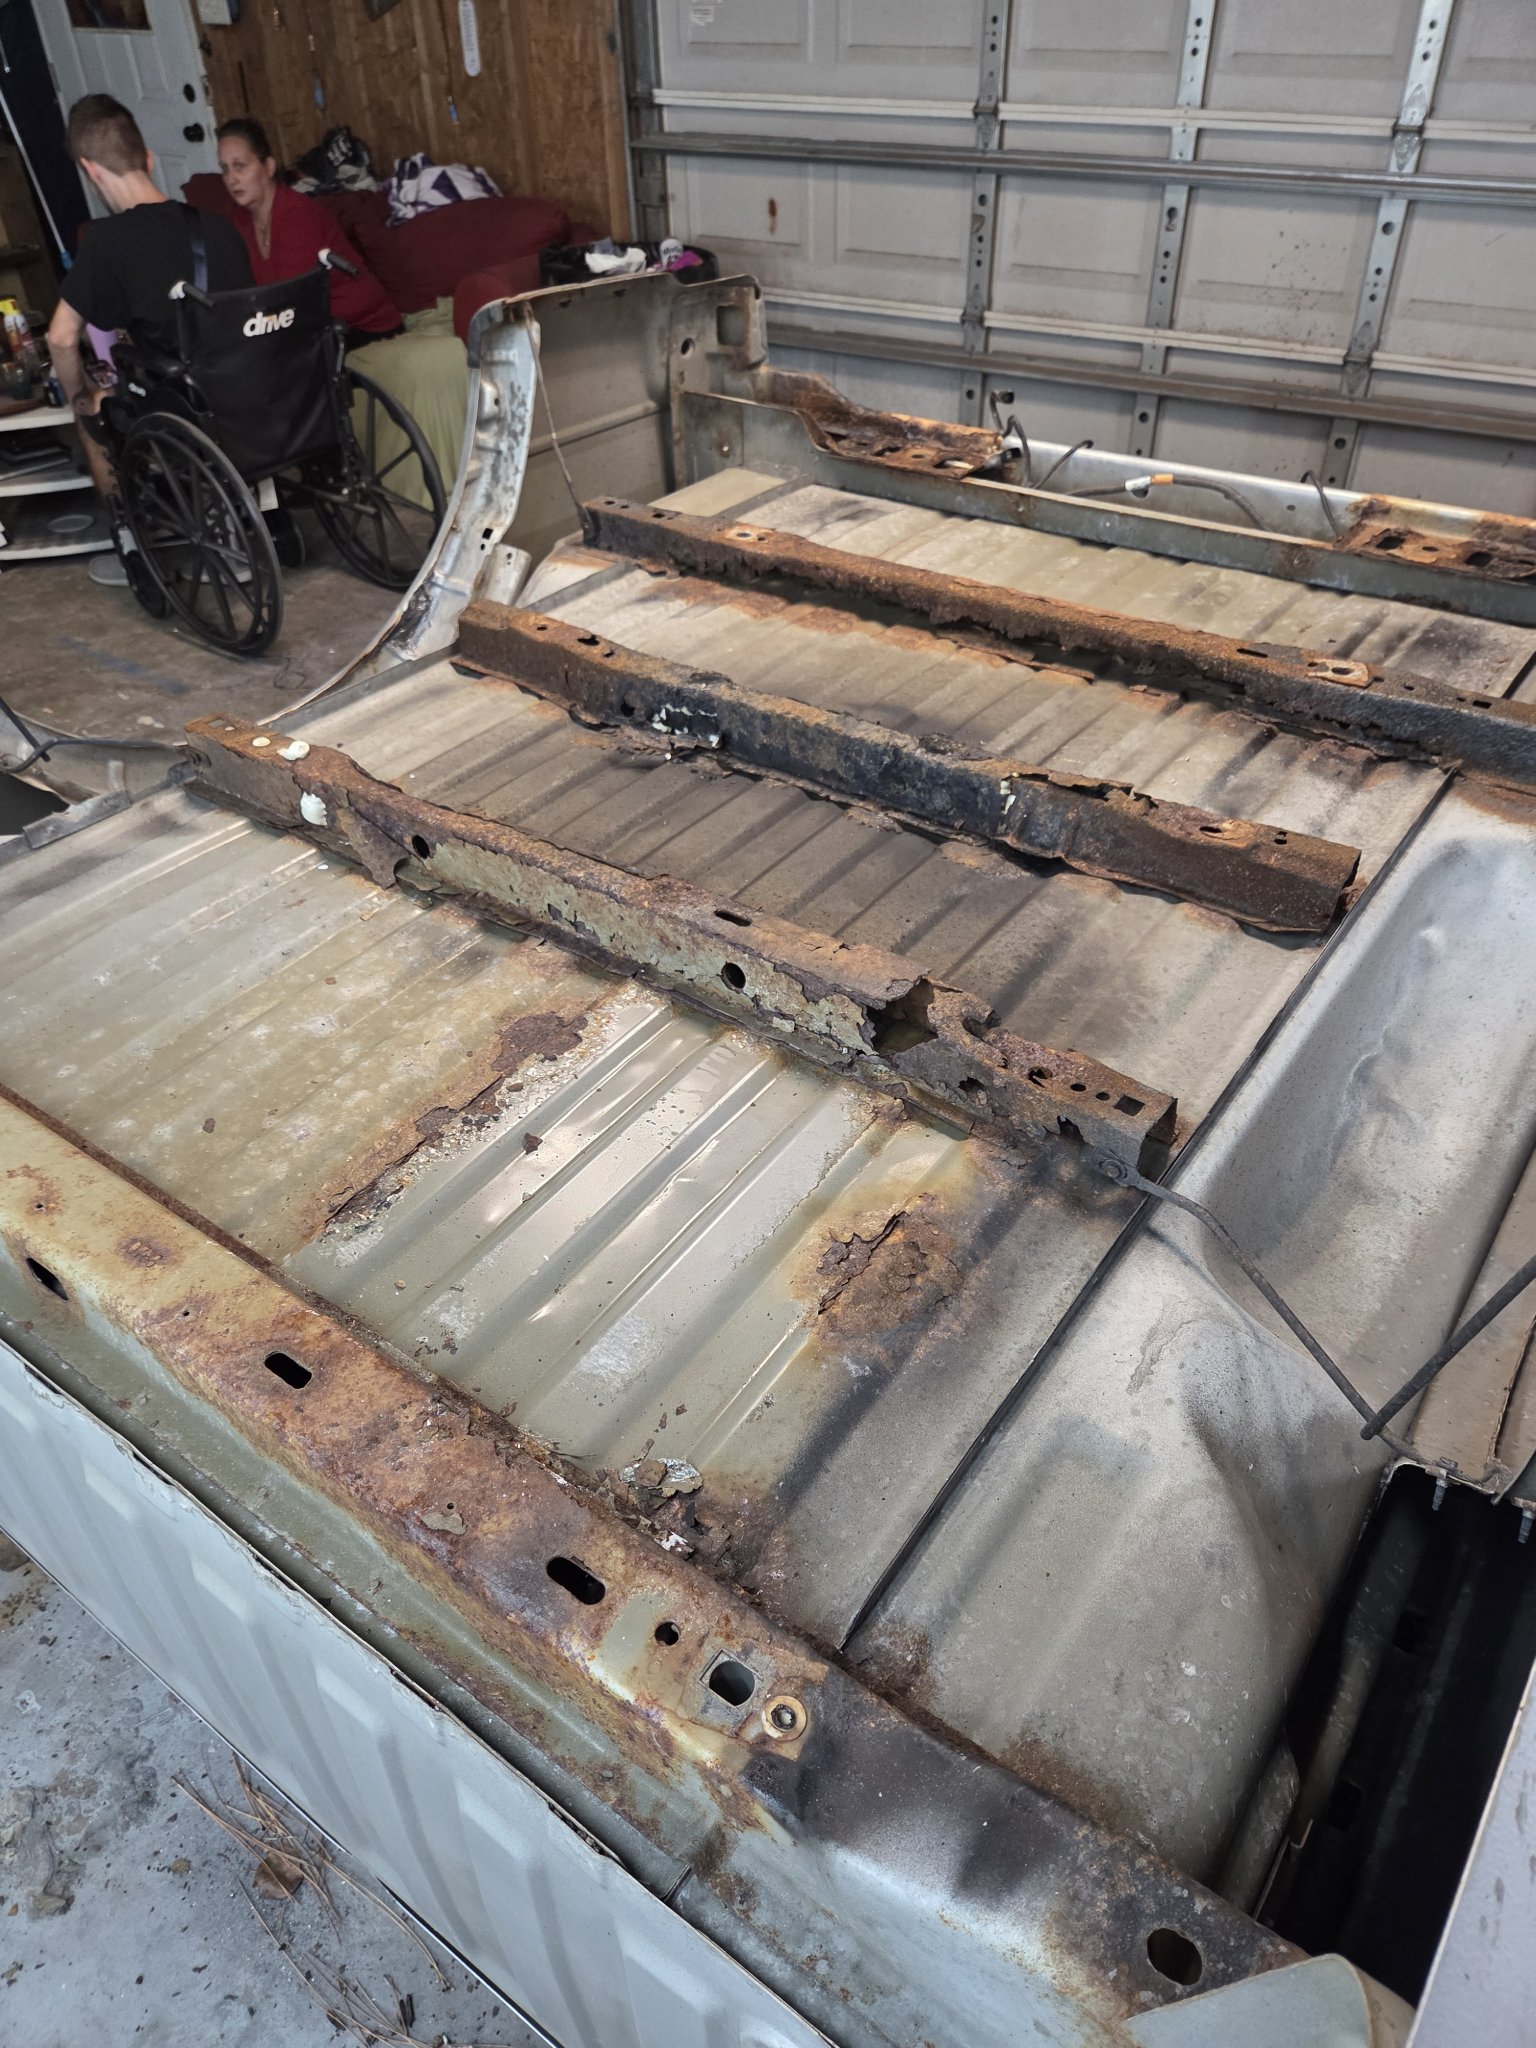
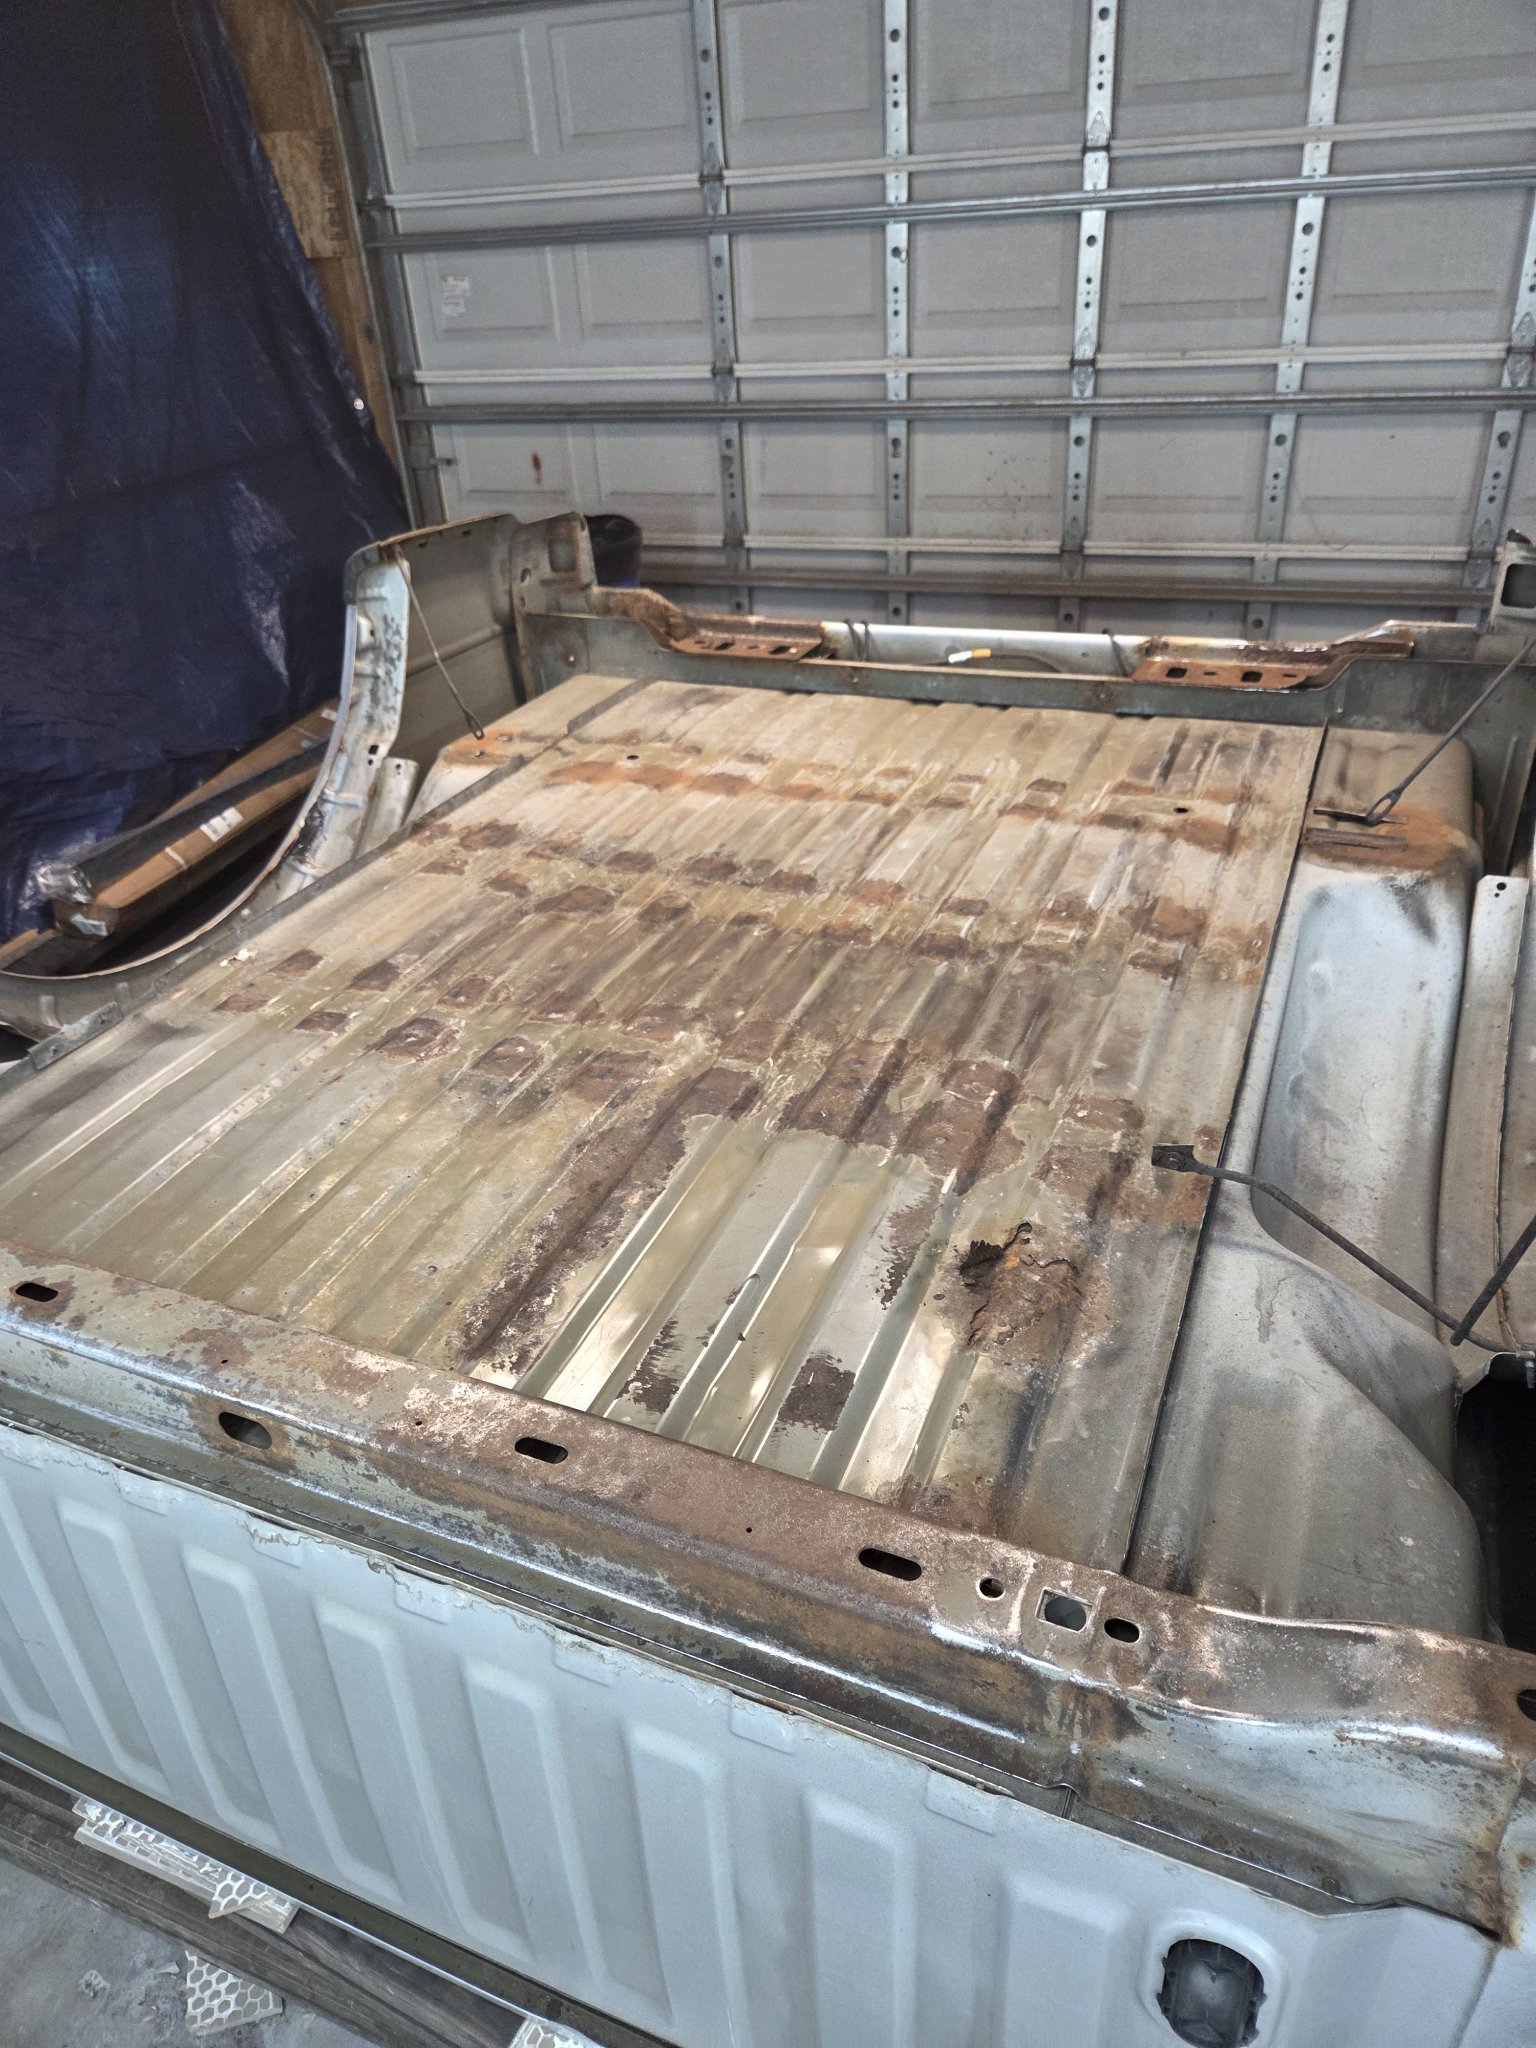
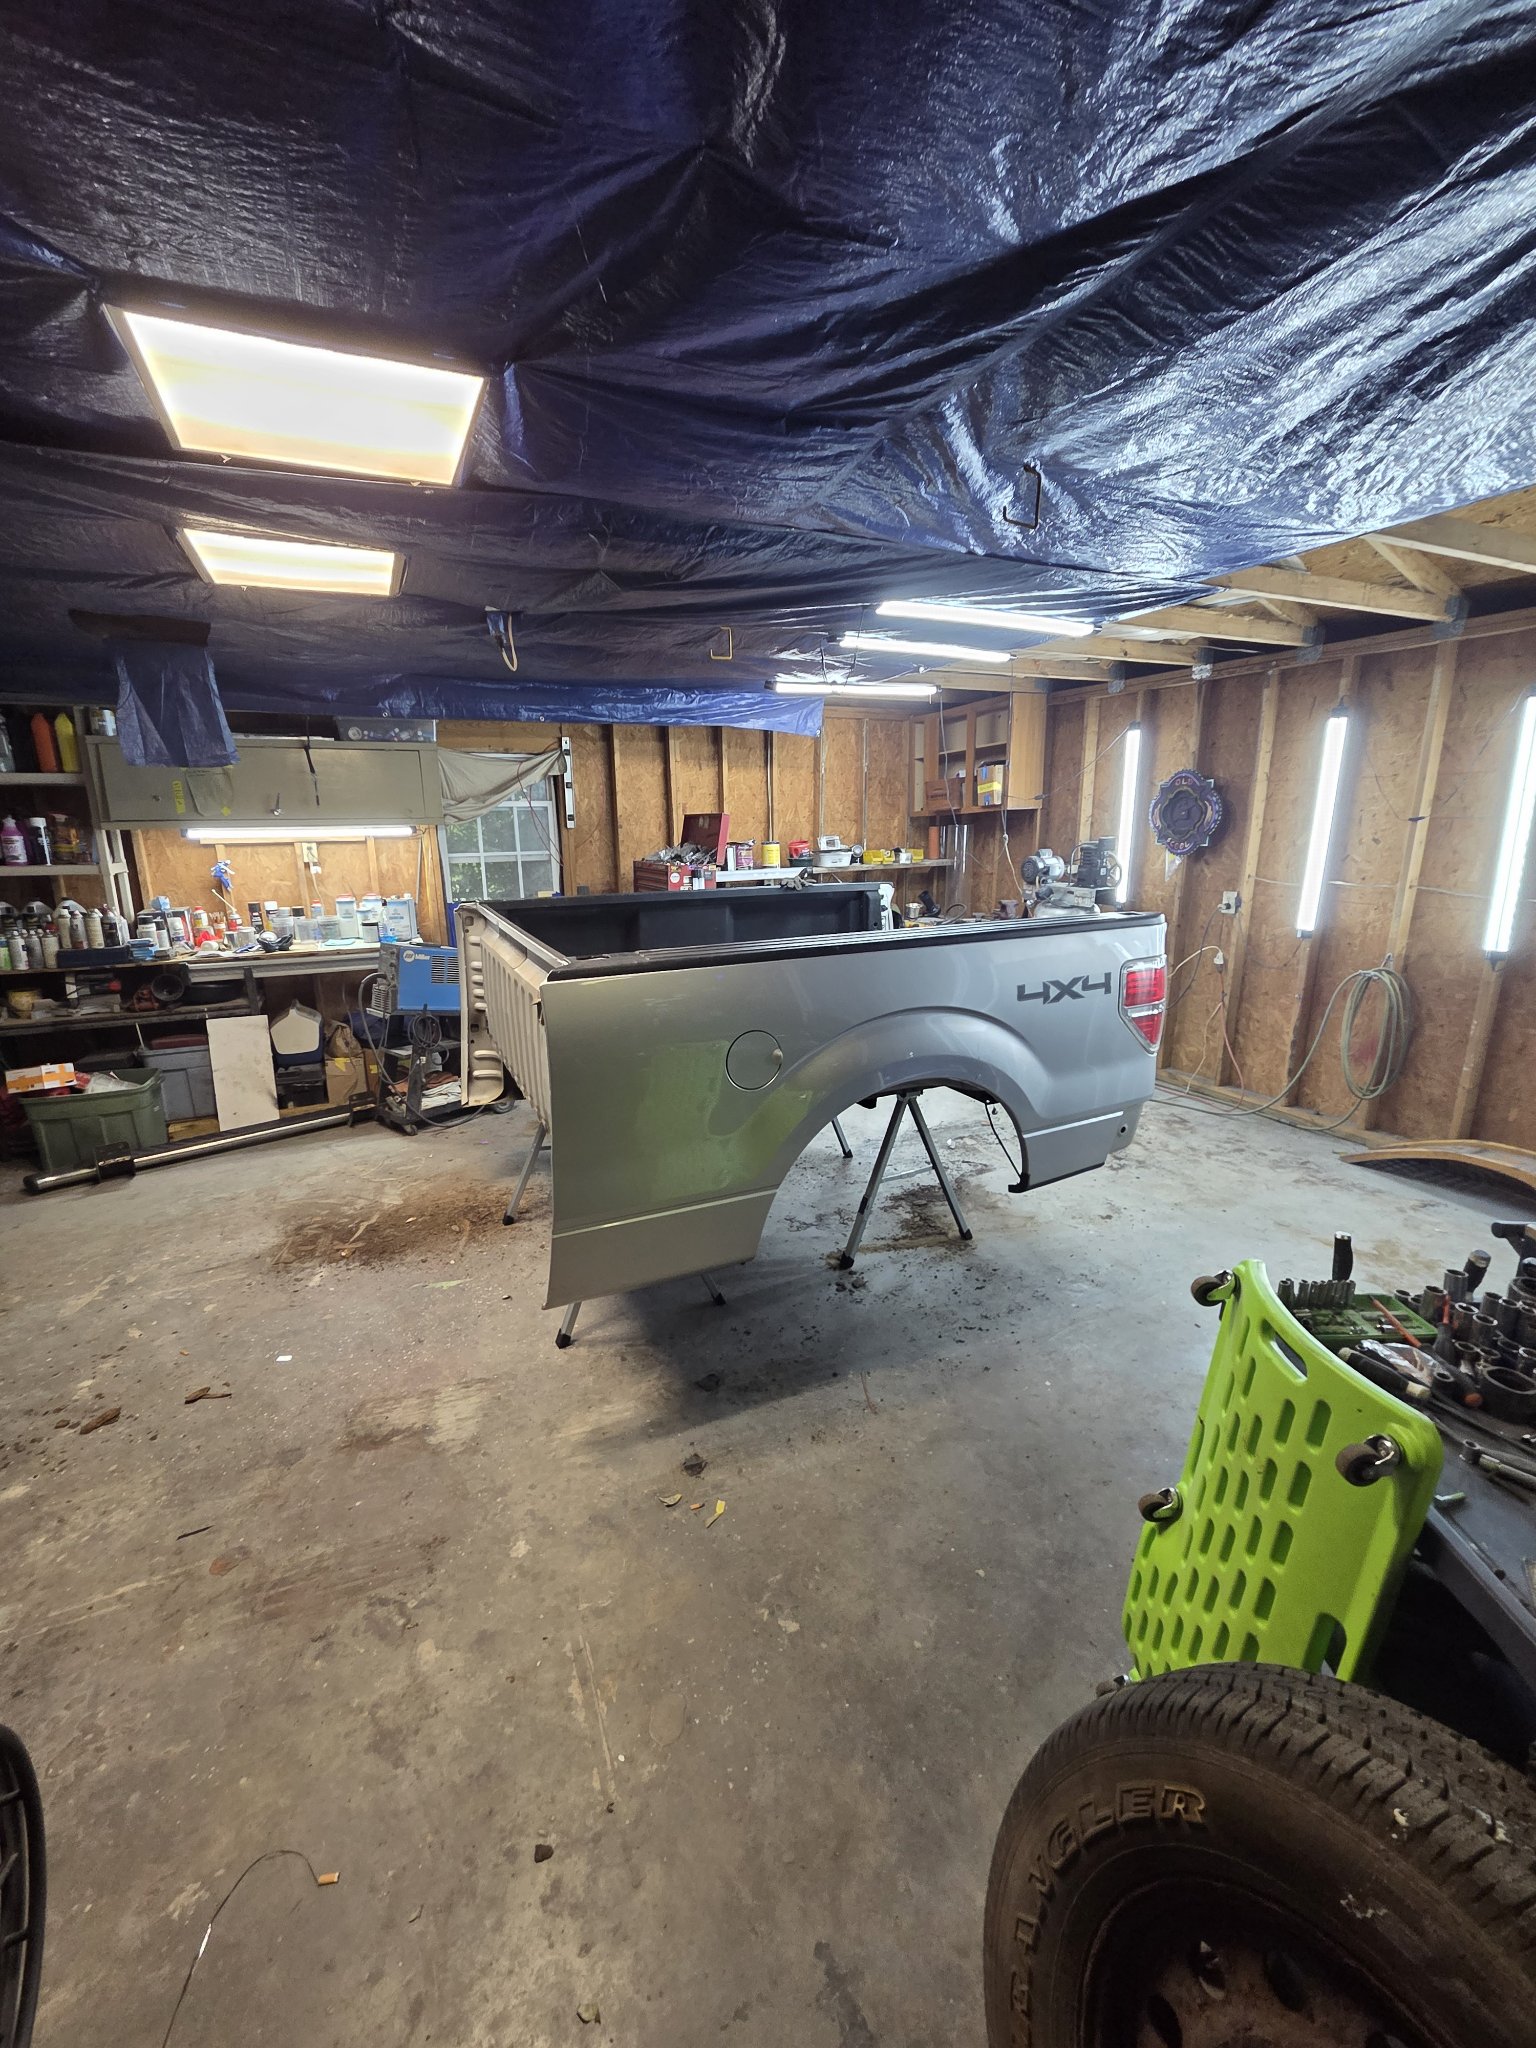
This pickup came in with the bed rotting out from below — the support rails under the bed floor were rusted clean through. The fix wasn't a patch: the bed came off, the dead rails came out, new rails went in, the whole underside got sealed, and the bed went back on solid.
01 Bed off, frame exposed
Bed off — bare frame behind the cabFrom the rear — cab and rusted frameFrame rails, exhaust, axle — all rust
02 What was hiding under the bed
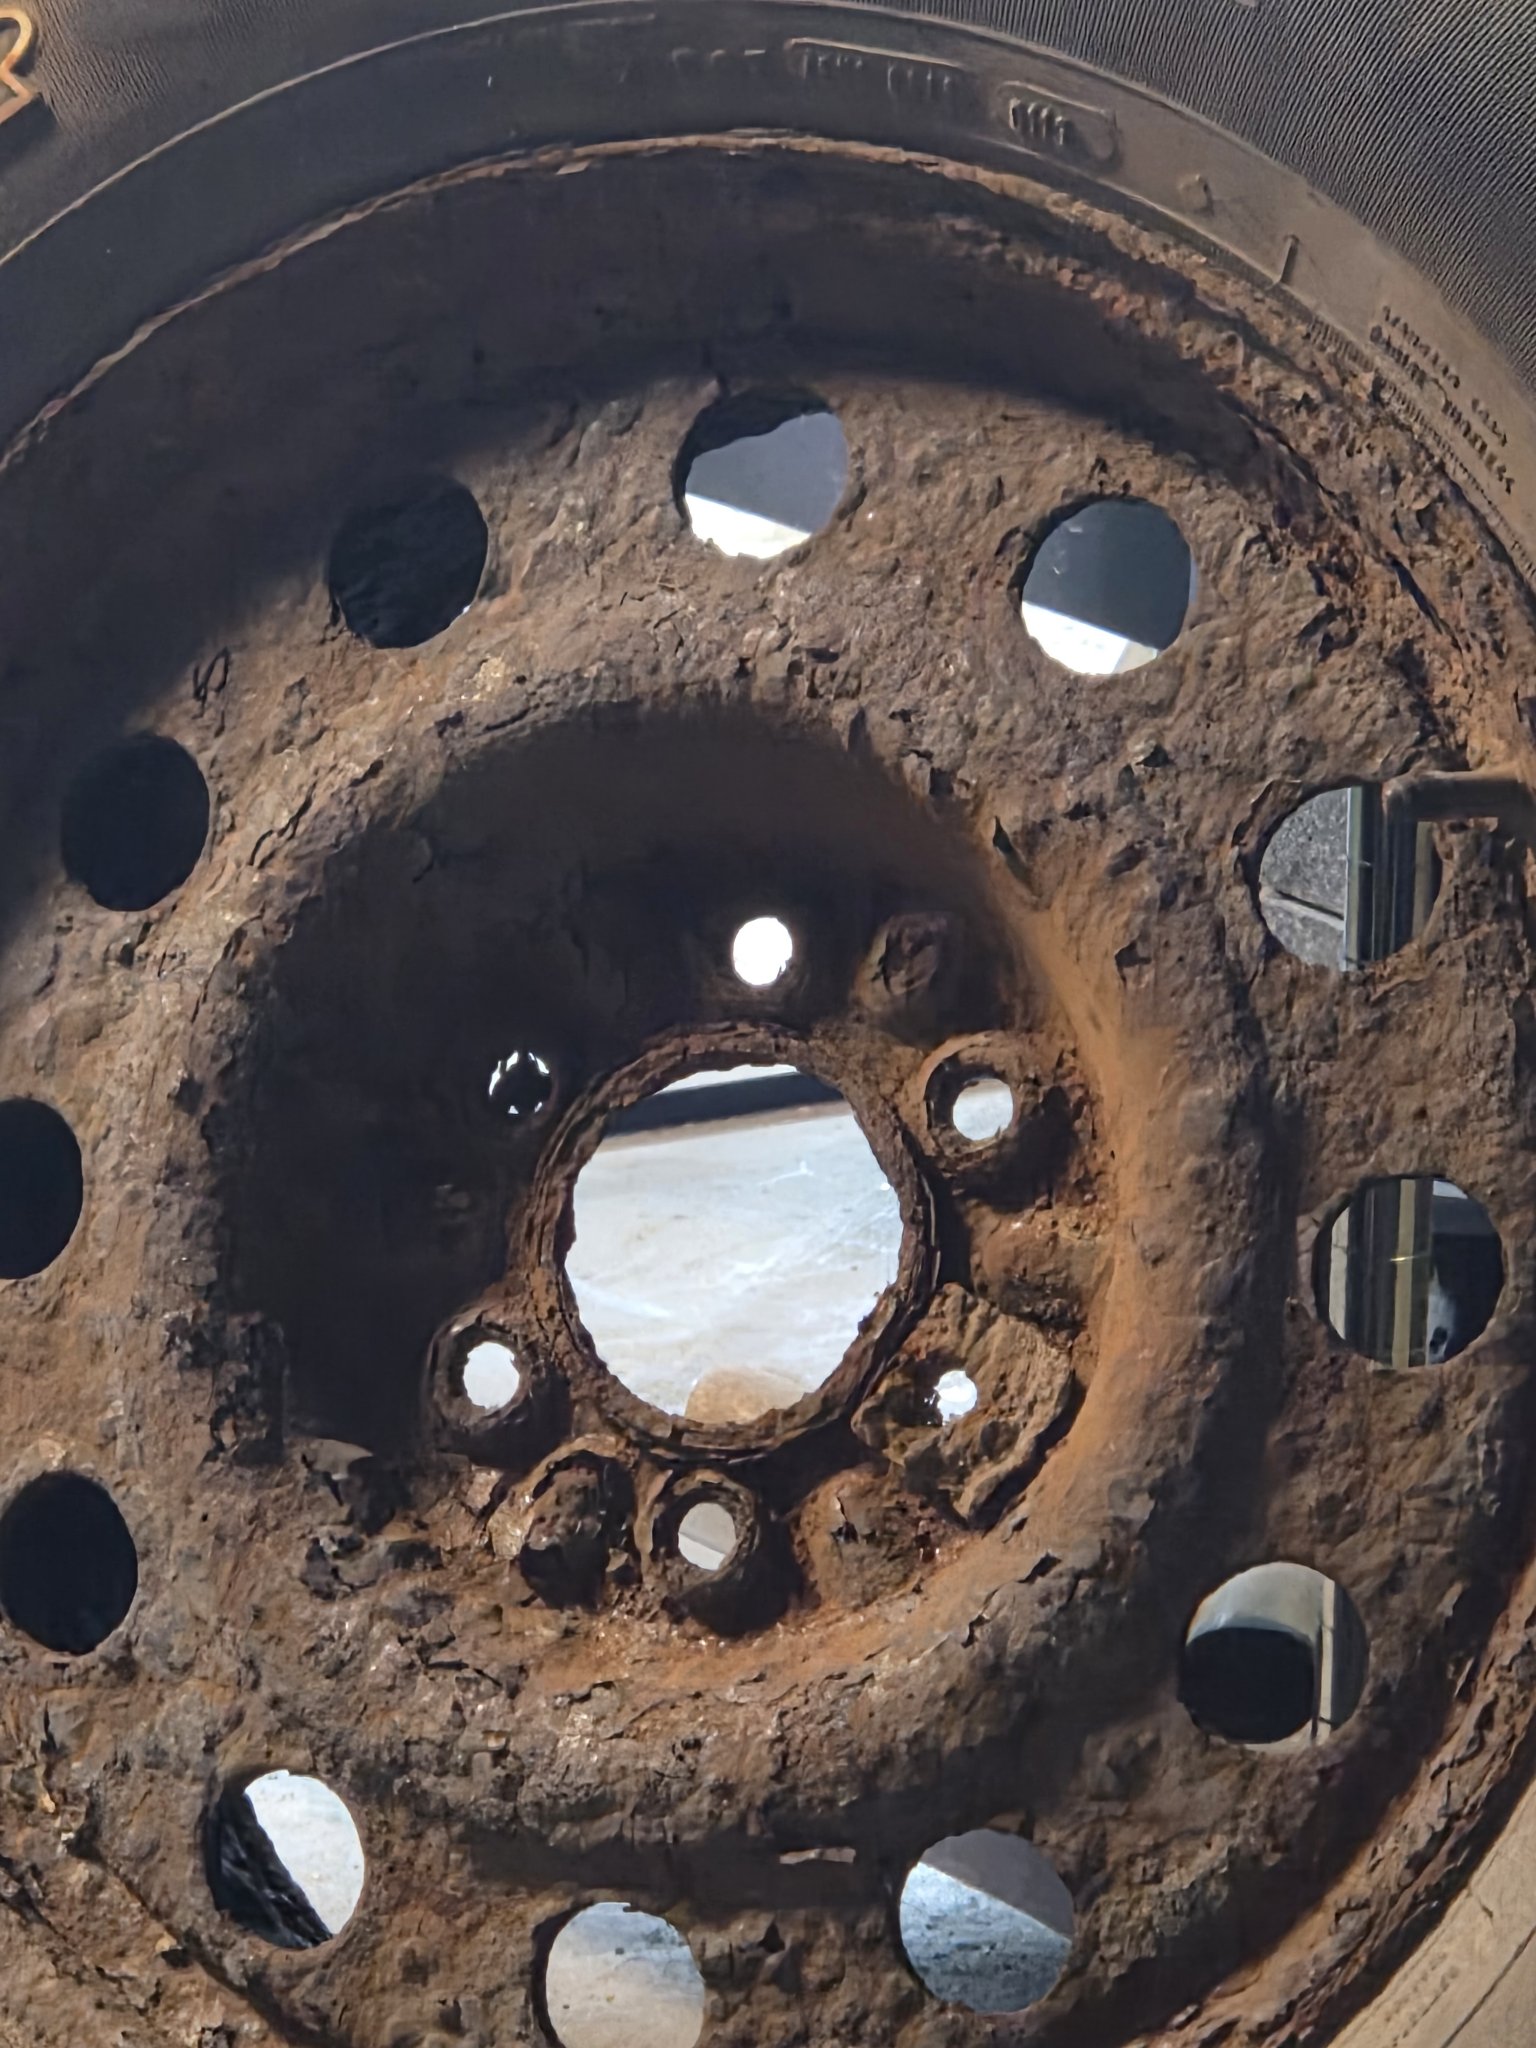
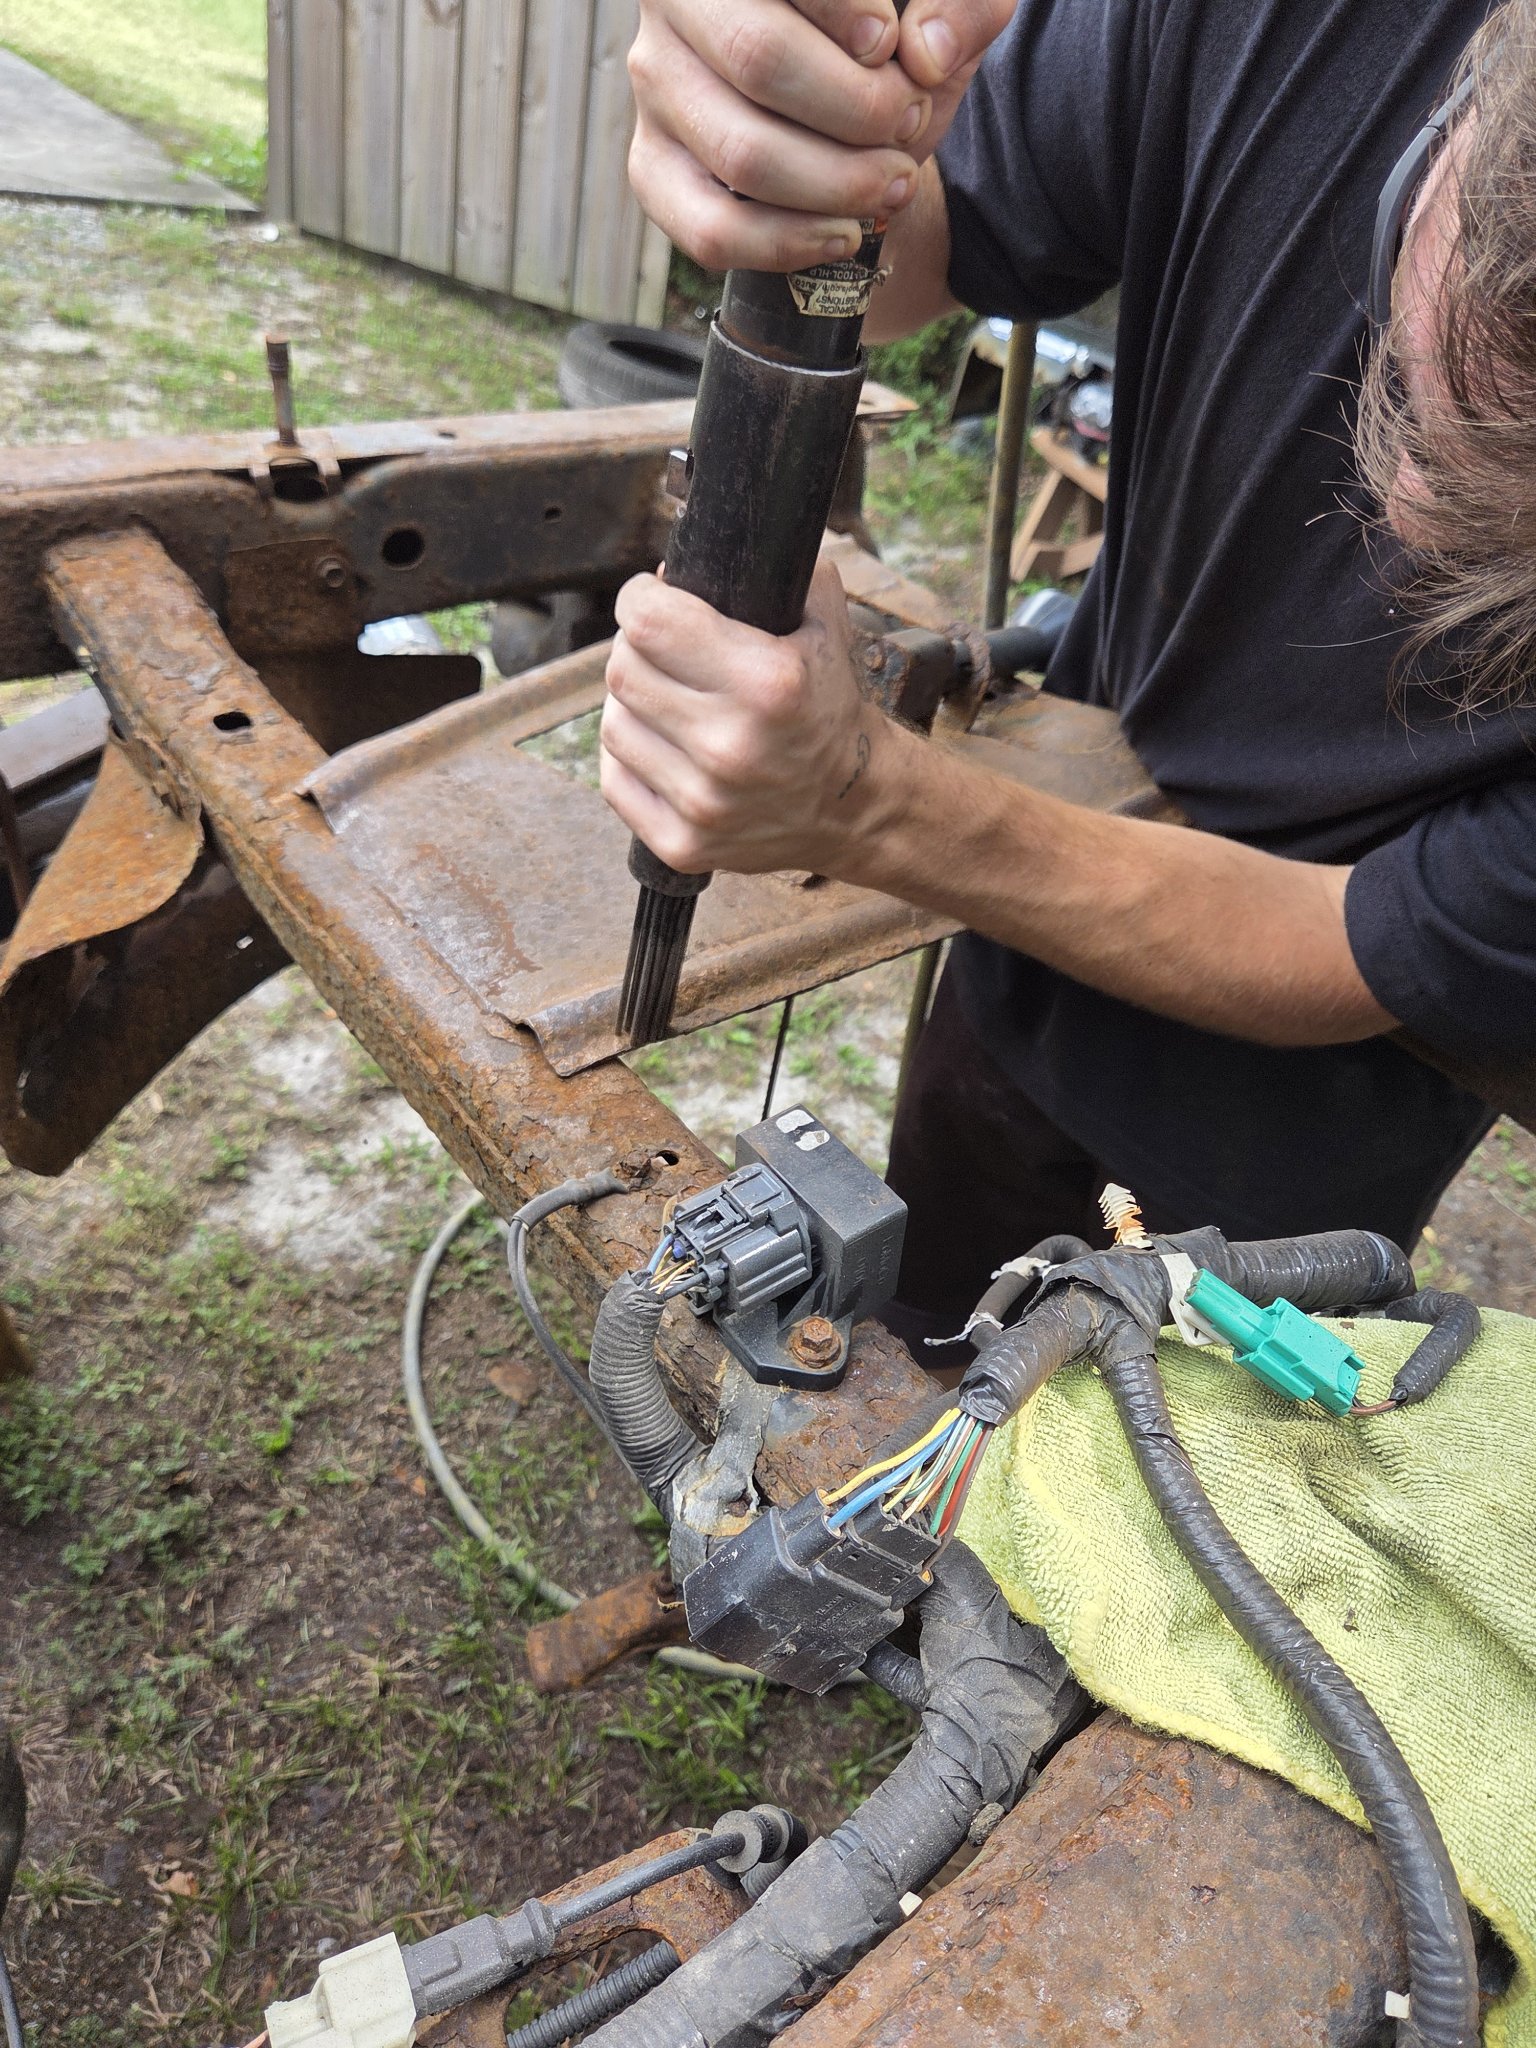
The underside, before — every rail rottedRusted clean through — nothing left to saveThe floor from above — rust eating throughEven the spare wheel rusted throughScaling the rust off the frame
03 New rails in
New rails, laid in and fittedUnderside finished — new rails, sealed tightThe finished underside, end to end
04 Bed back on
The bed, whole again and ready to mountFinished — bed back on, truck whole again
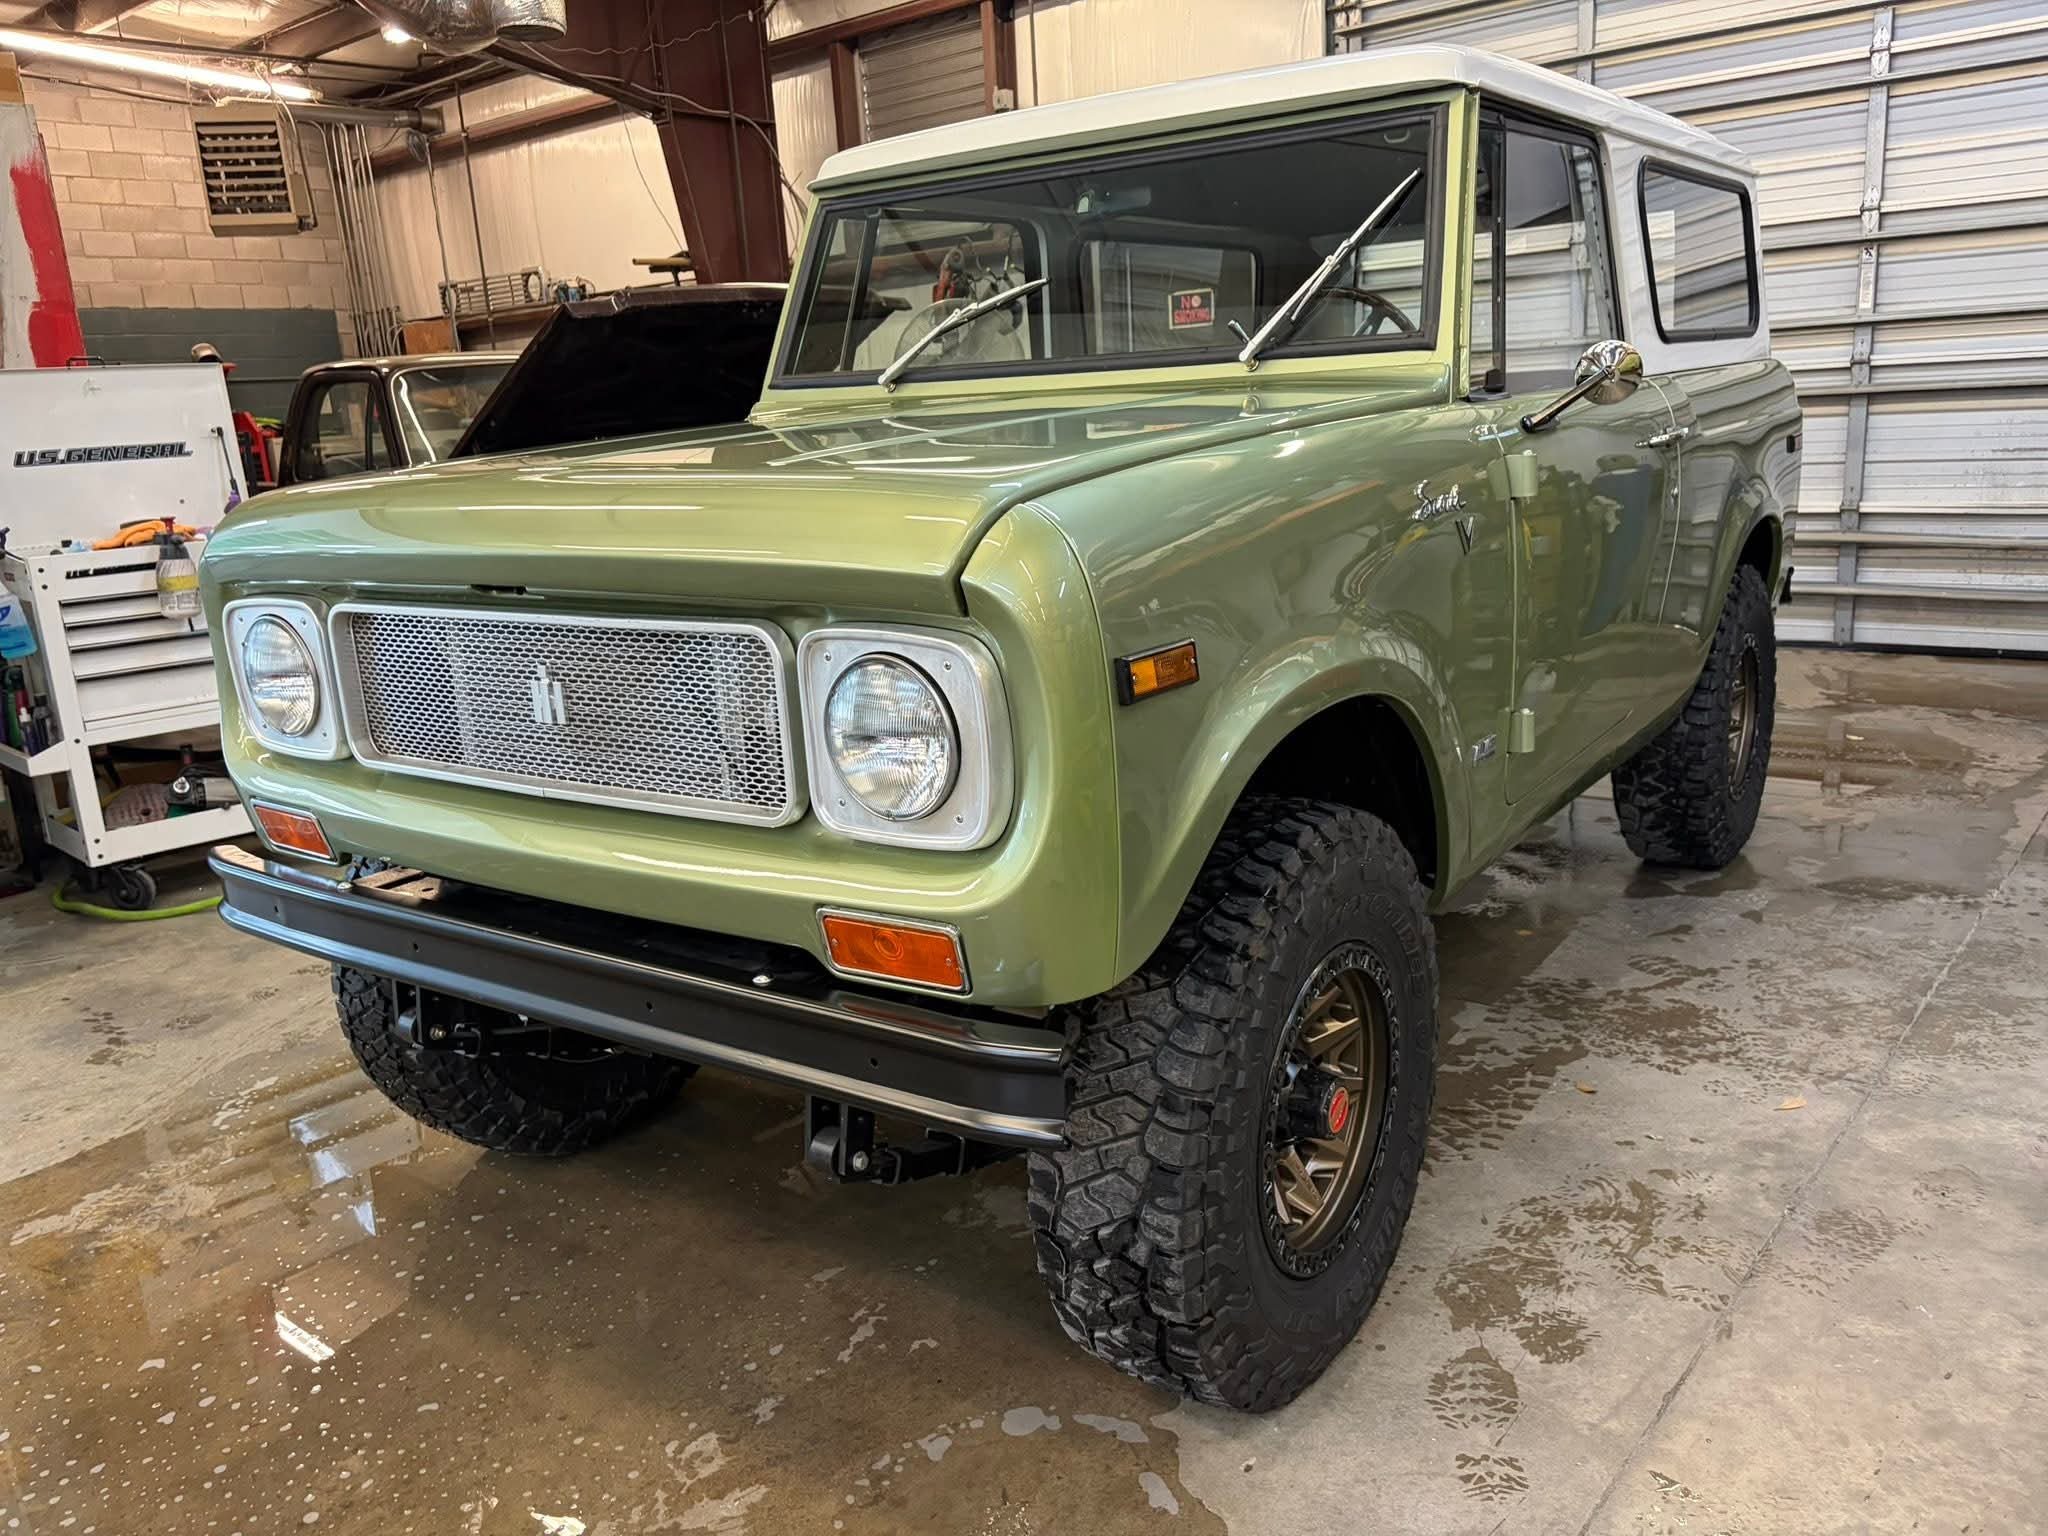
The Scout That Barely Existed
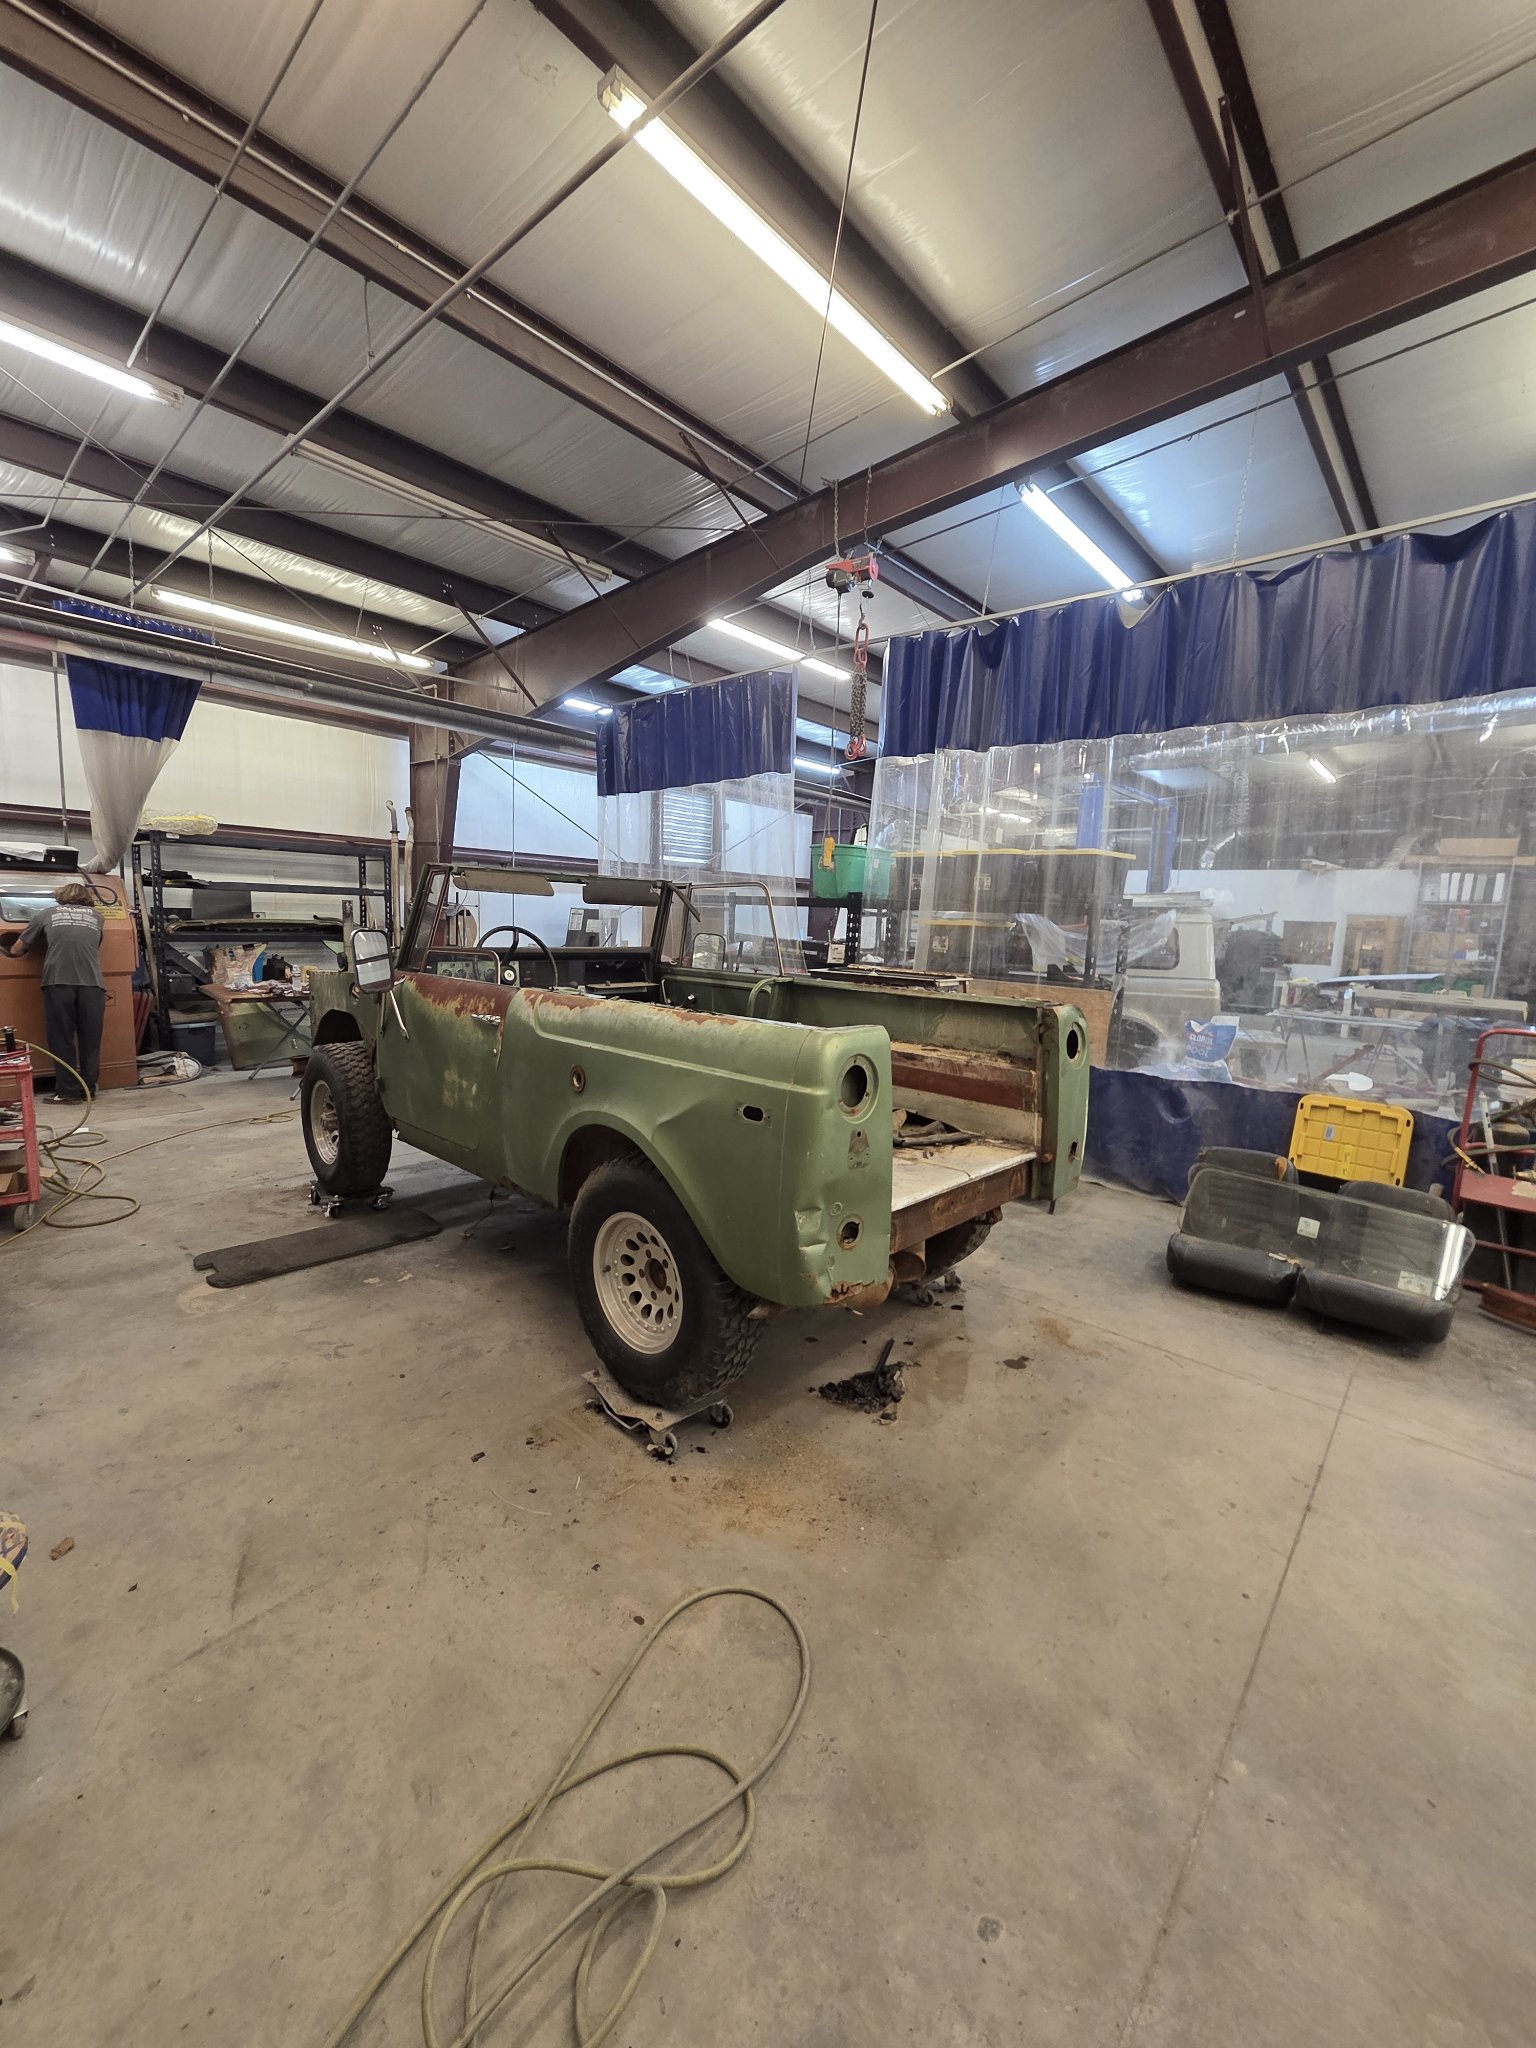
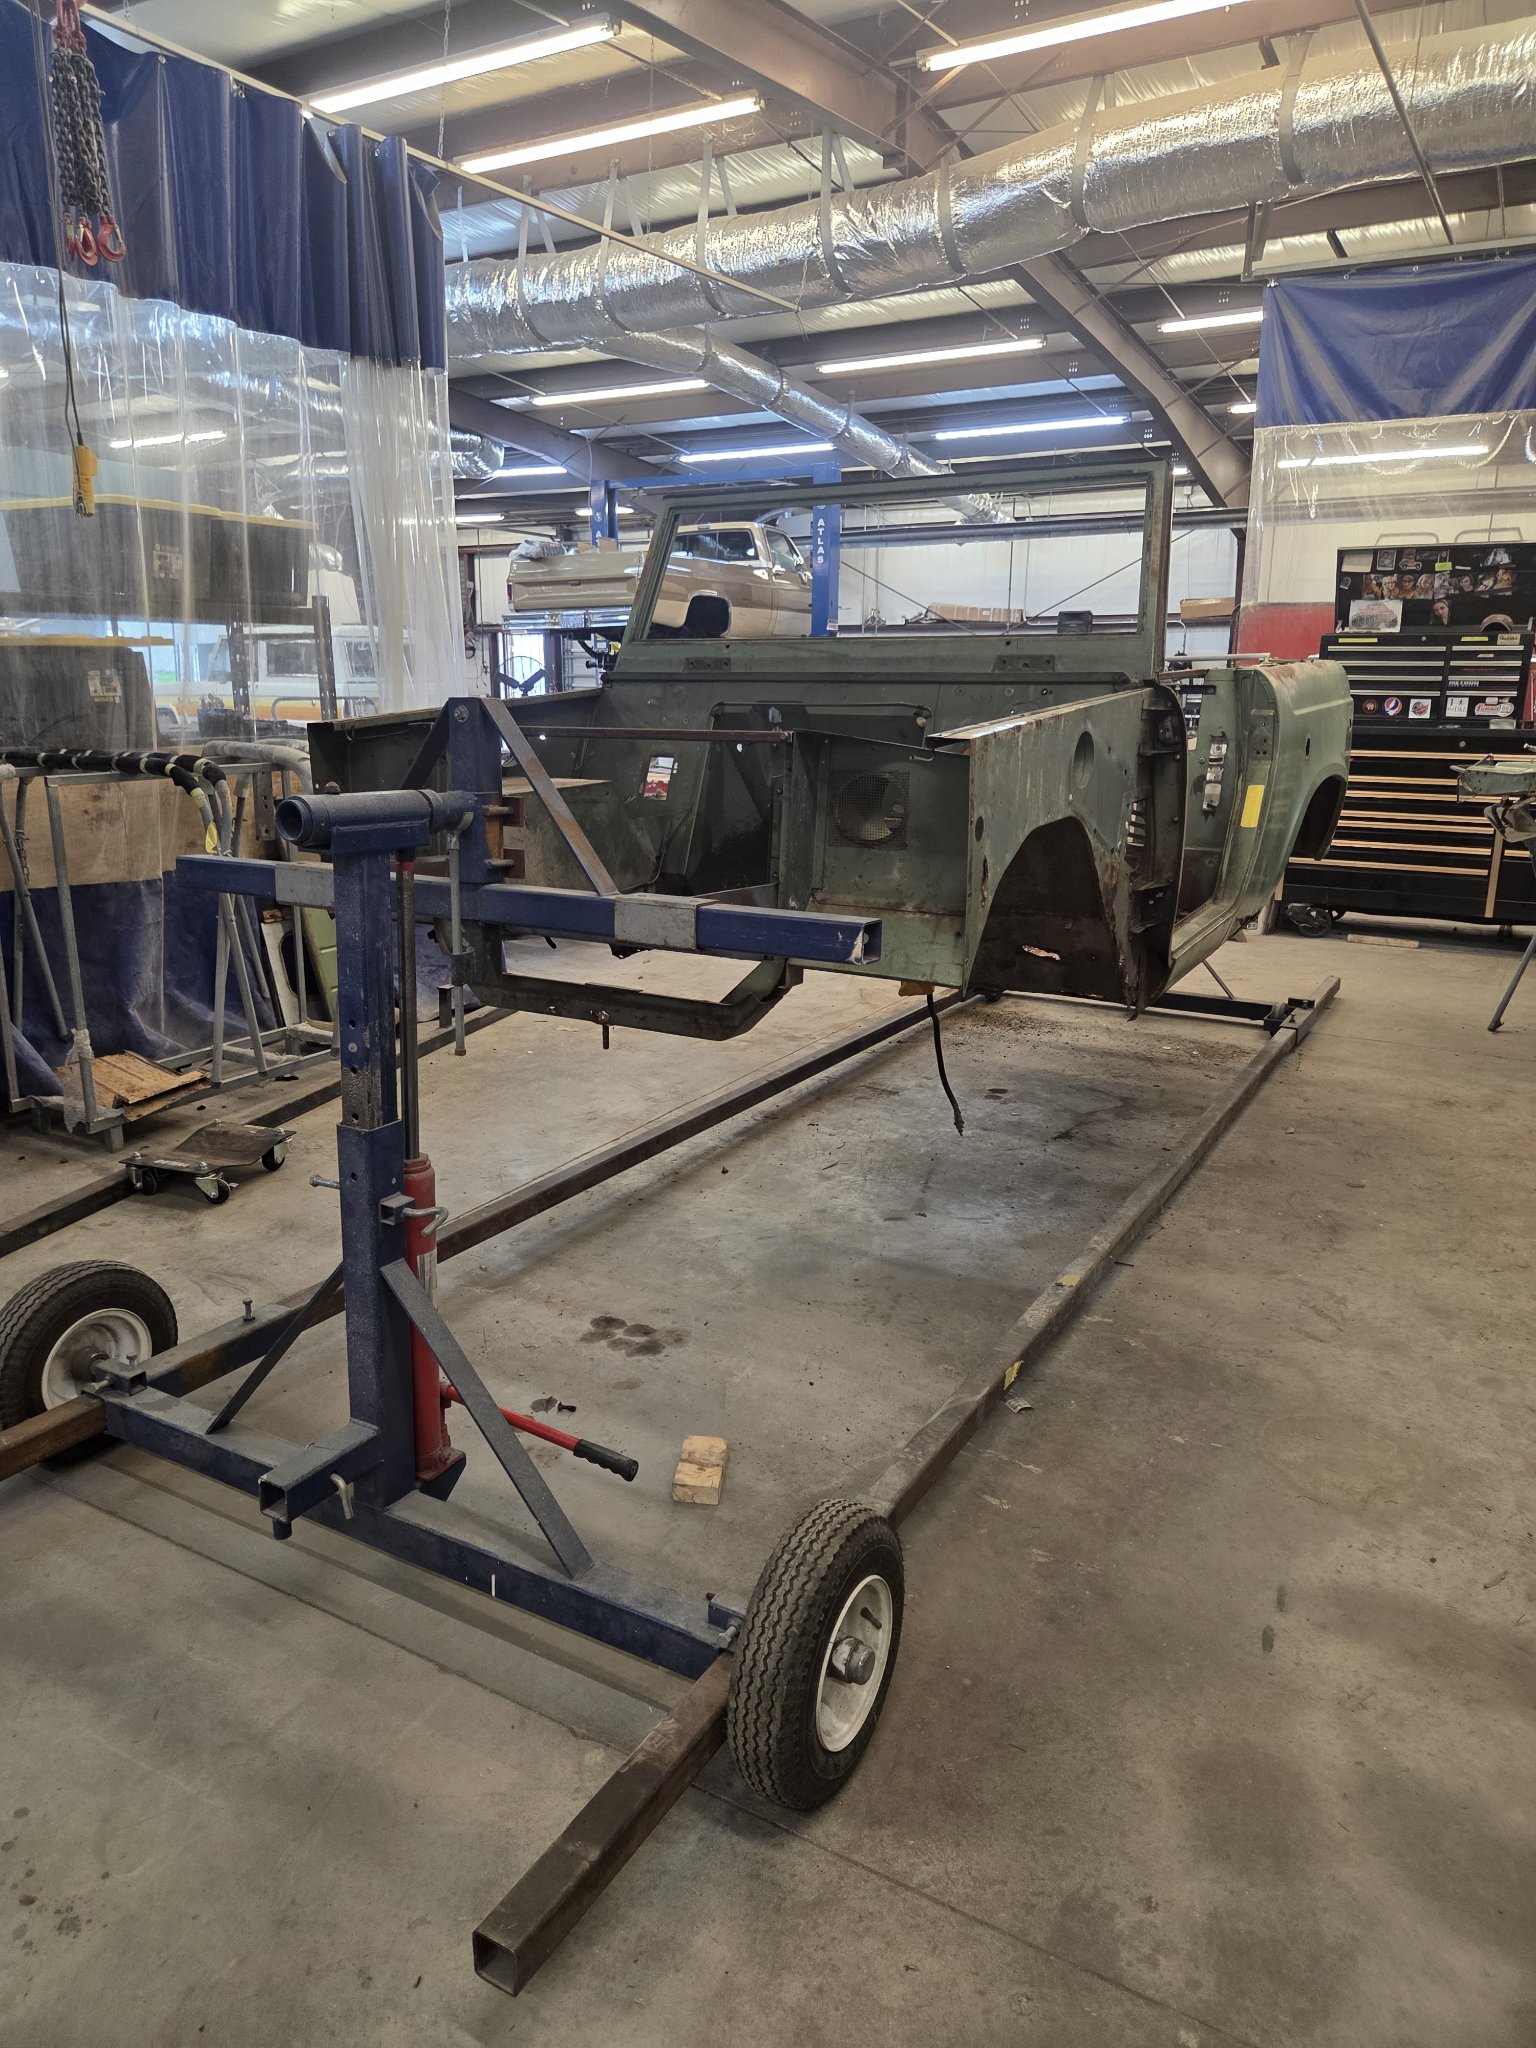
International Scout 800 · frame-off rebuild
Hardly Anything Left of It
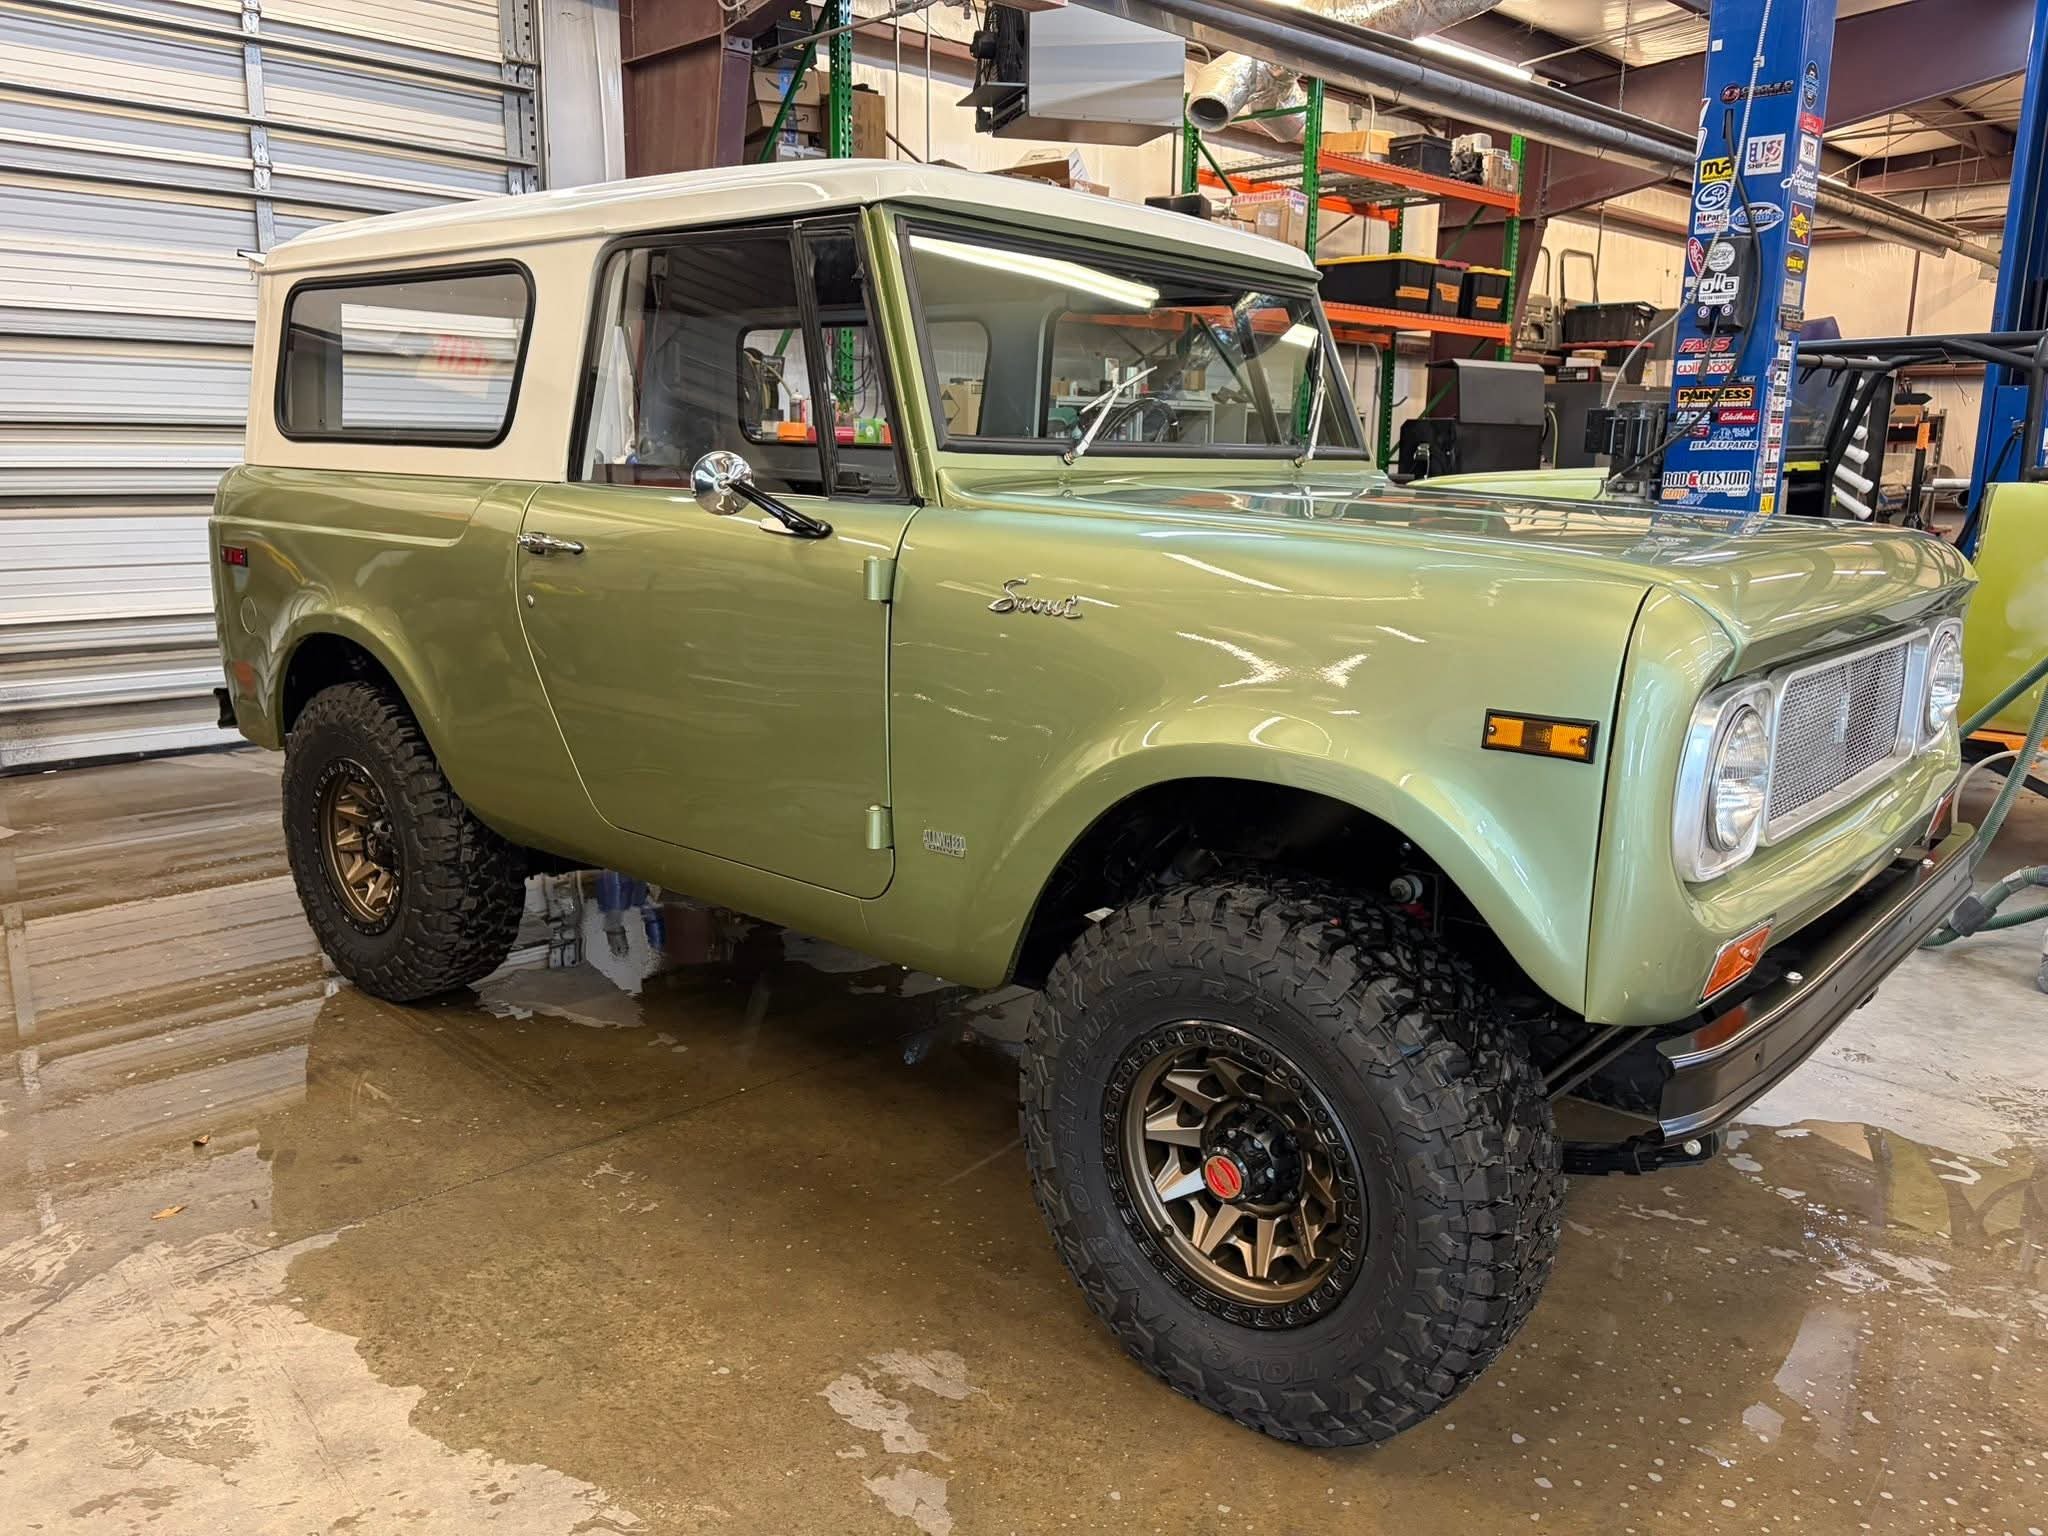
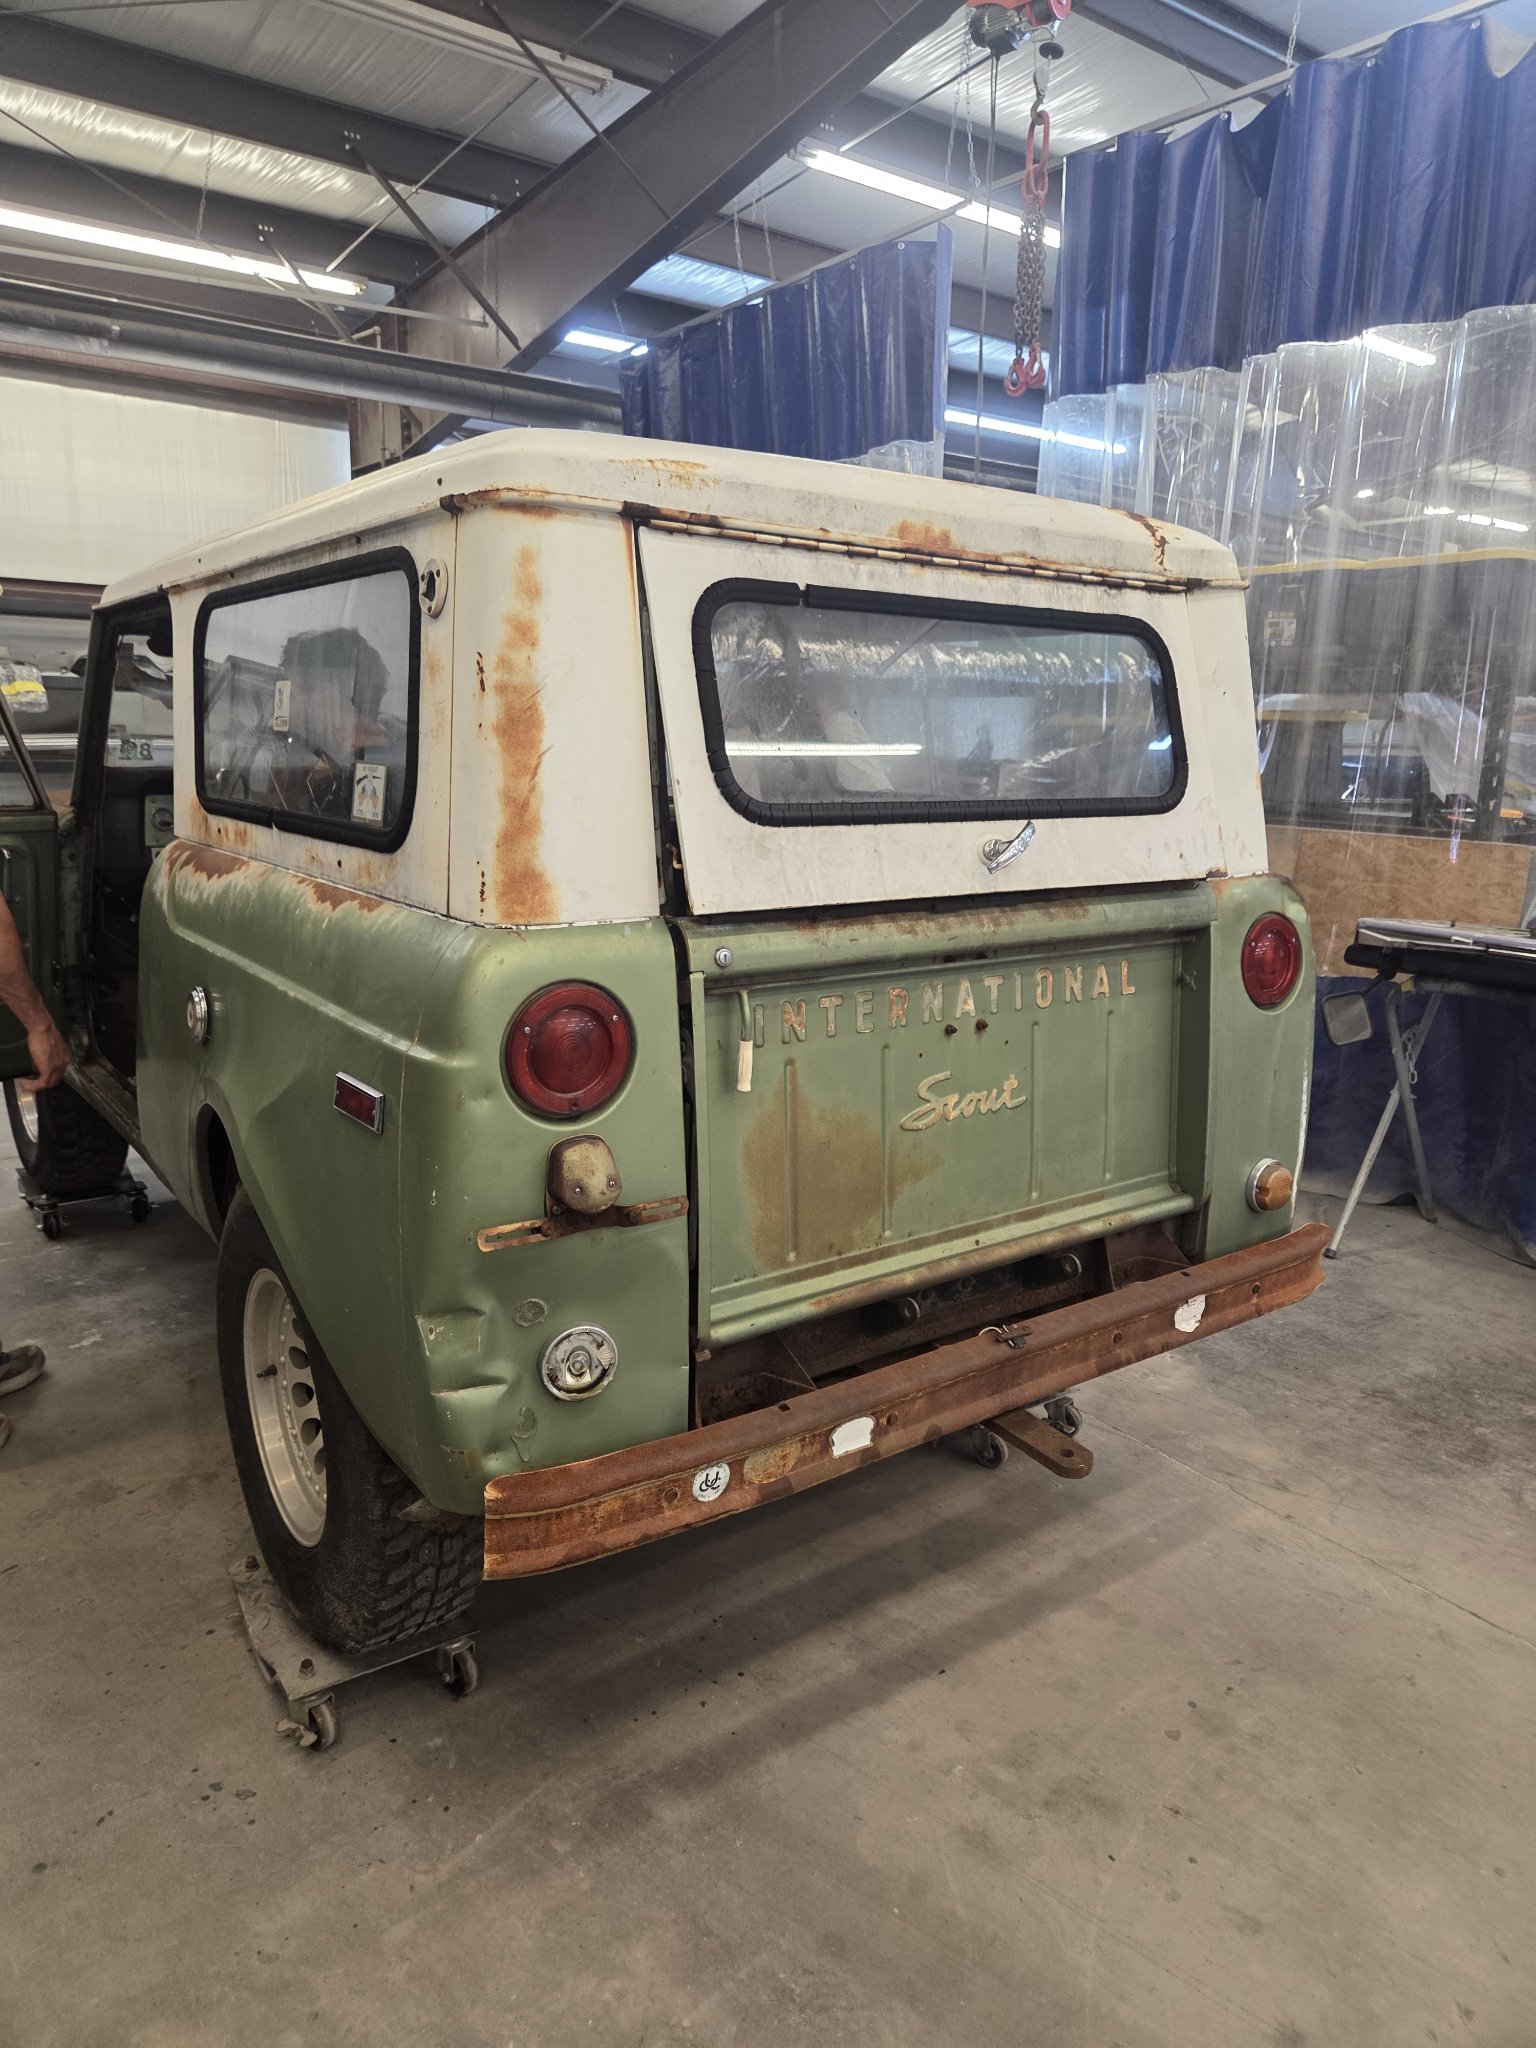
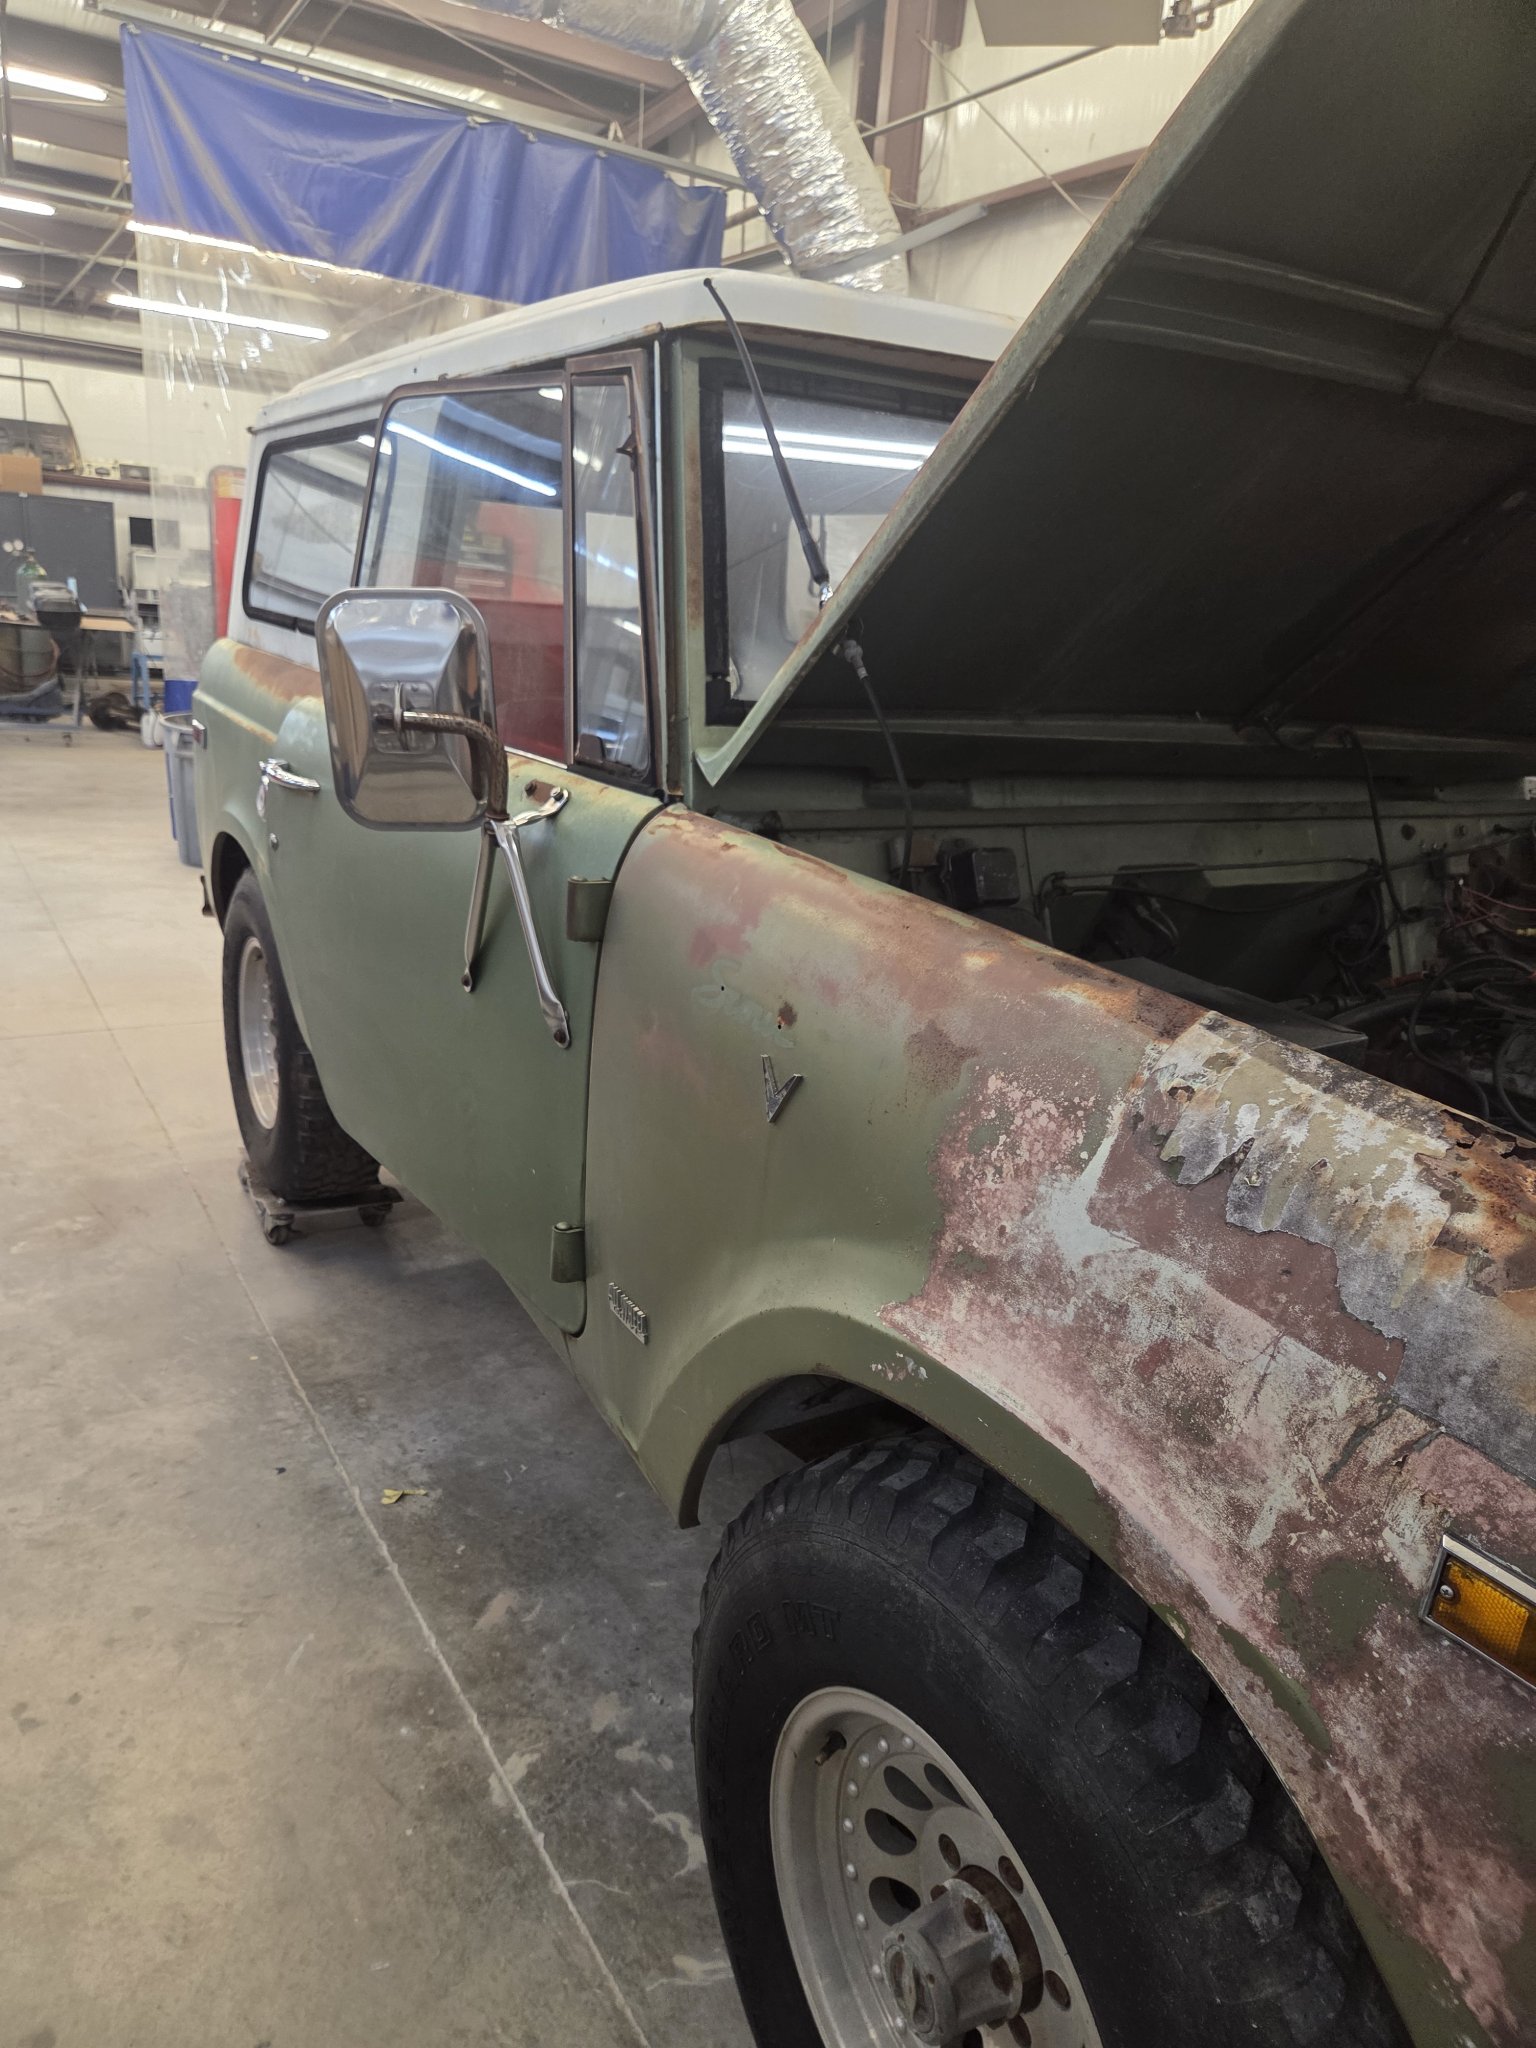
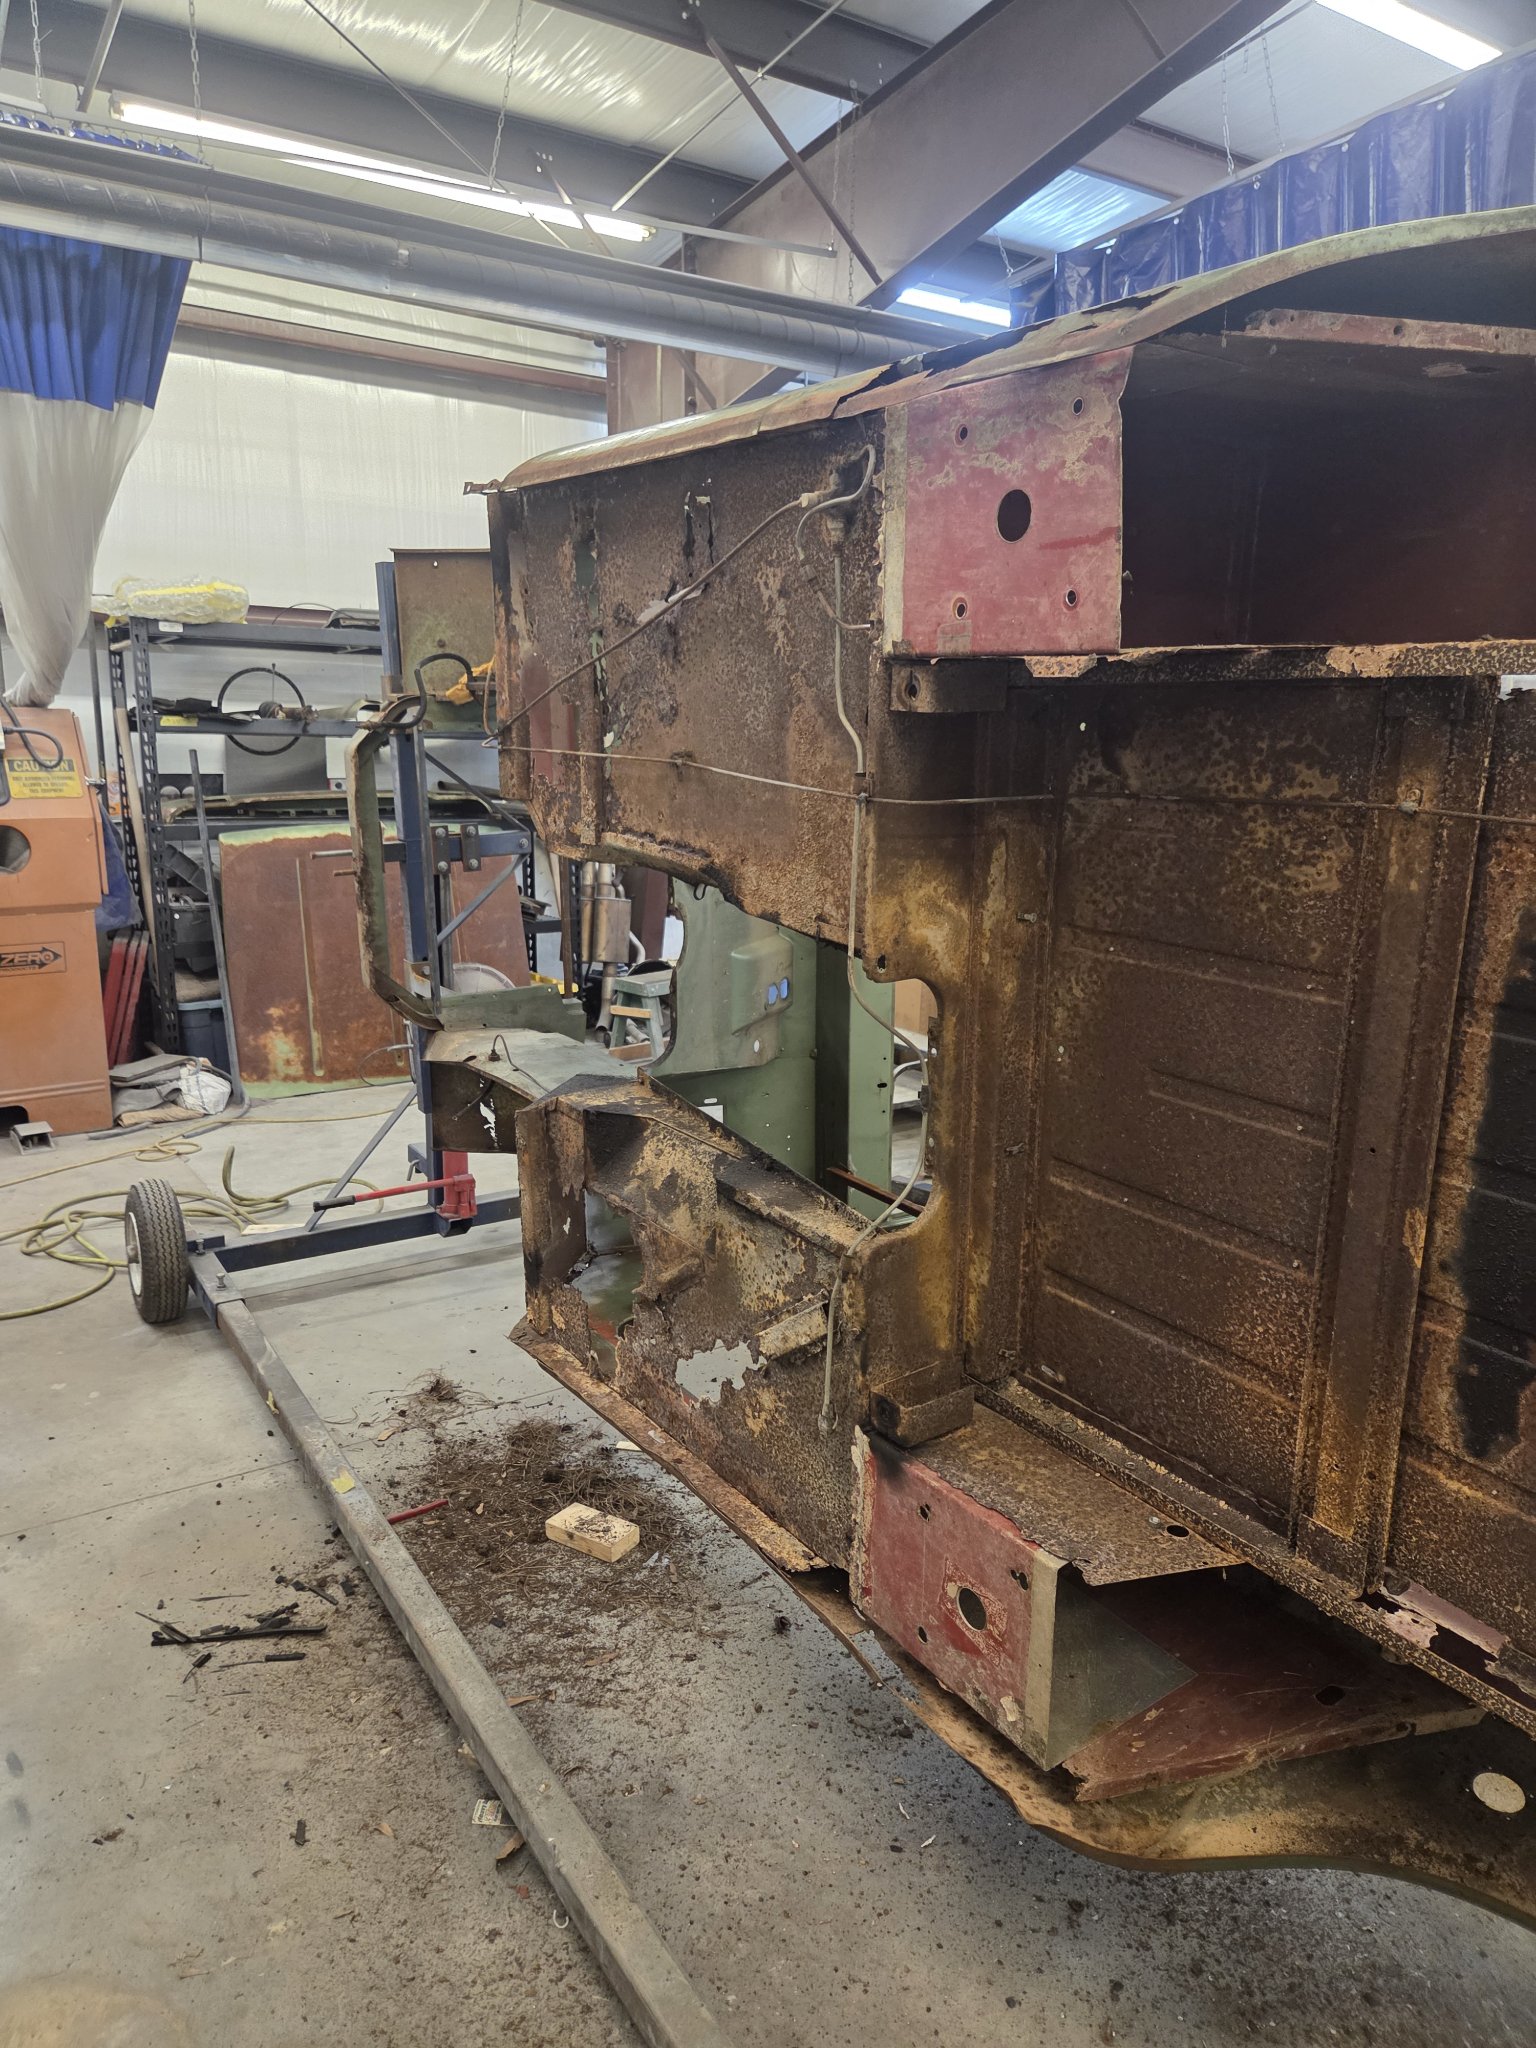
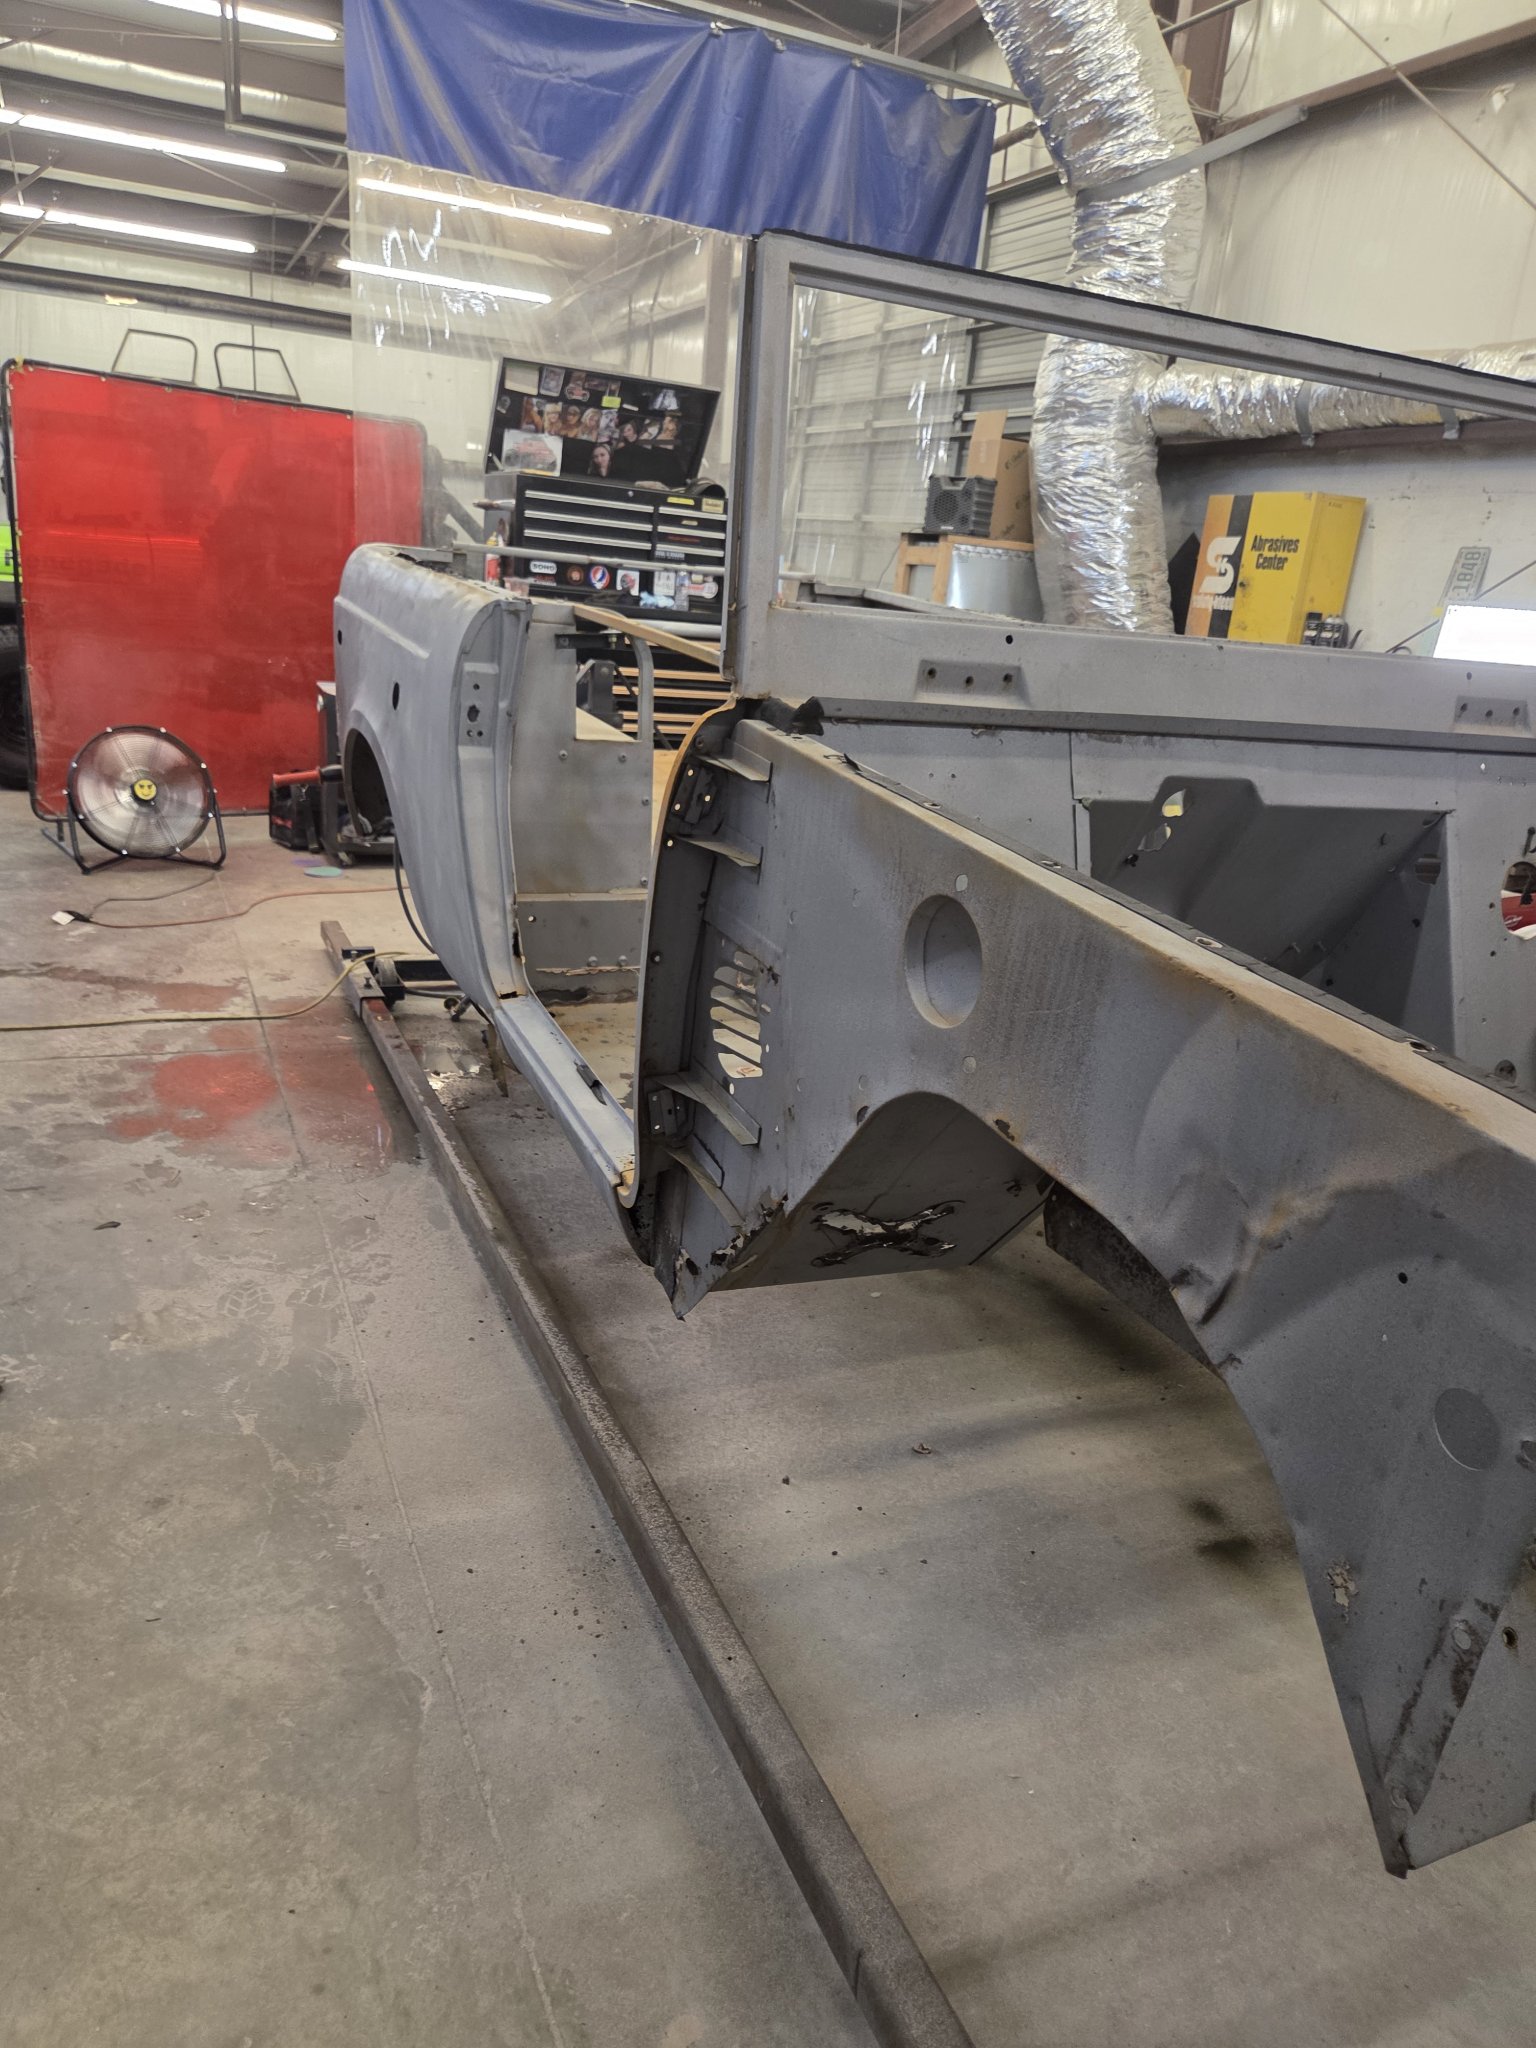
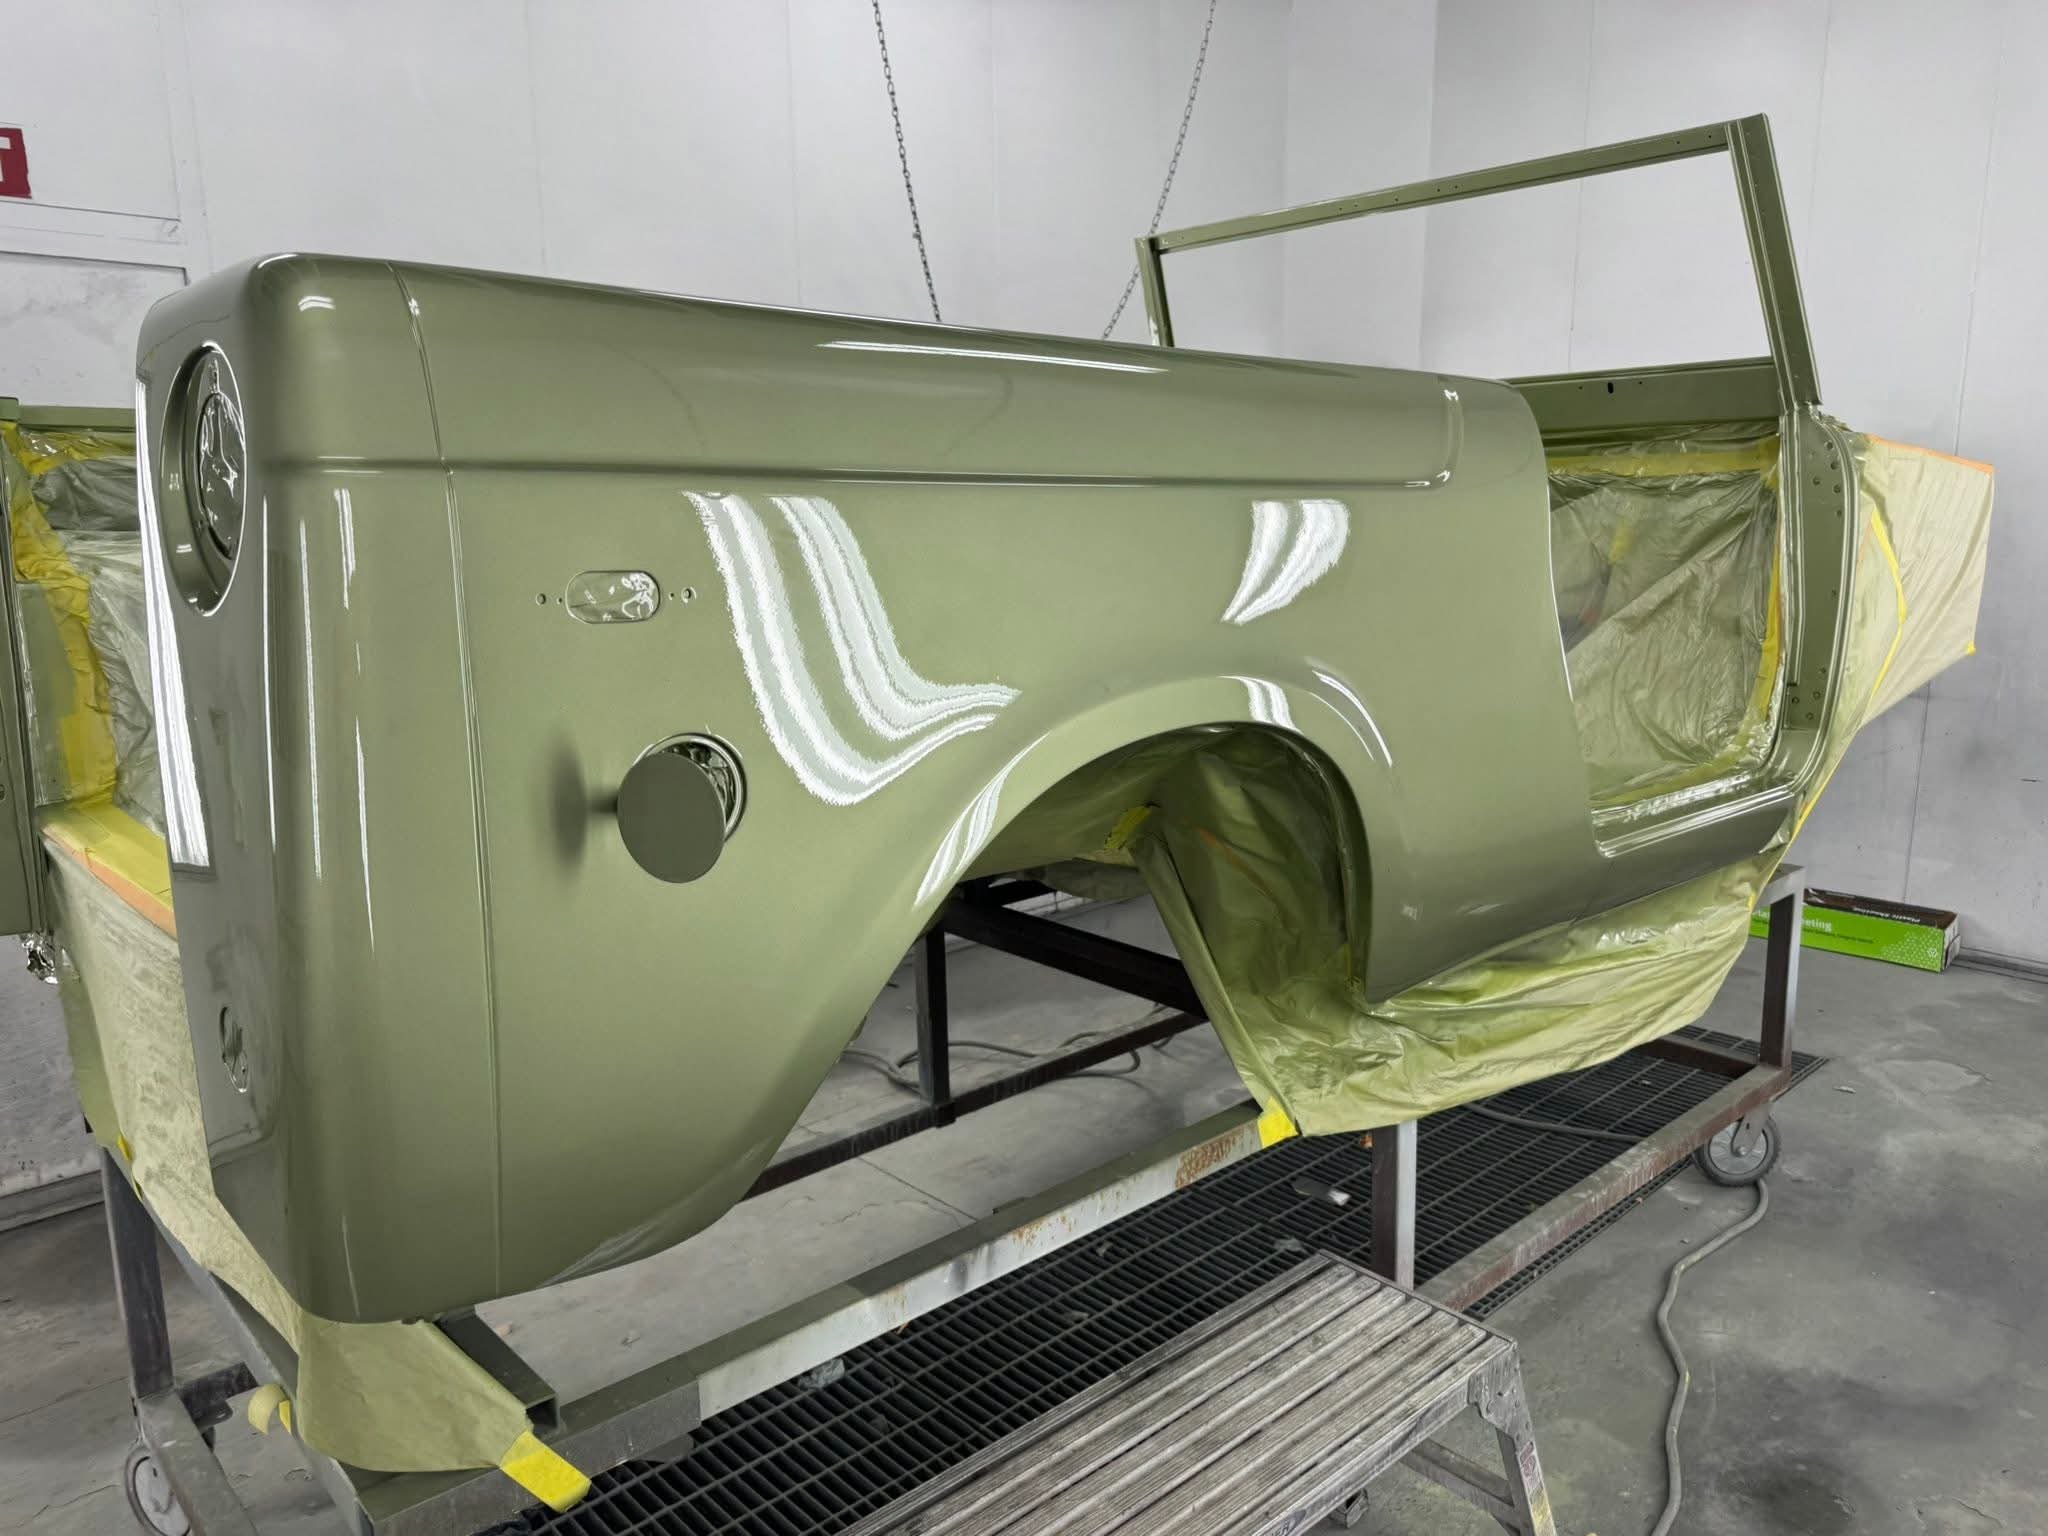
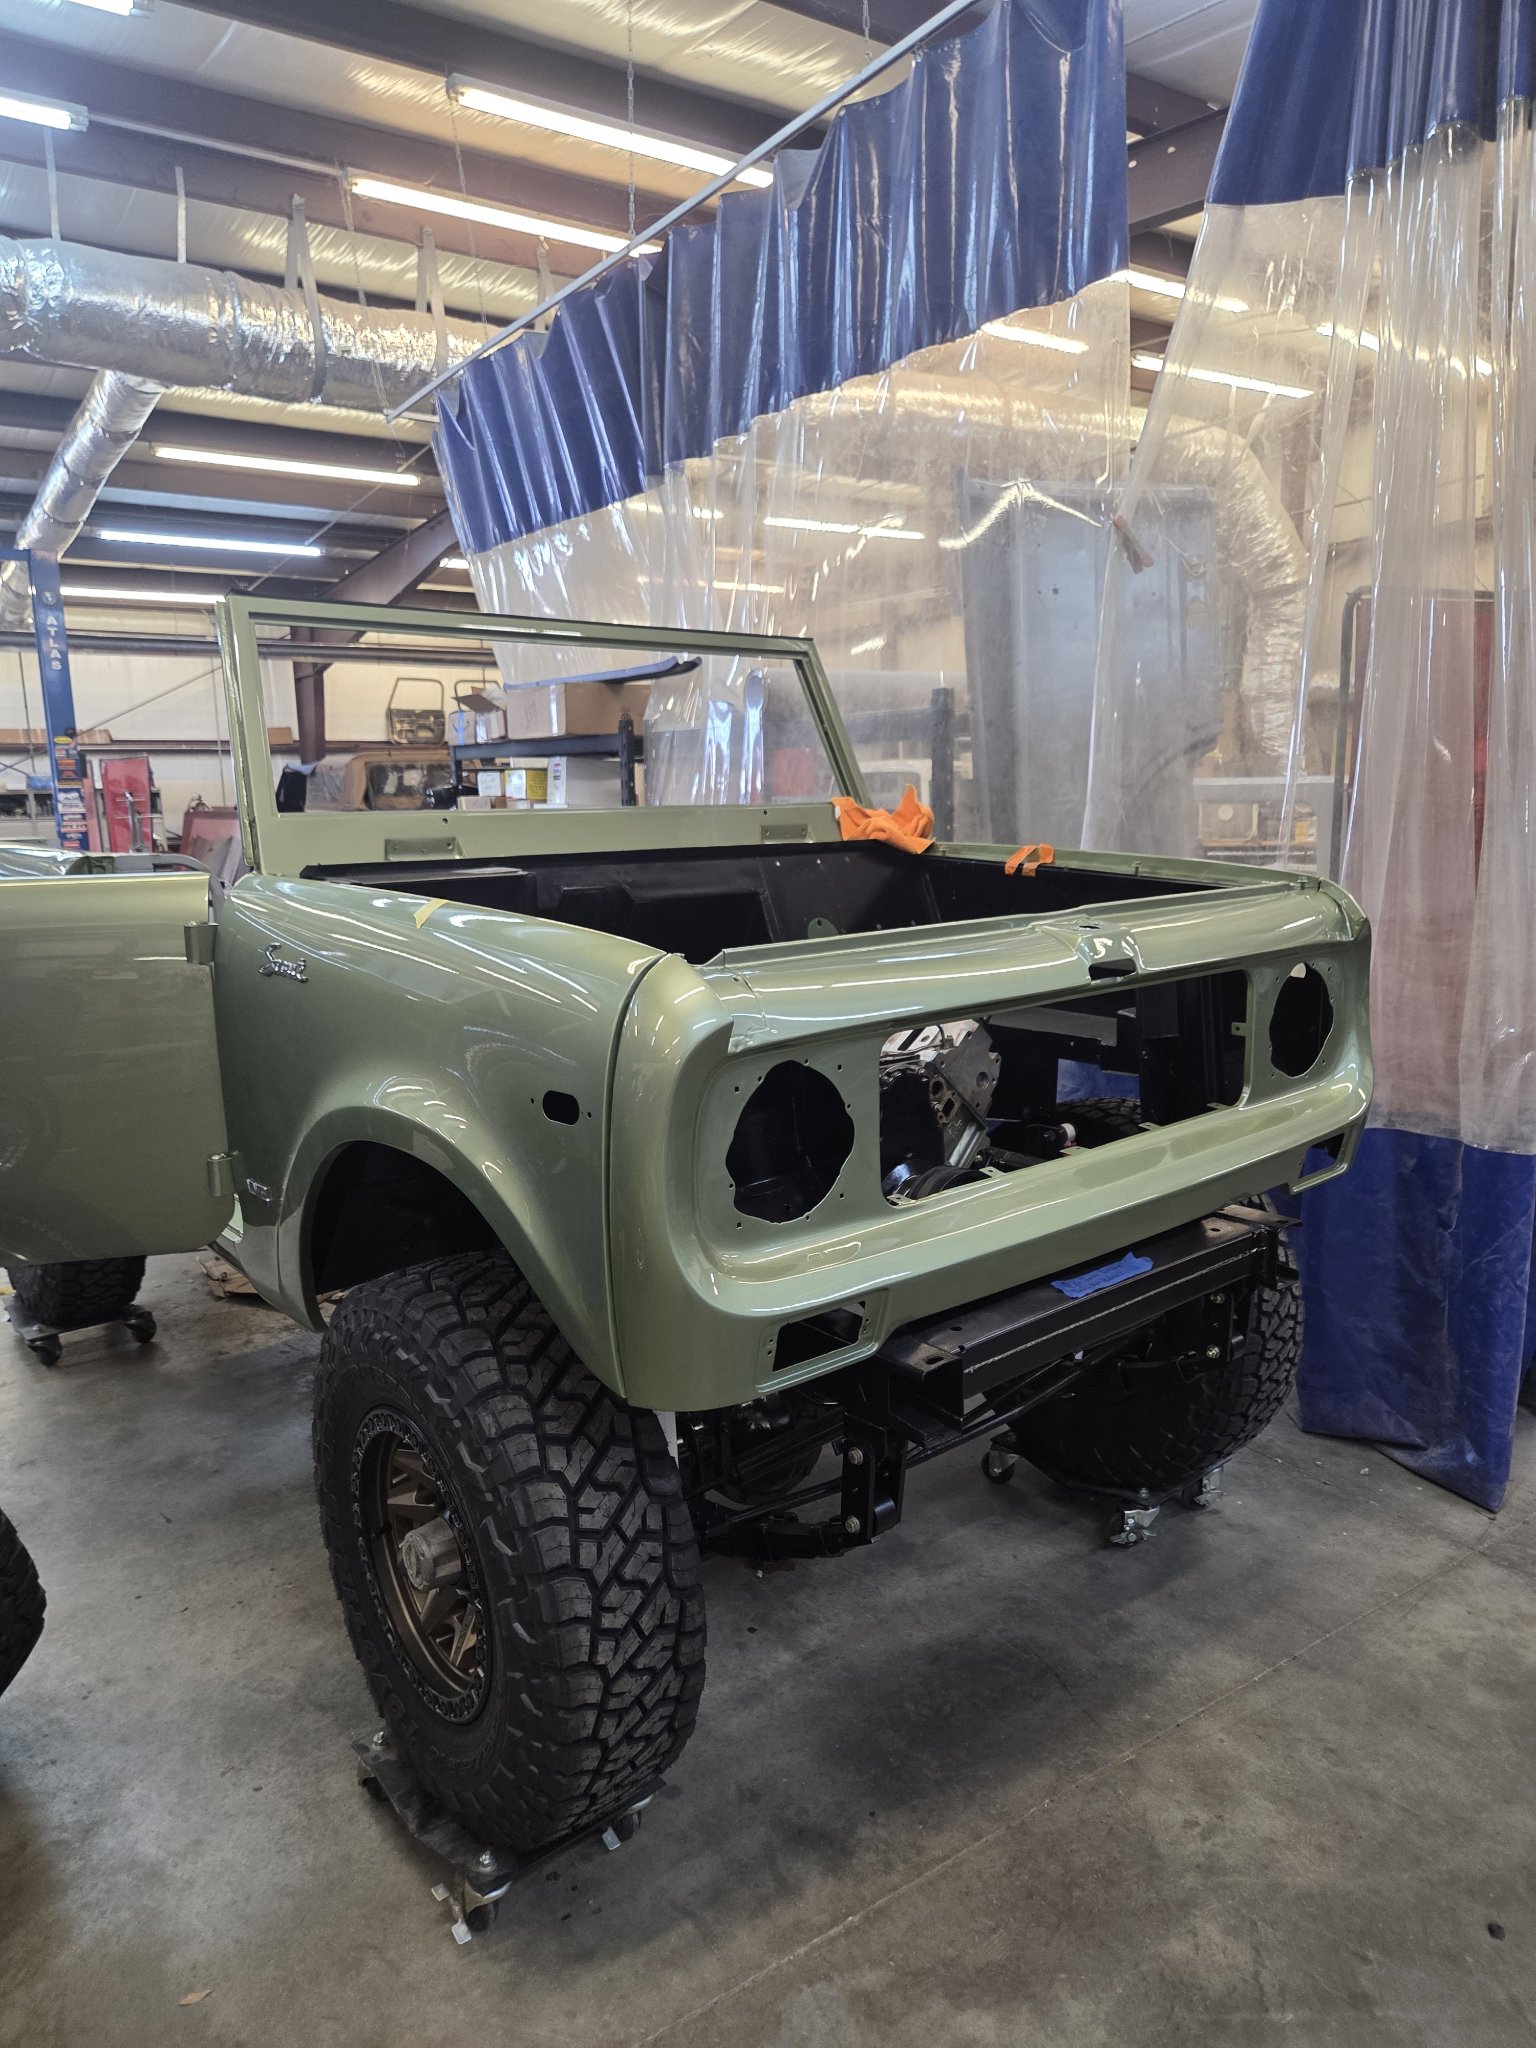
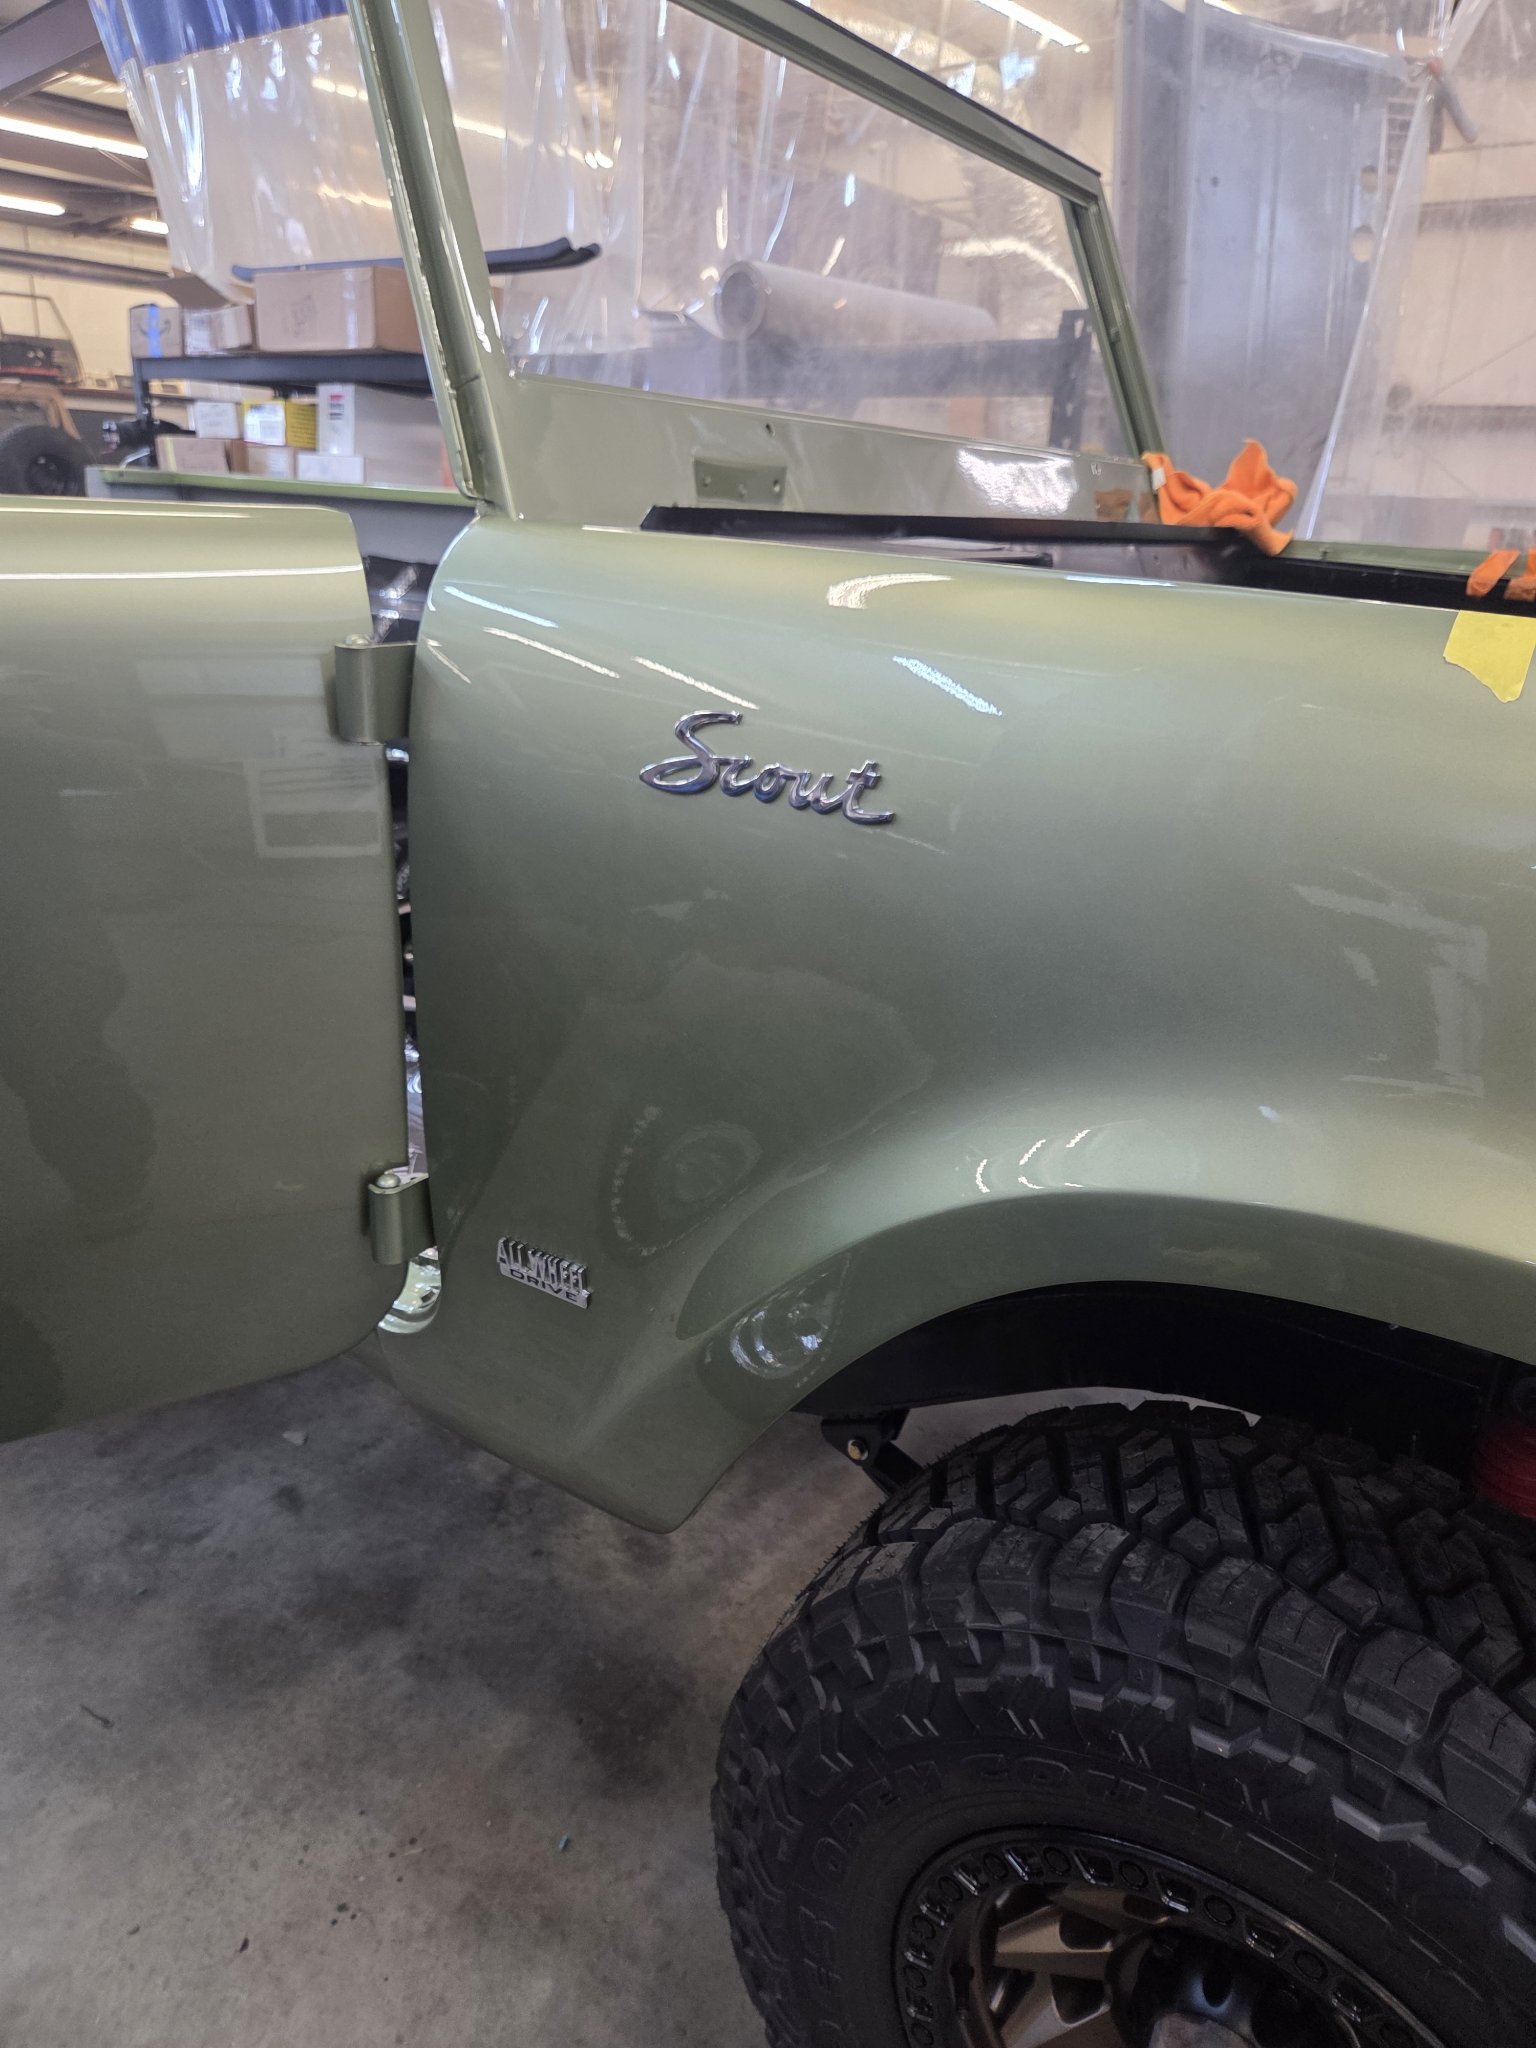
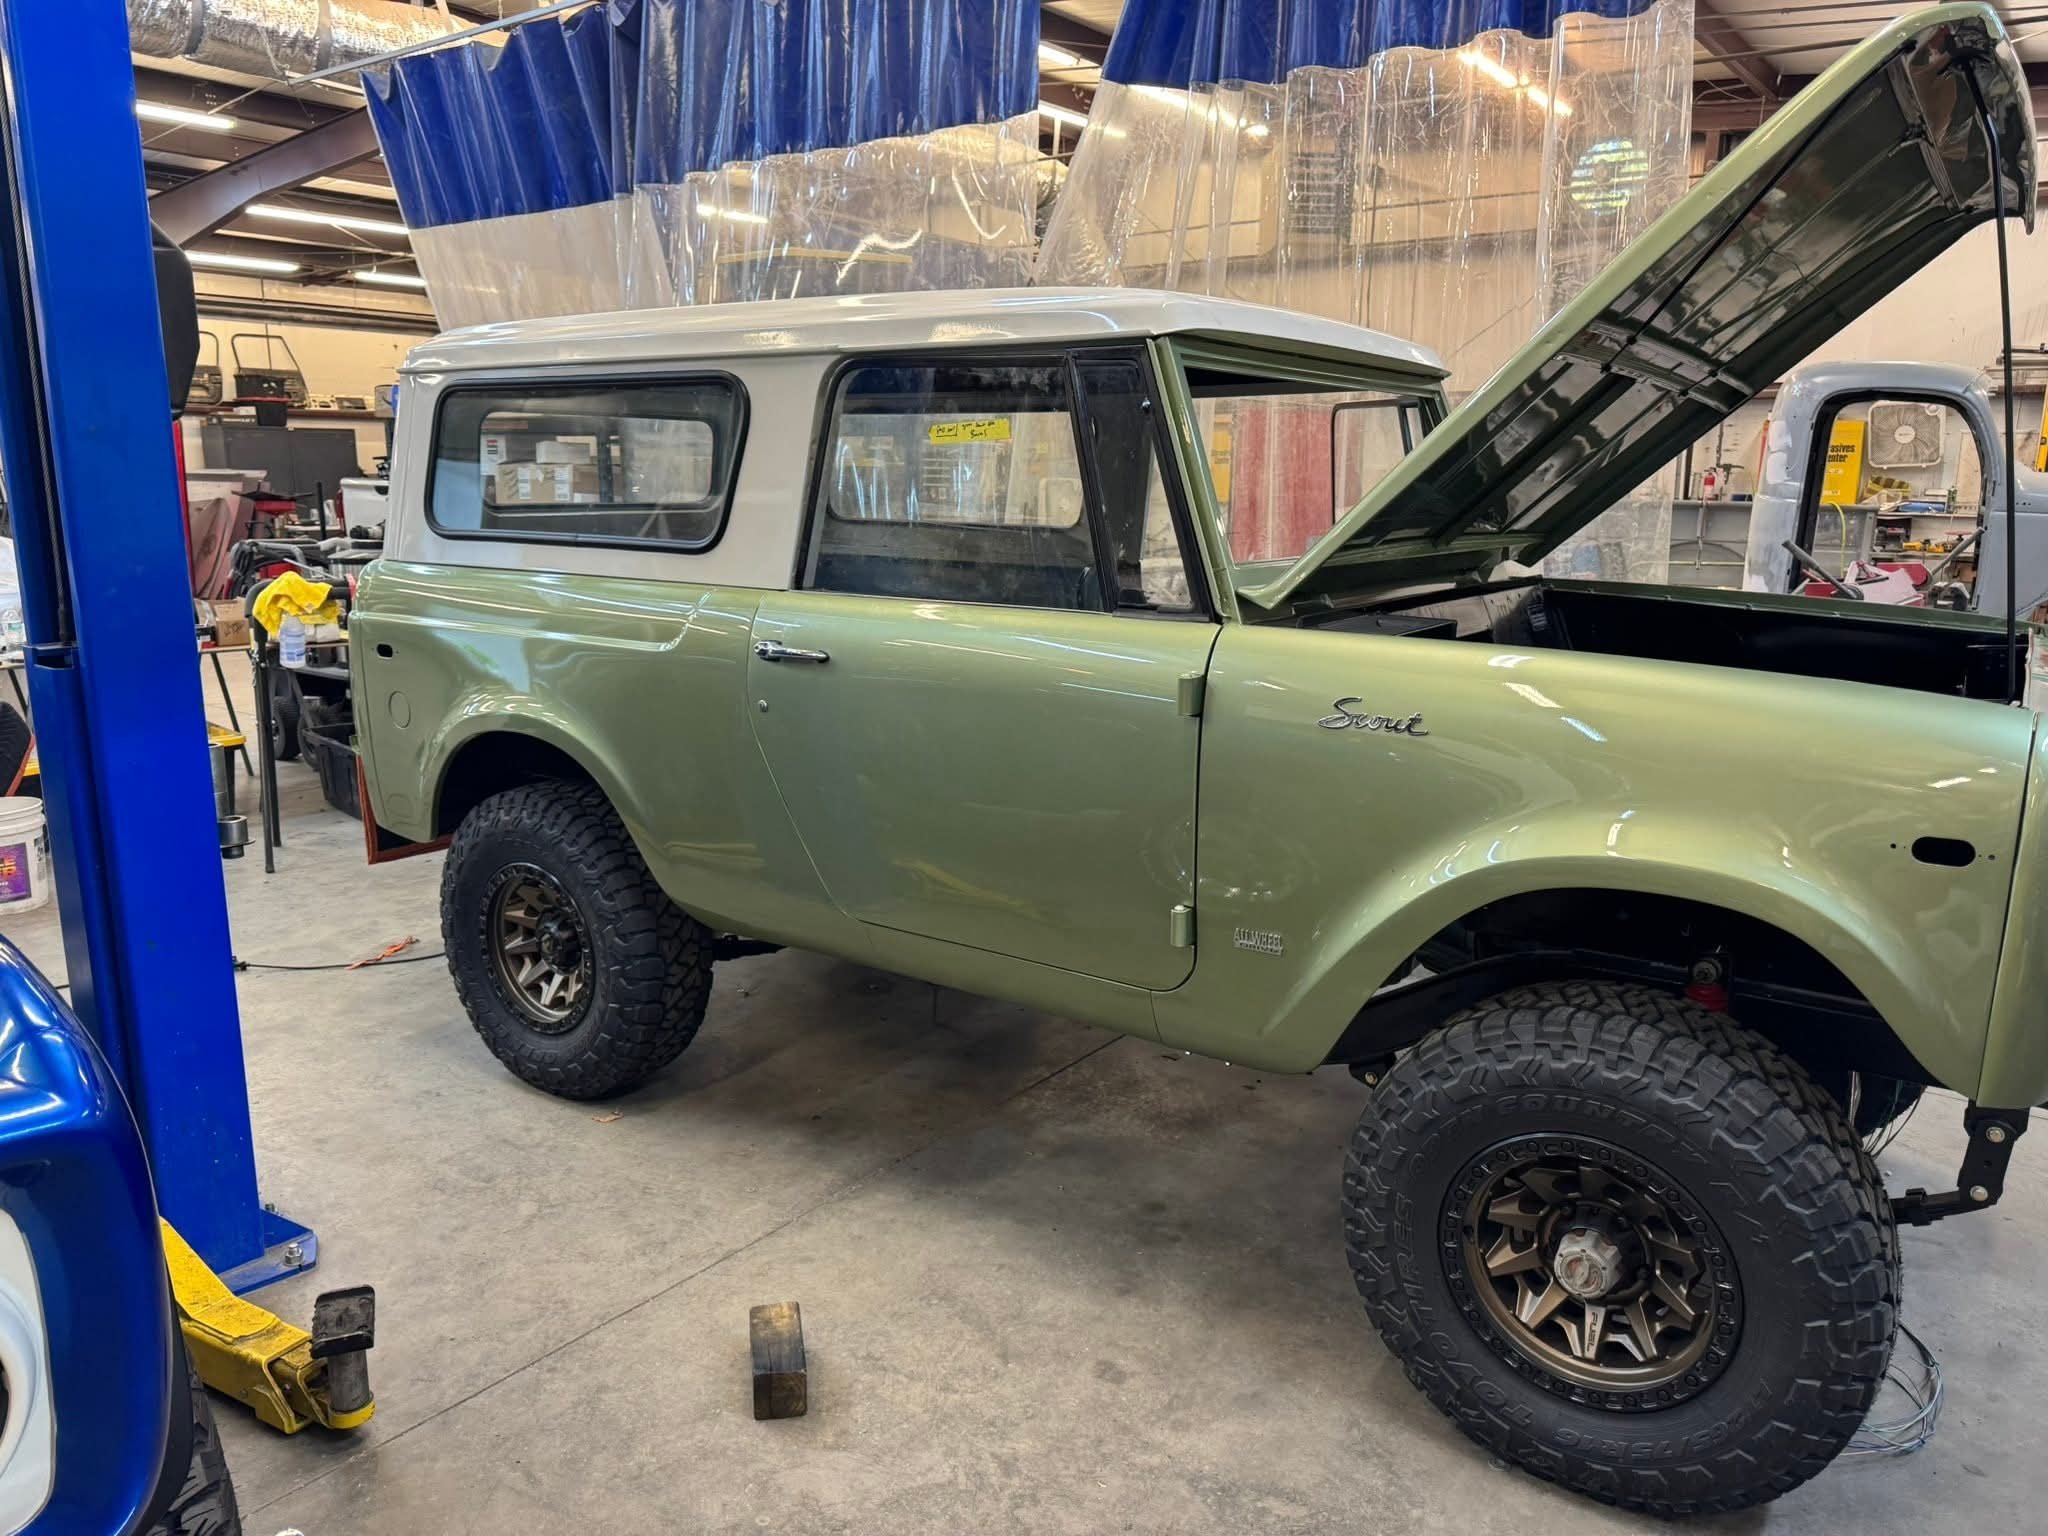
When Matthew tore this Scout down, there was hardly anything left of it — the rust had taken the floors, the panels, the structure. So it got built back the hard way: a frame-off rebuild with hand-fabricated patch panels and new floors, sage-green paint, and a modern V8 under the hood. This is the build he points to when people ask what “done right” actually looks like.
01 How it rolled in
As it arrived, from the rearHood up — looks whole. It wasn't
02 Down to the rotisserie
Teardown — stripped wide openOn the rotisserieThe underside — hardly anything leftBlasted clean, down to honest metal
03 Metal, made by hand
New floor panel, fitted by handPatch panel clamped, ready to weld
04 Primer & sage green
In primer, top on — whole againQuarter in final primerSage green, in the booth
05 Back together
Front end coming togetherThe badge, back where it belongsFinished — the full side profileA modern V8 under the hood
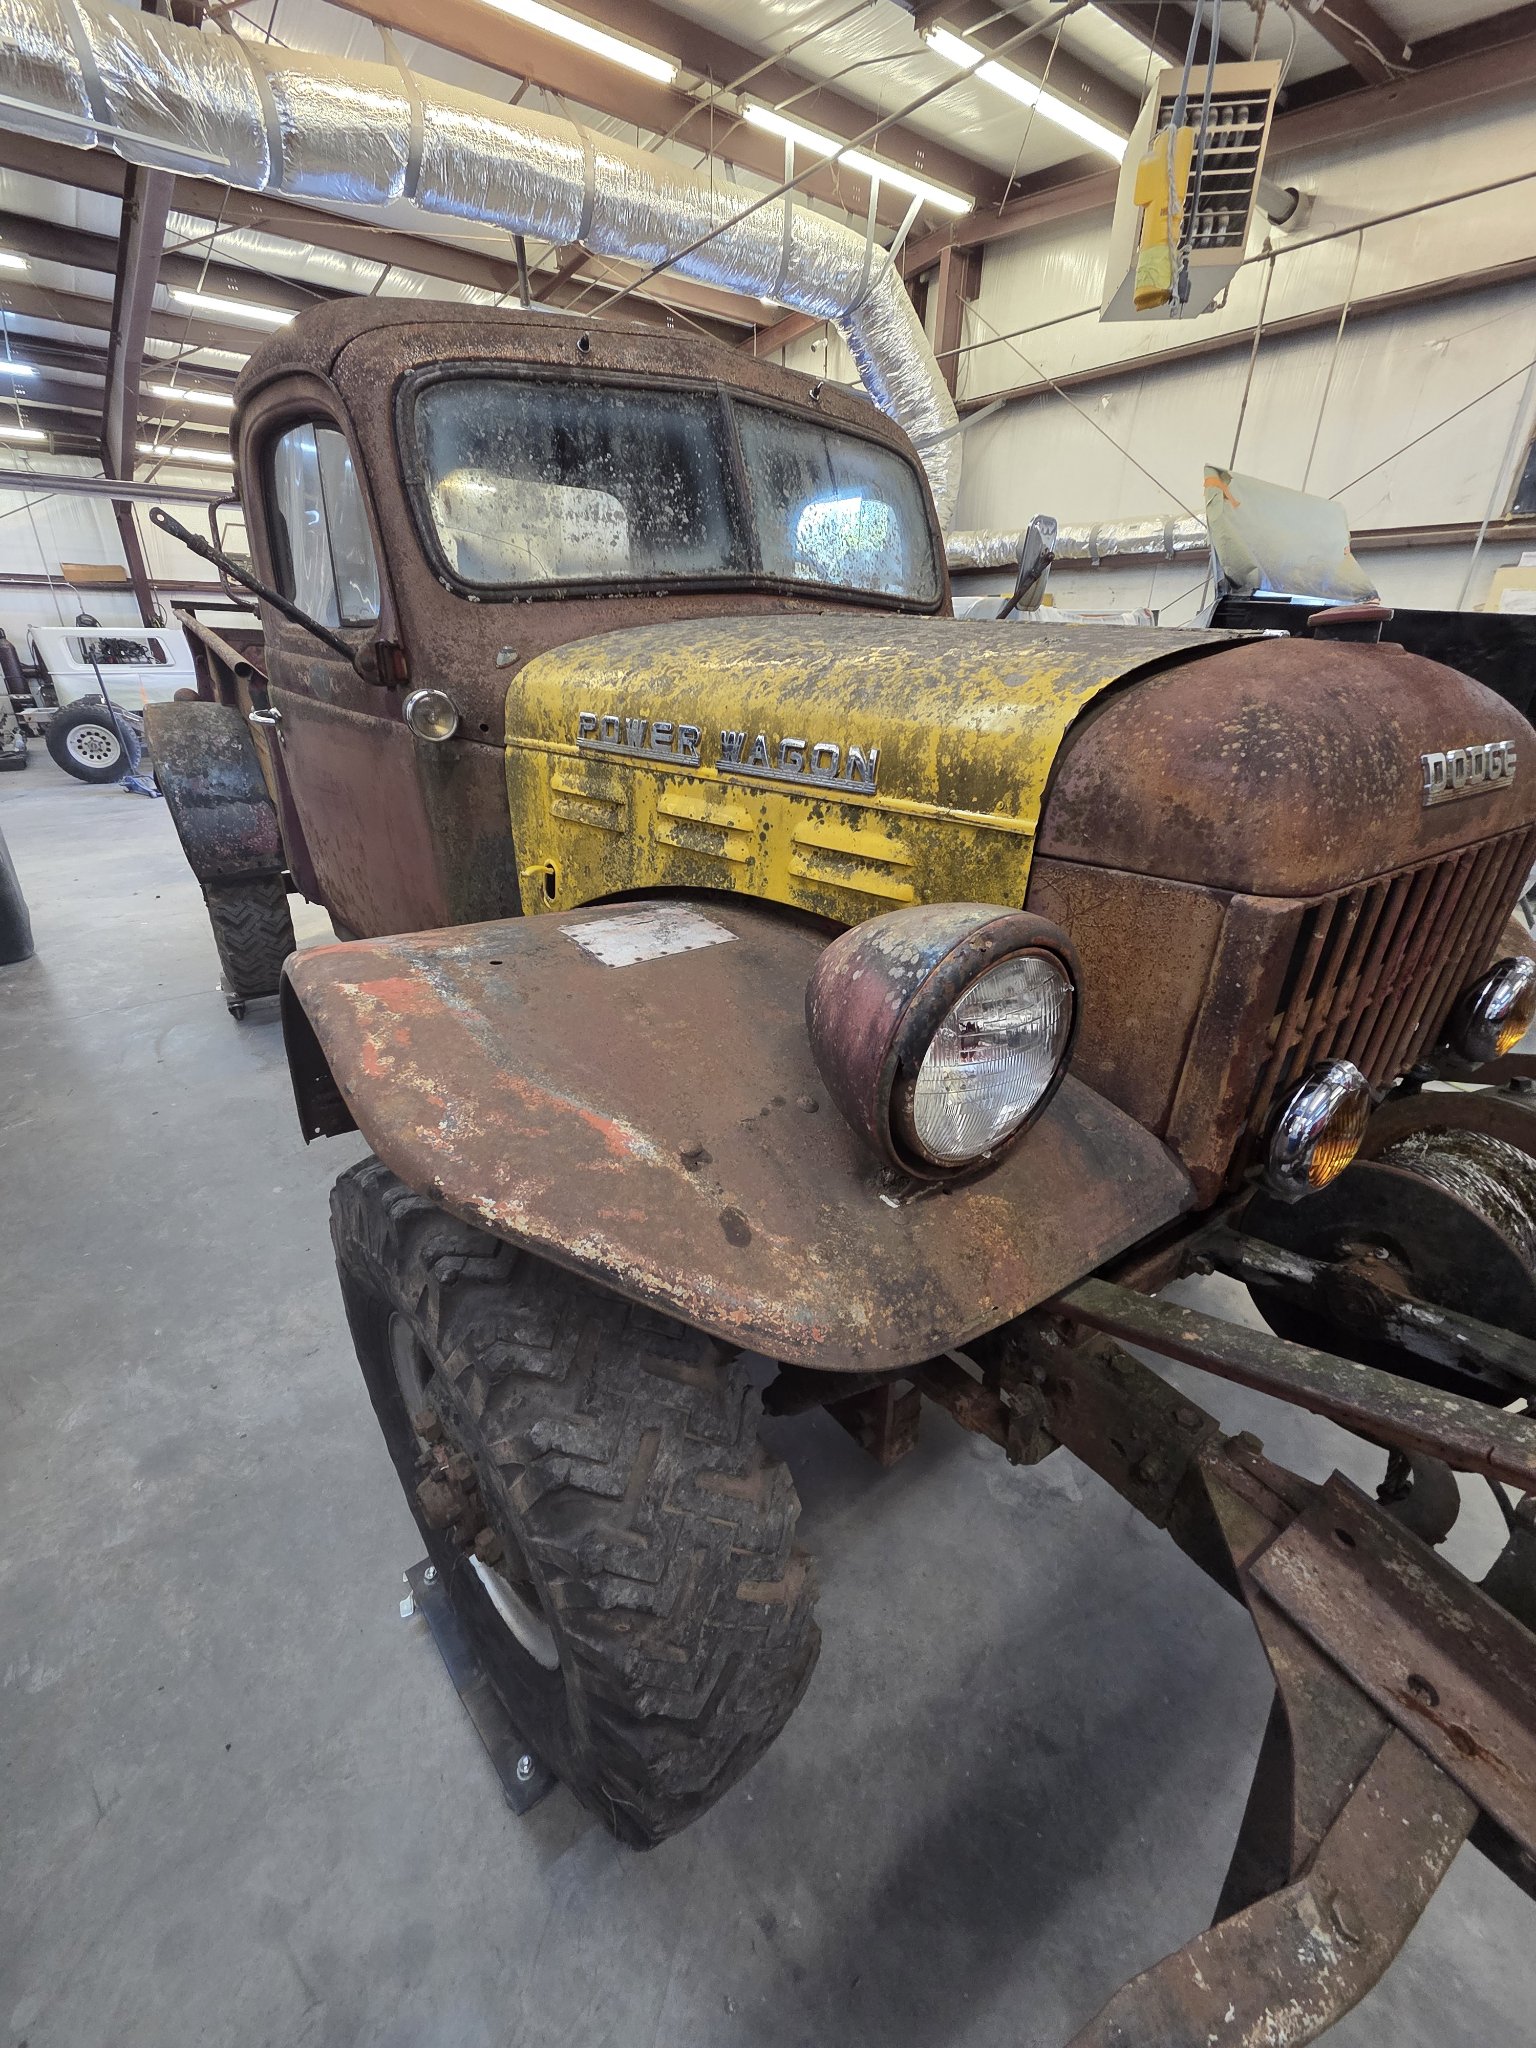
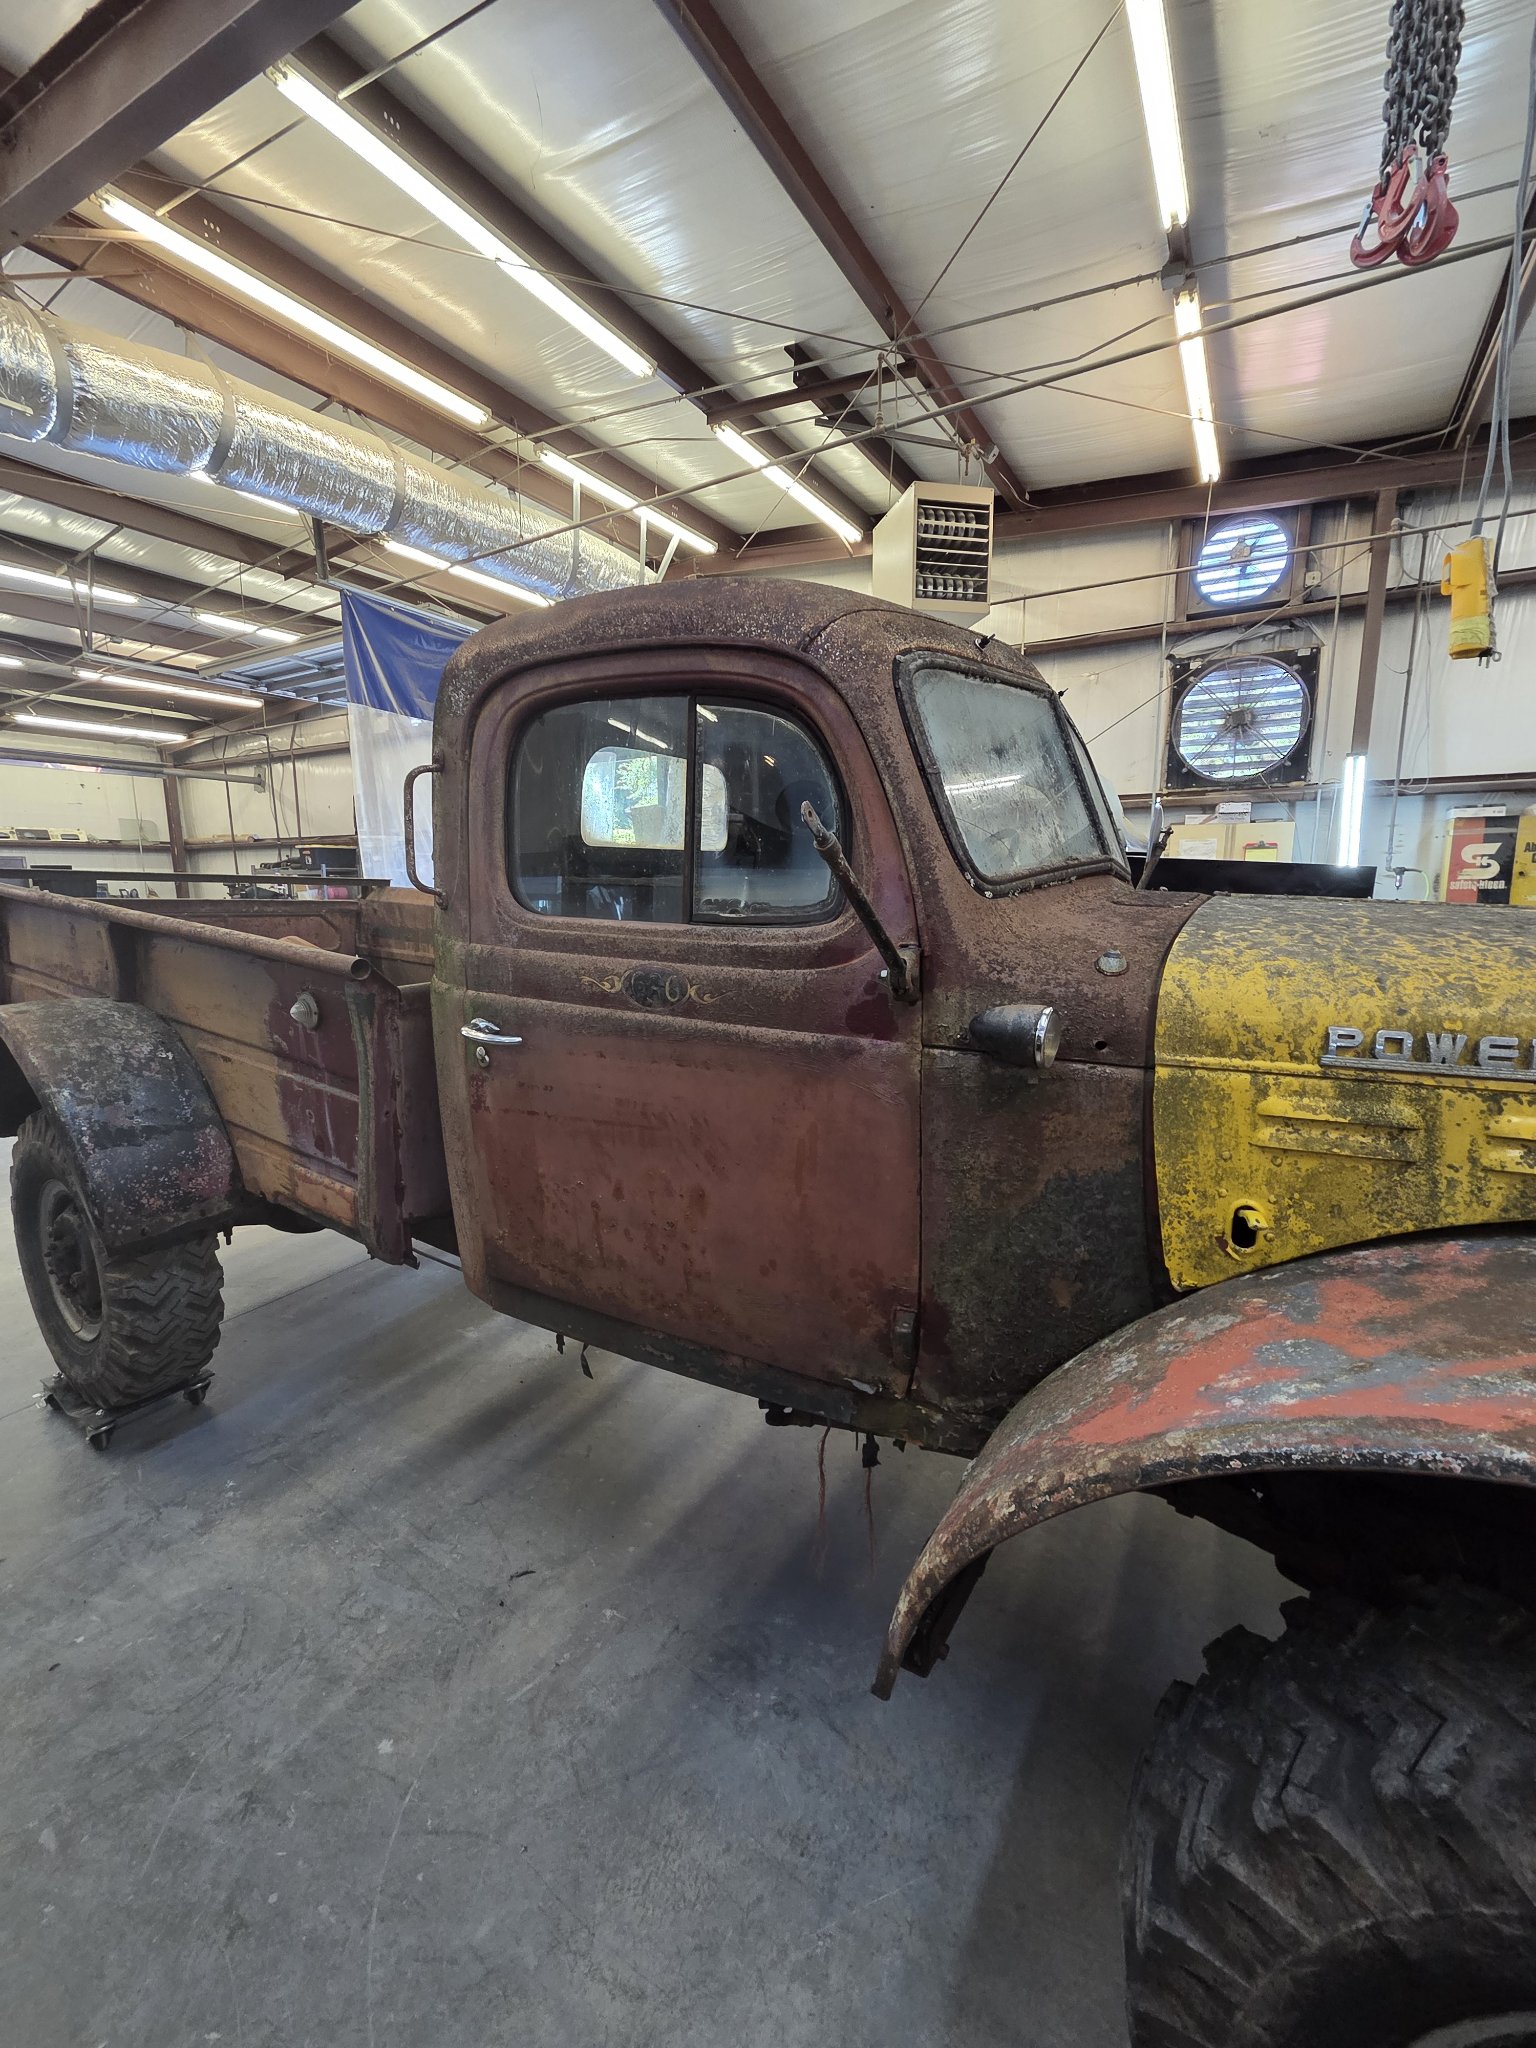
The '56 Power Wagon Restomod
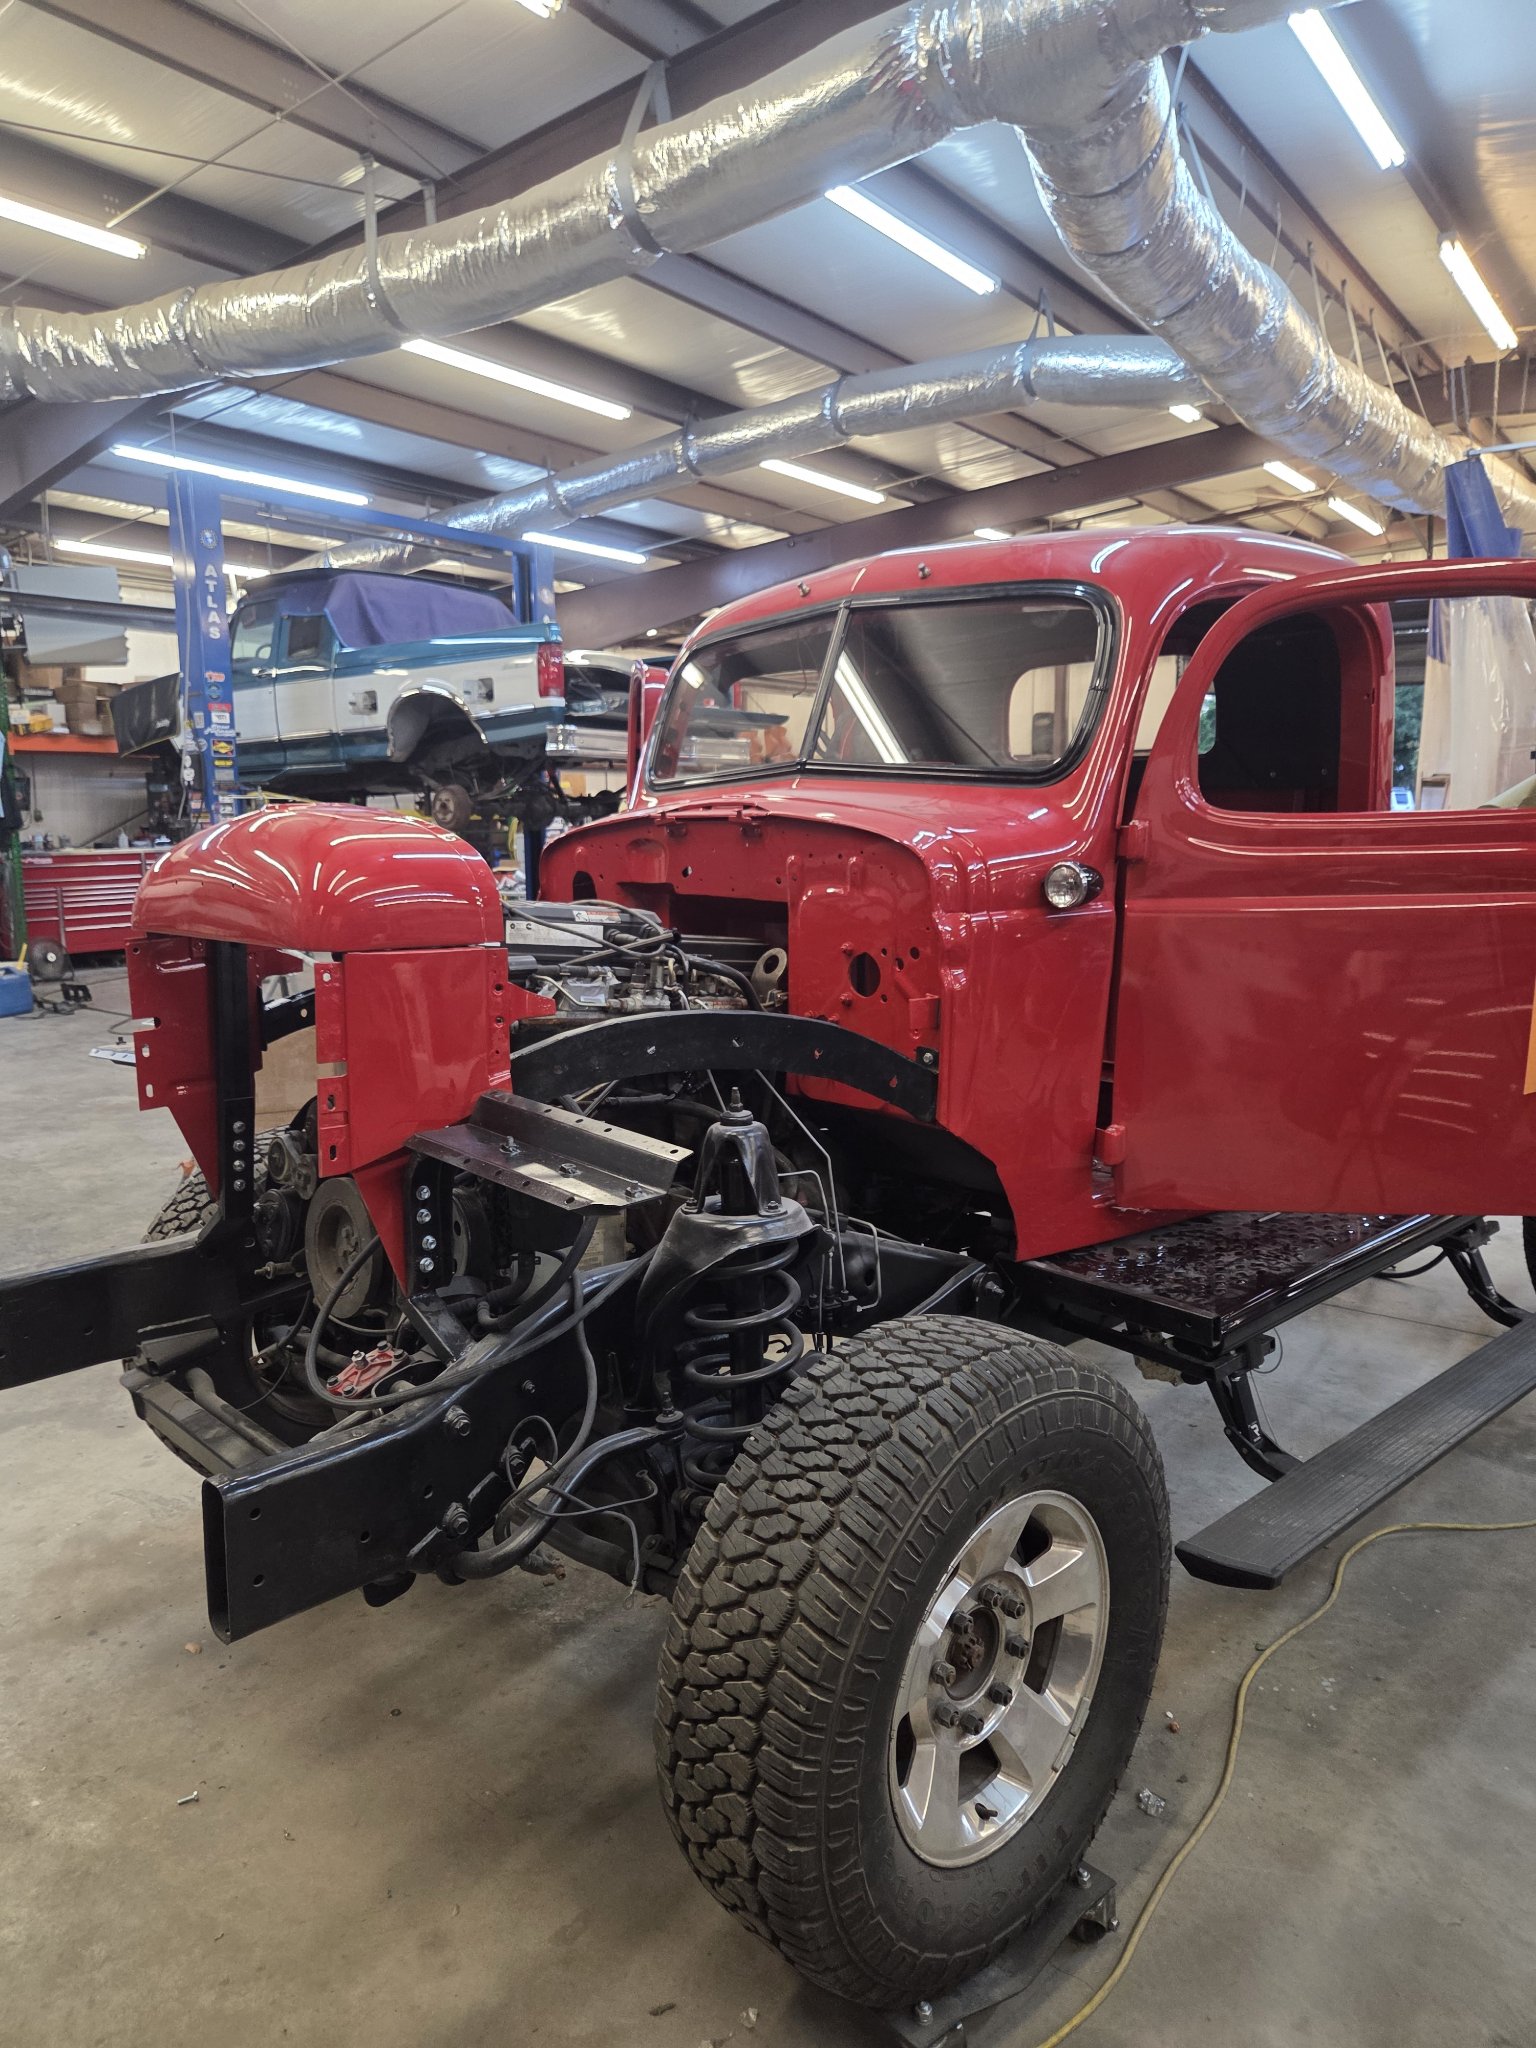
1956 Dodge Power Wagon · grafted onto a modern Ram 2500 Cummins
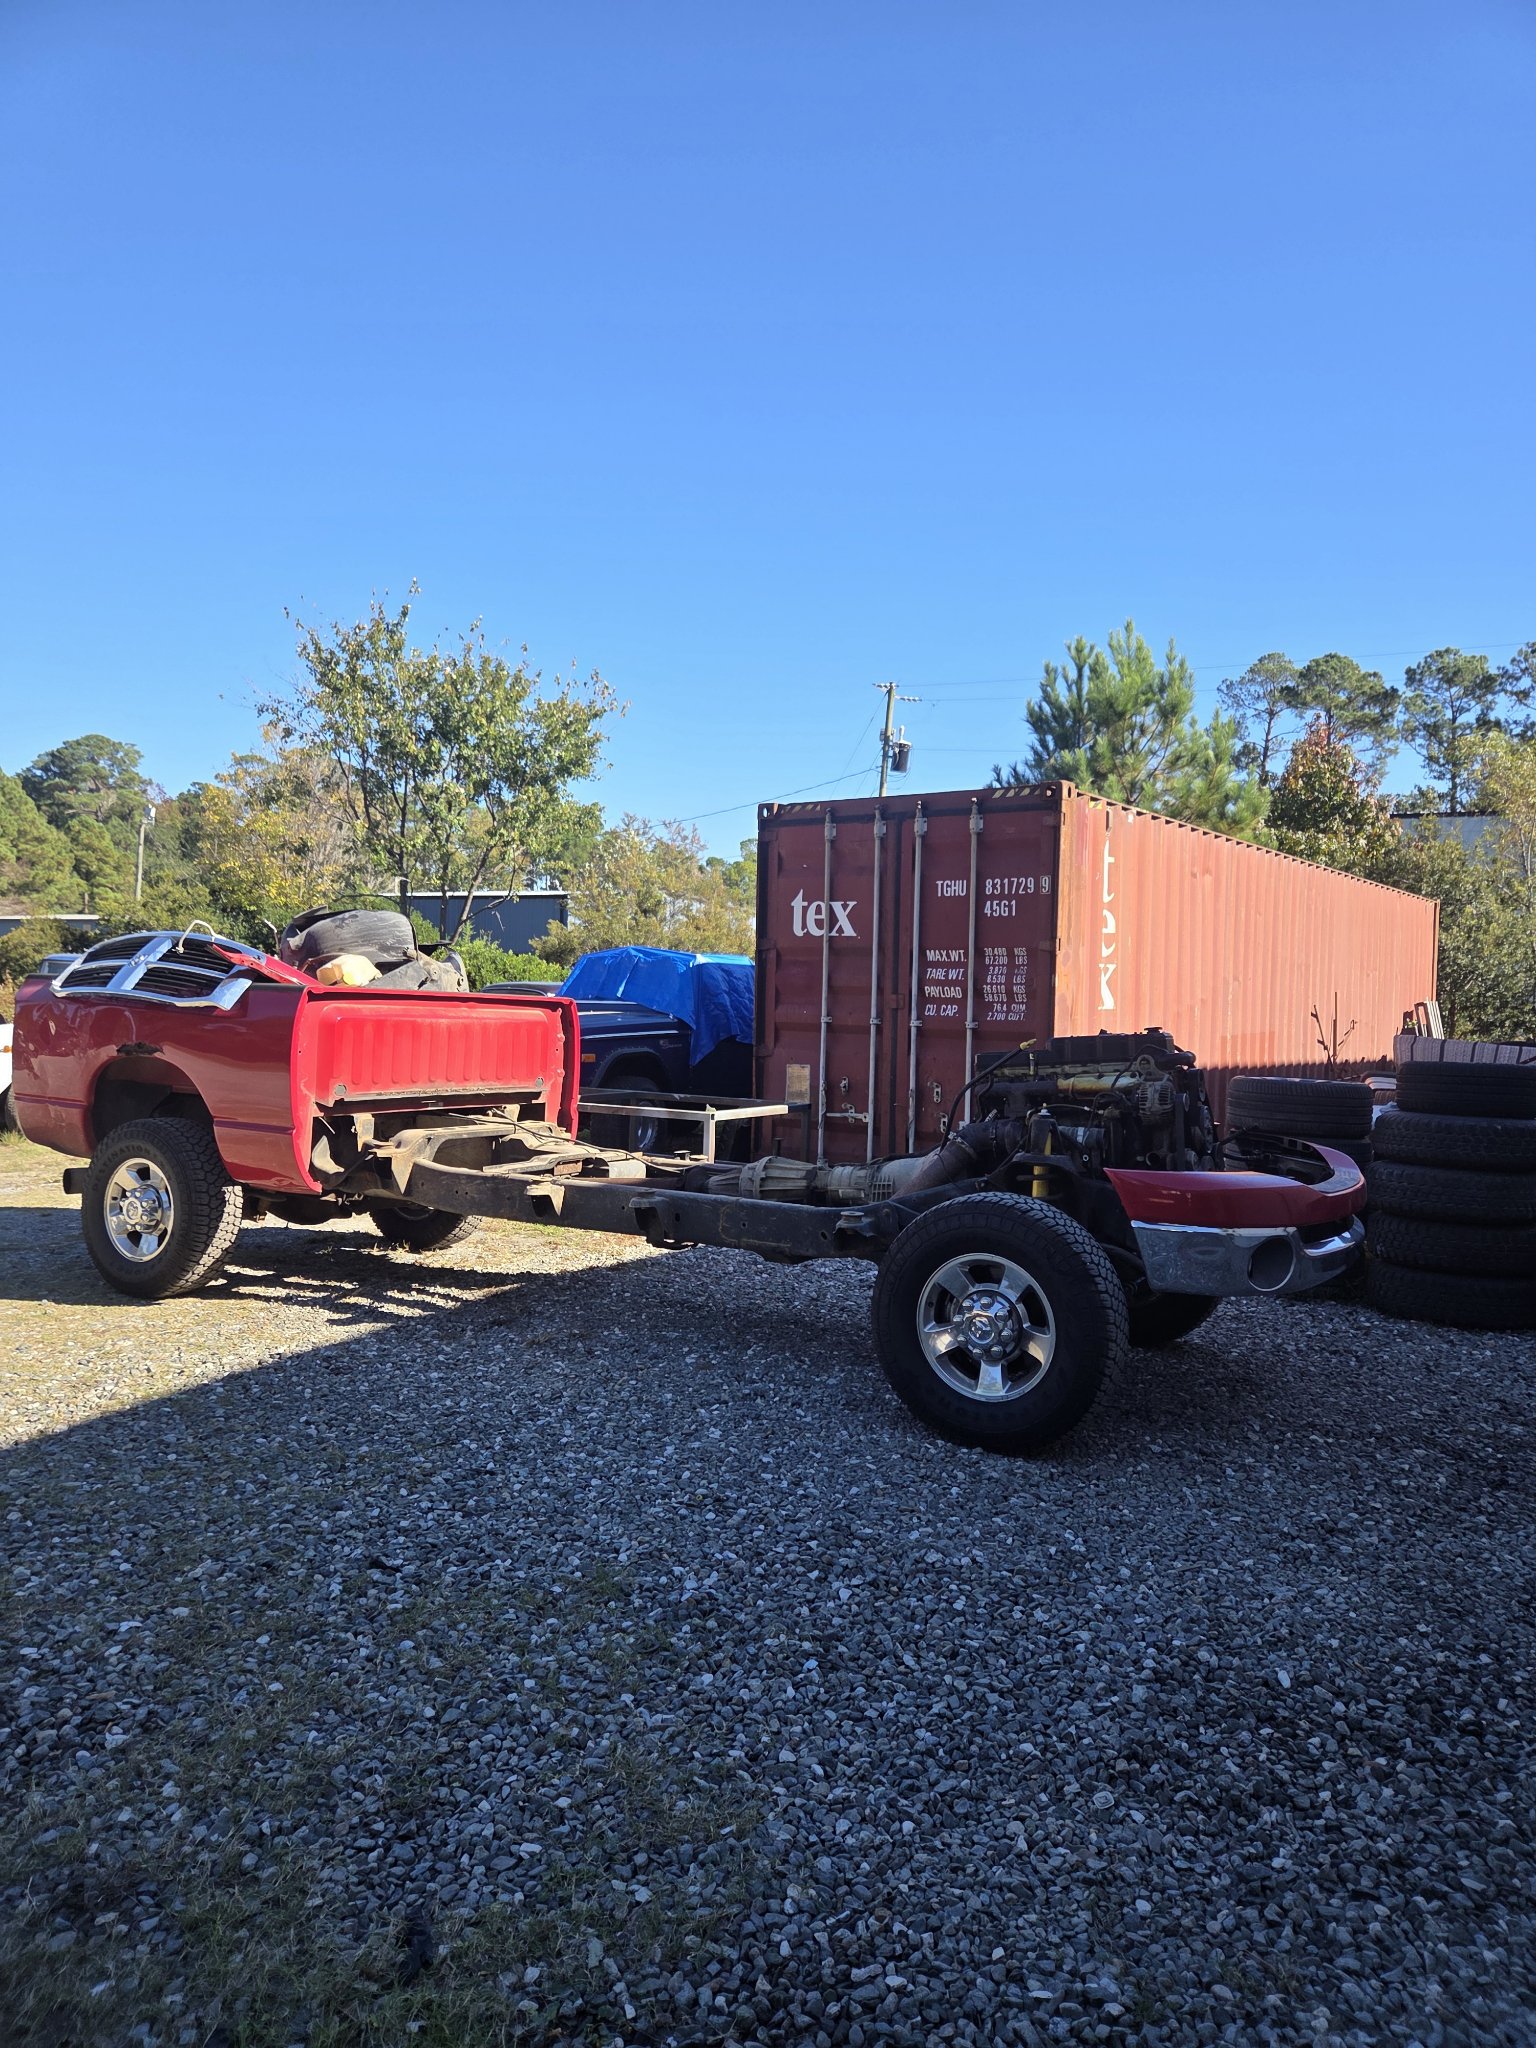
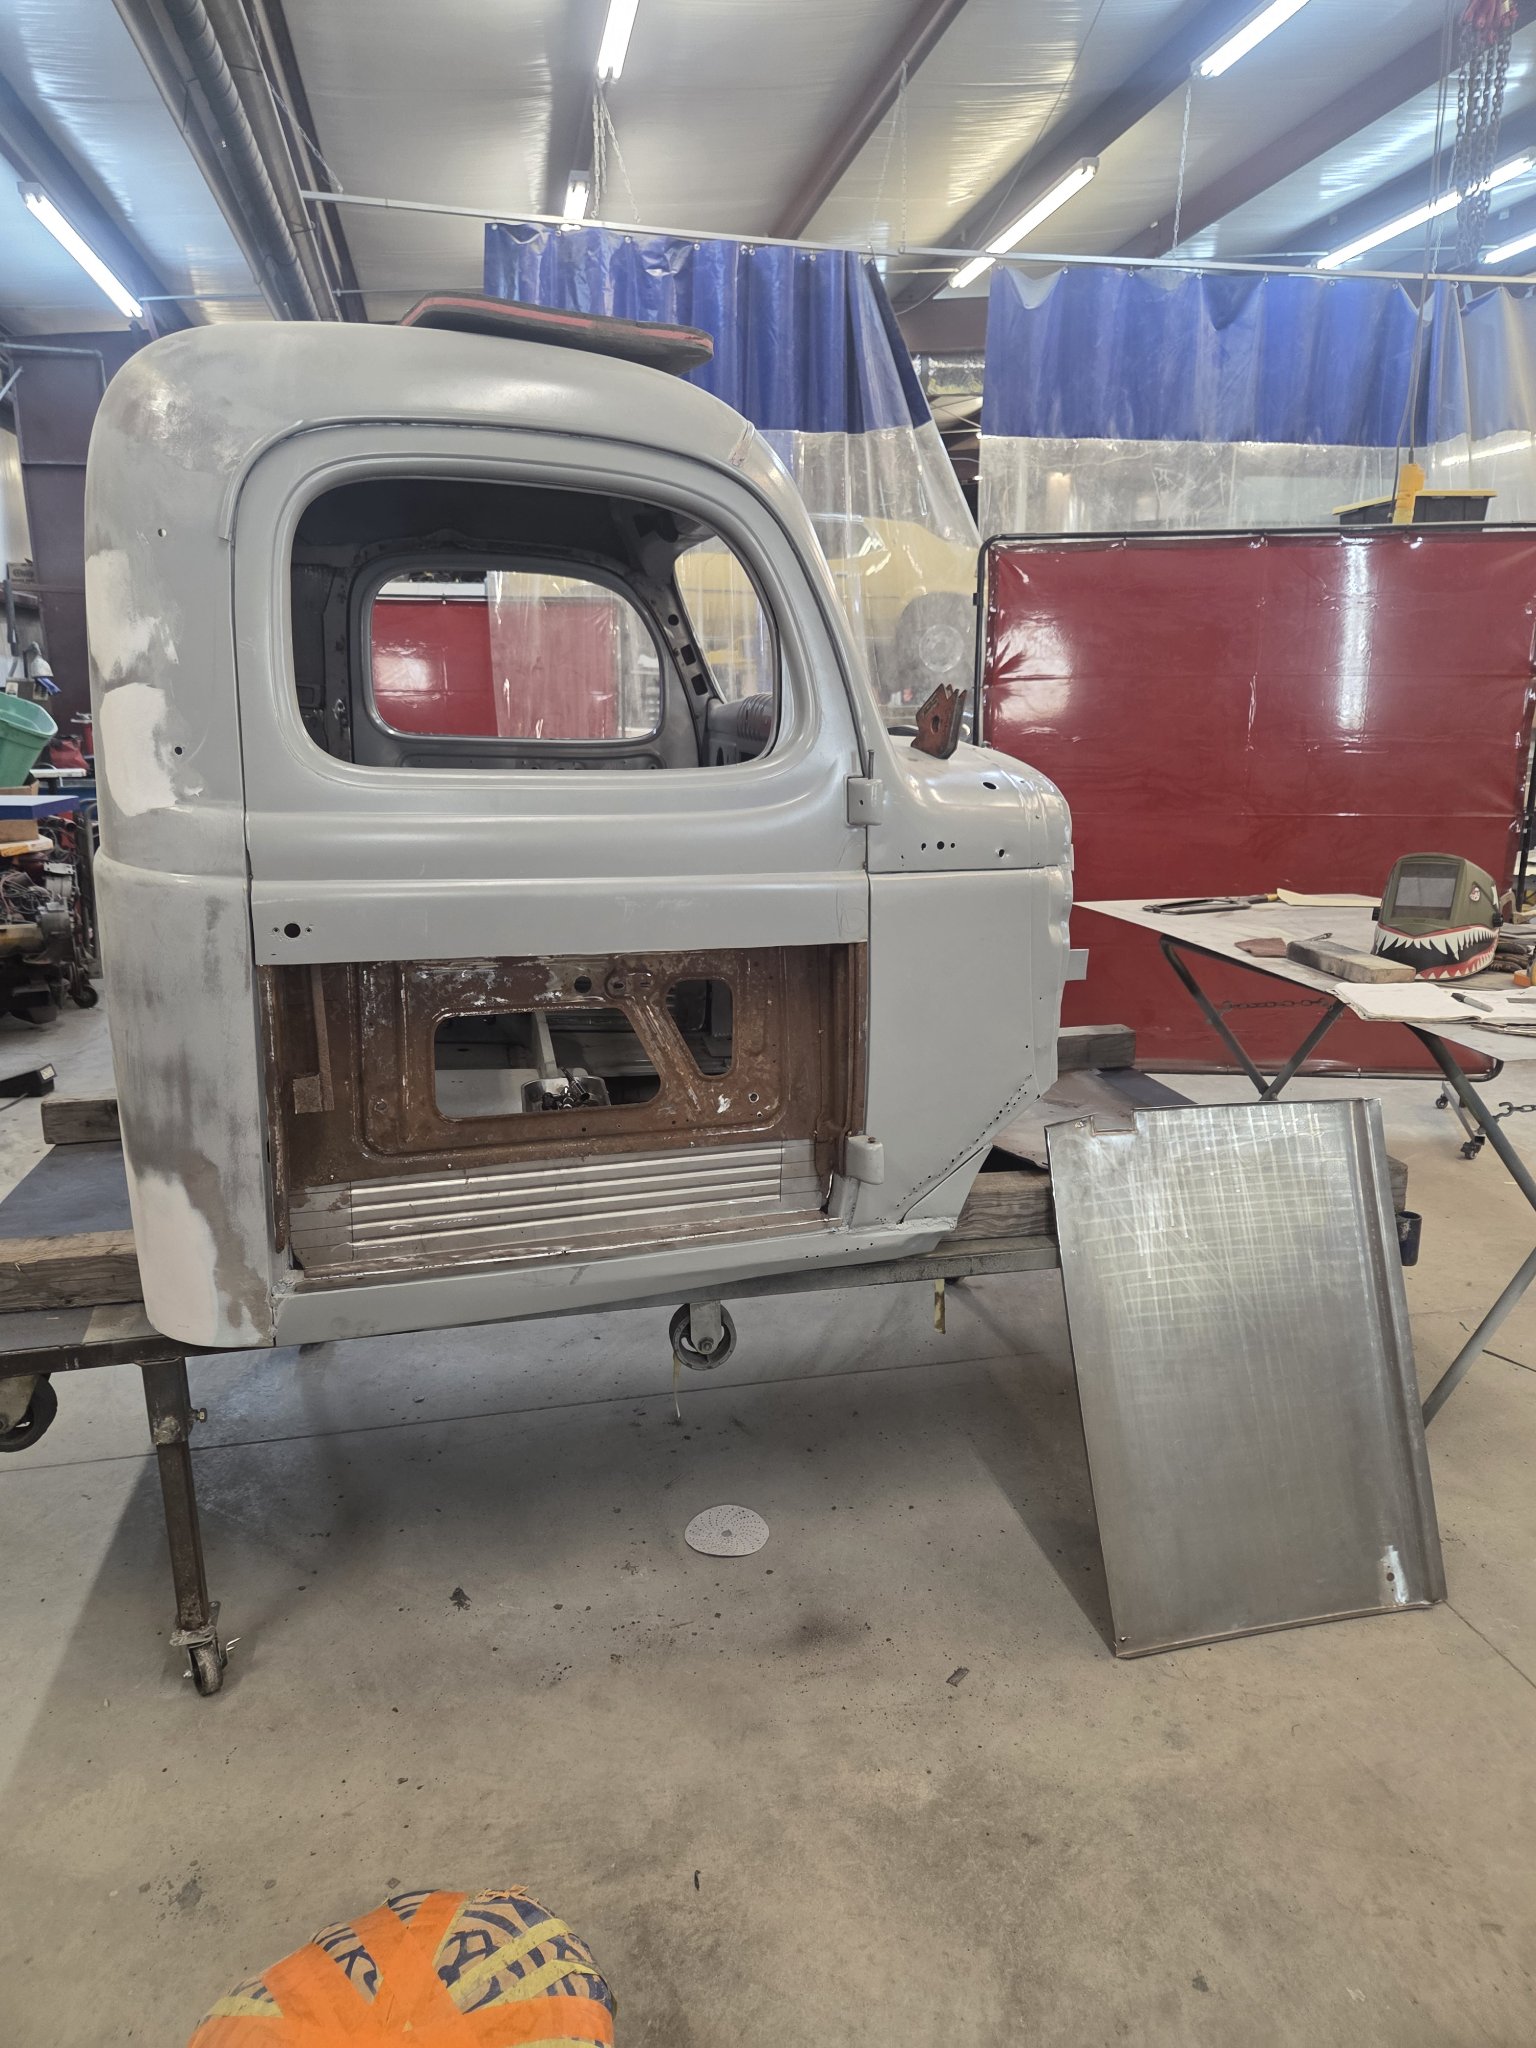
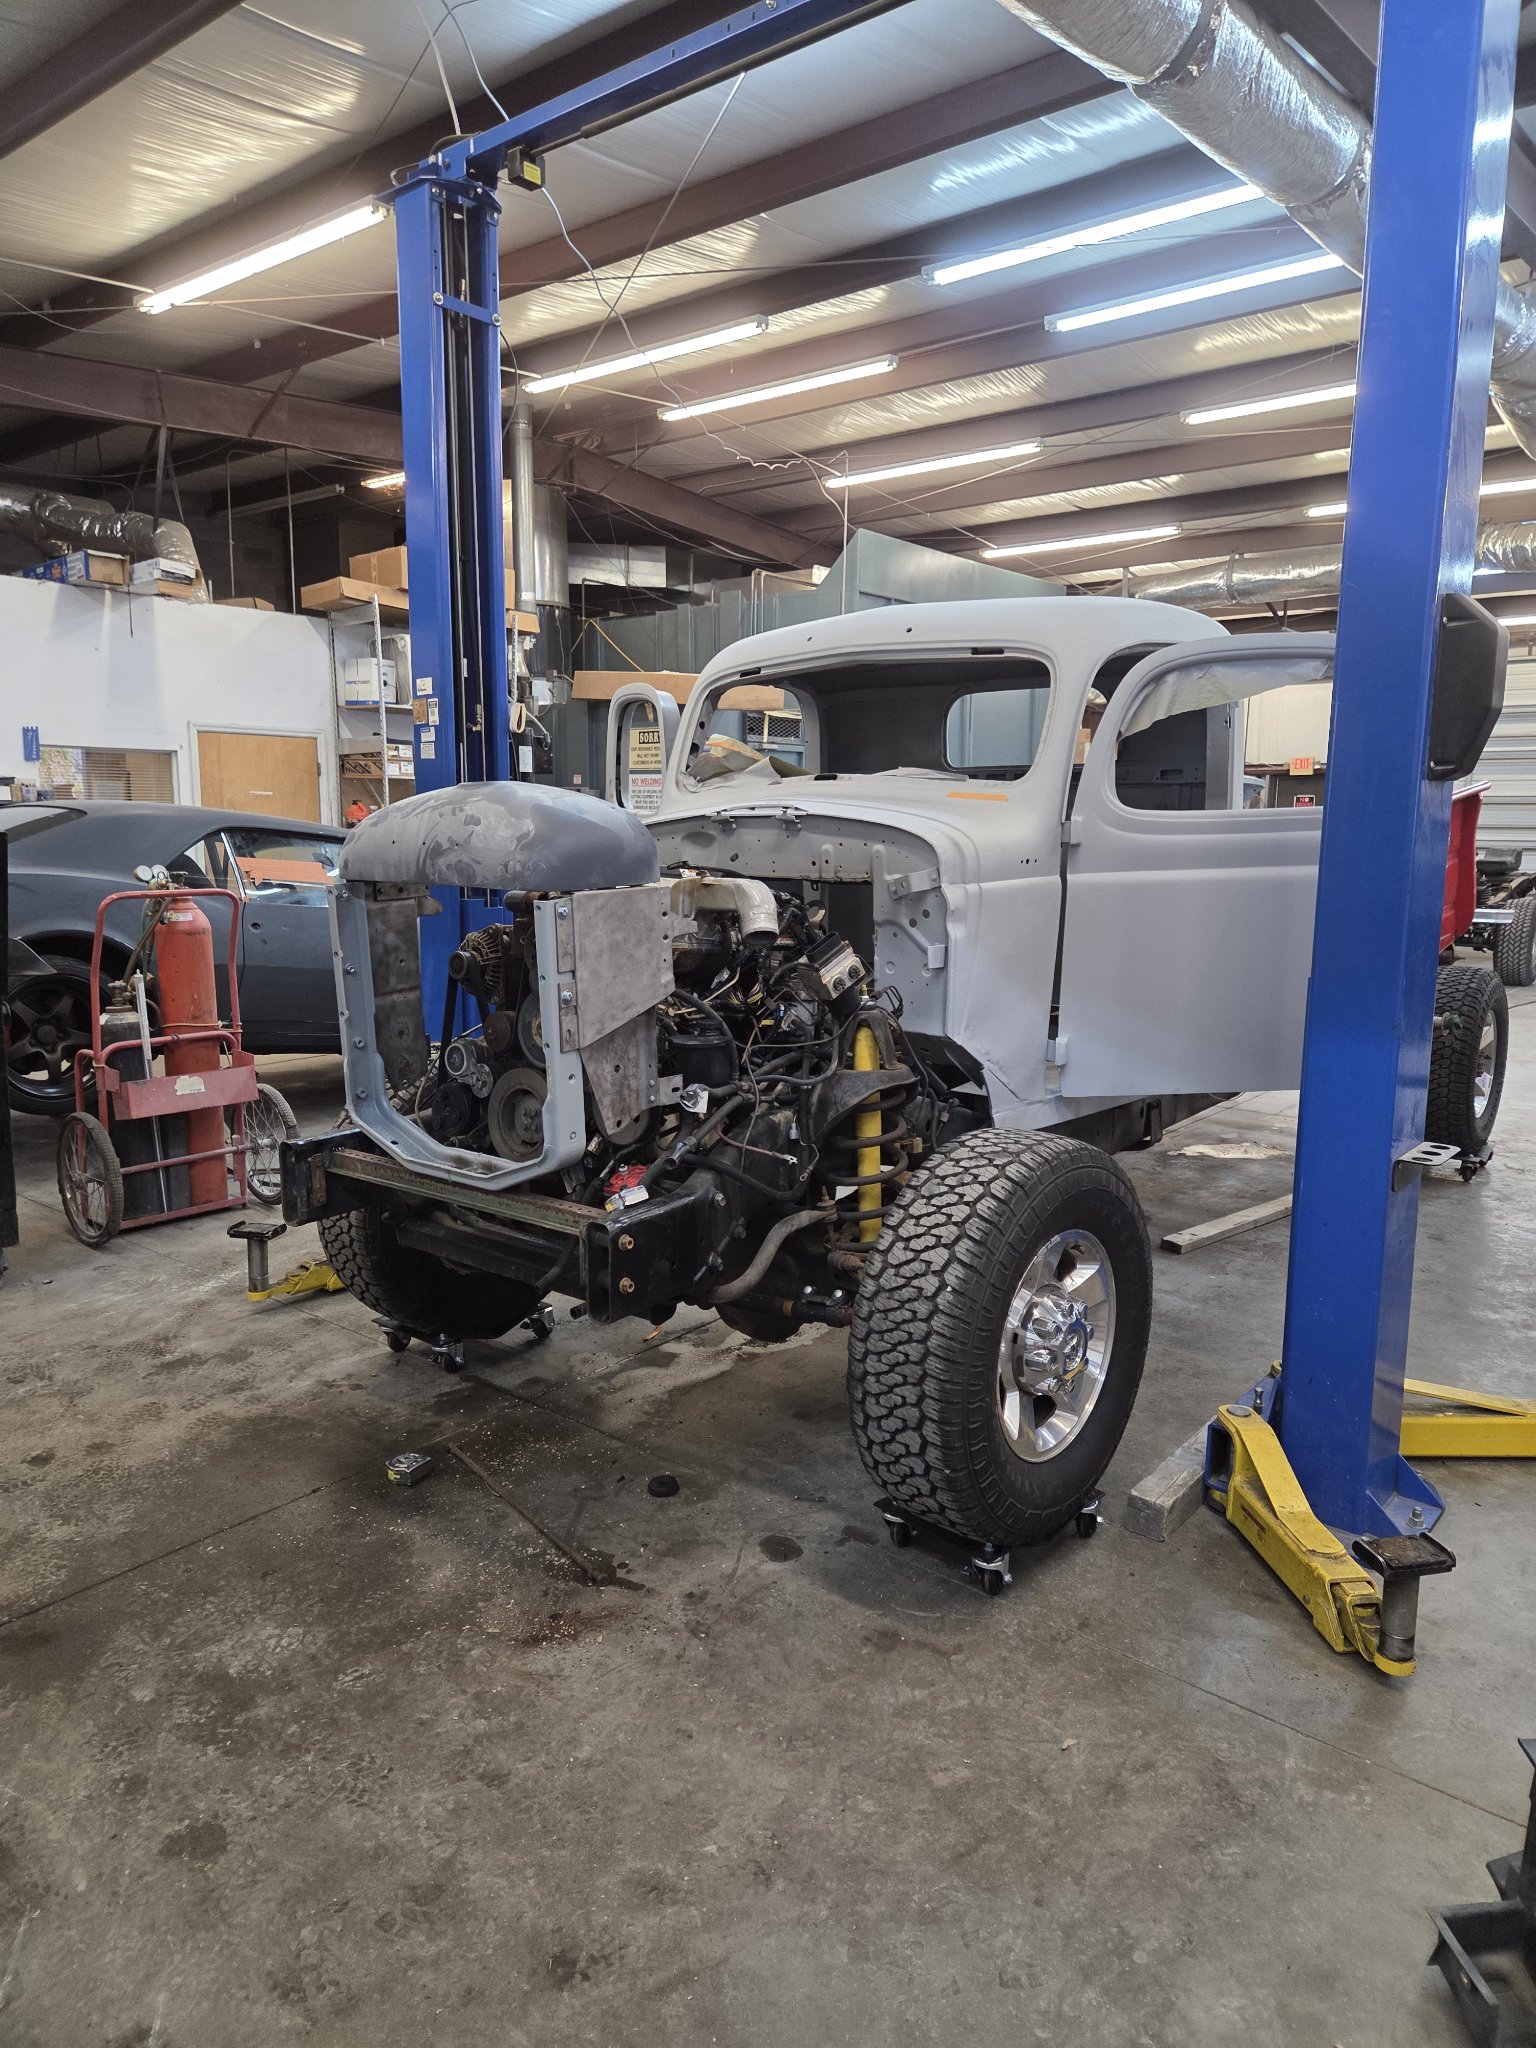
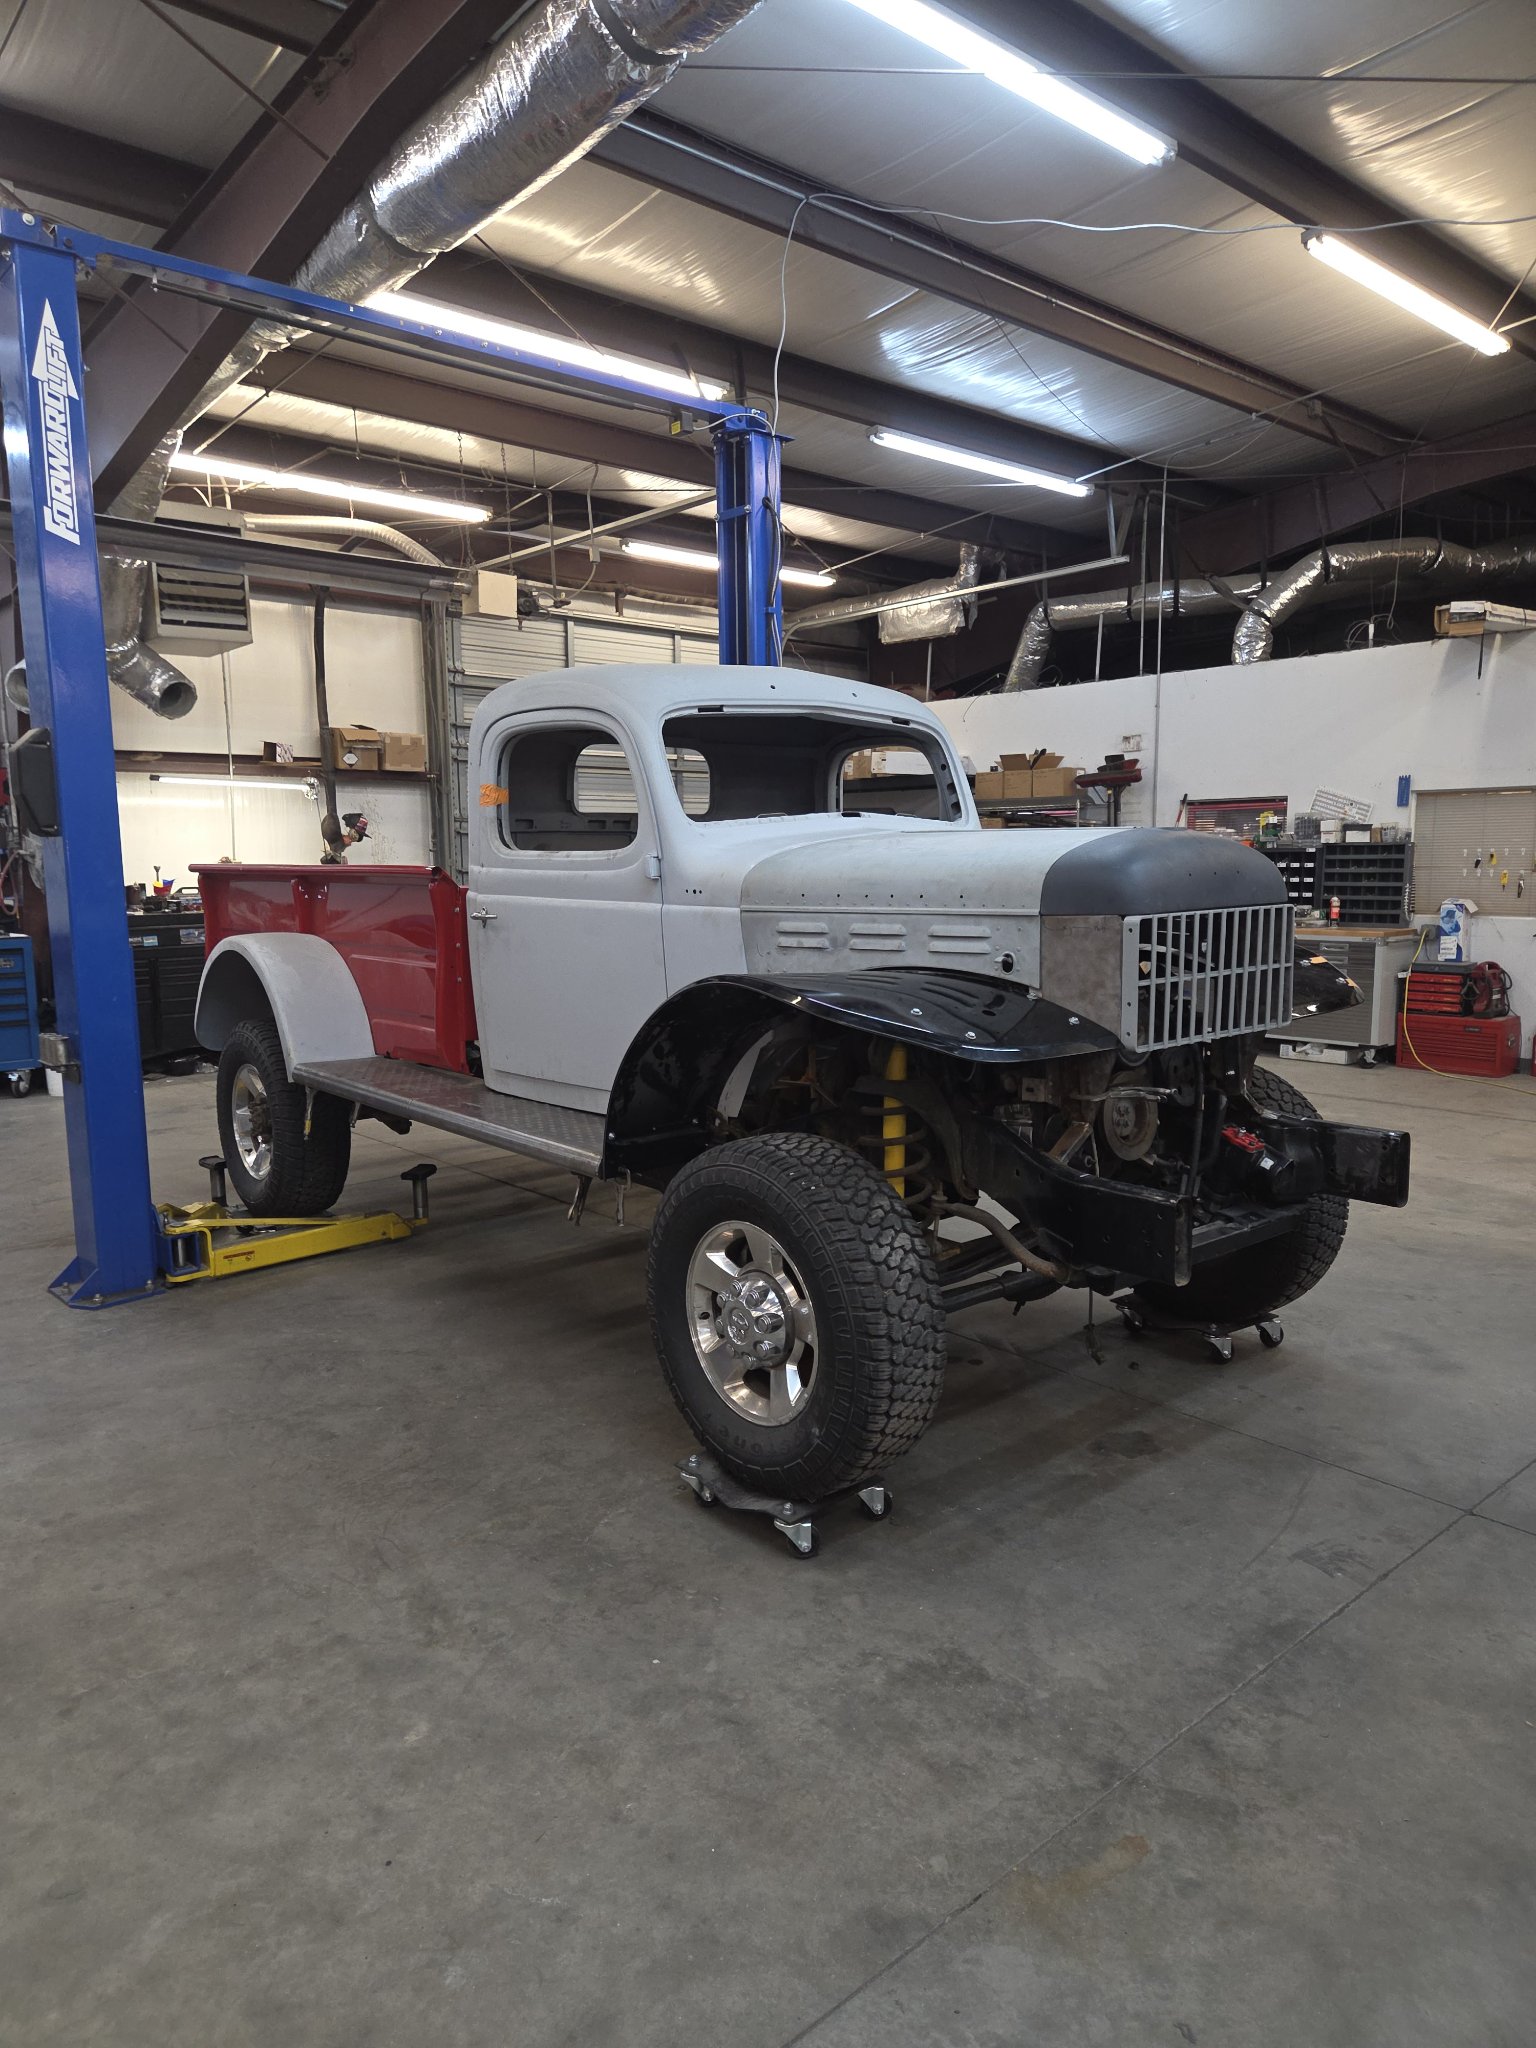
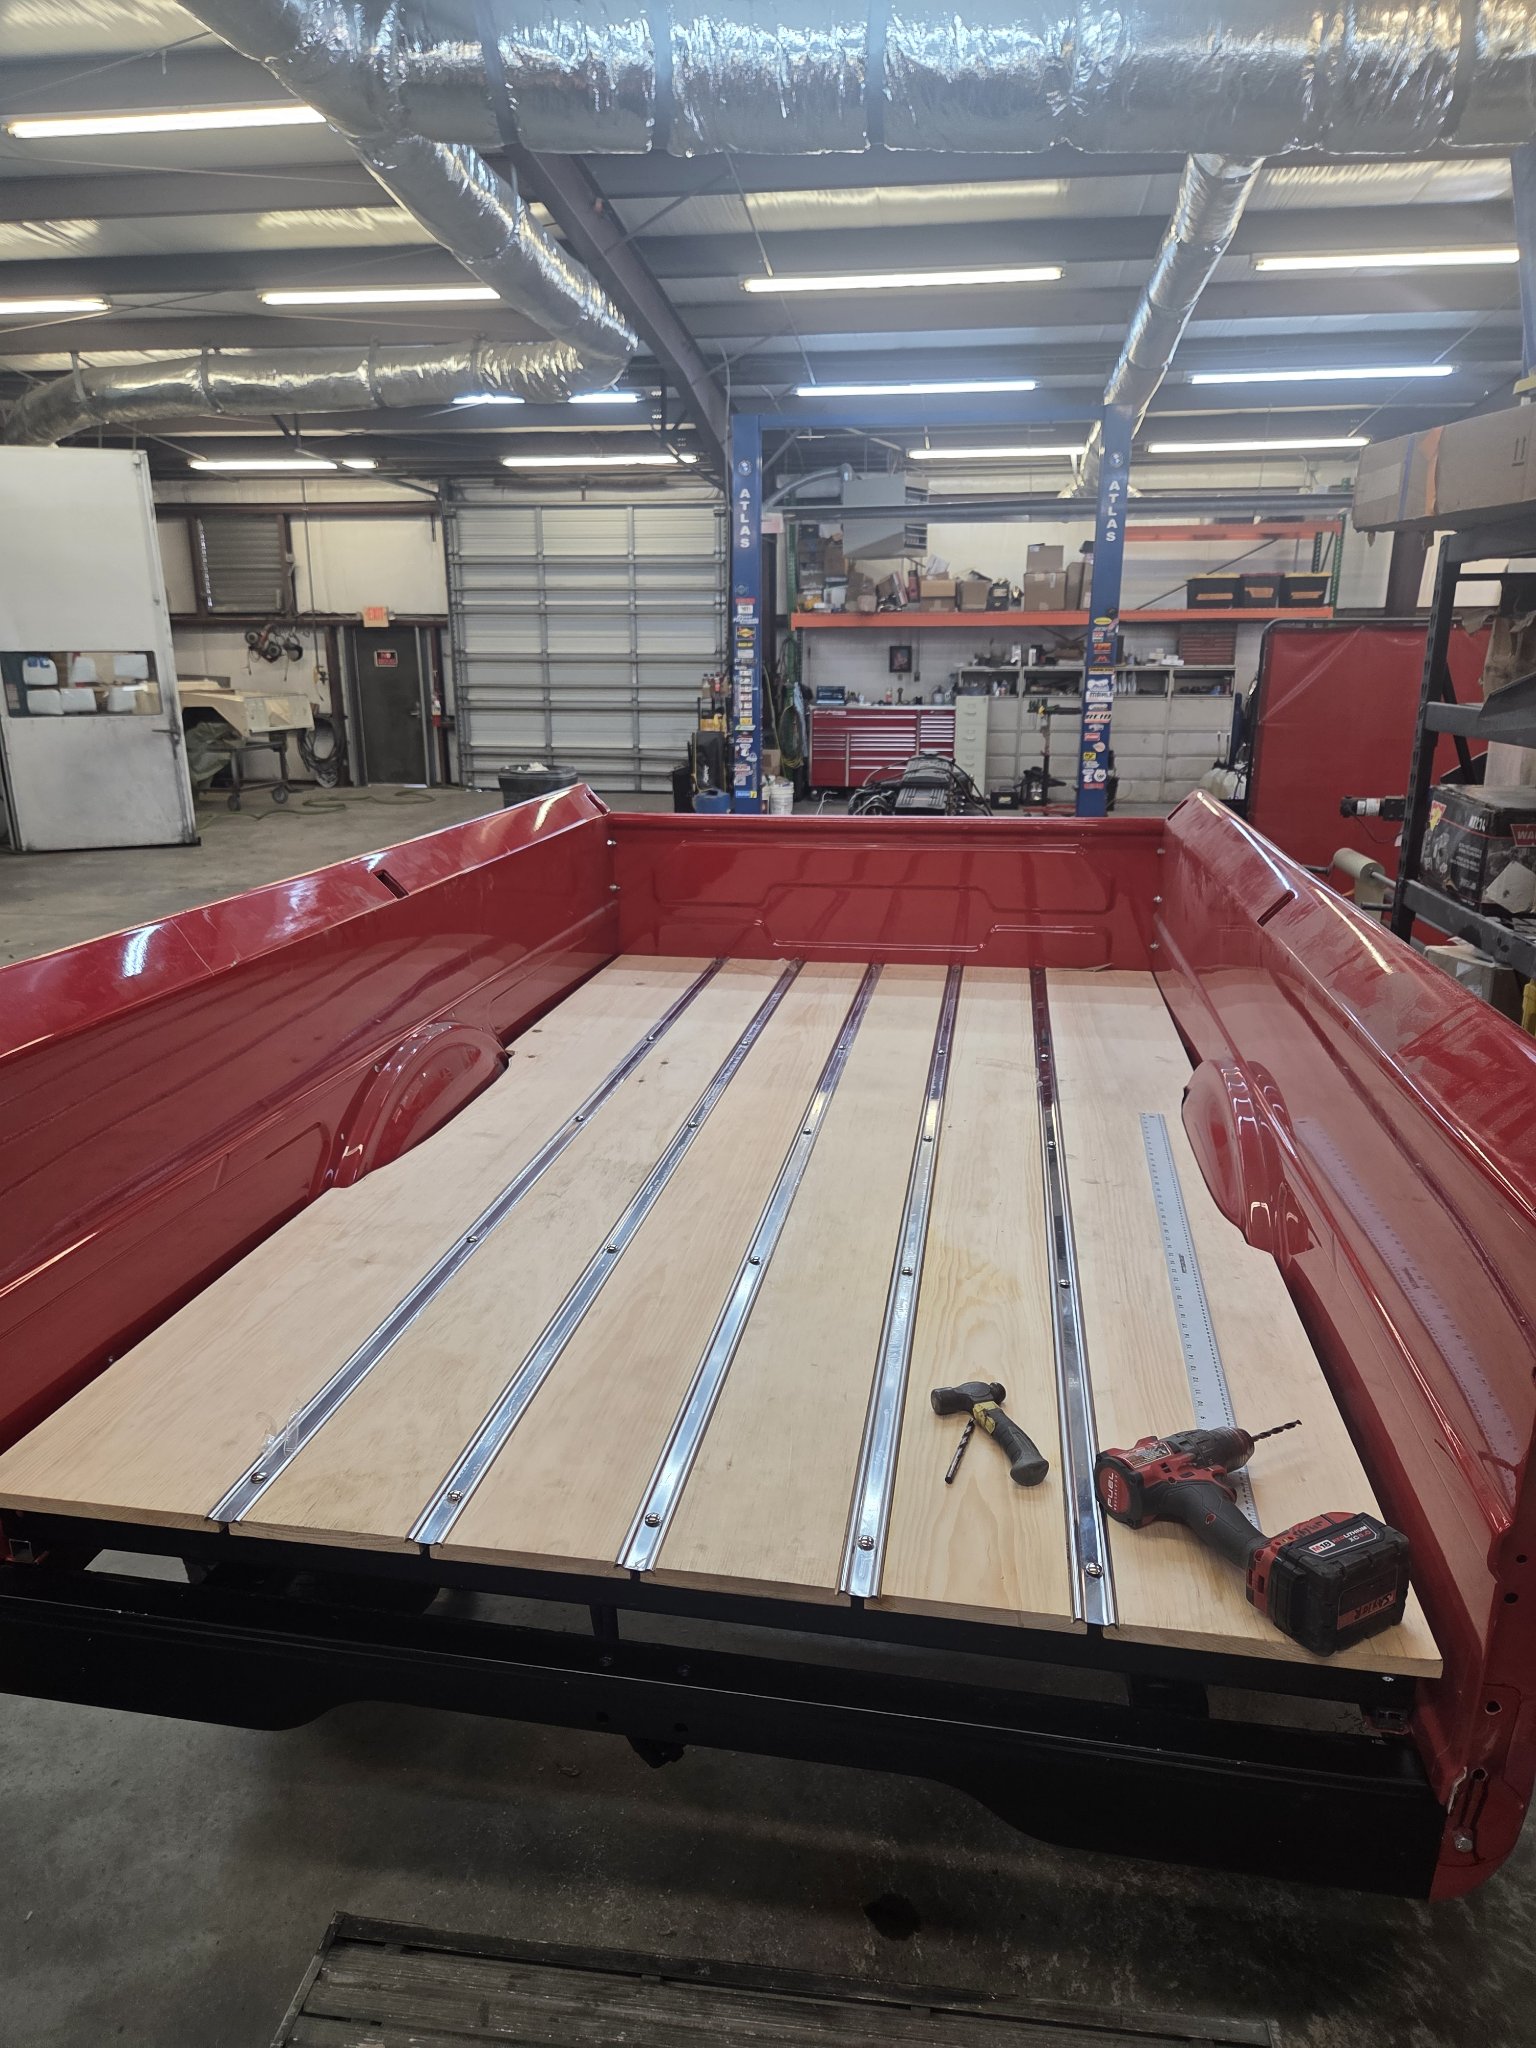
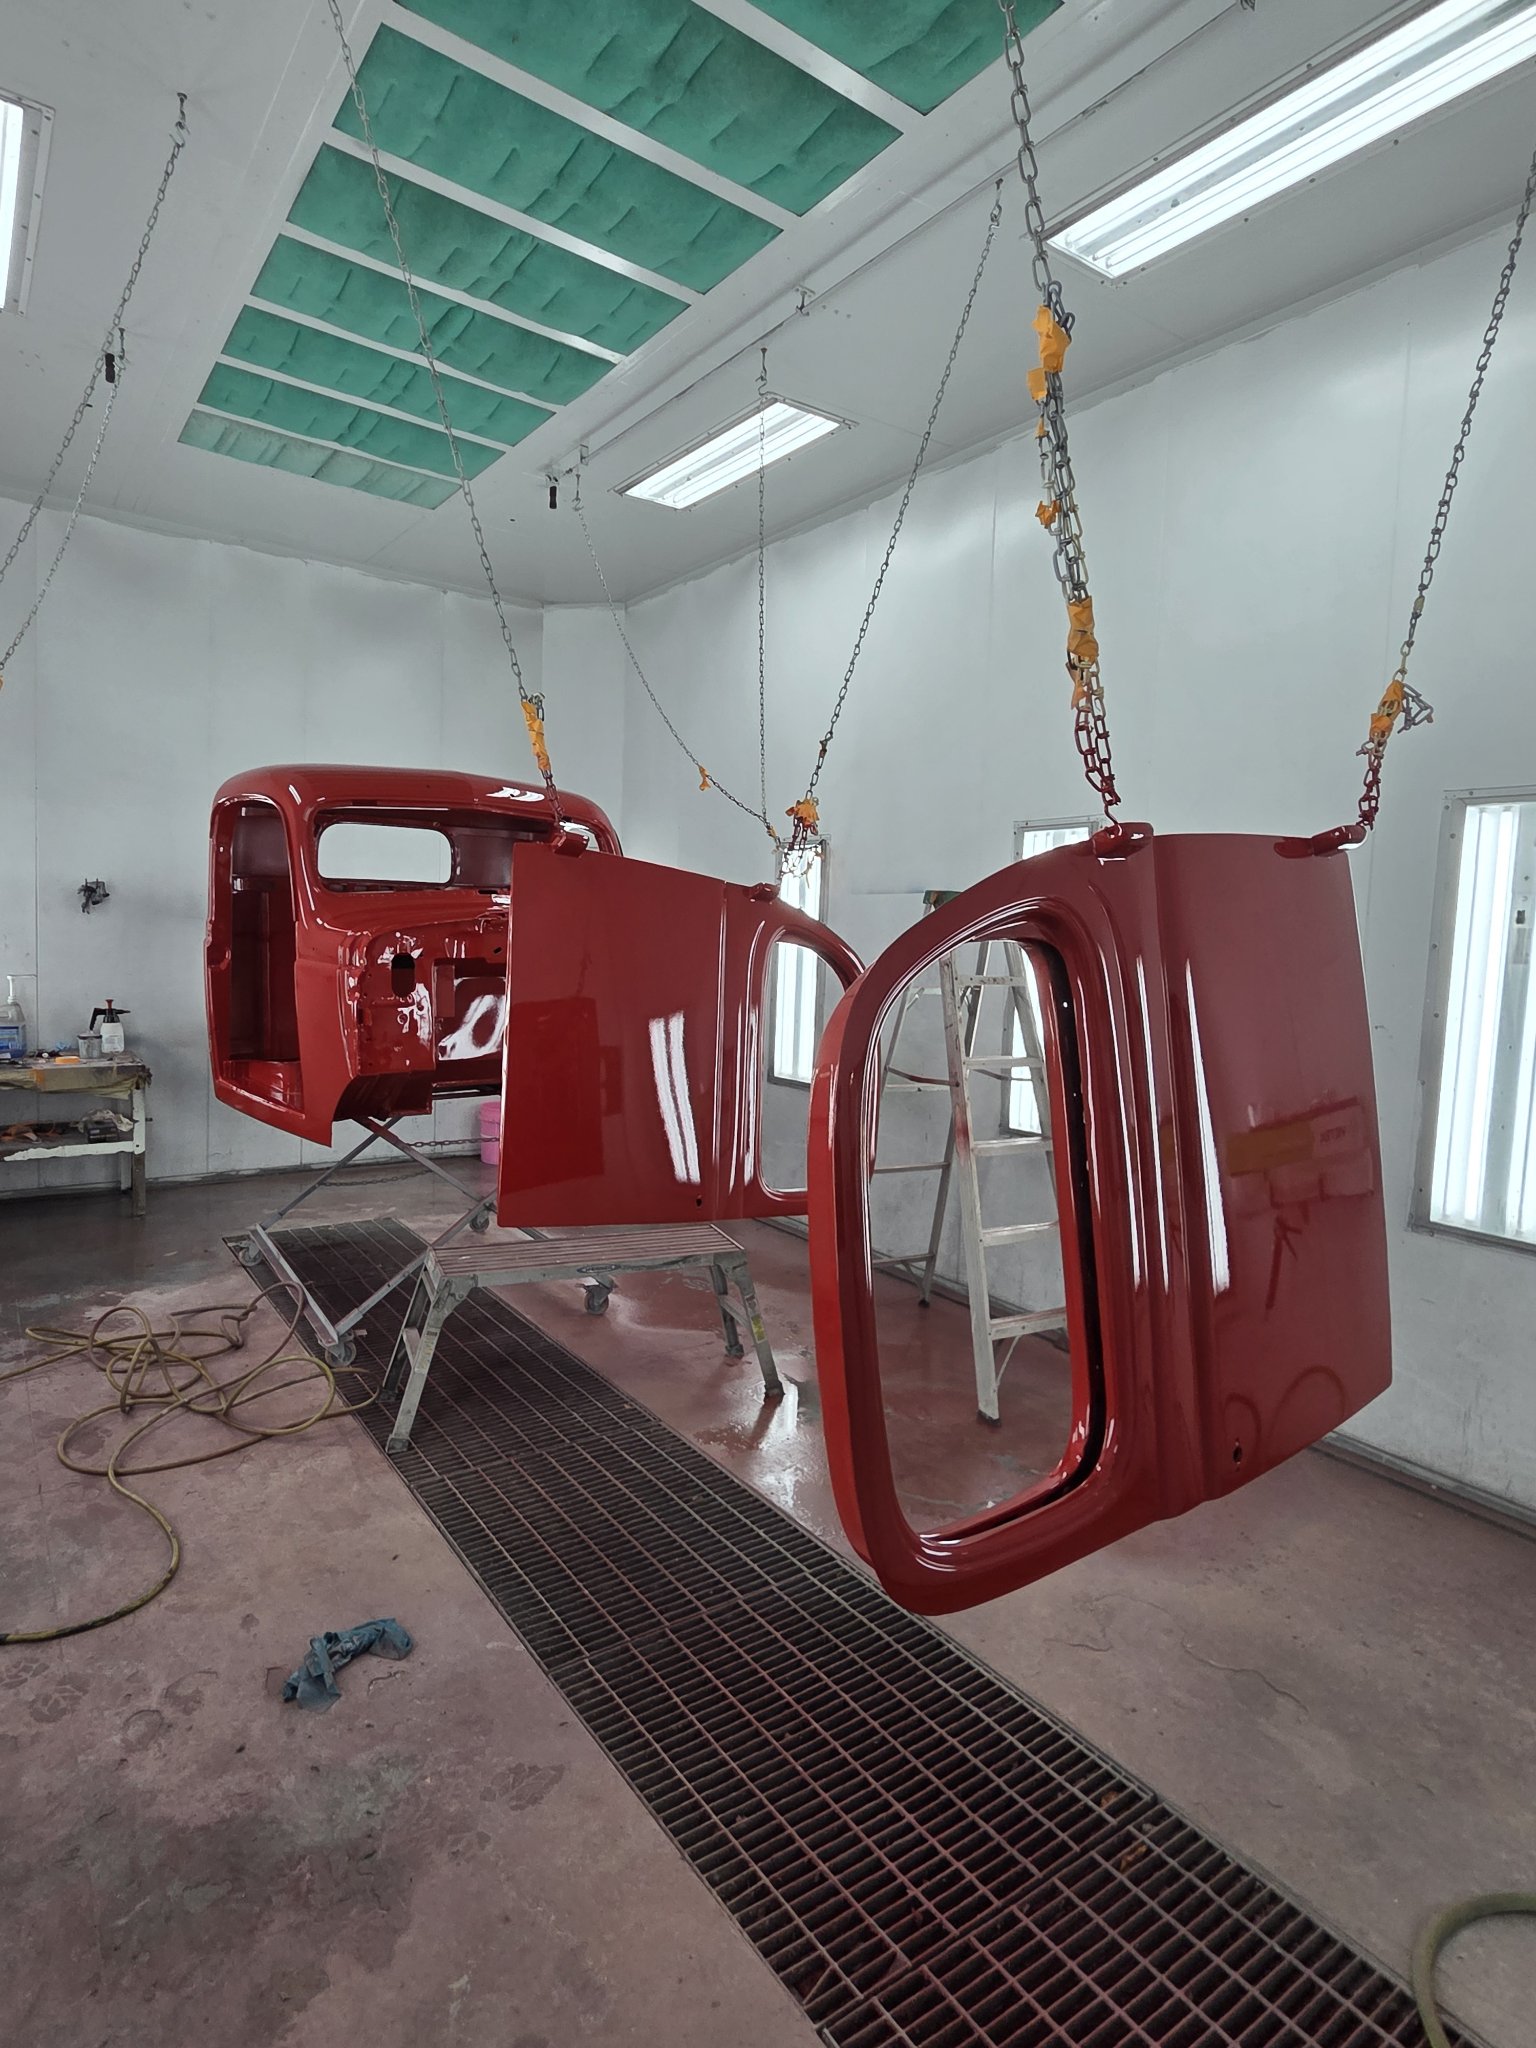
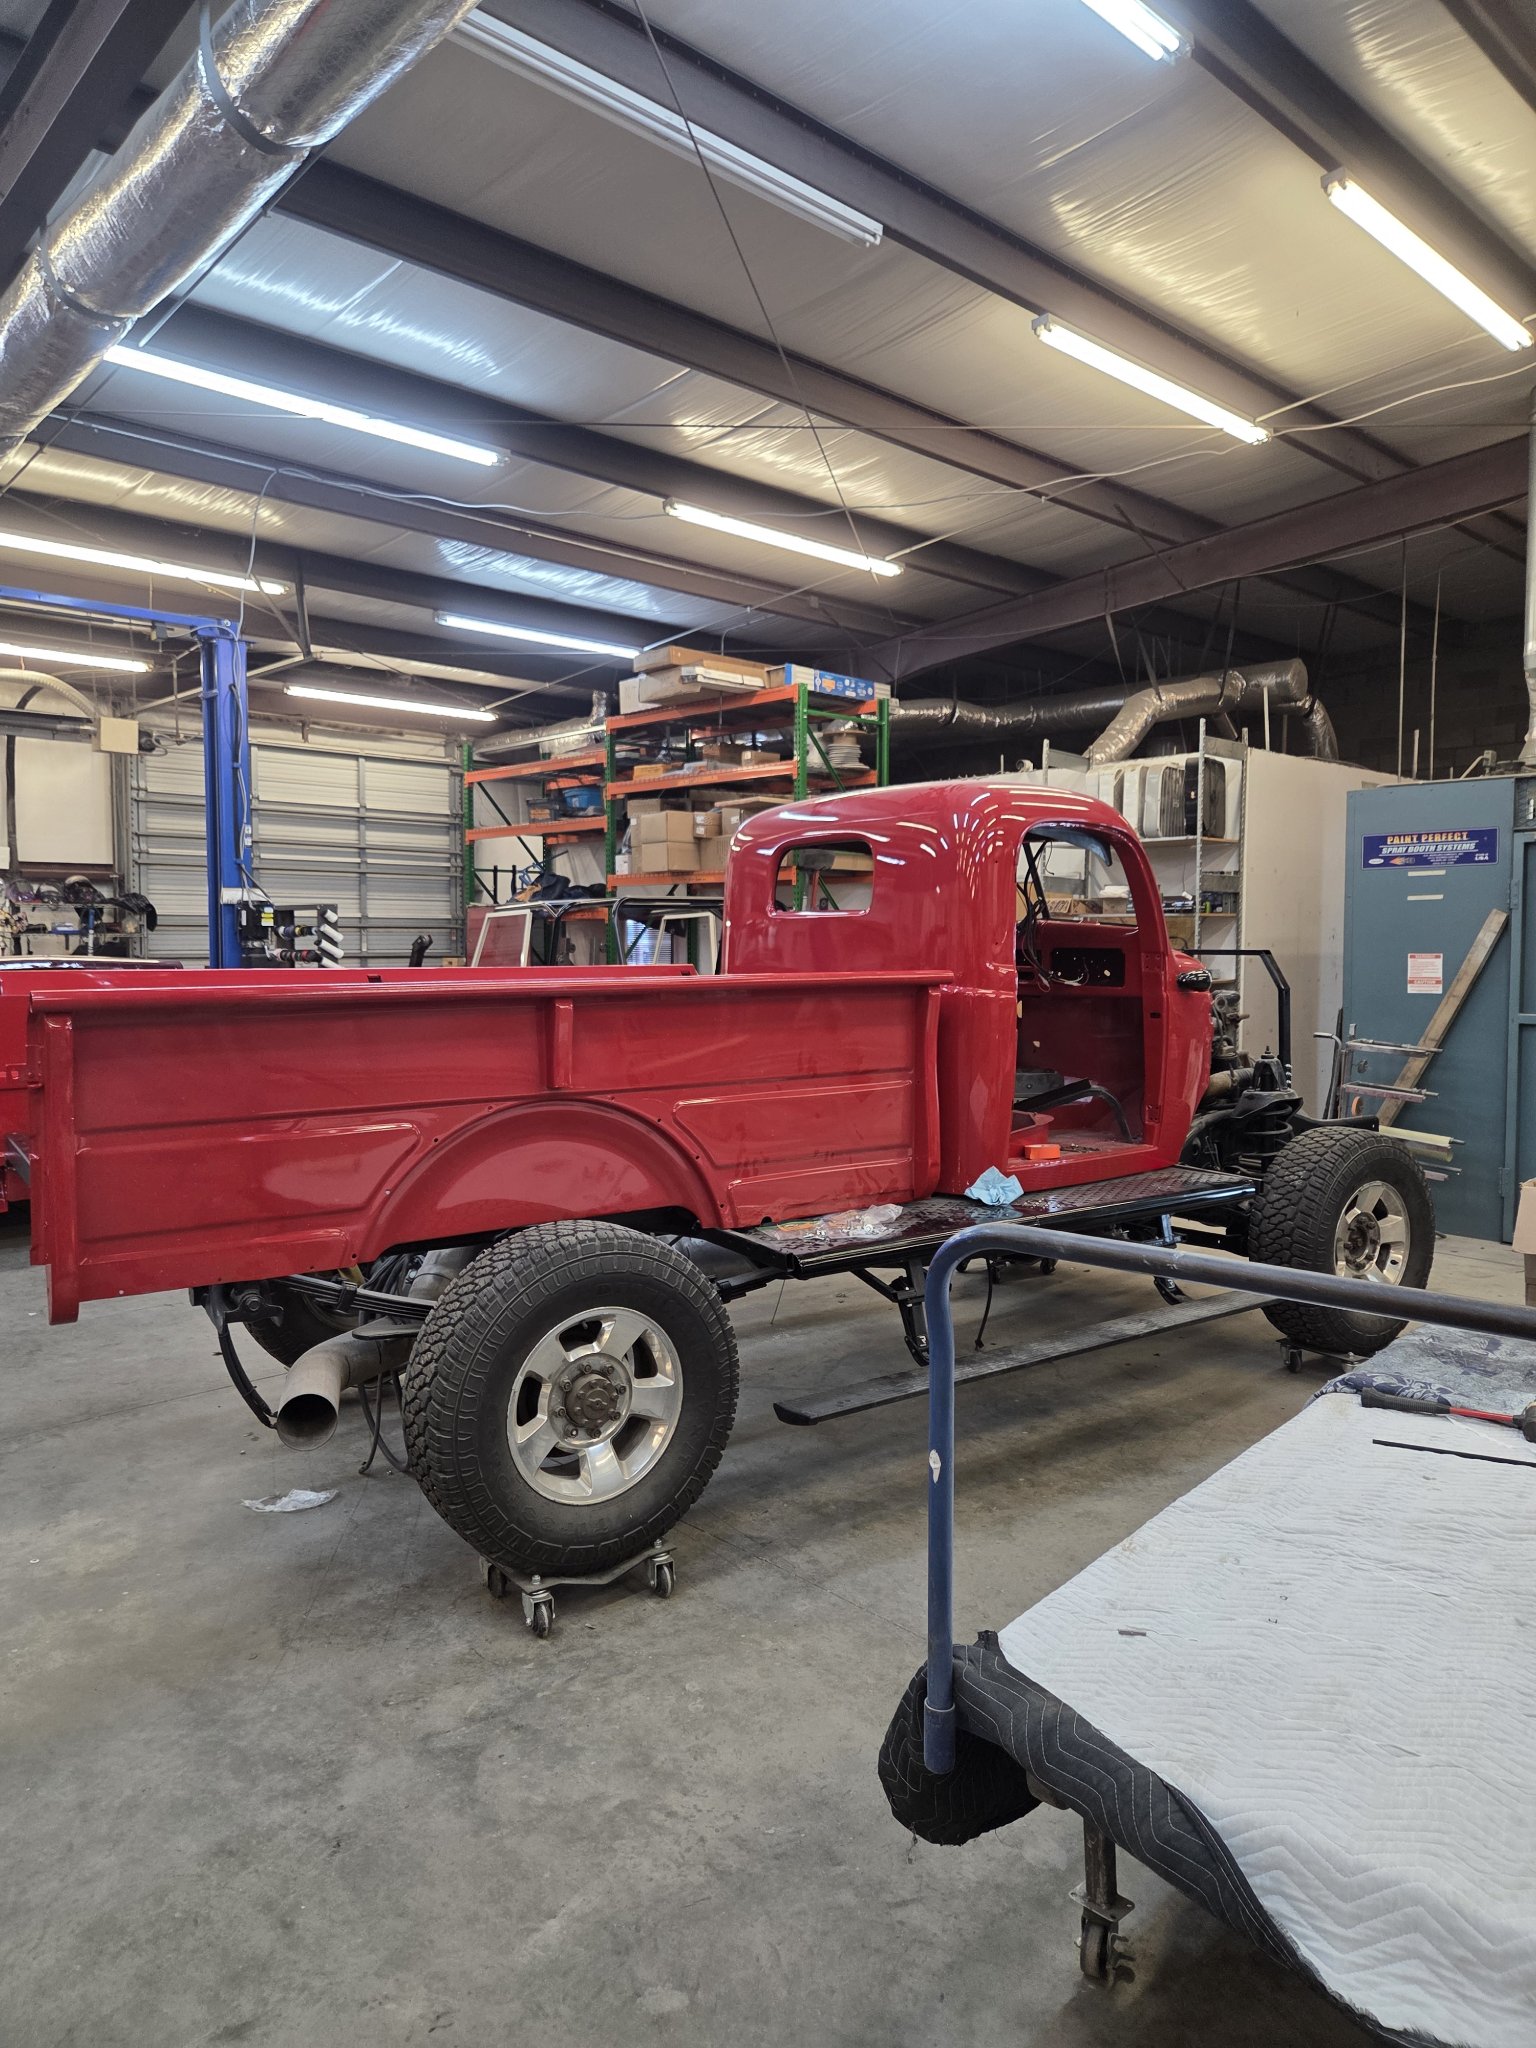
The plan: take a 1956 Dodge Power Wagon and make it drive like a modern truck. Matthew restored the '56 — rust repair, cab and bed brought back, gloss red paint — and grafted the body onto a modern Dodge Ram 2500 Cummins chassis. Every bit of work in these photos is his. The honest part: the truck was in final assembly when he left that shop — it was going down the tubes — so he never got to be the one to finish it. No embarrassment in that. The work speaks for itself.
01 As it came in
The '56, as it arrivedDriver side, before
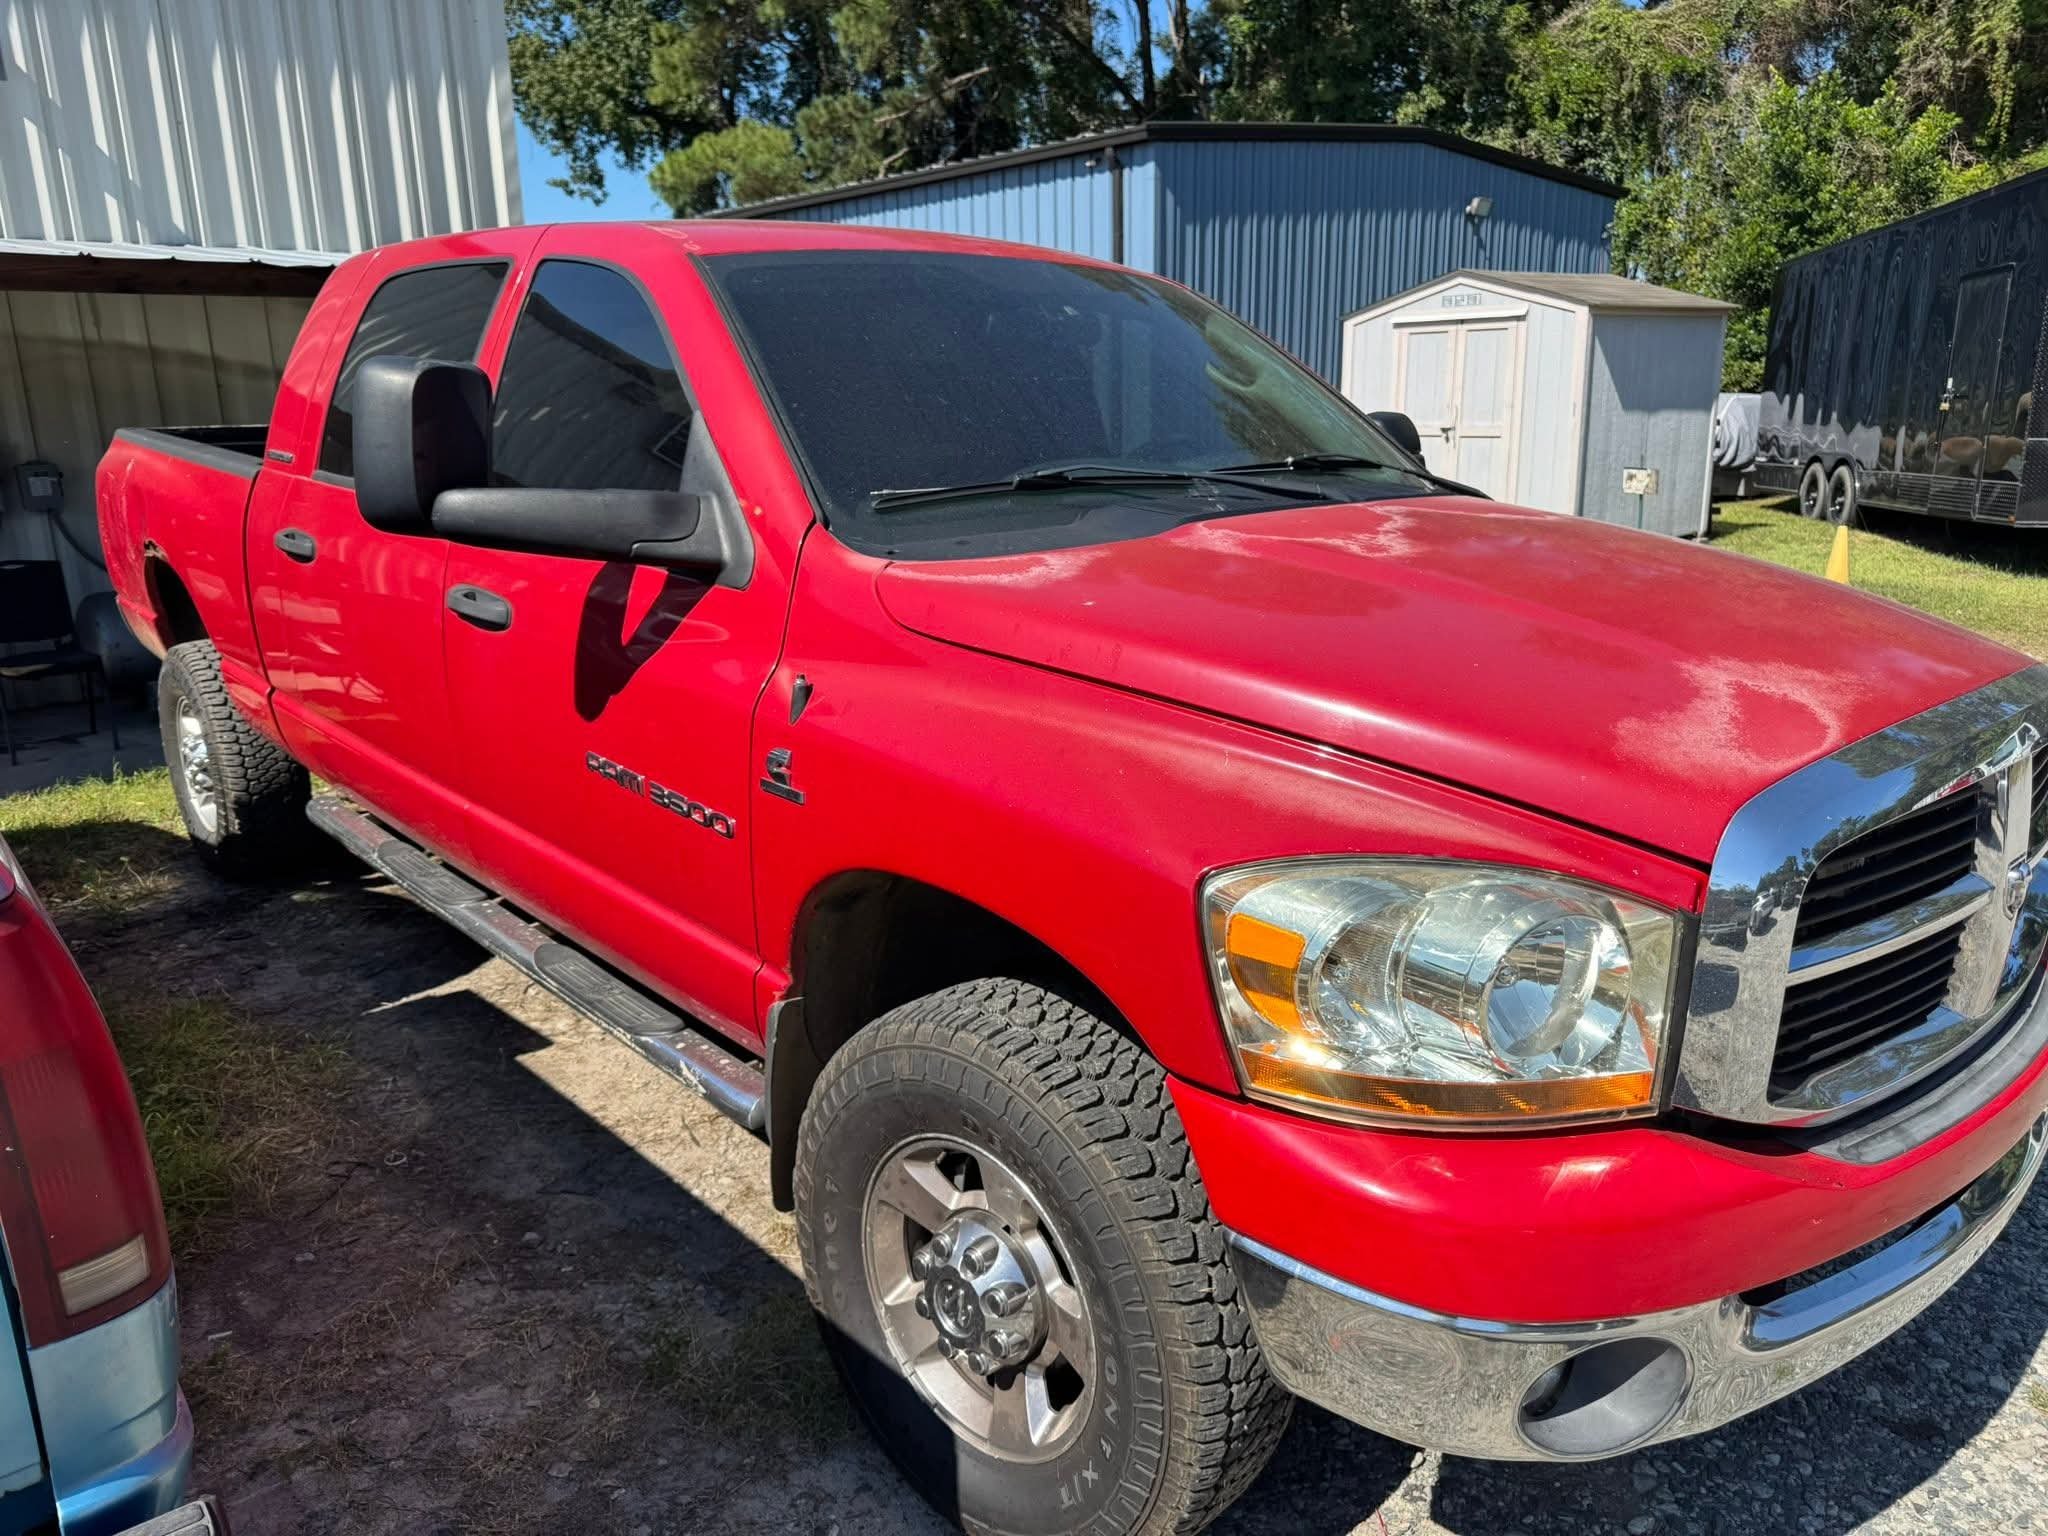
02 The modern donor
The donor — a modern Ram 2500The modern chassis, stripped
03 The cab, rebuilt
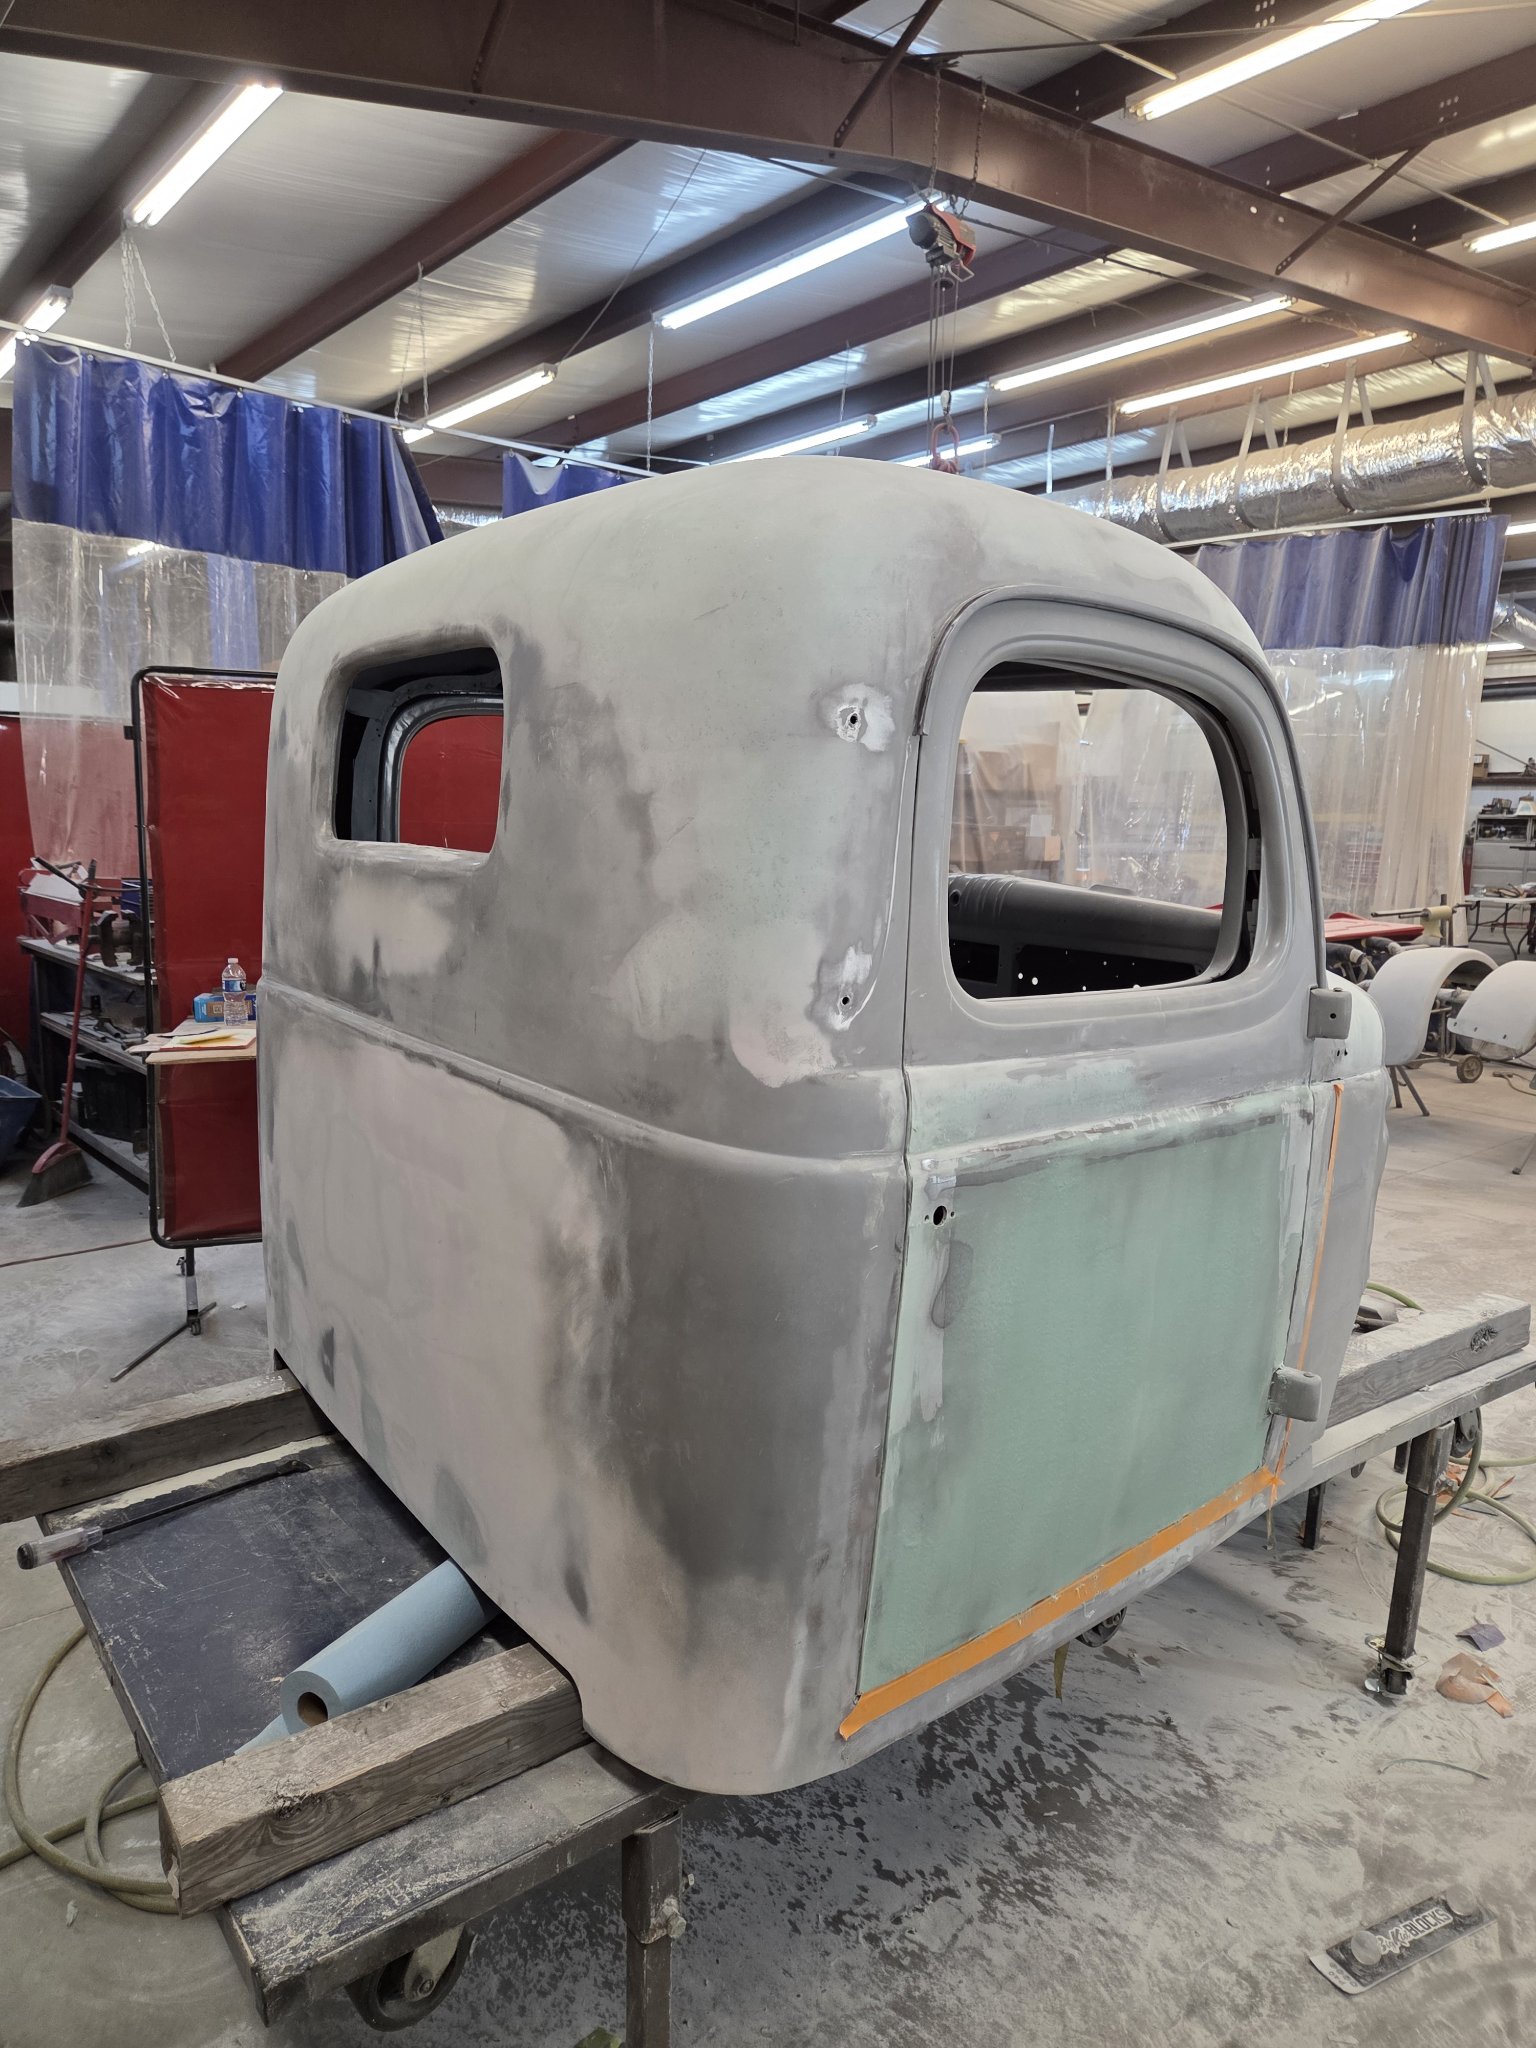
Door skin off, rust coming outThe cab in primer
04 The graft
The '56 cab, on the modern chassisMocked up, front view
05 Bed & paint
The wood bed floor, built inCab and doors, gloss red
06 Final assembly — where it left off
Cab and bed on, in final assemblyFront clip going together
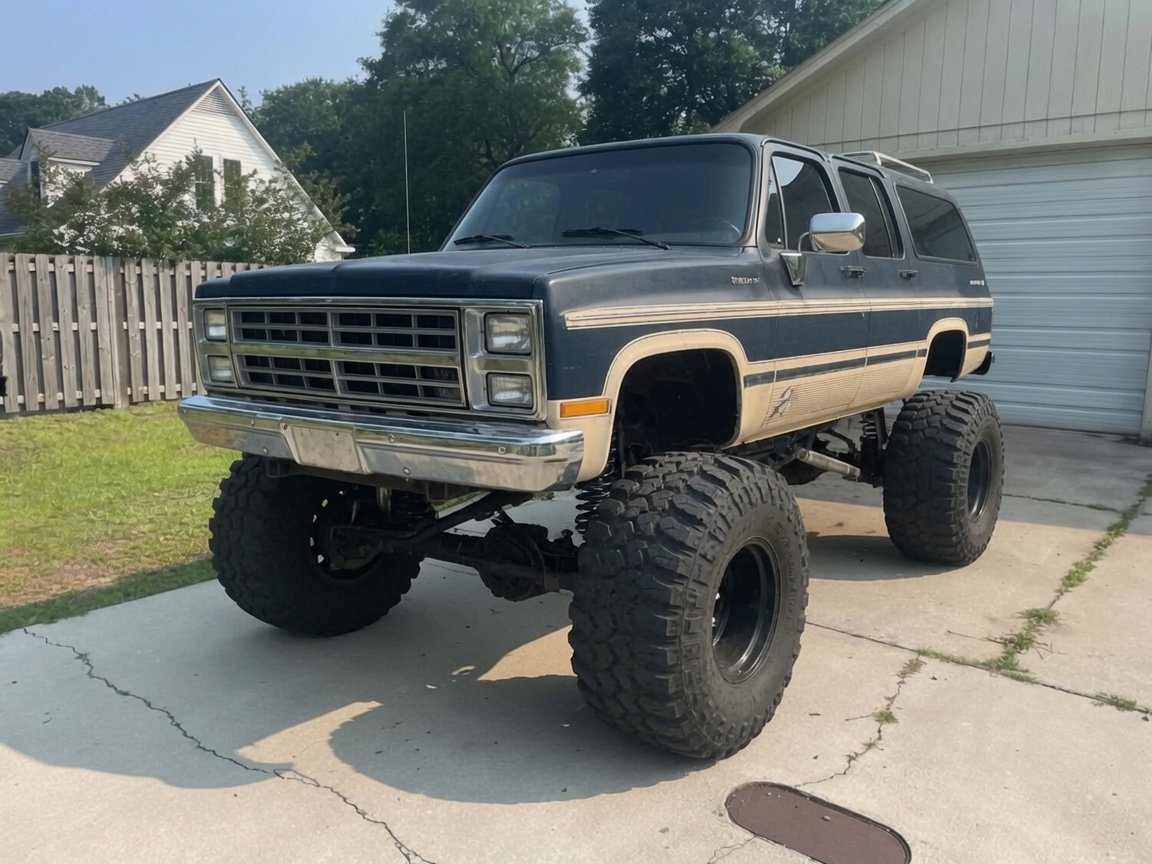
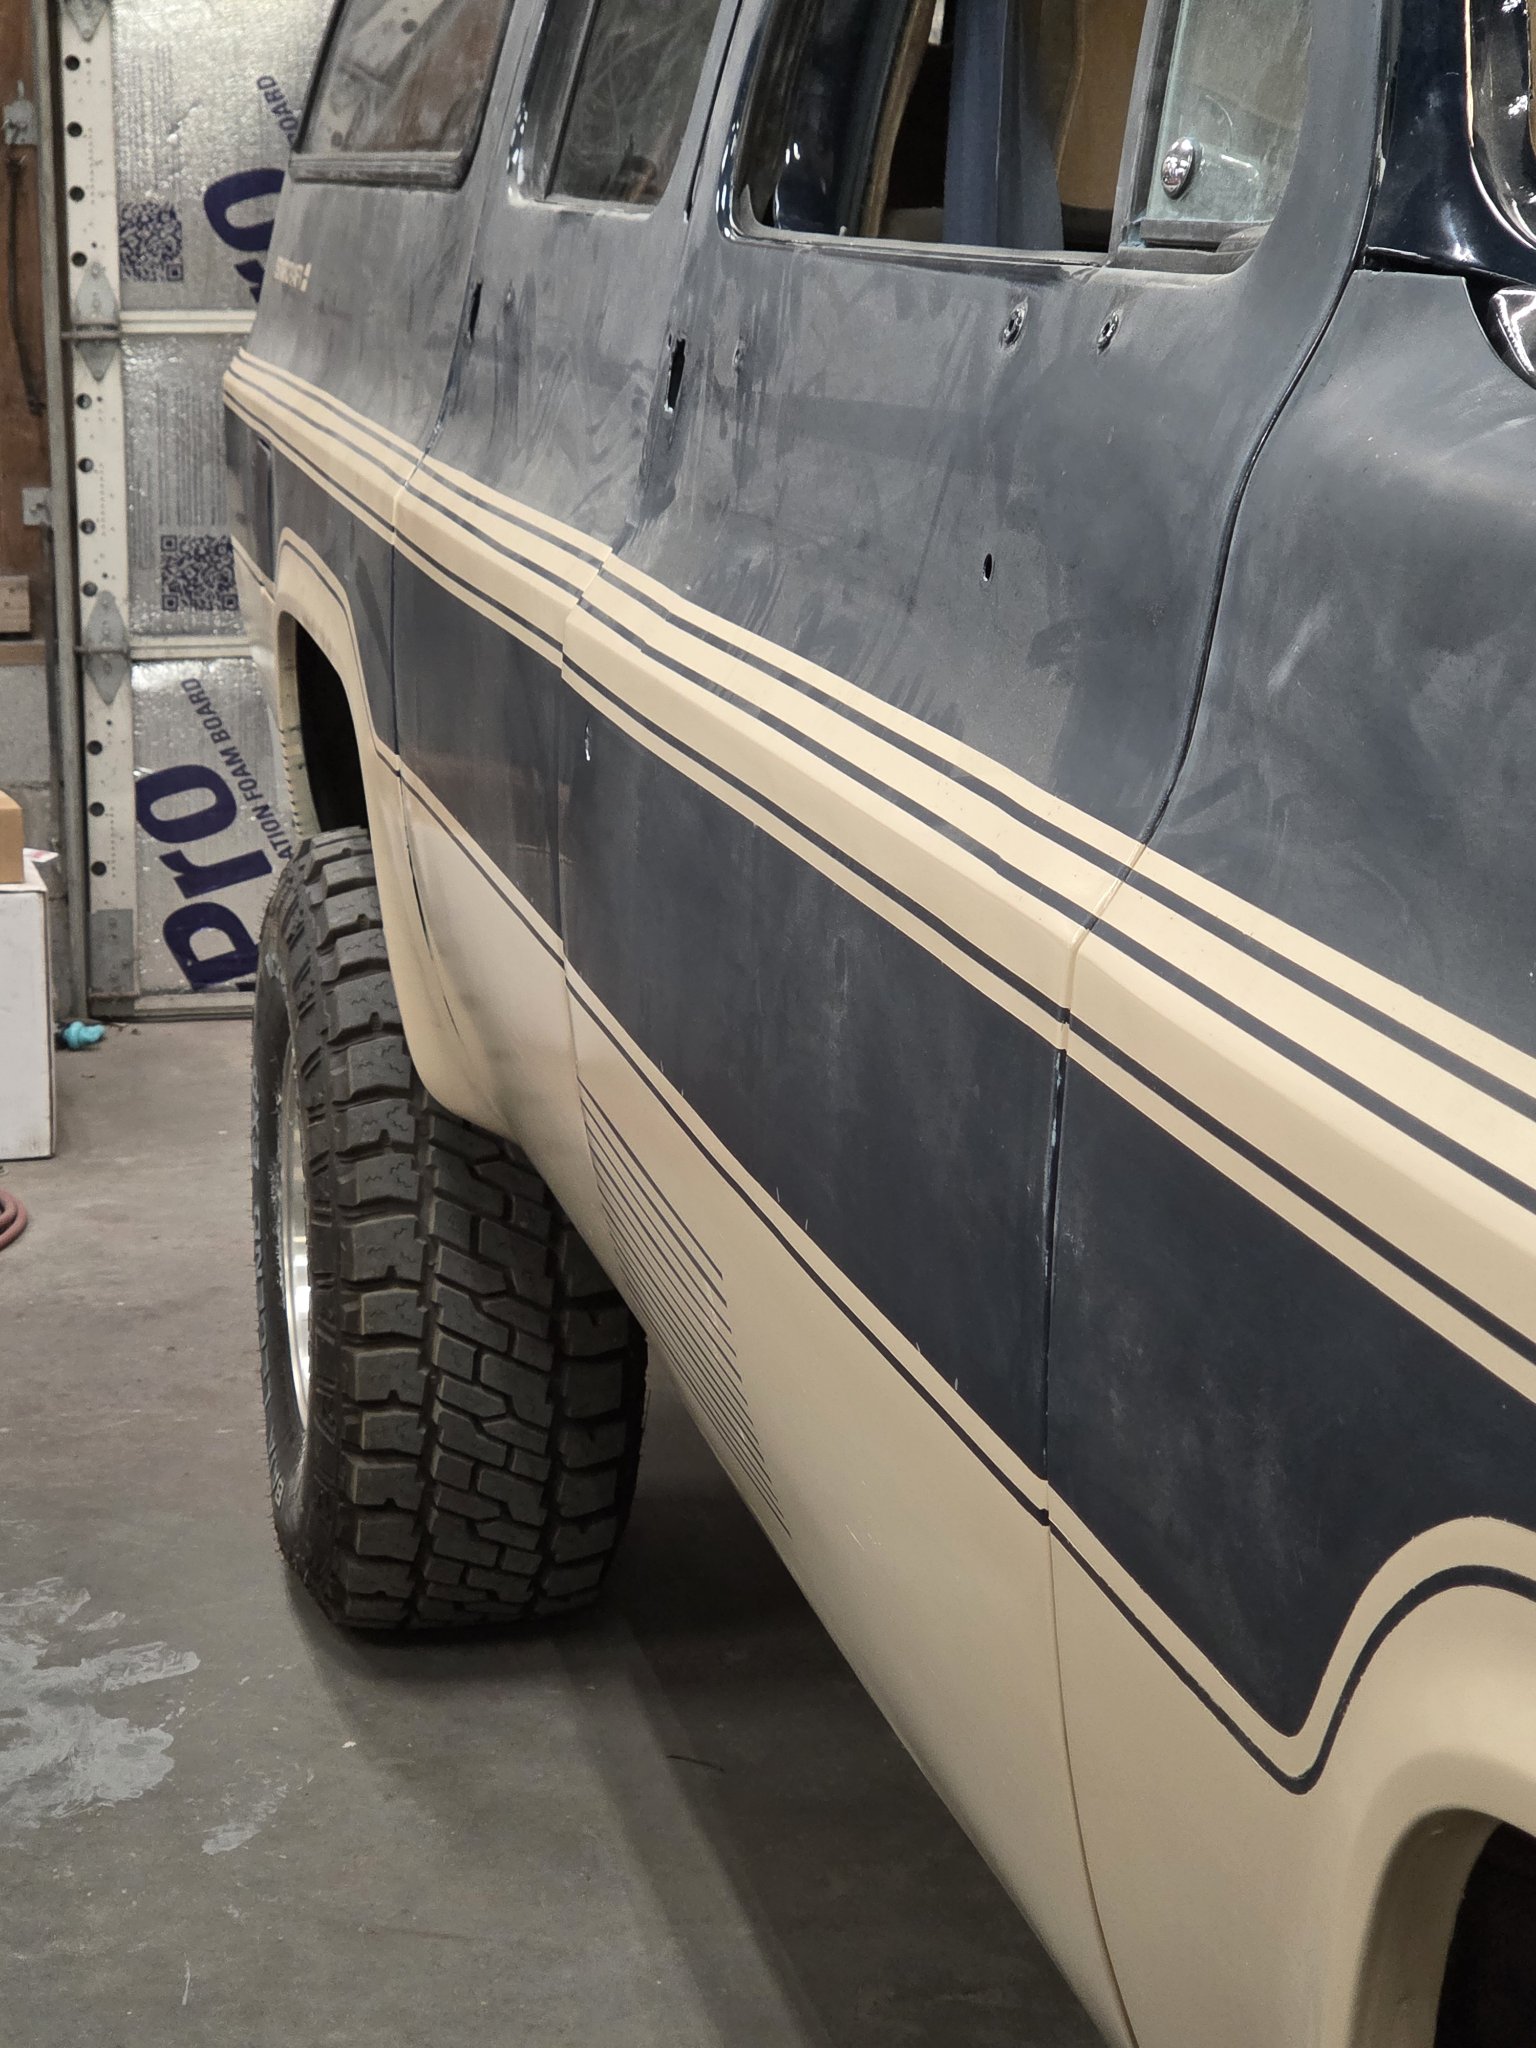
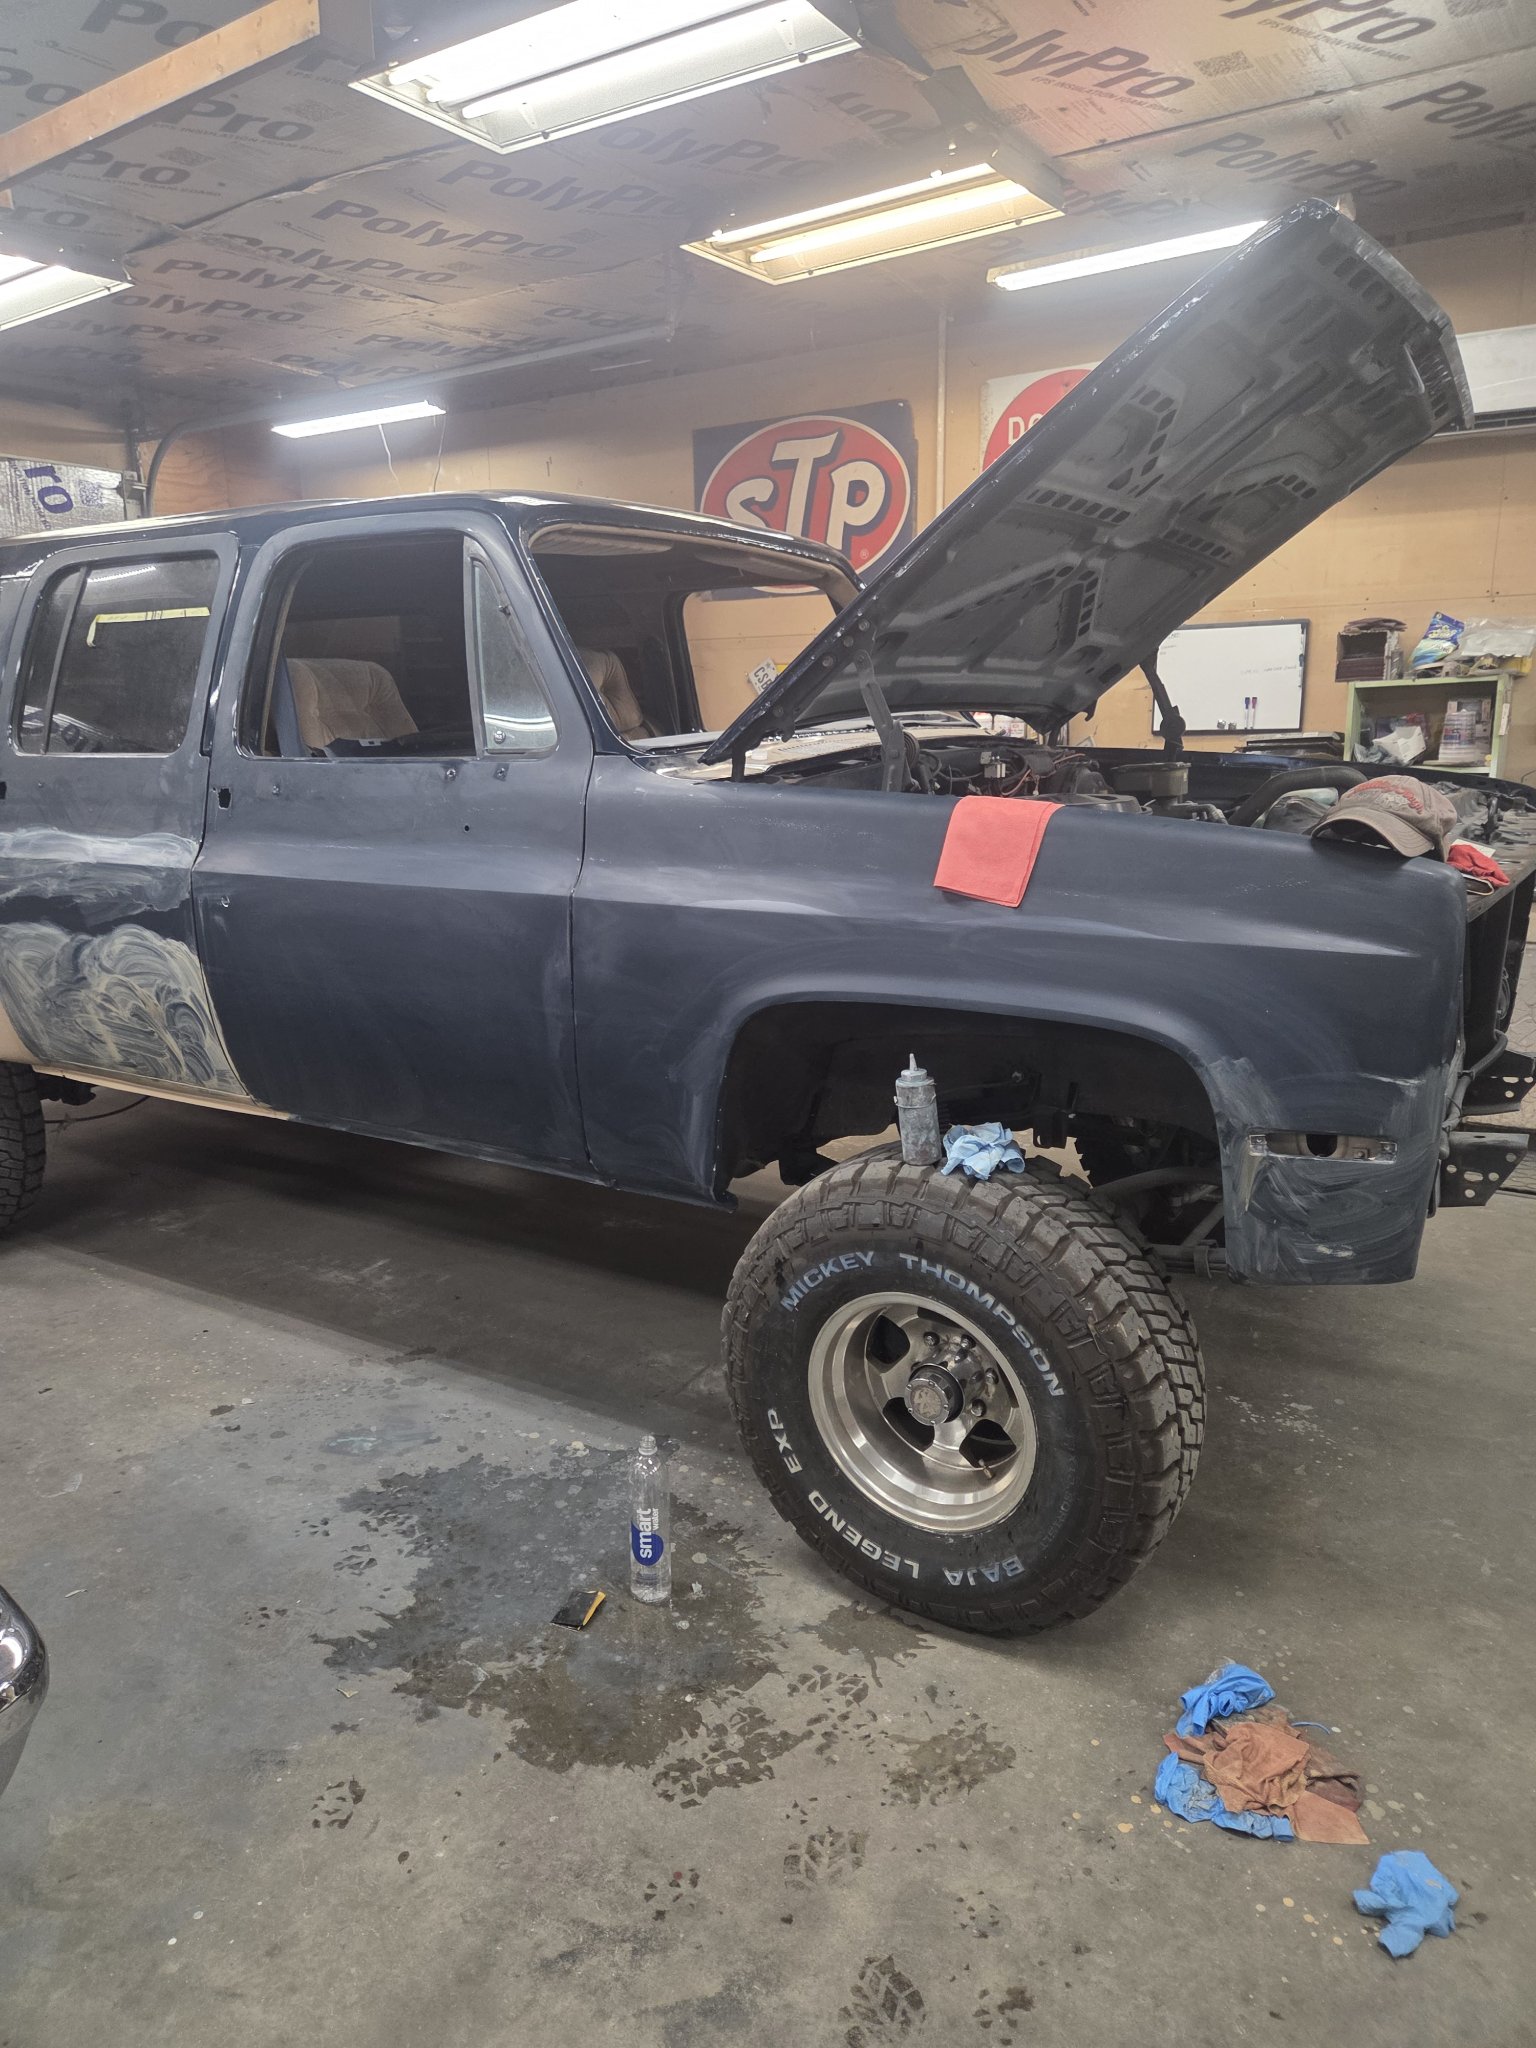
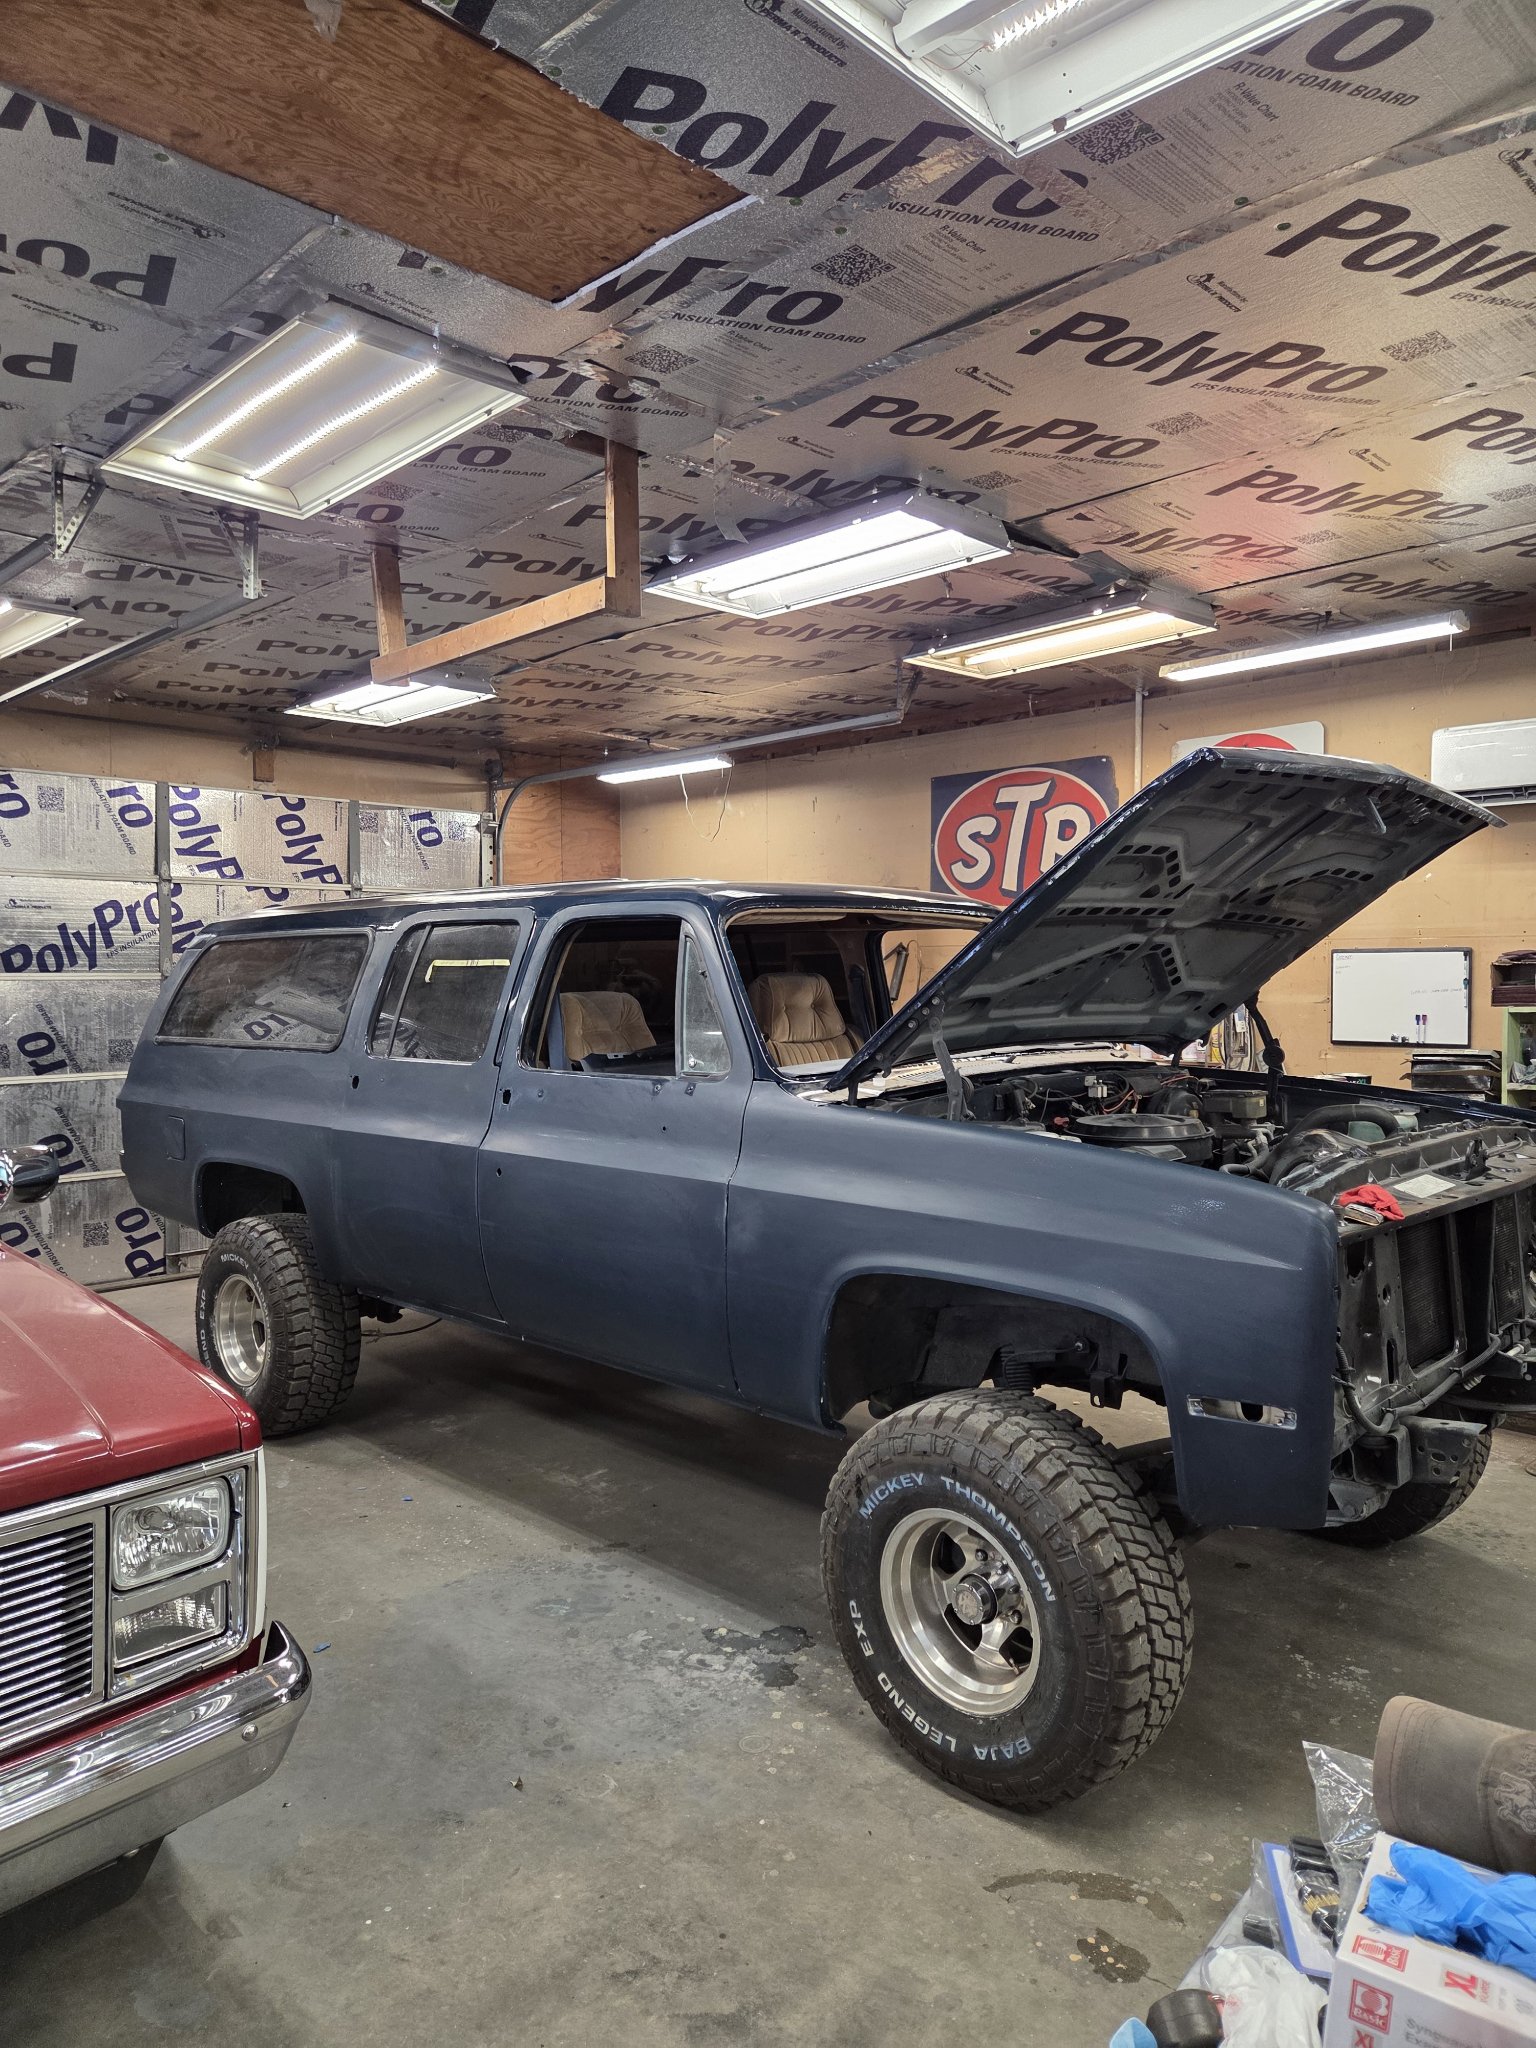
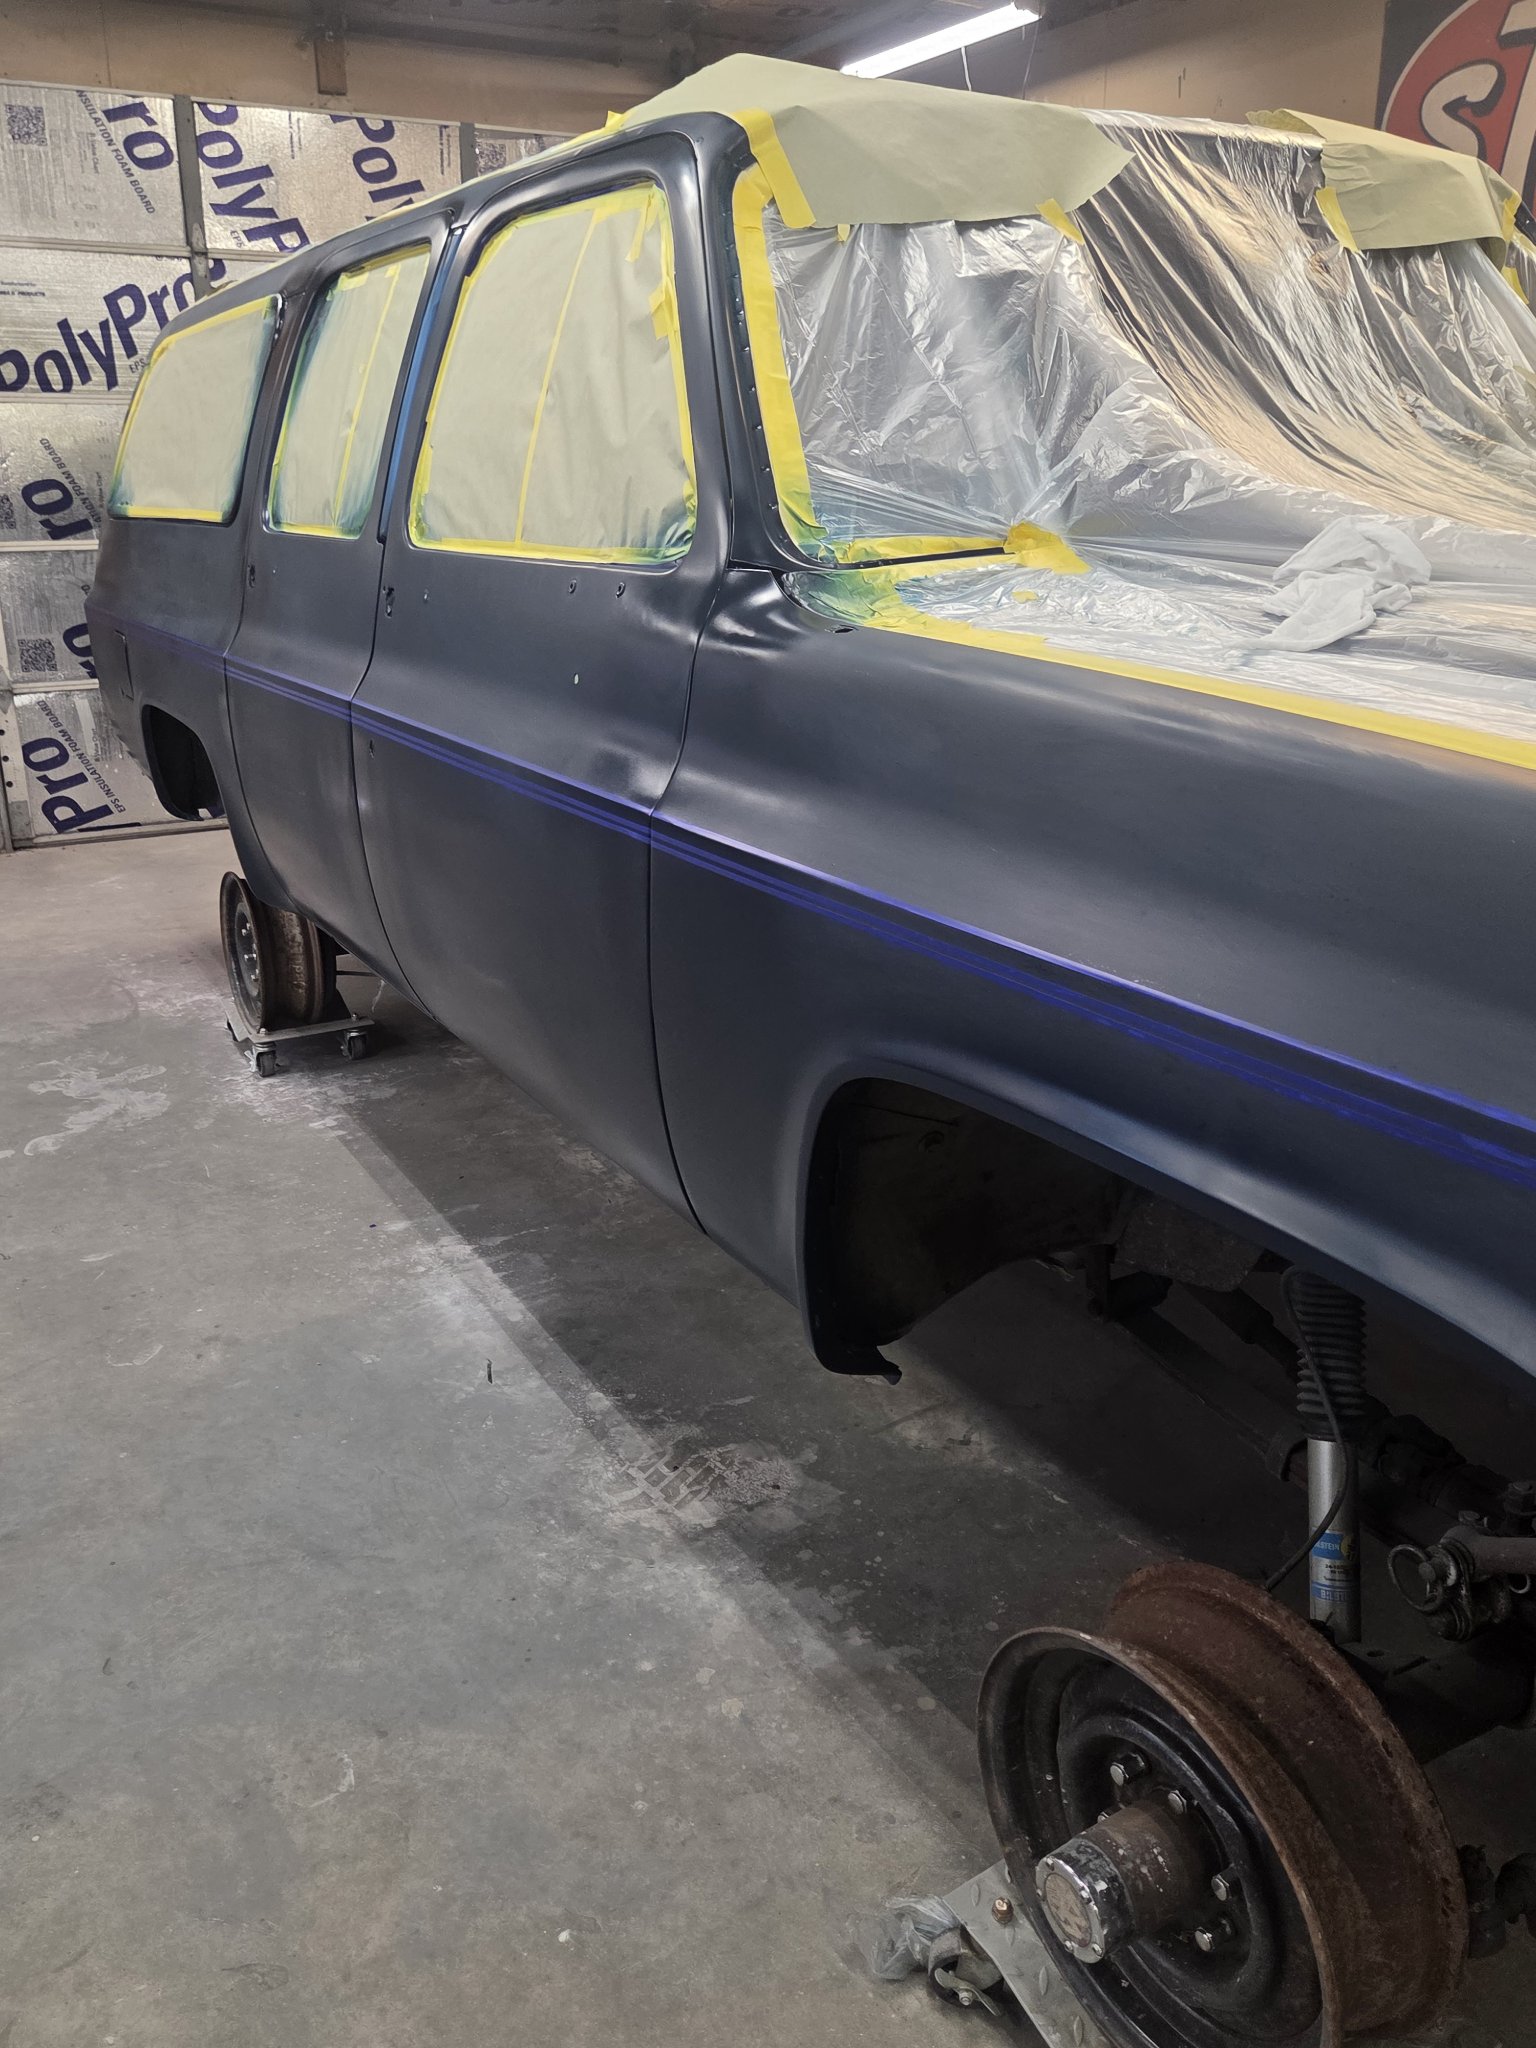
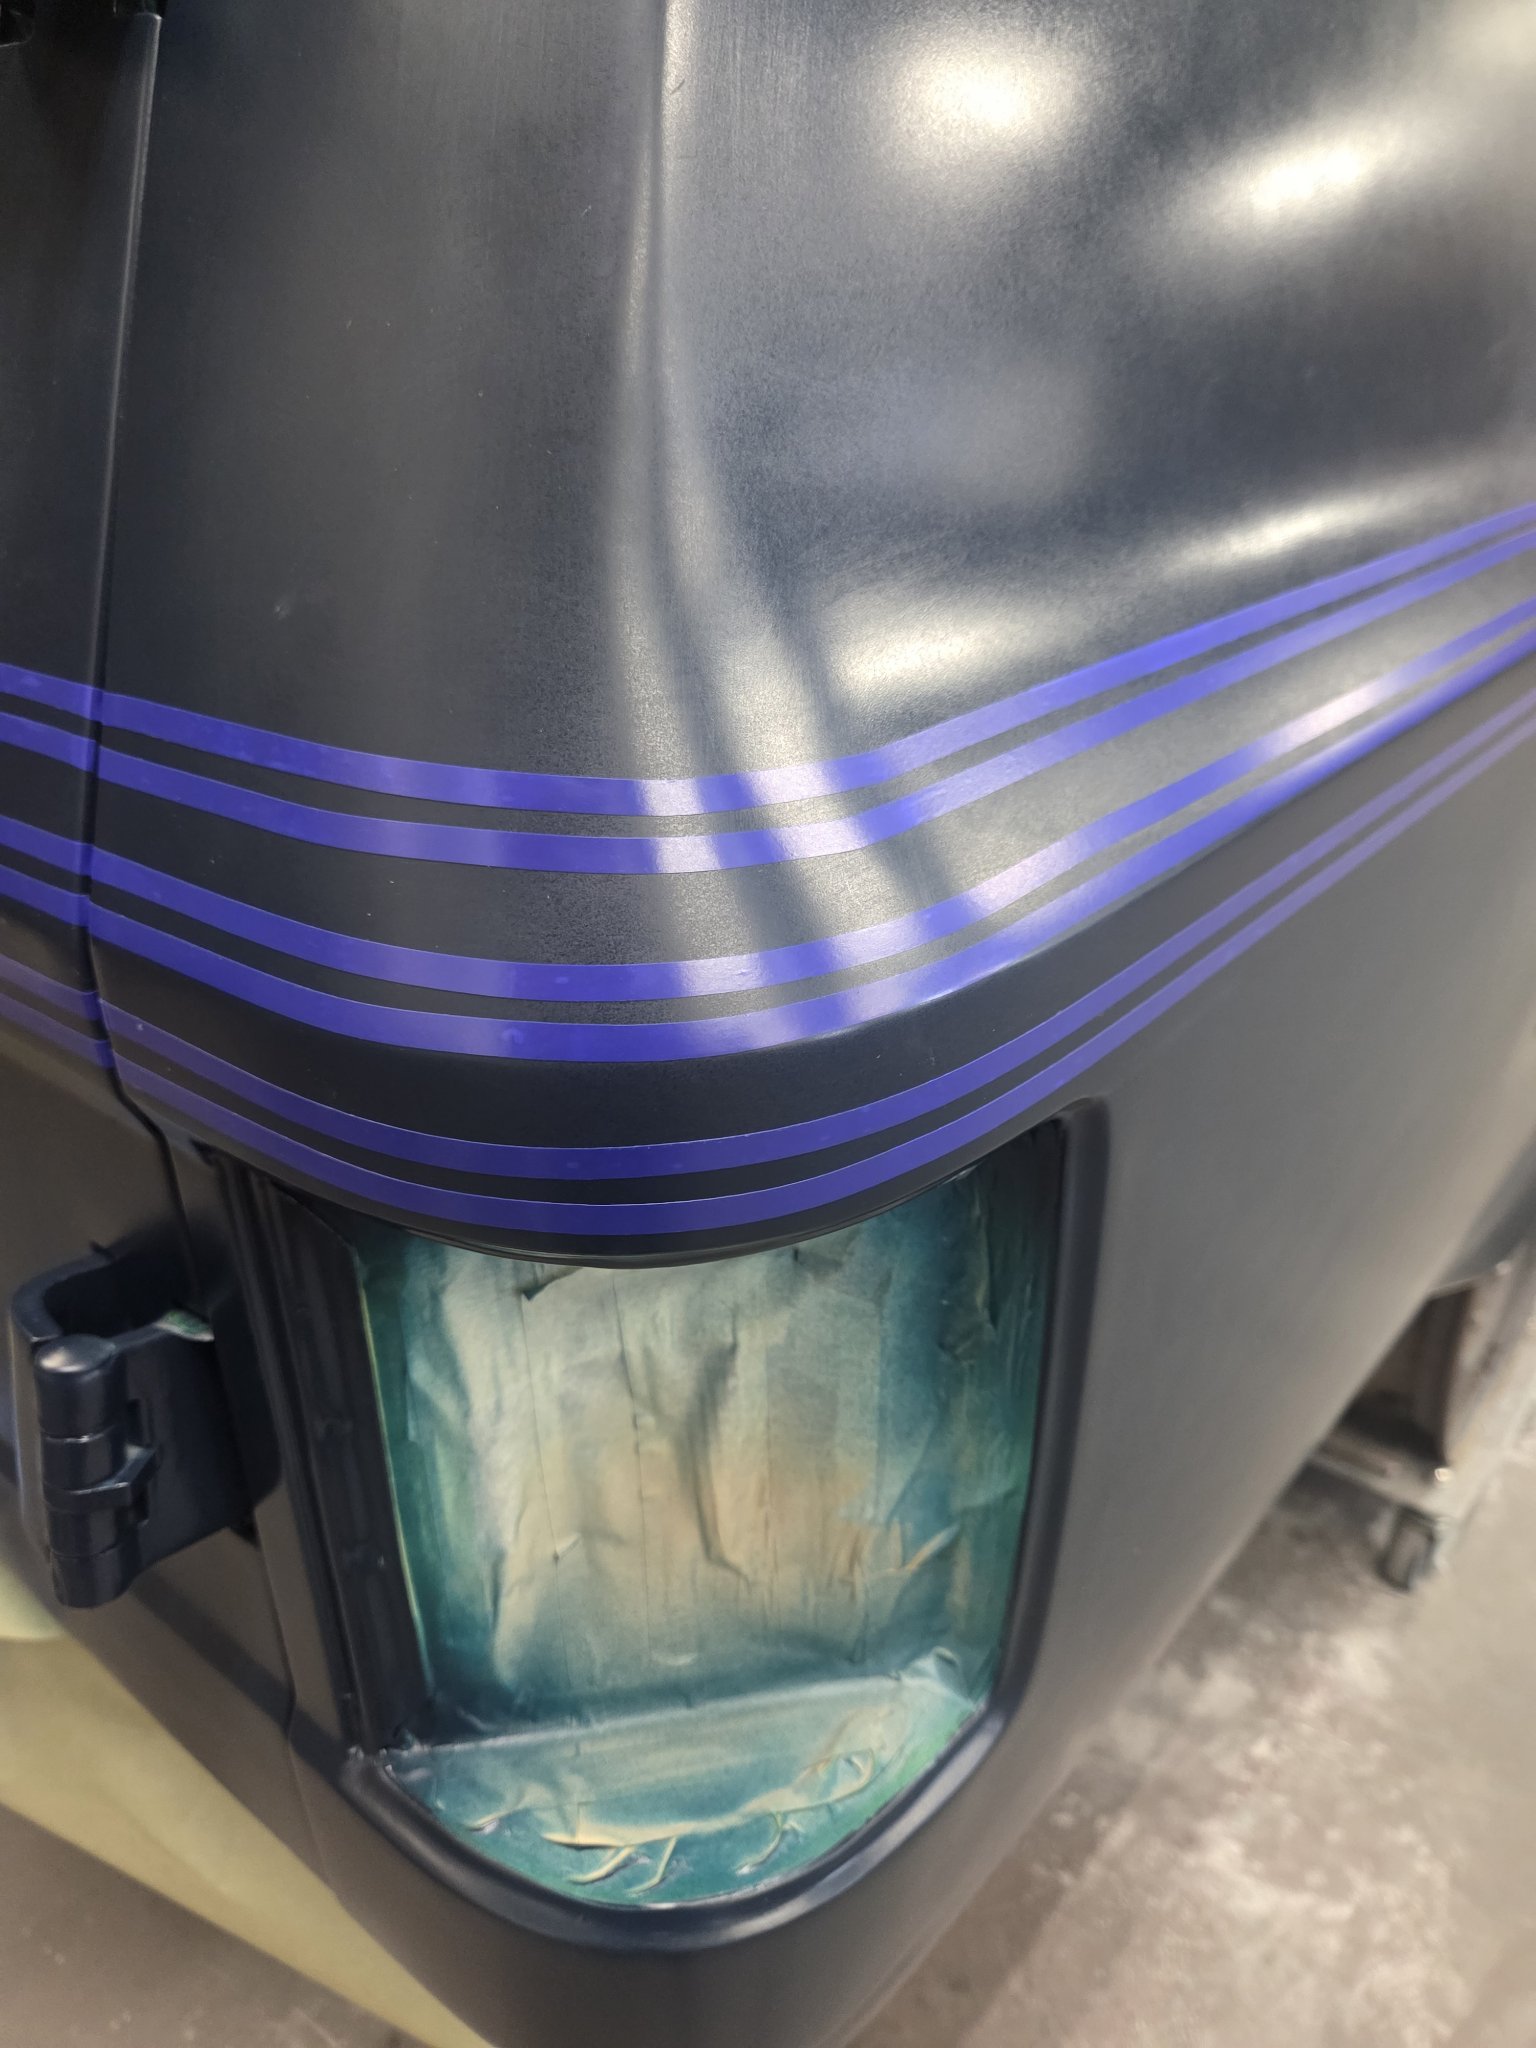
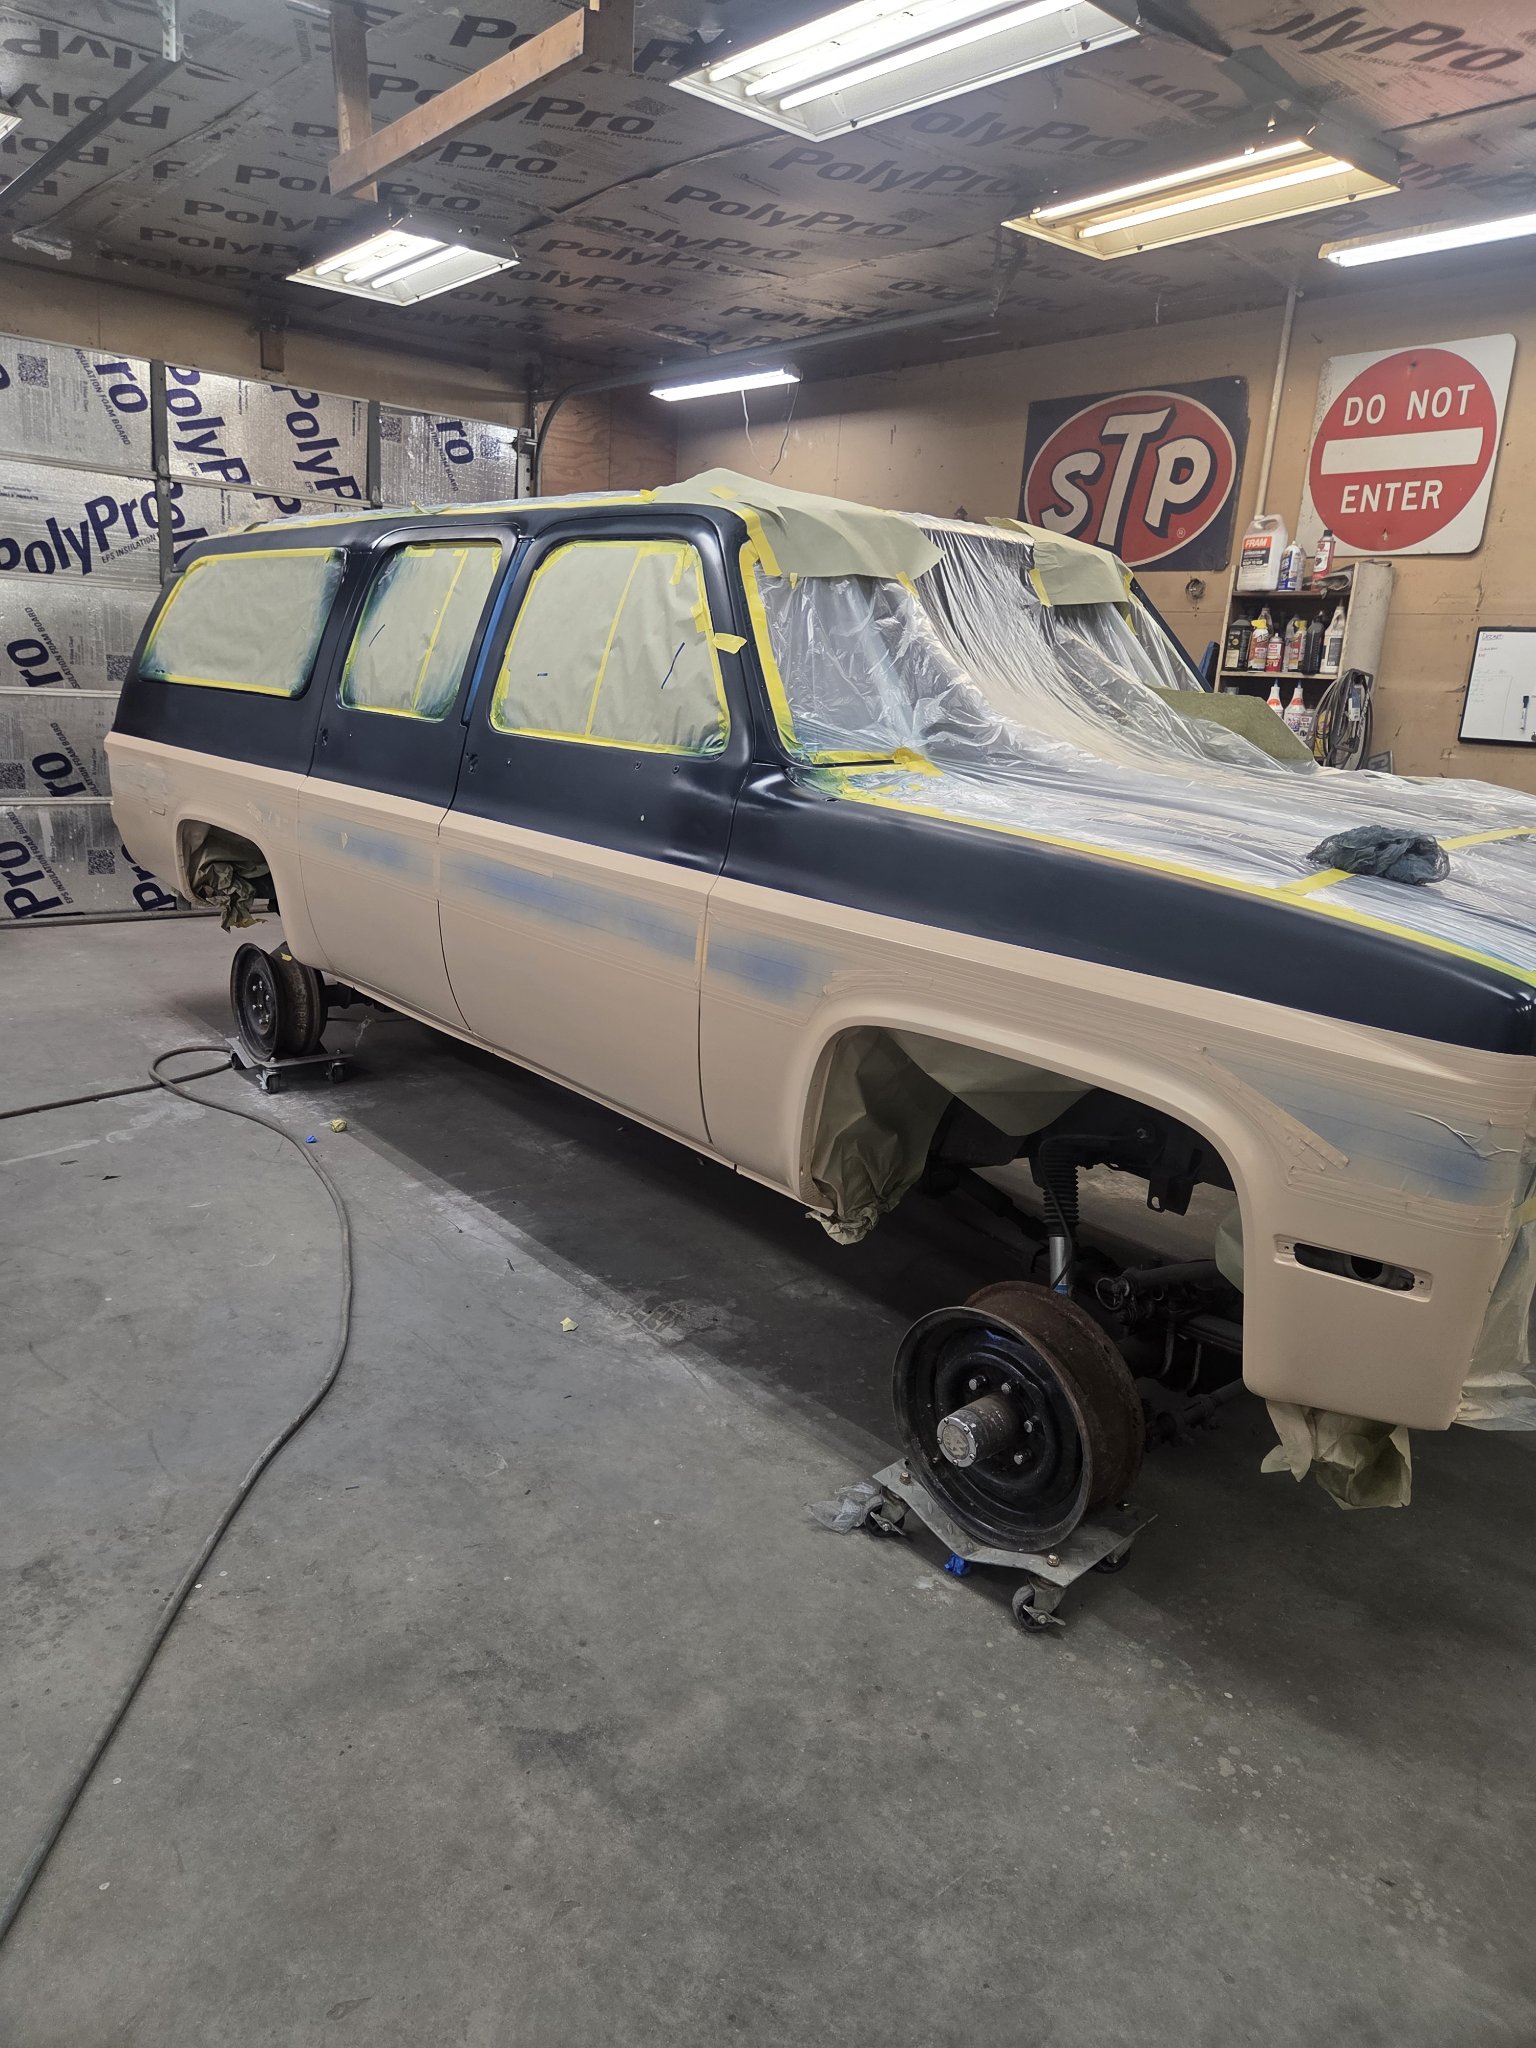
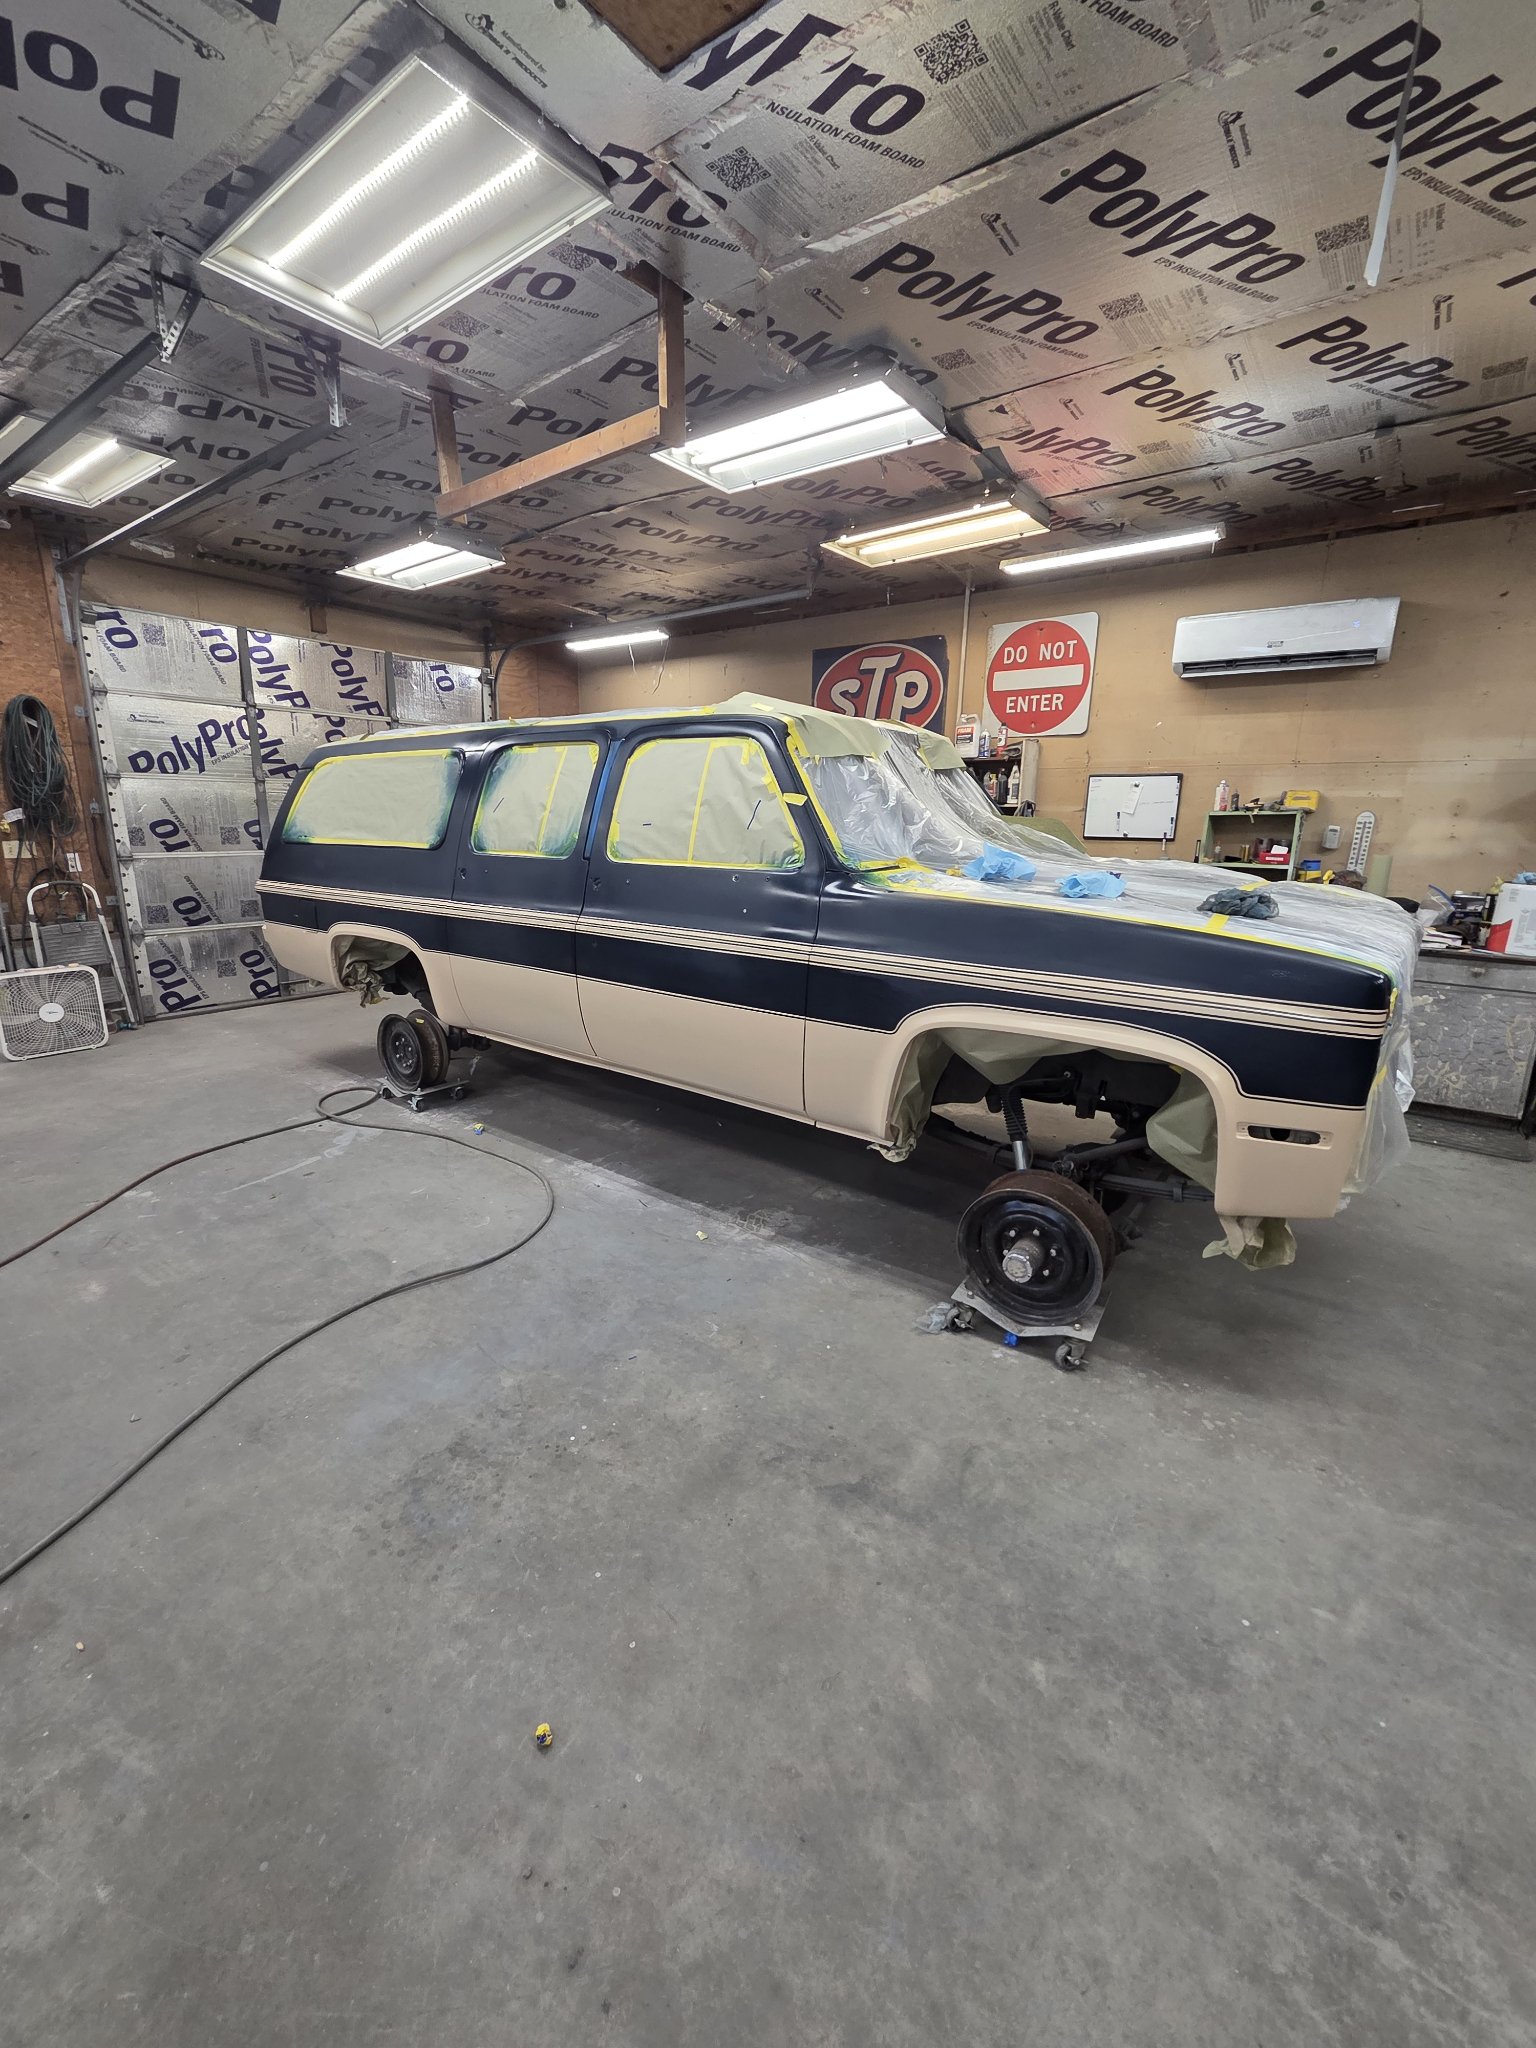
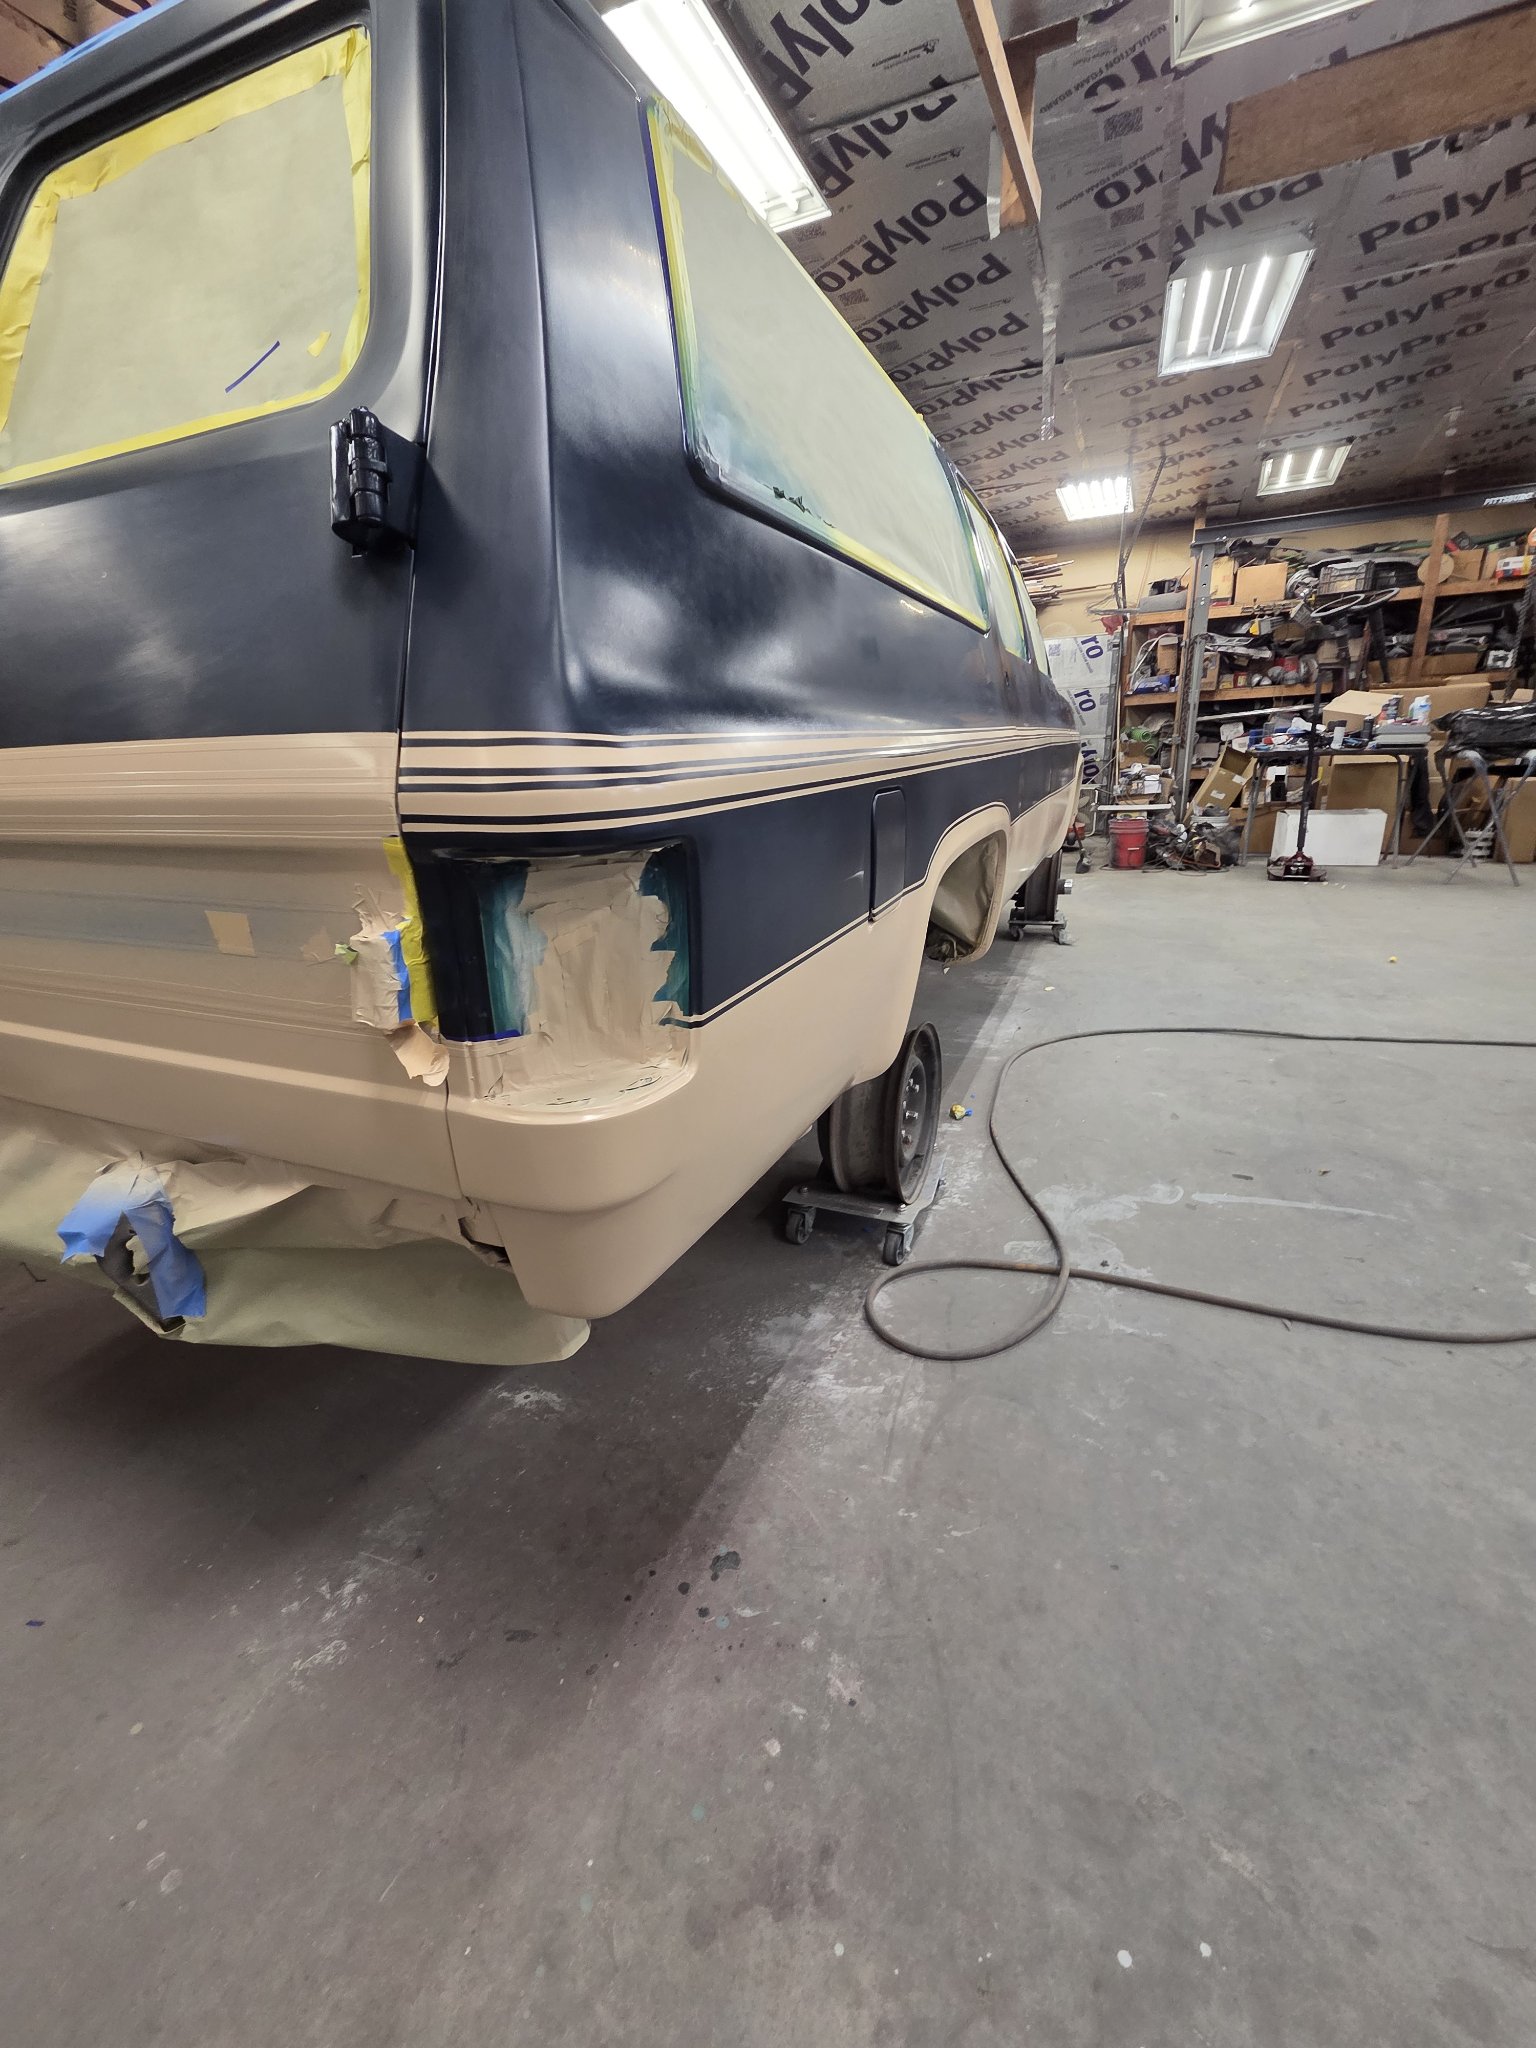
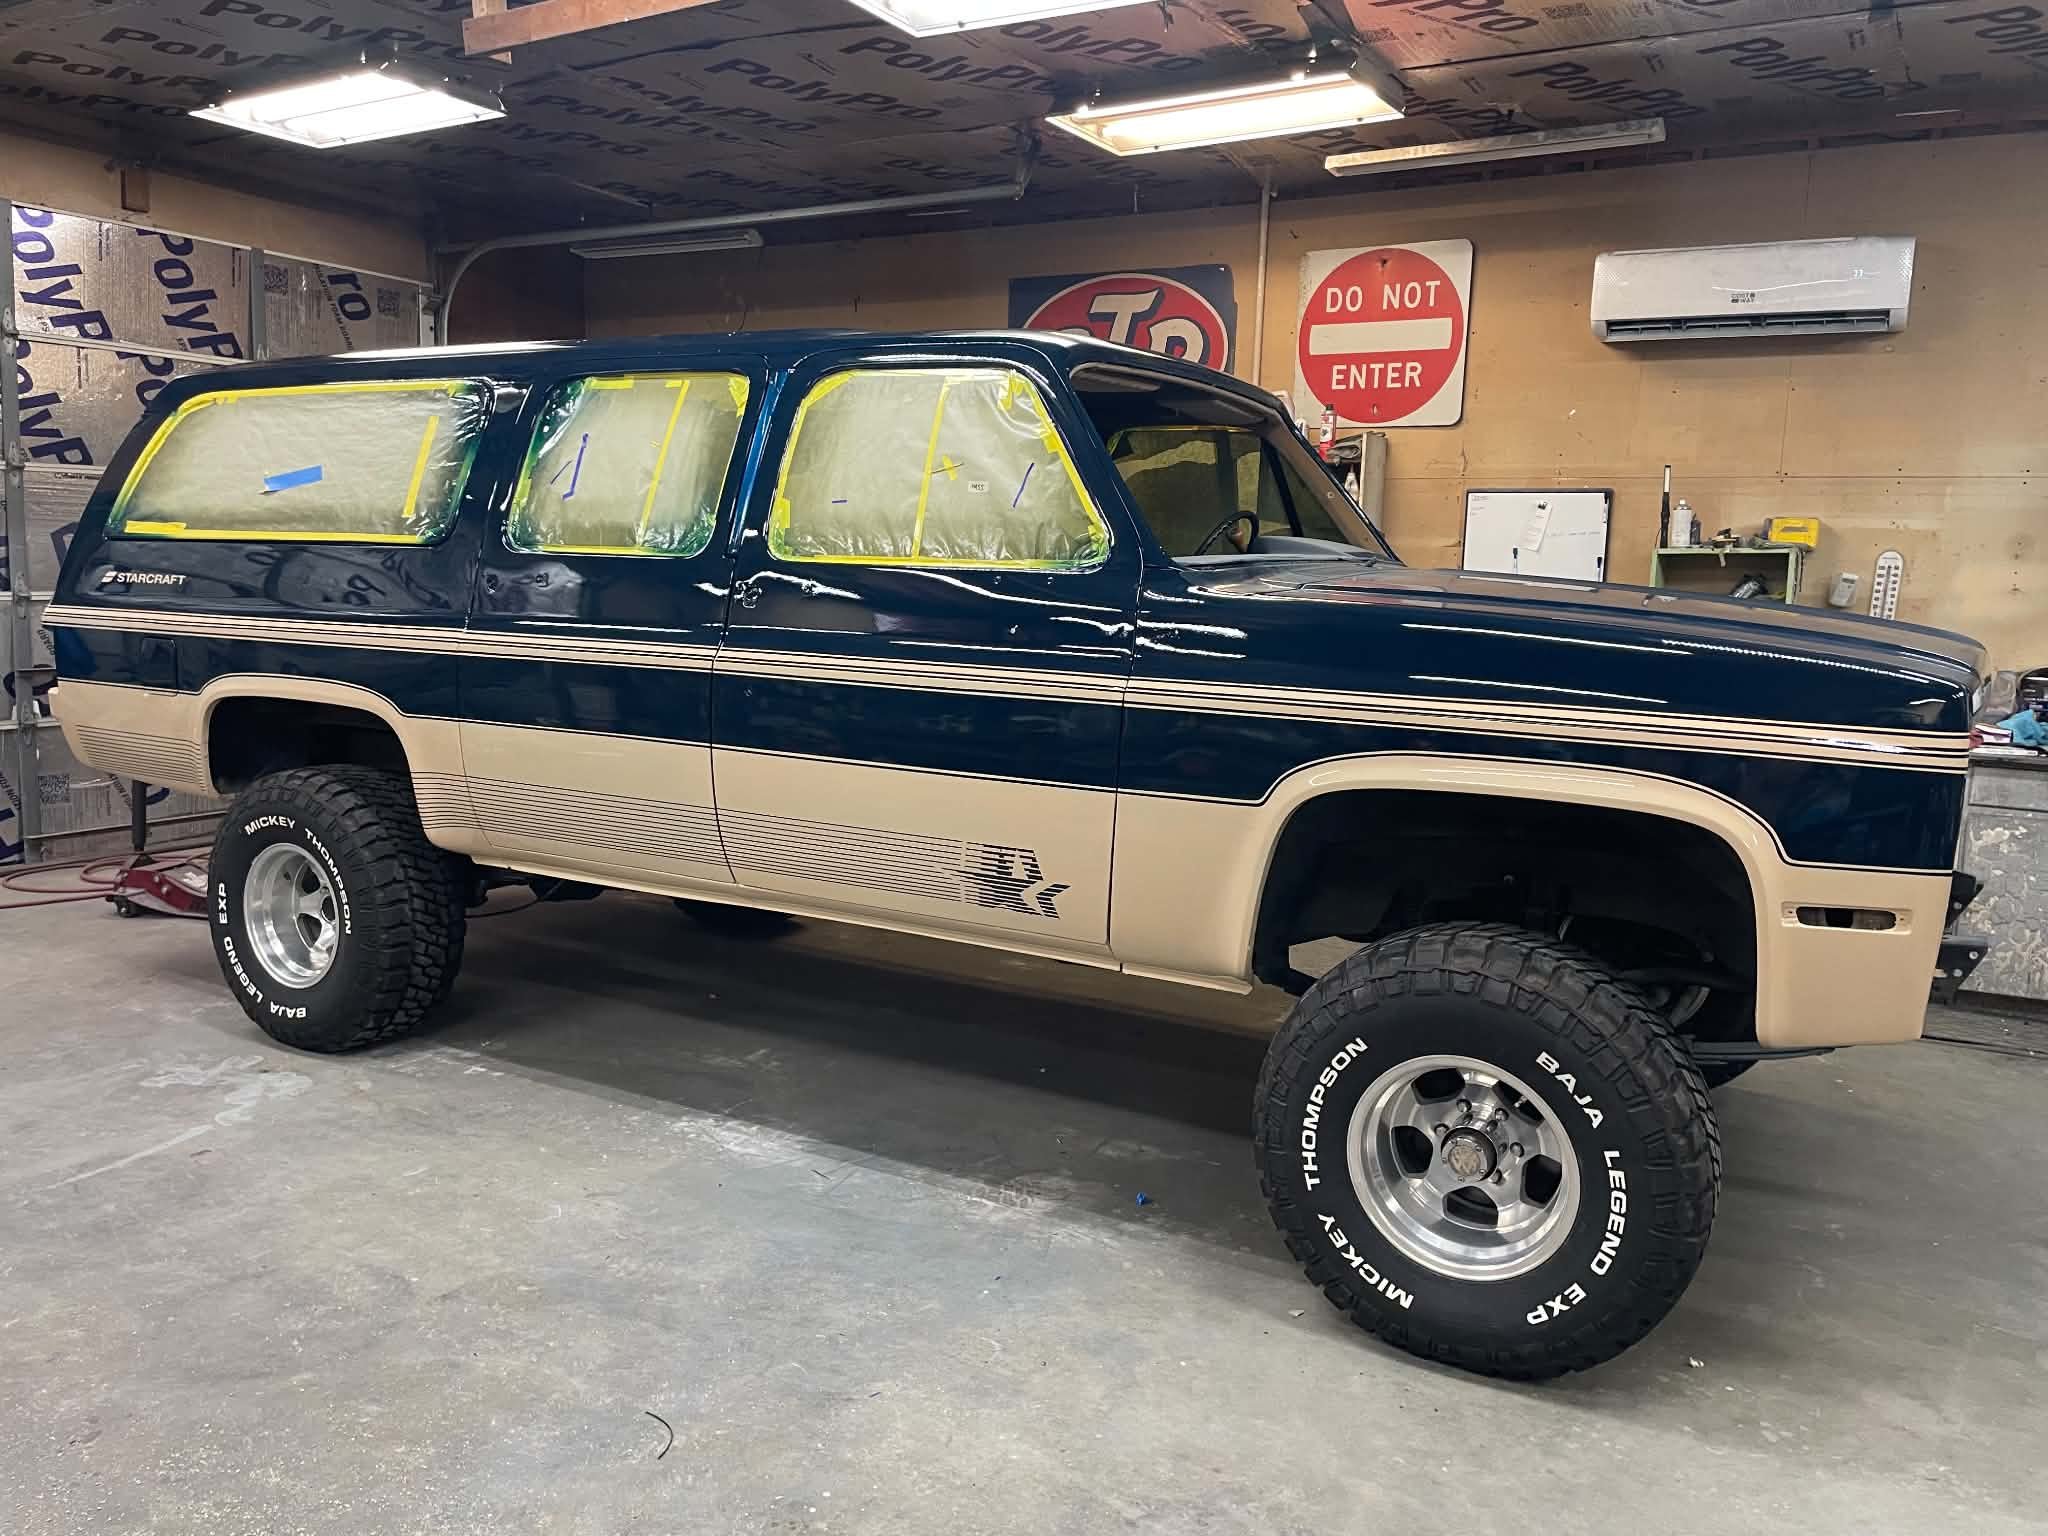
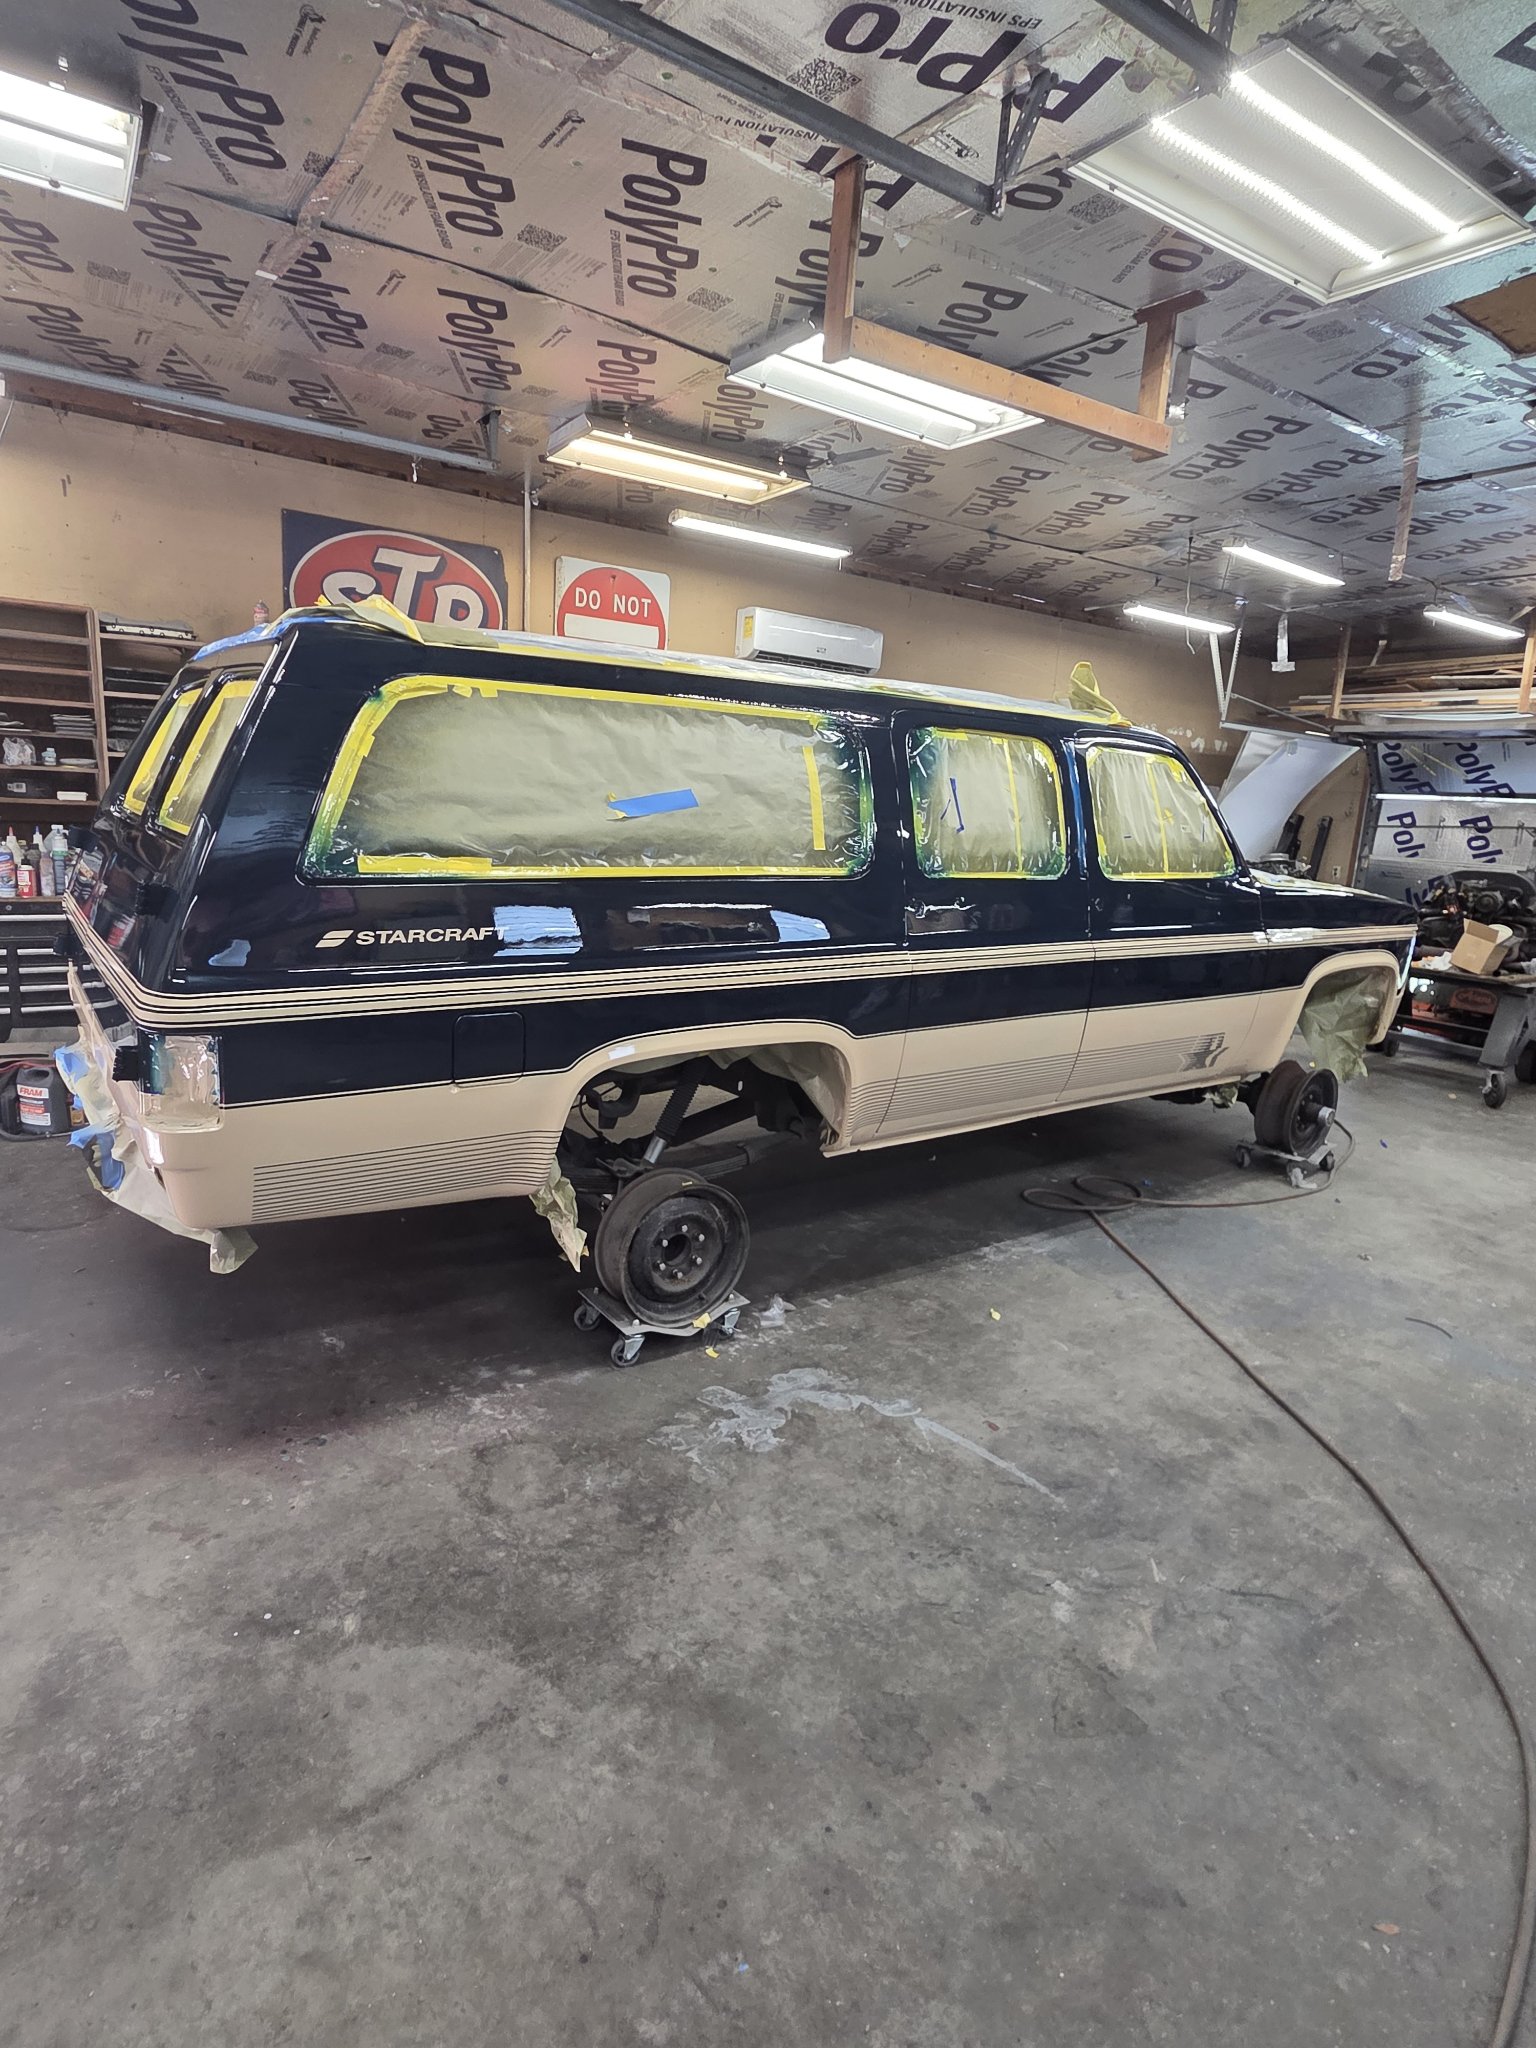
This lifted square-body Suburban — a Starcraft conversion, believed to be a 1989 — had custom stripes that another shop botched trying to repaint. So the client had Matthew strip them all off, repaint the truck, and re-stripe it entirely by hand. It's a lengthy process: “a steady hand and a laser eye — people don't do that anymore.”
01 How it came in
As it arrived — botched stripes and all
02 Stripped back
Wet-sanding it all back
03 Fresh paint
Fresh blue base, ready for stripes
04 Stripes laid by hand
Tape lines down the sideThe corner, matched by eye
05 The reveal
Tan sprayed, tape still onThe reveal — crisp, clean lines
06 The details
Starcraft lettering, by handAlignment checked, front to backFinished, in the shop
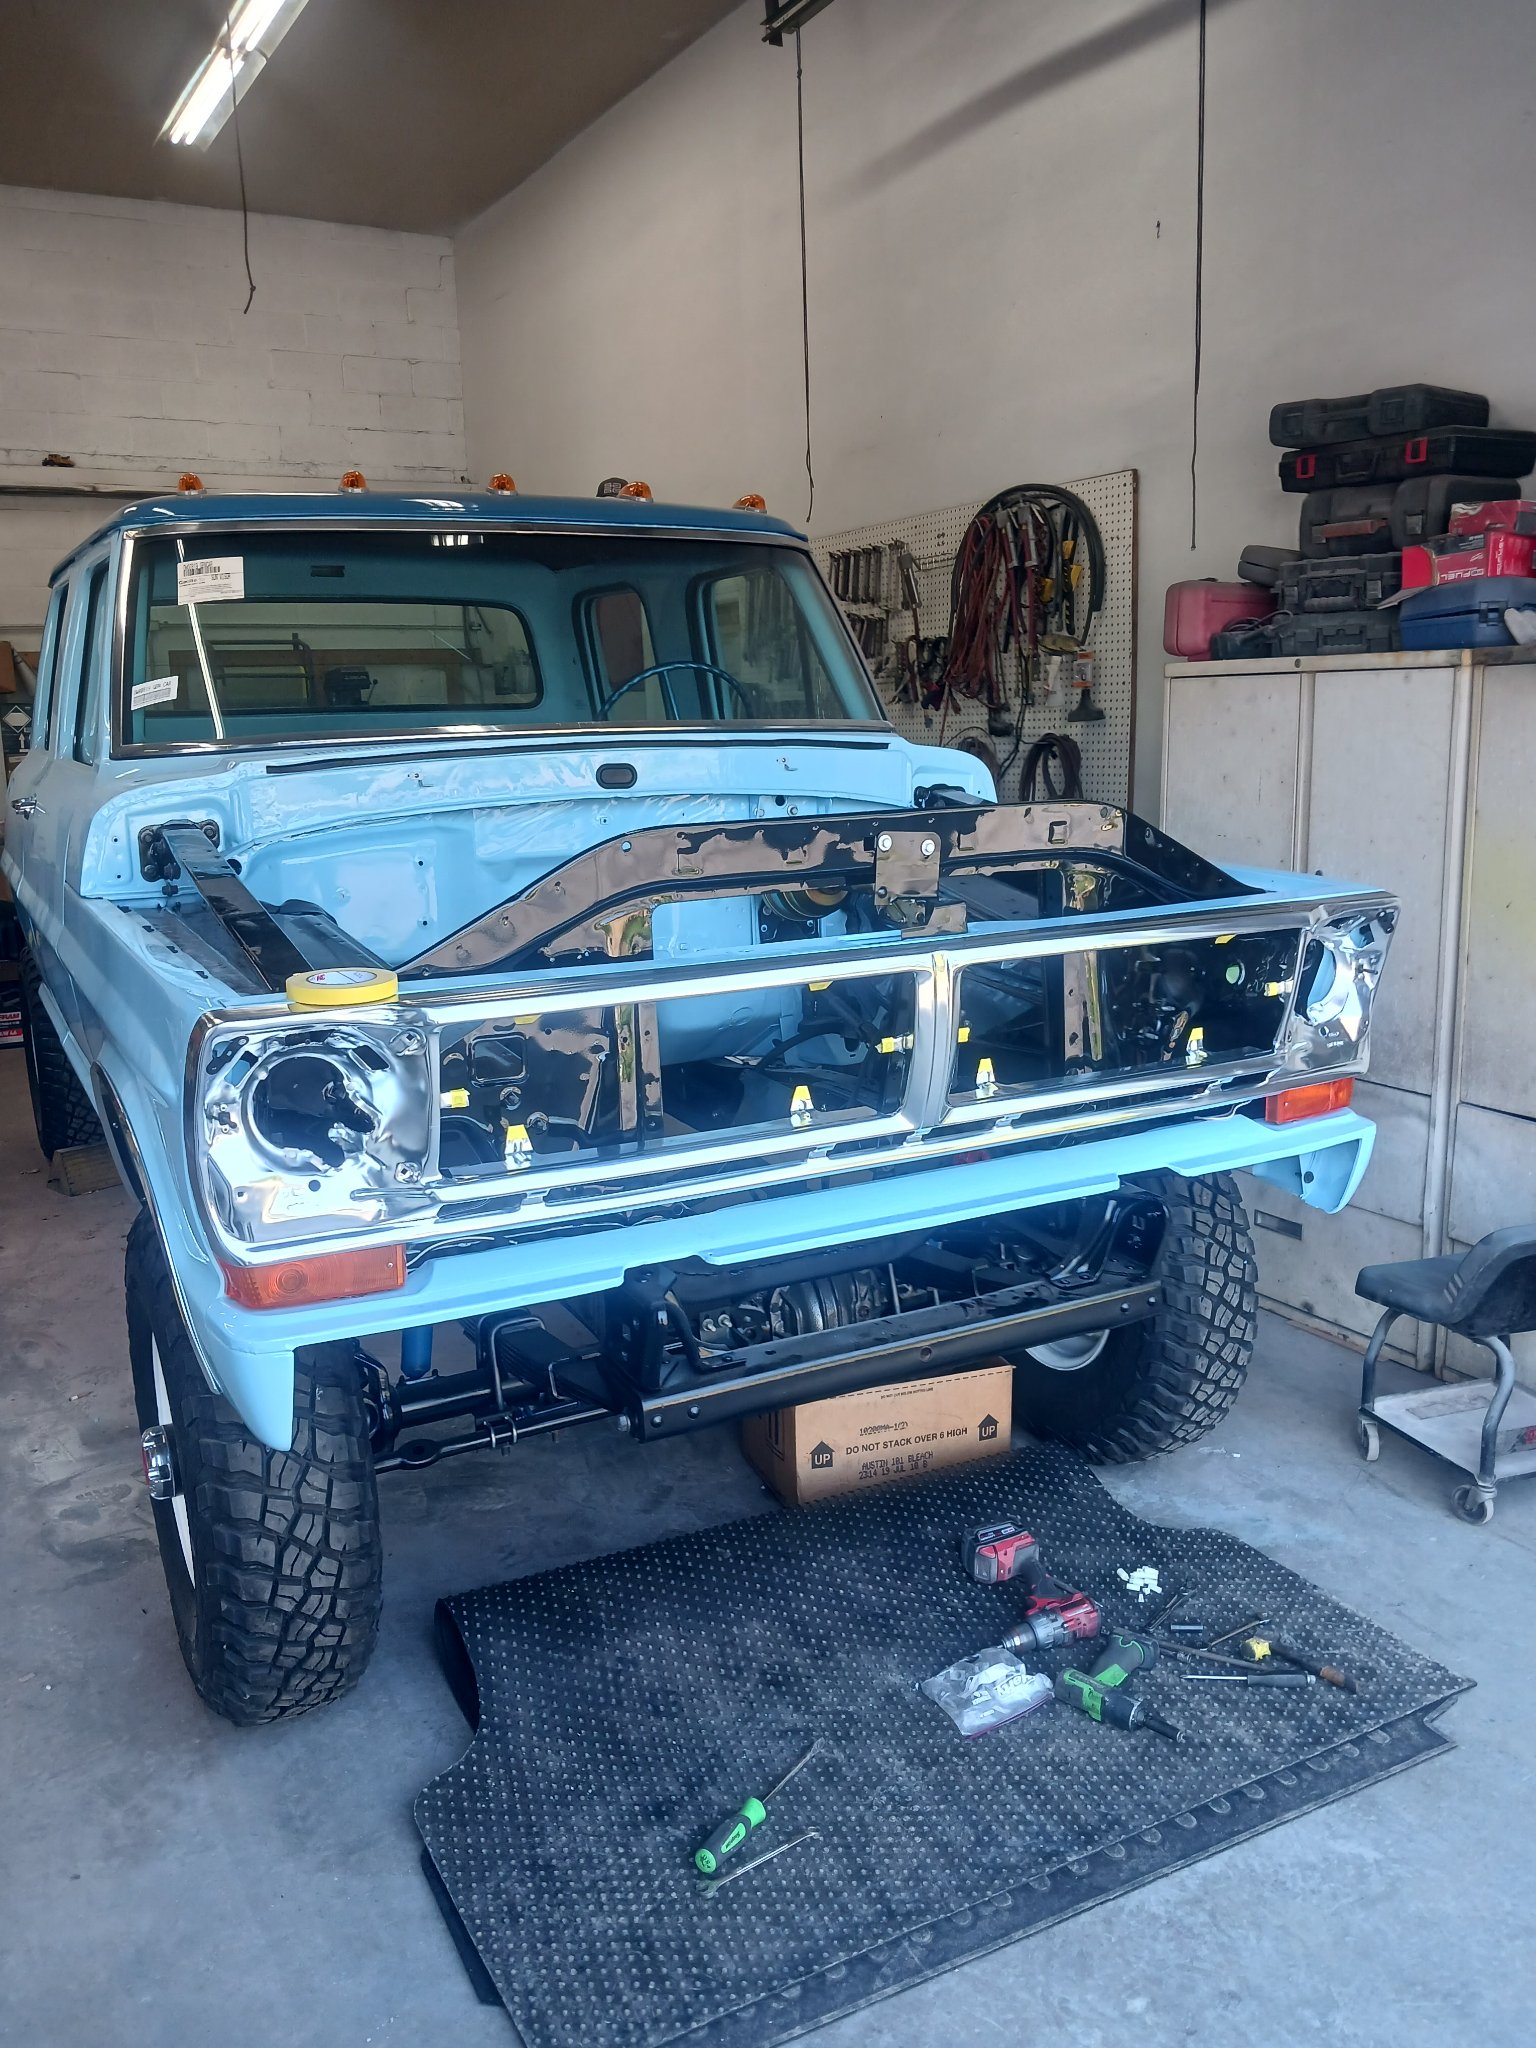
Ford Bumpside Crew Cab
Vintage Ford crew cab · body & paint
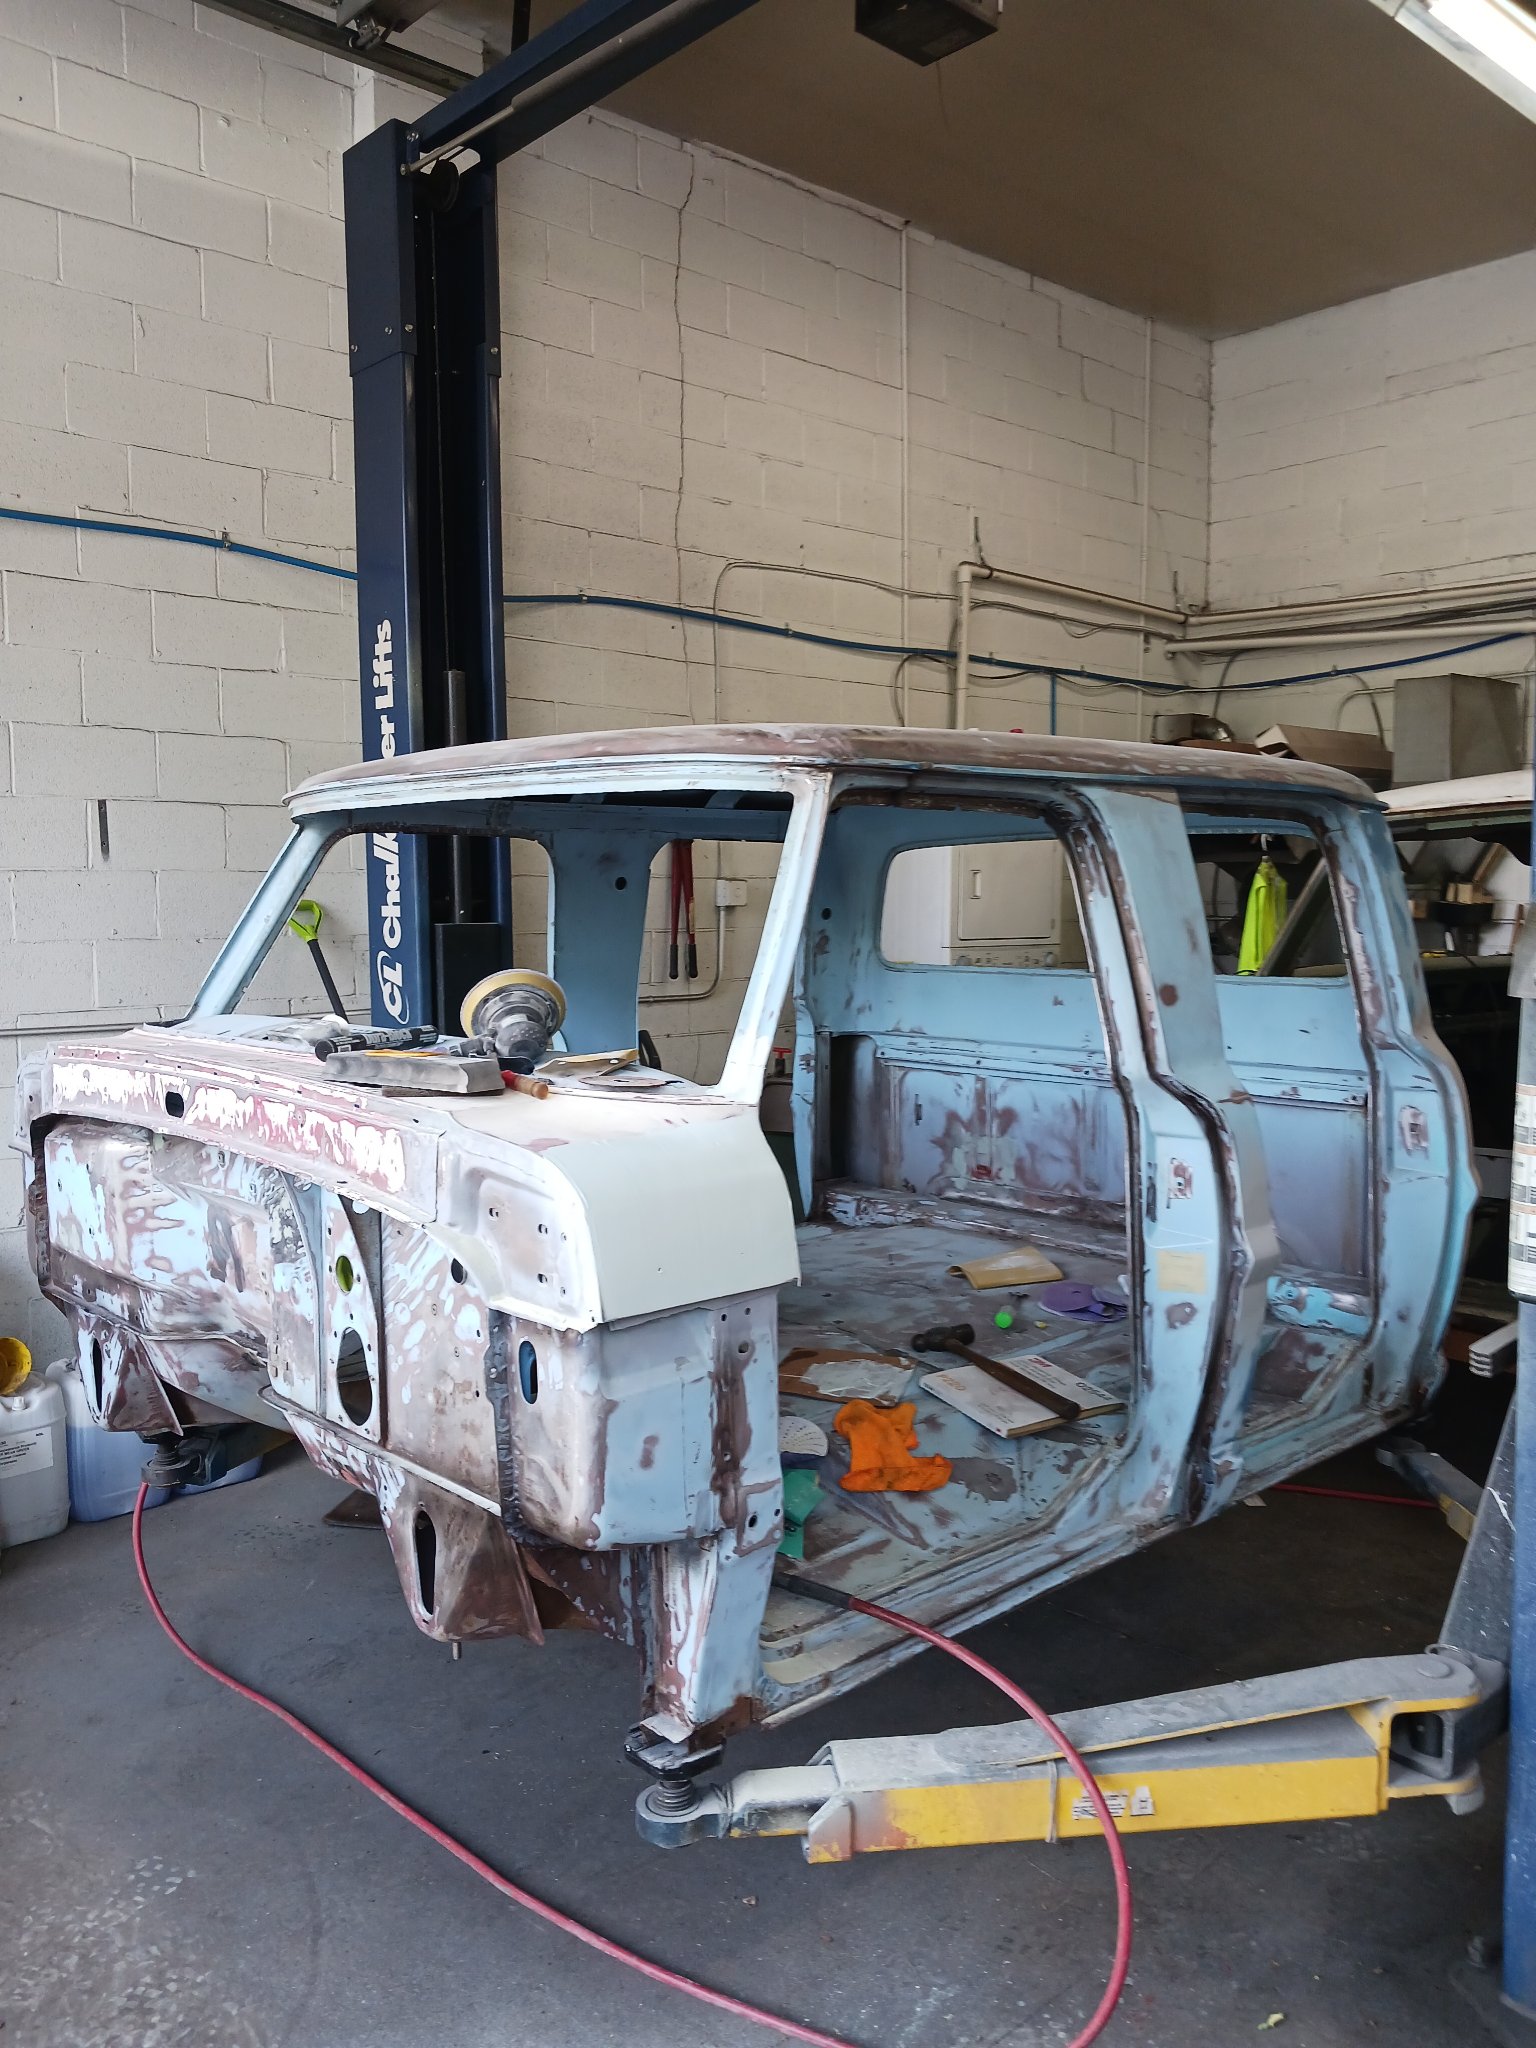
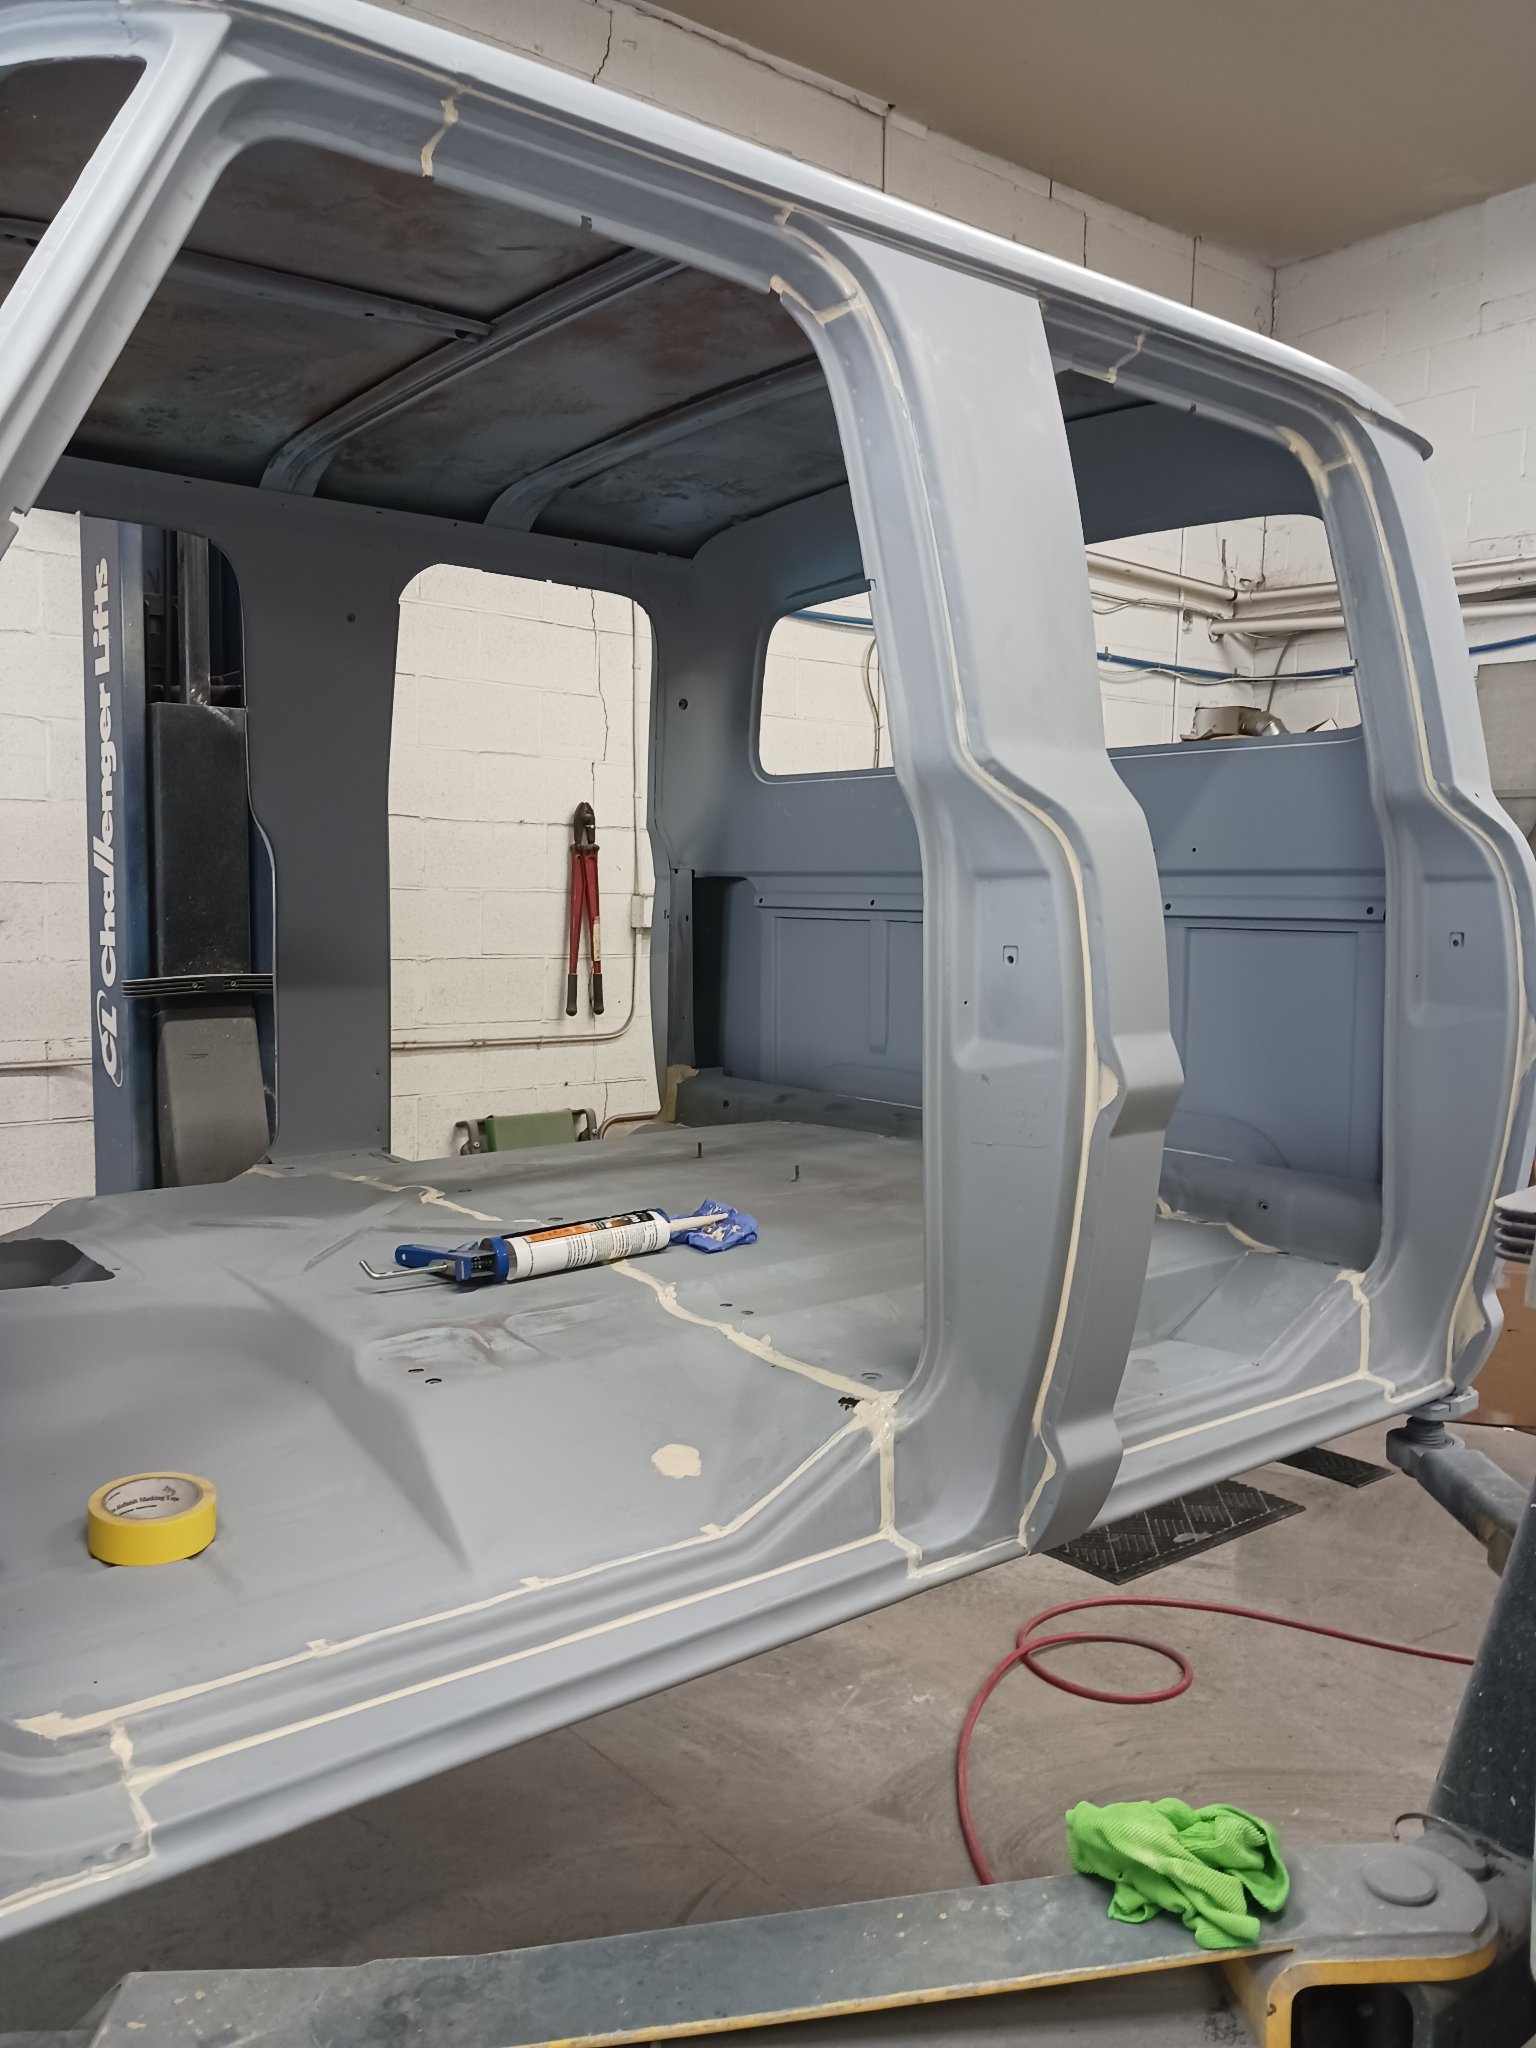
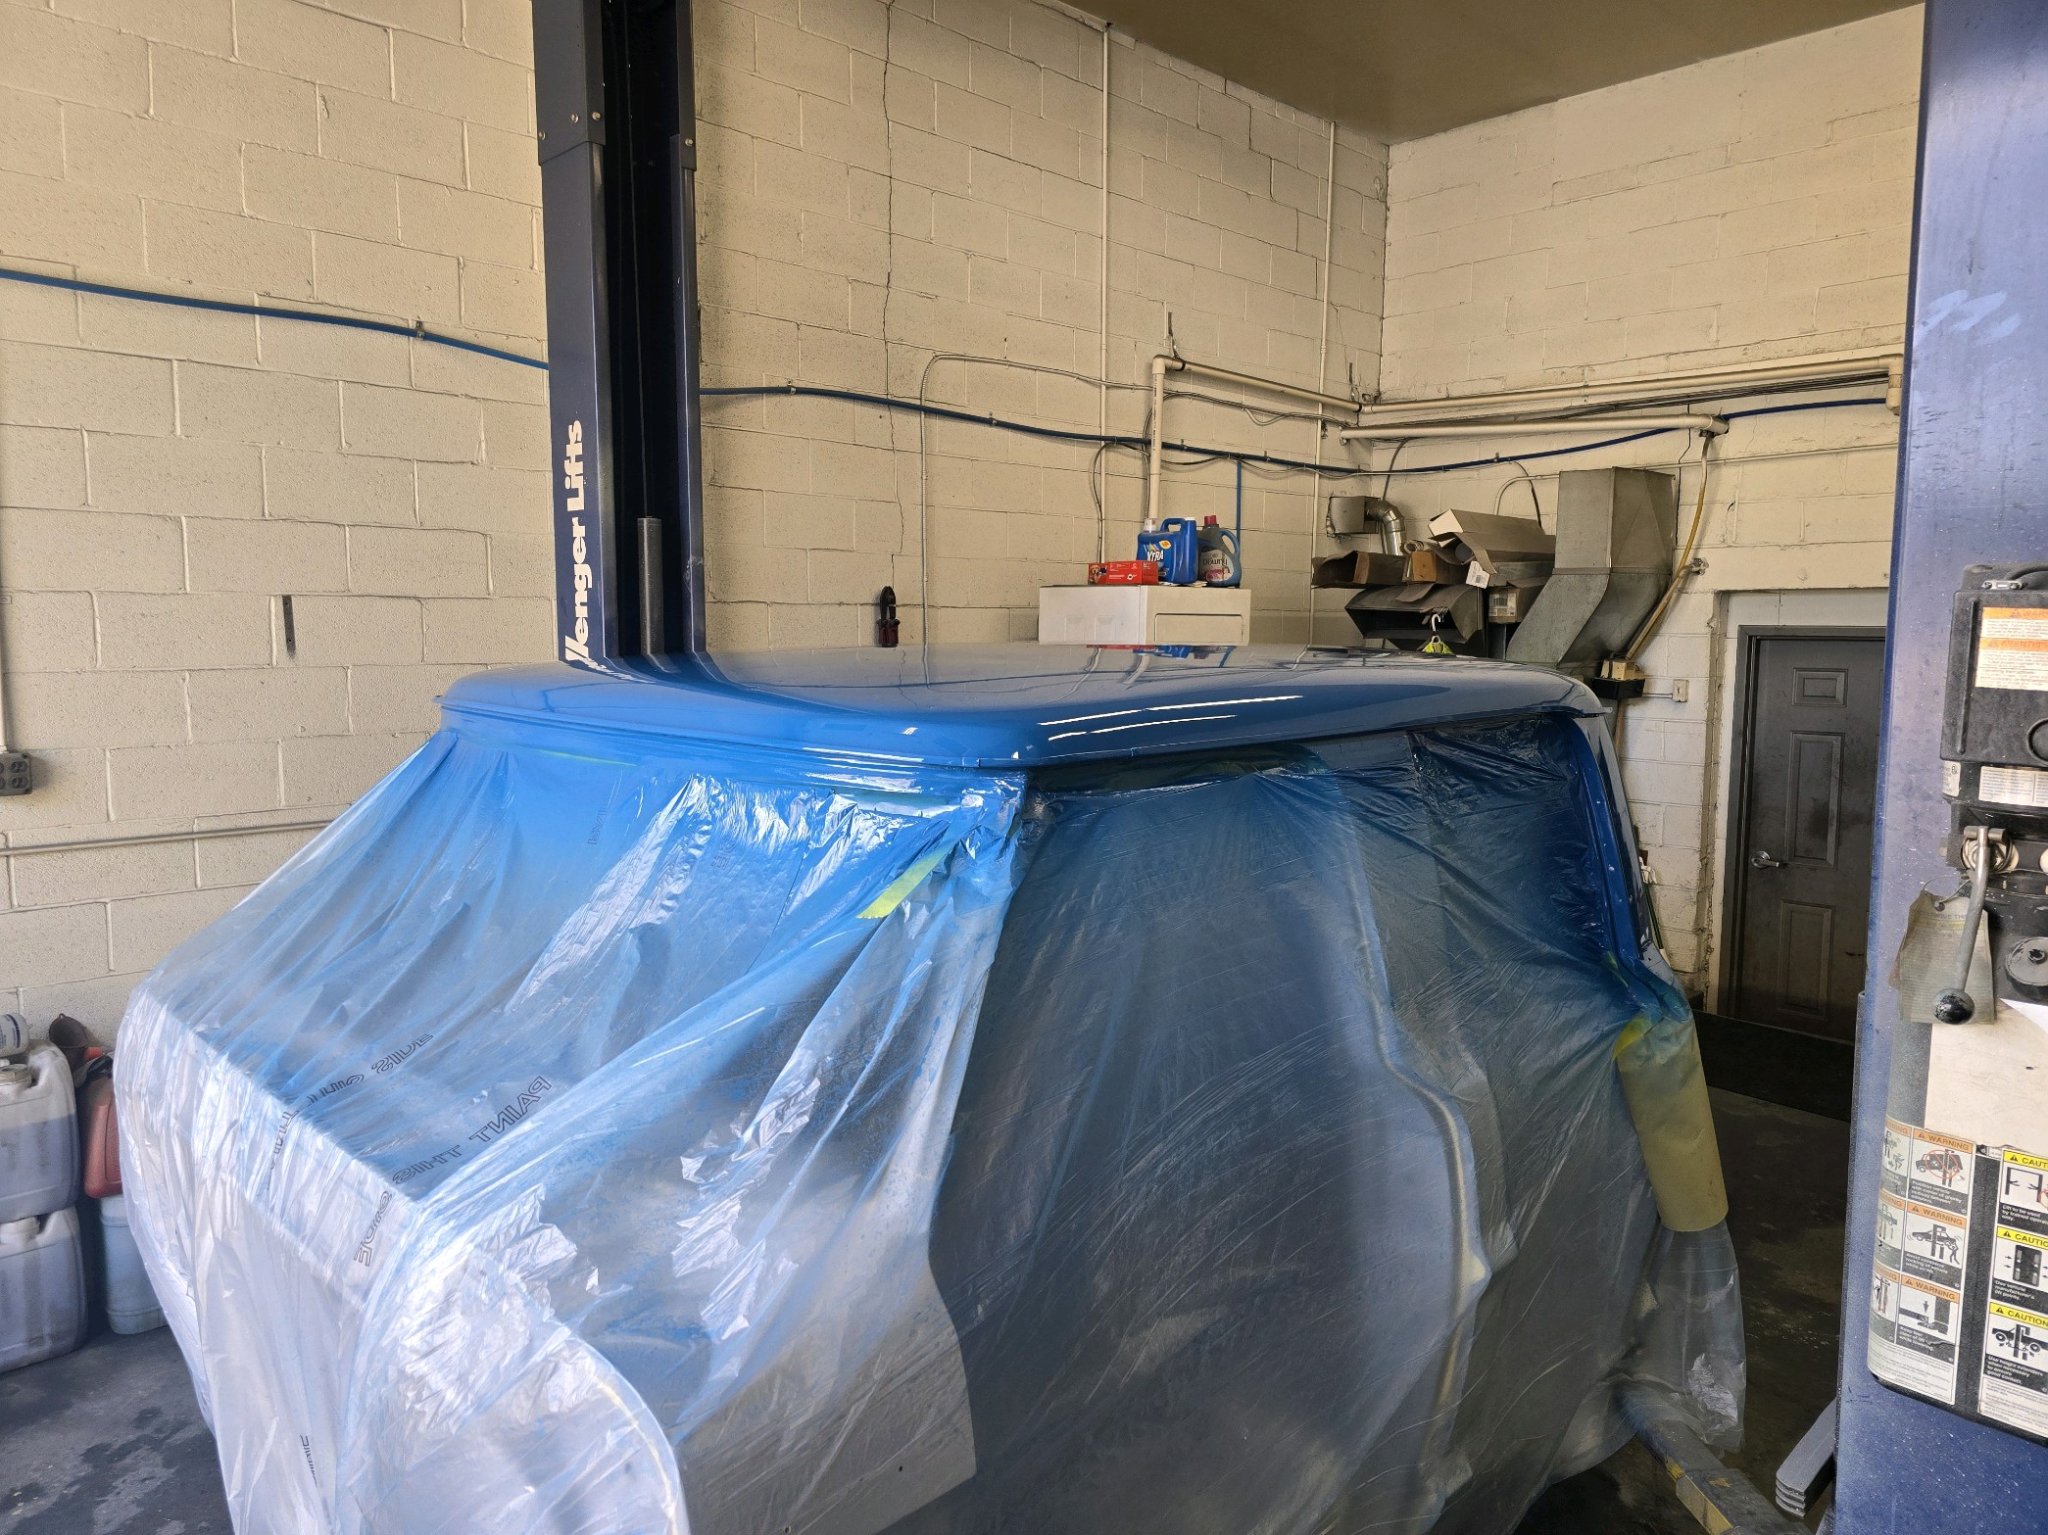
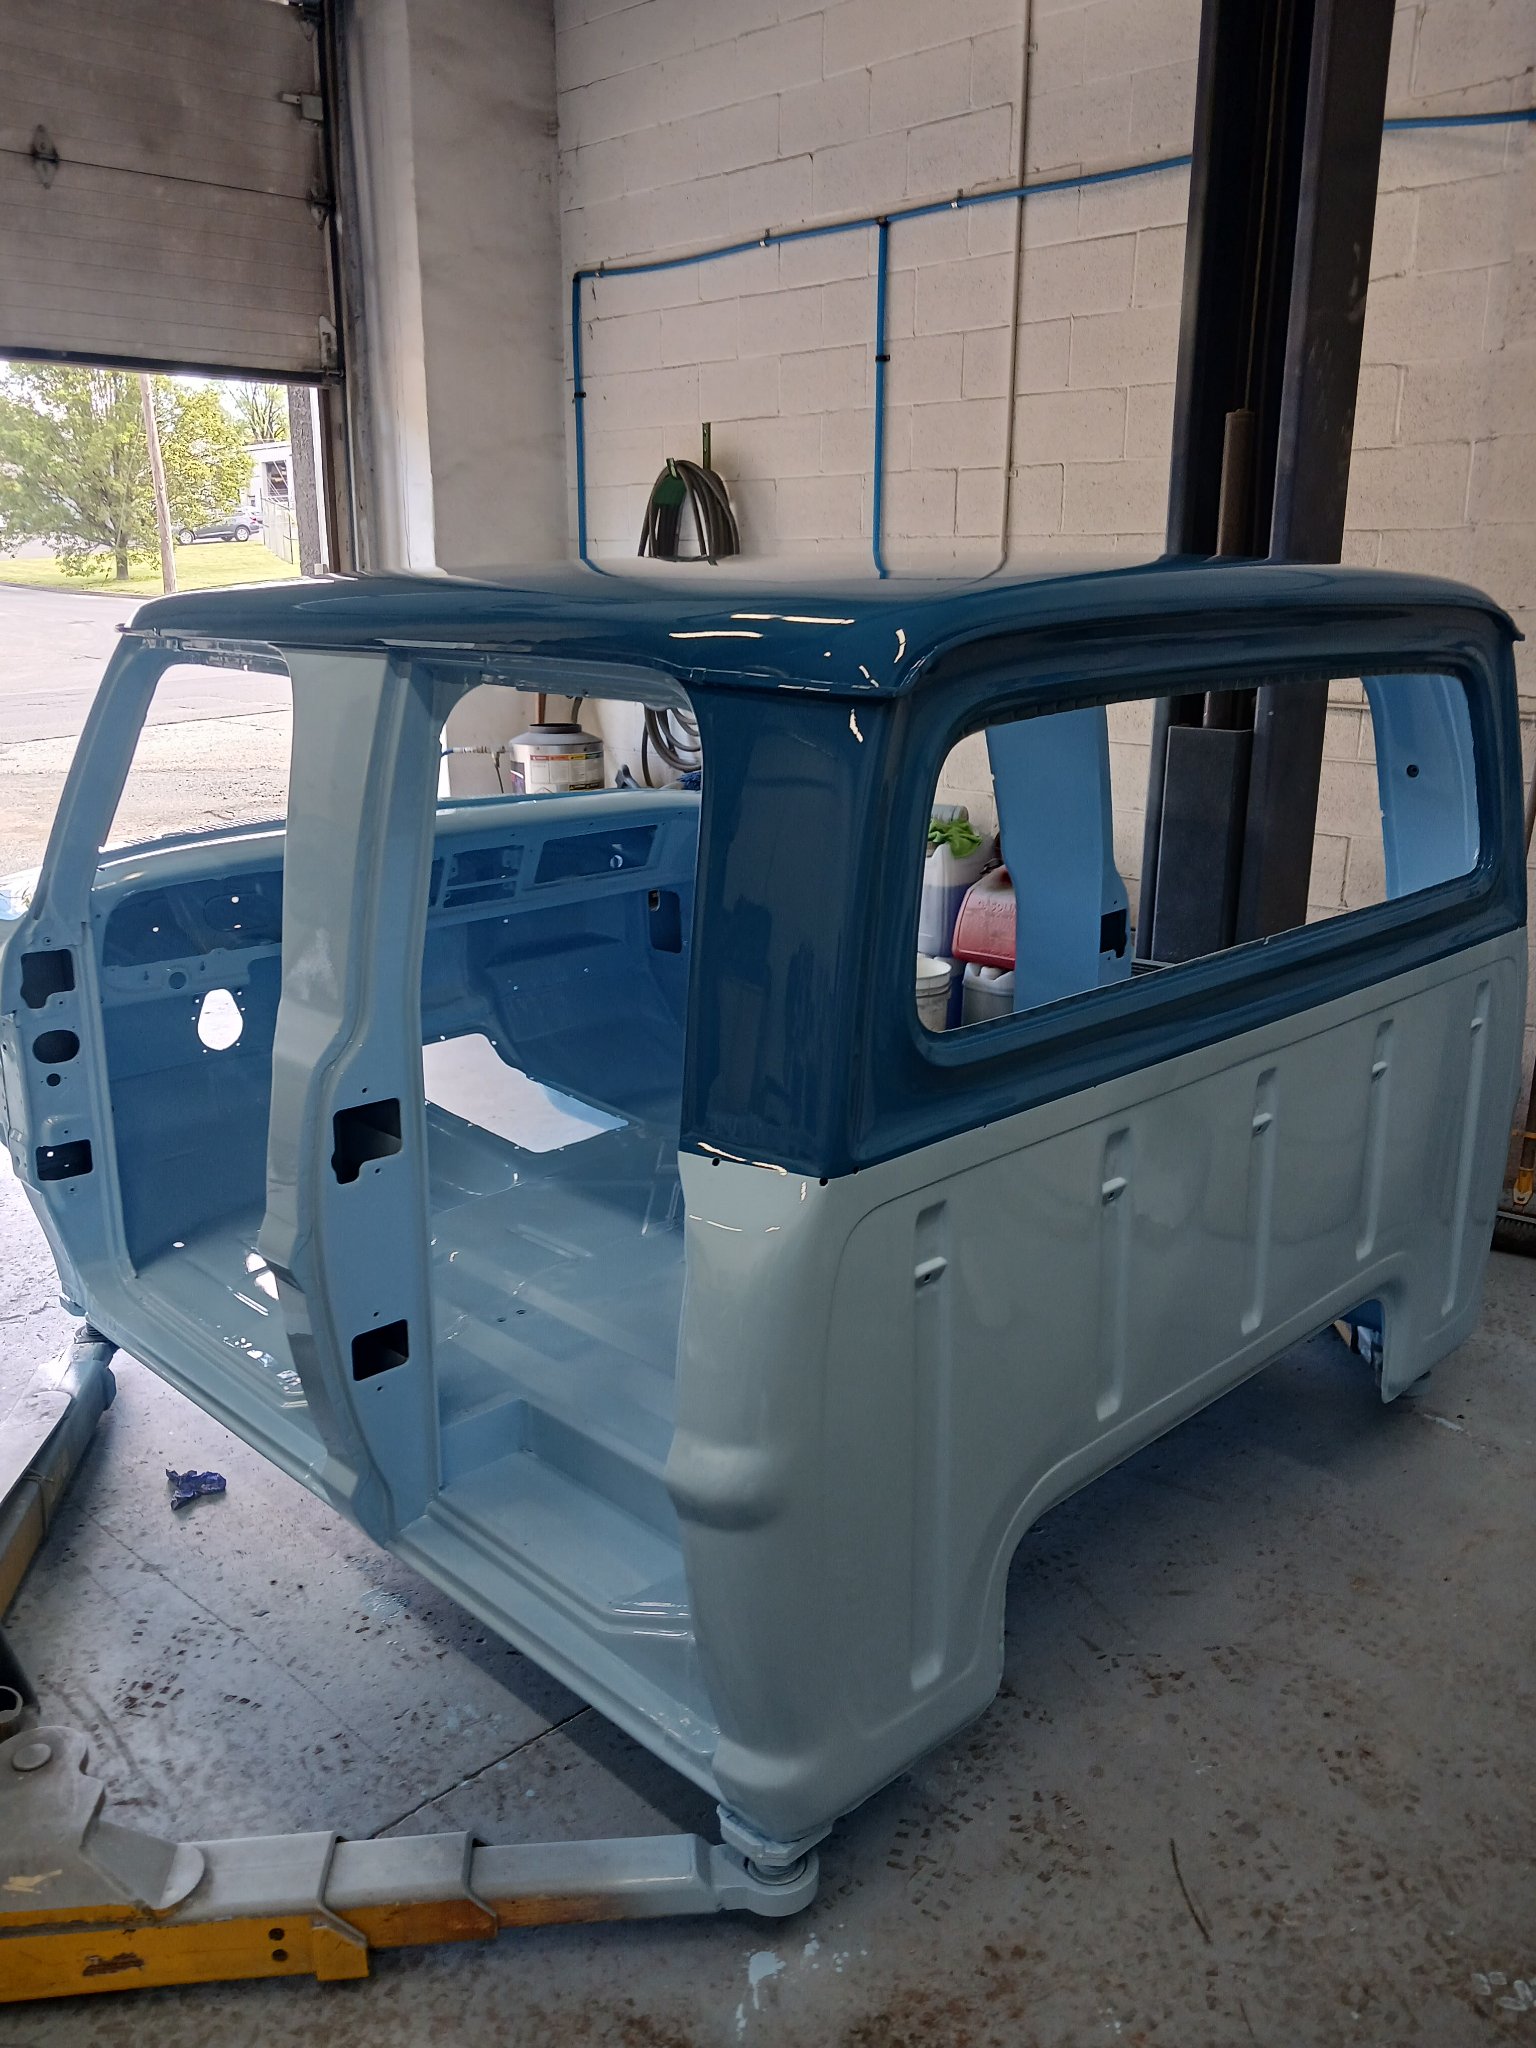
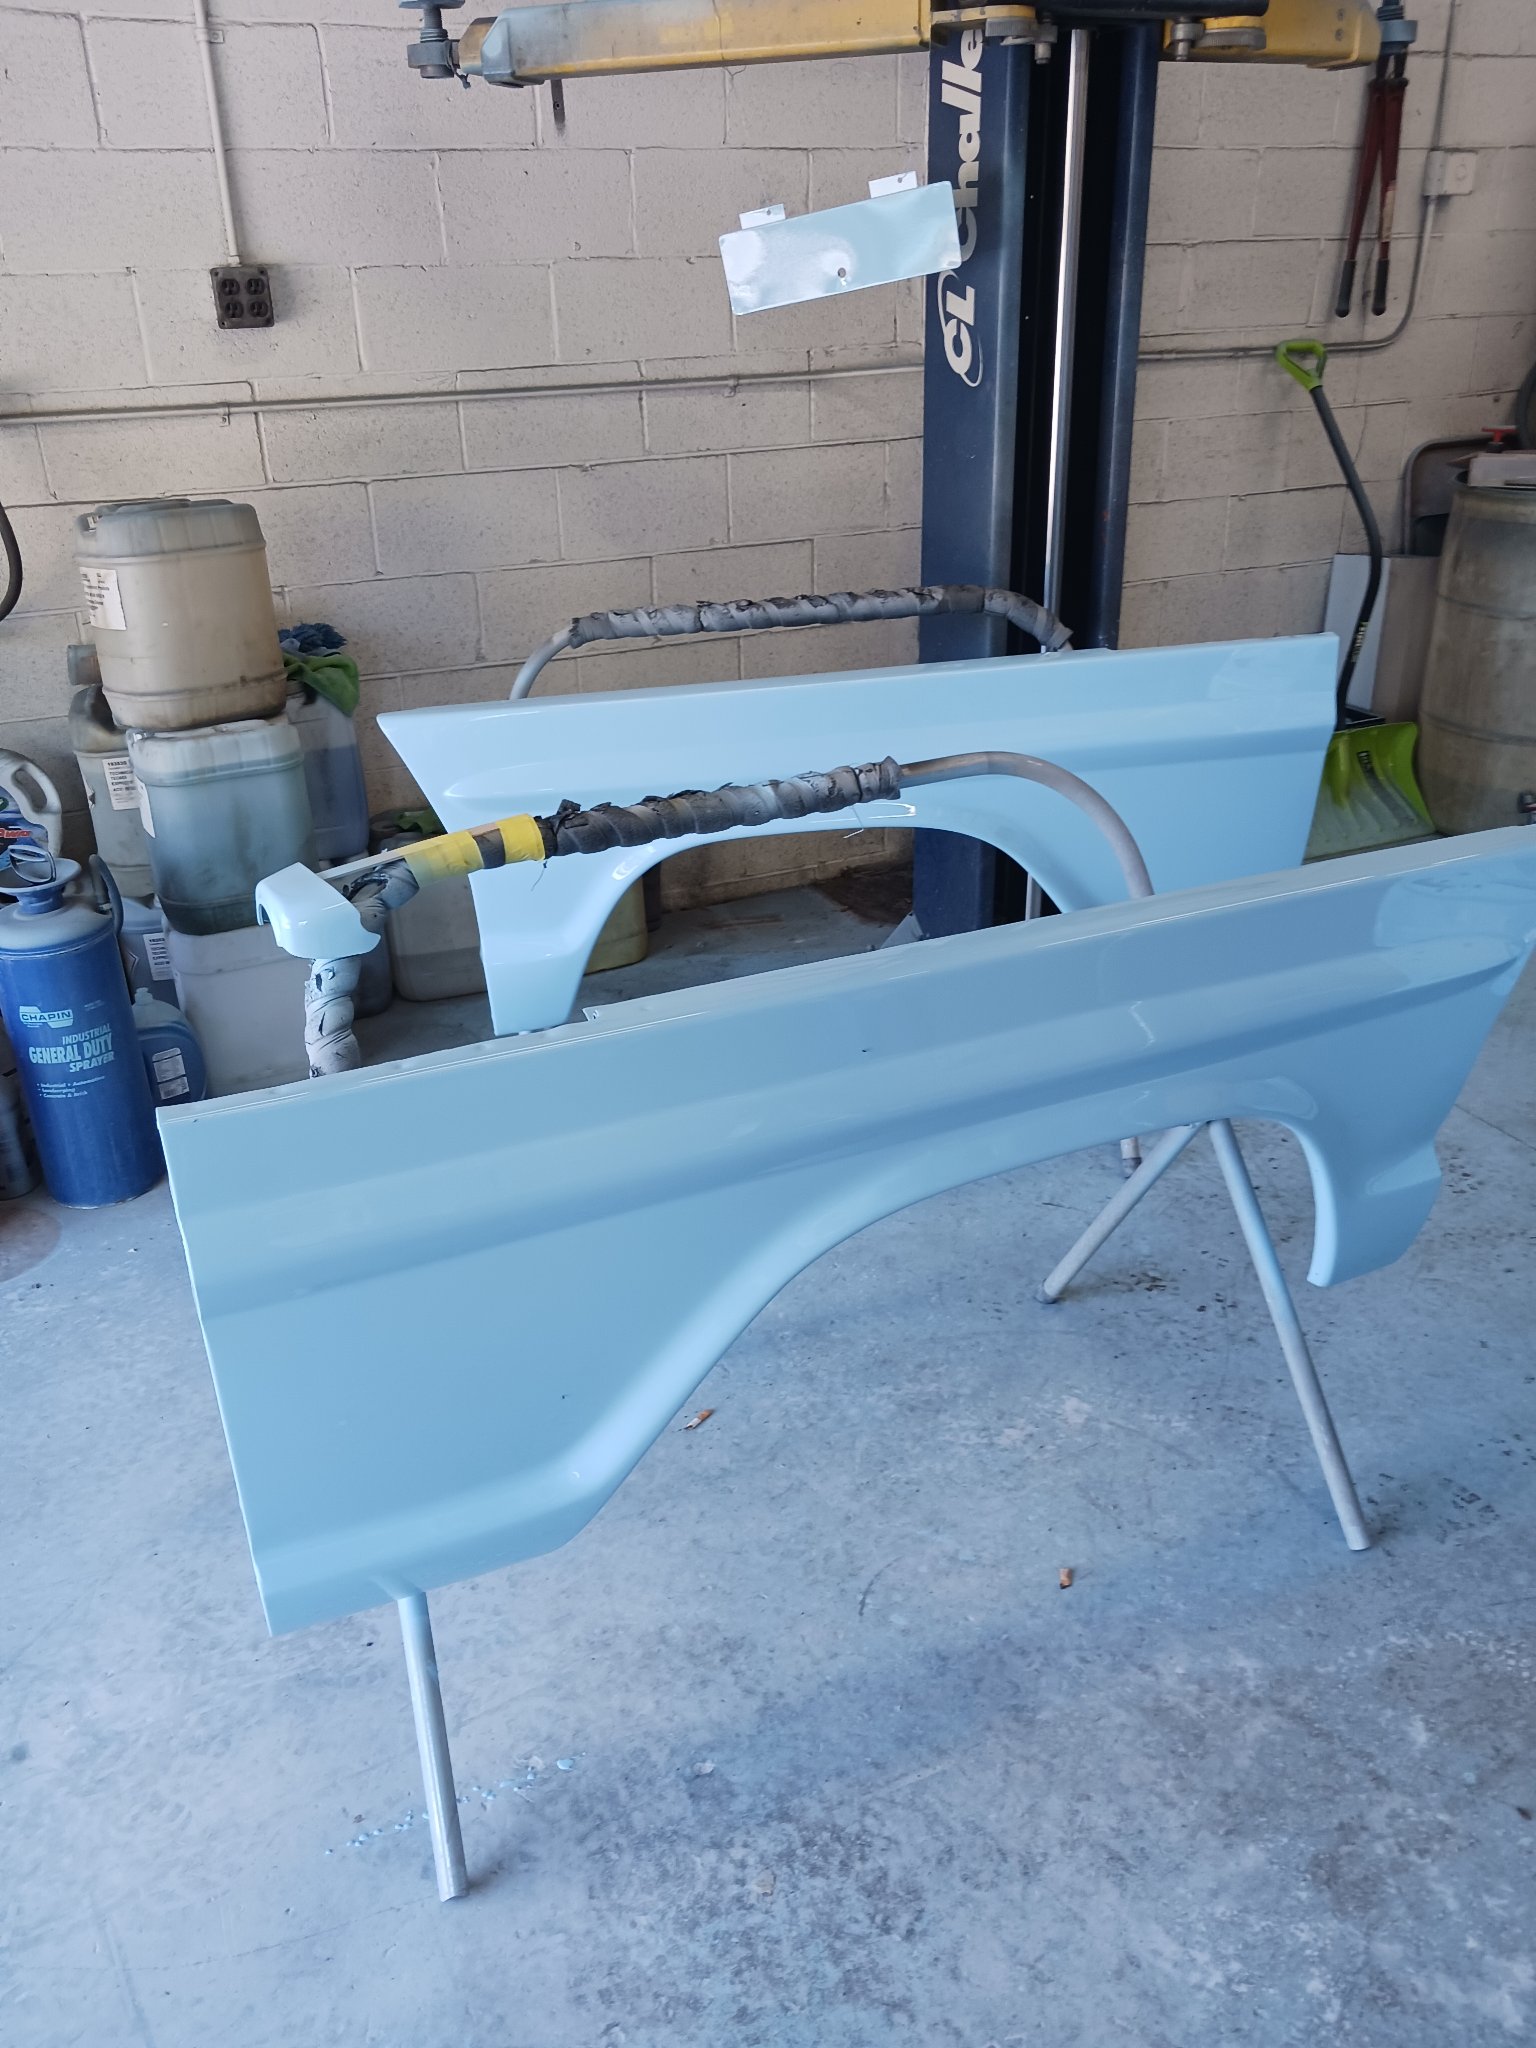
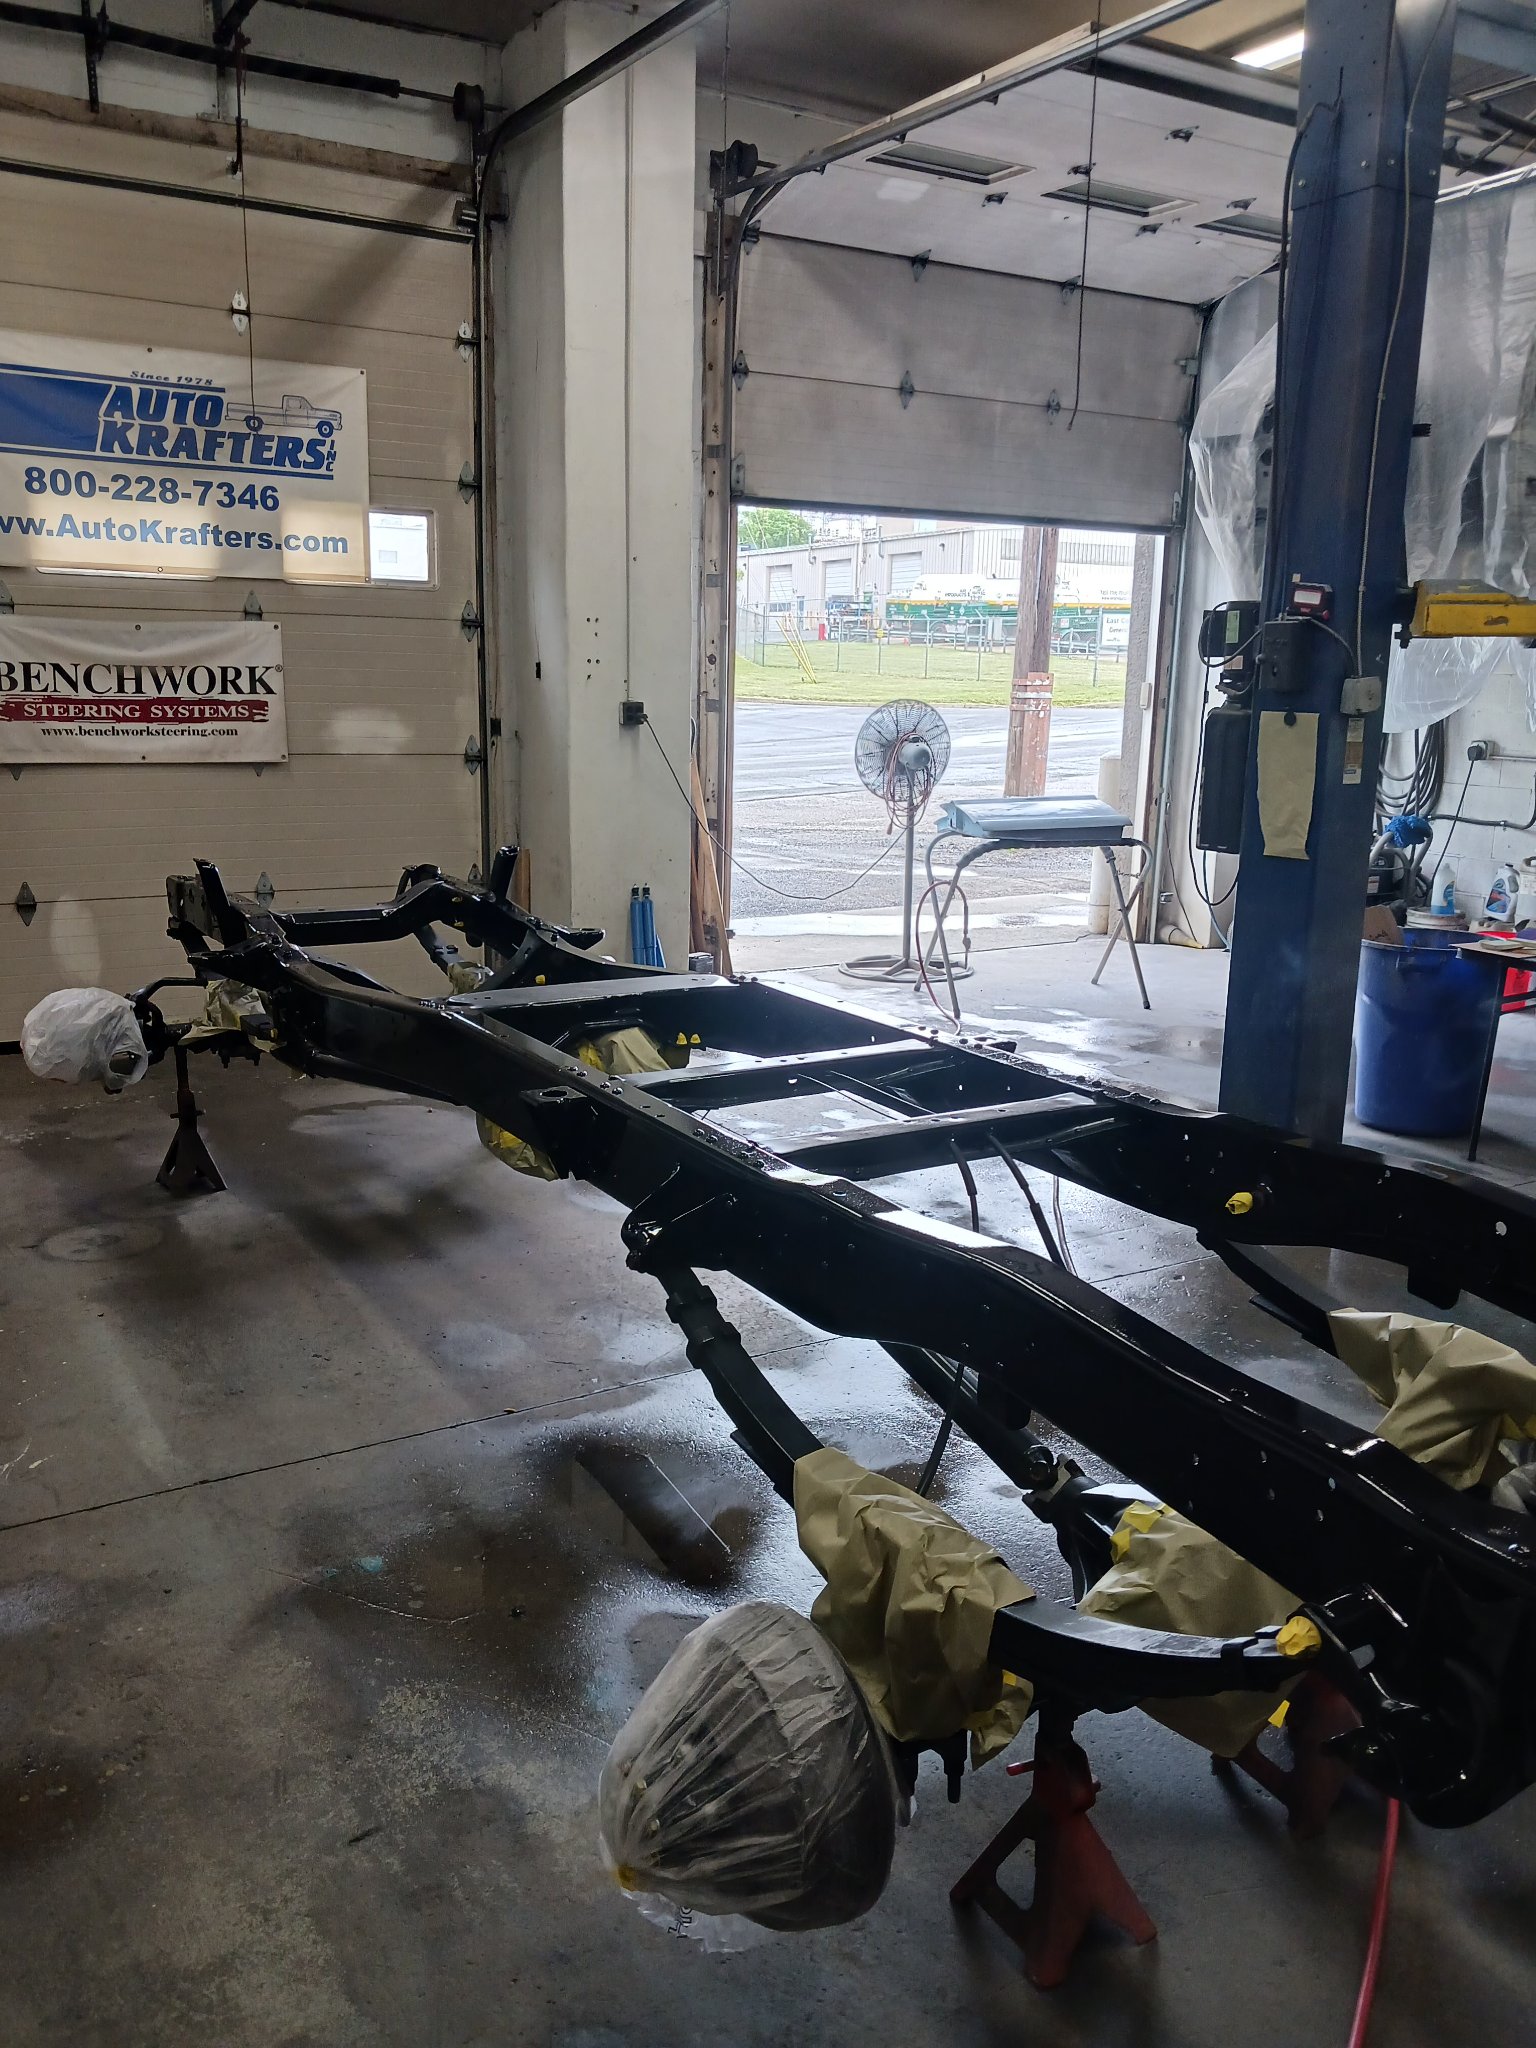
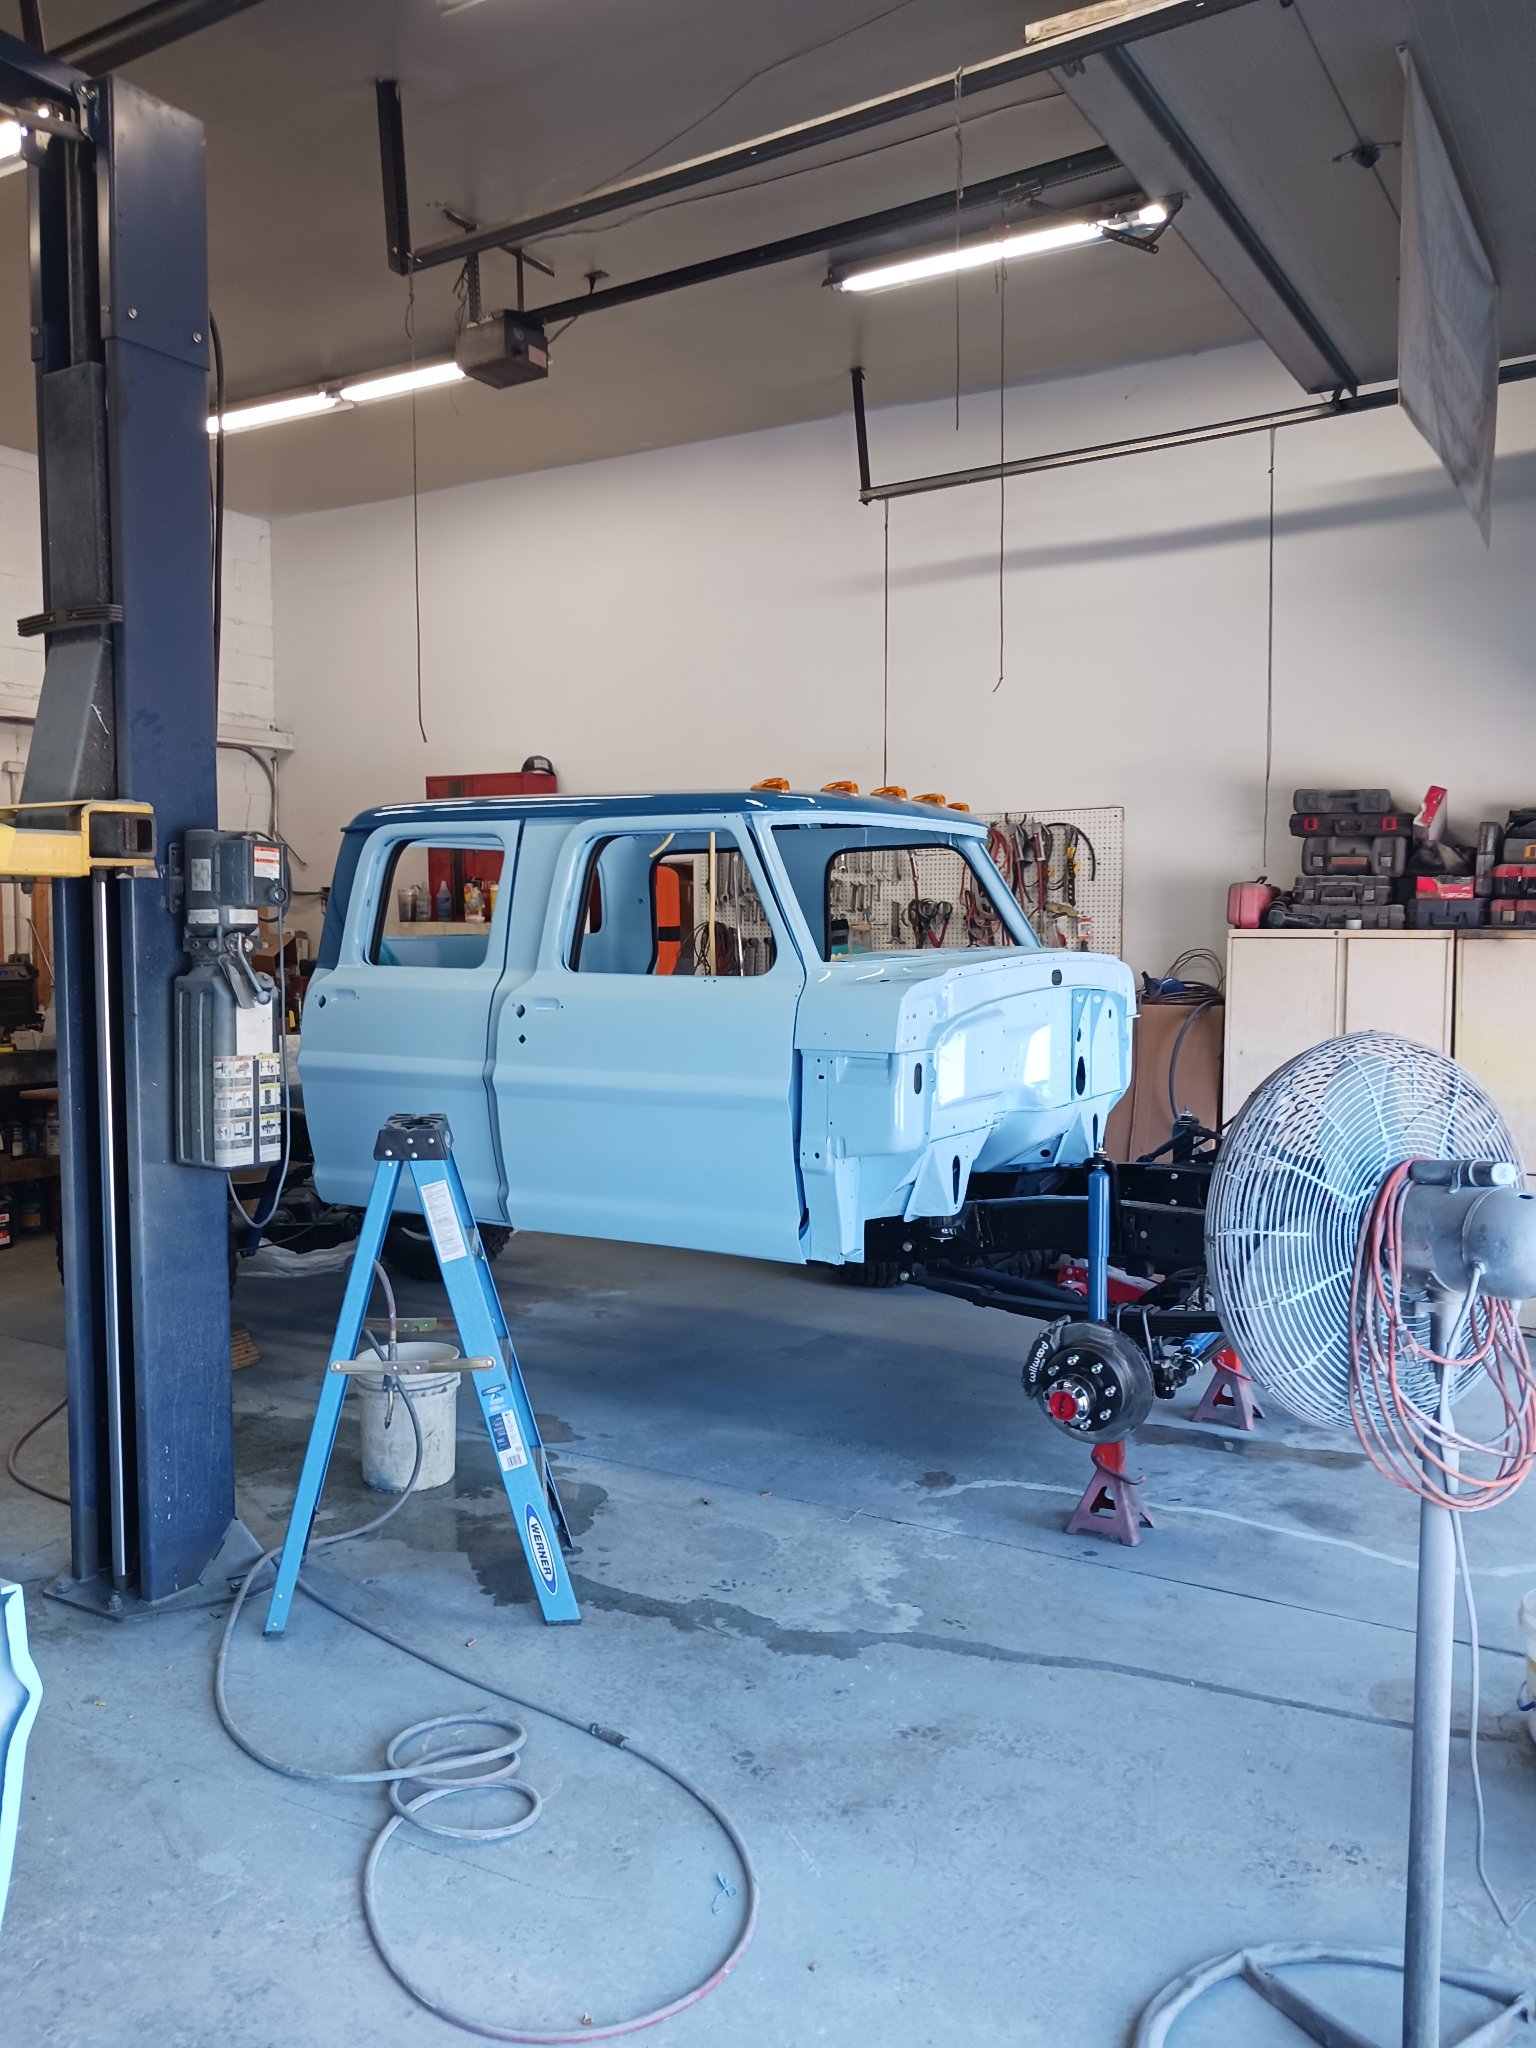
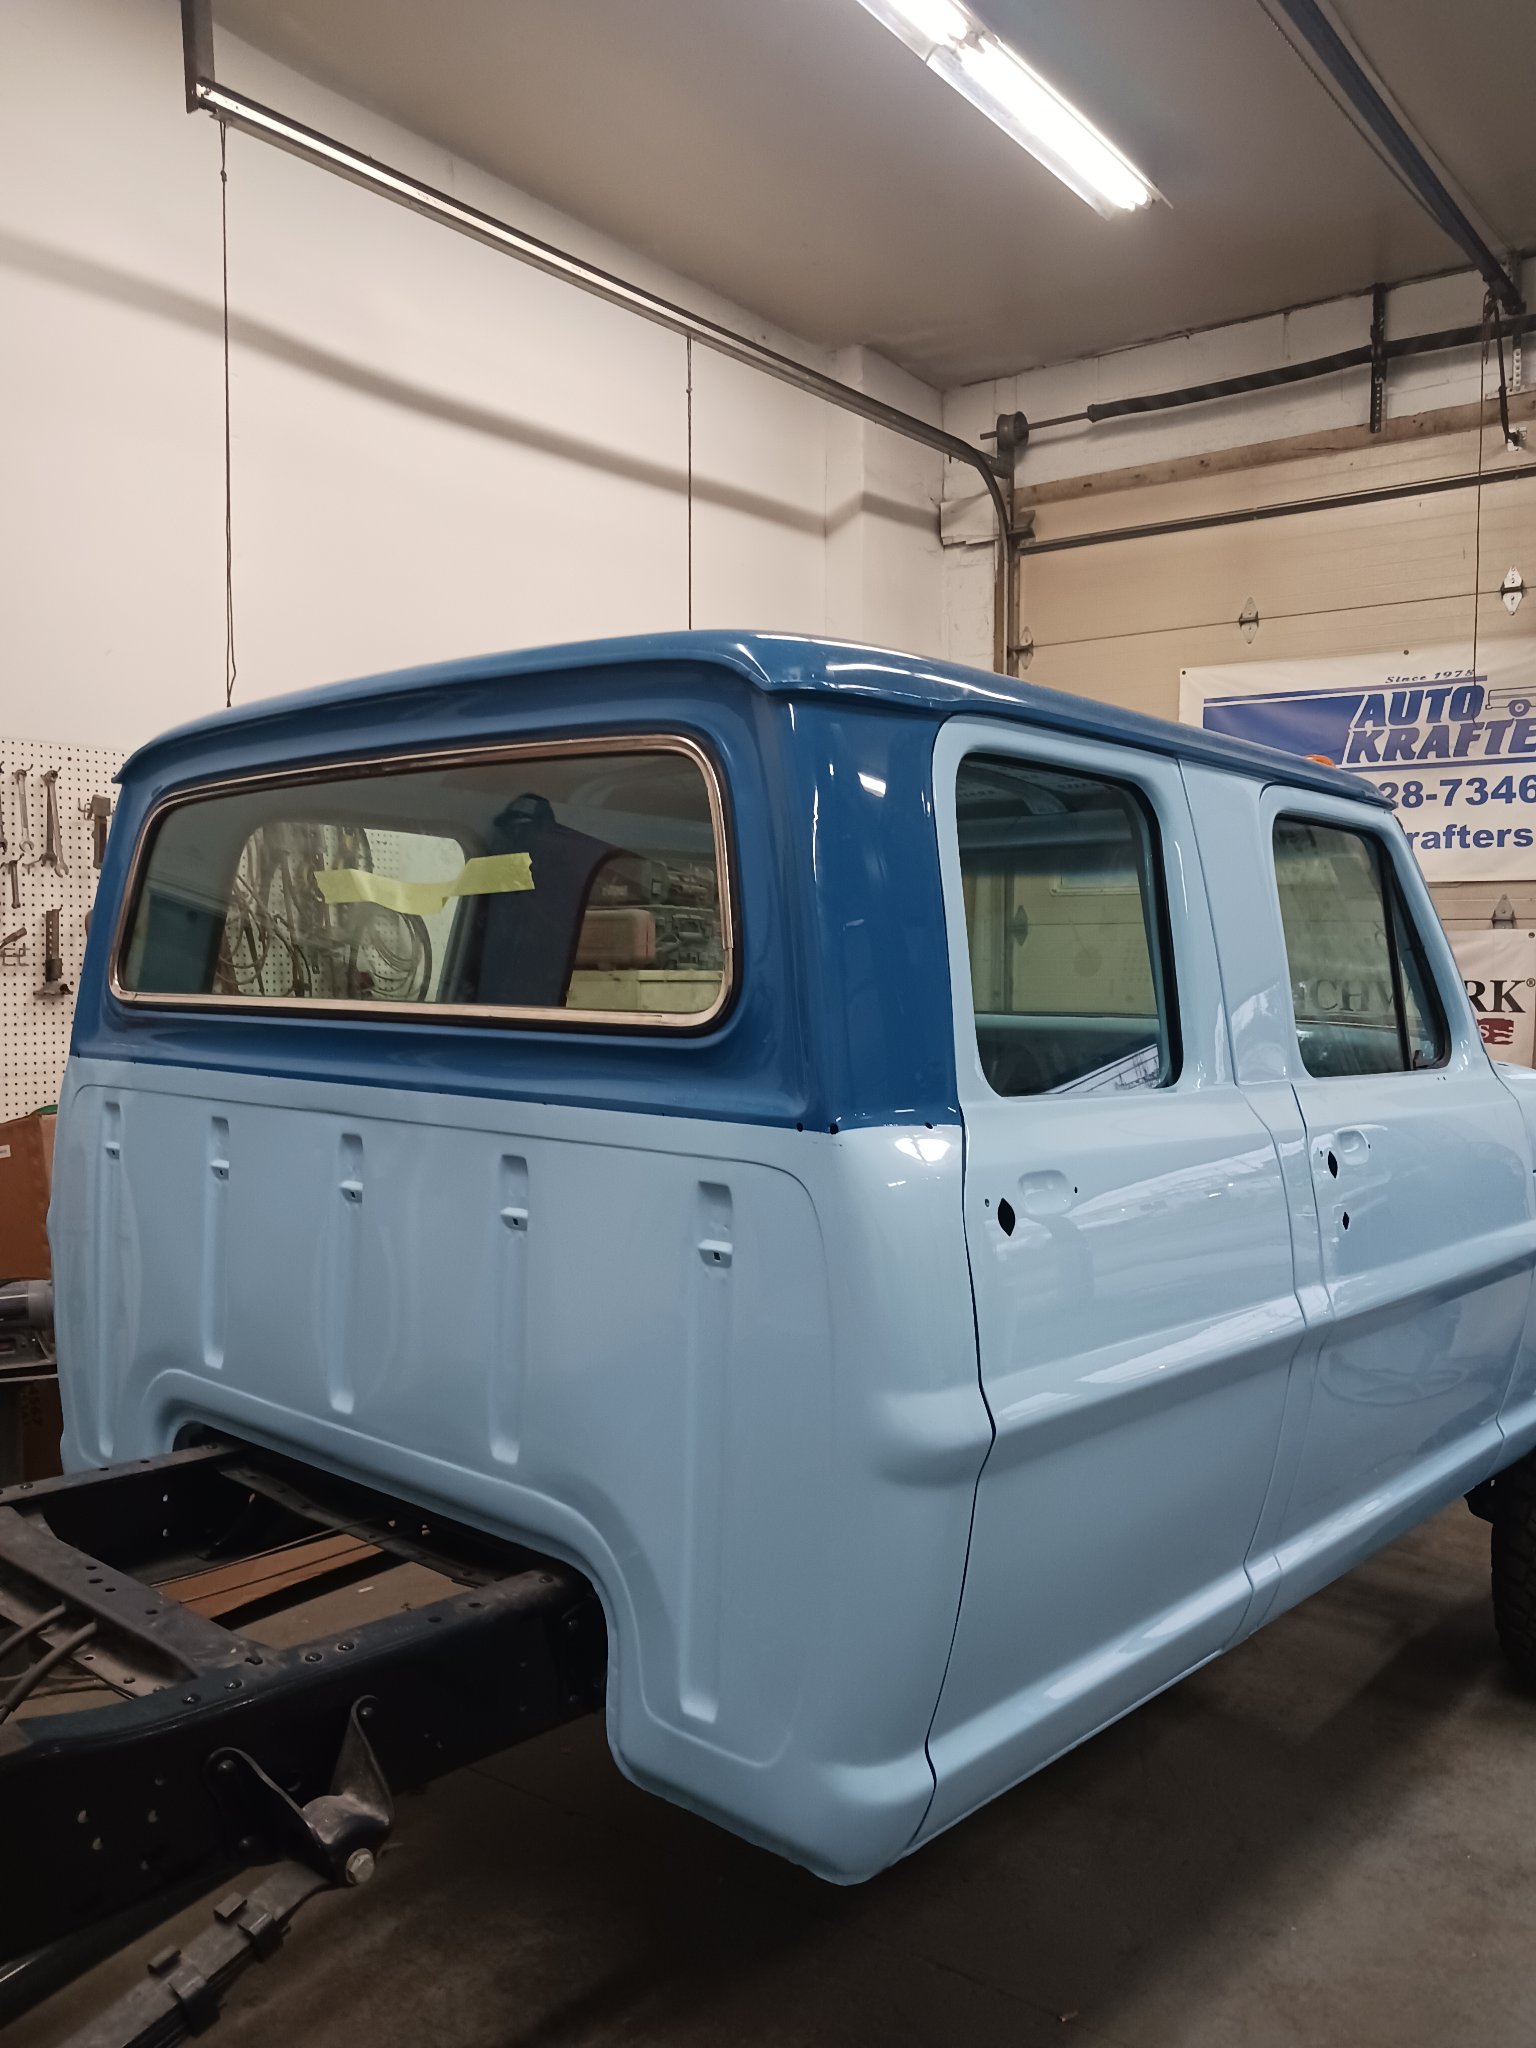
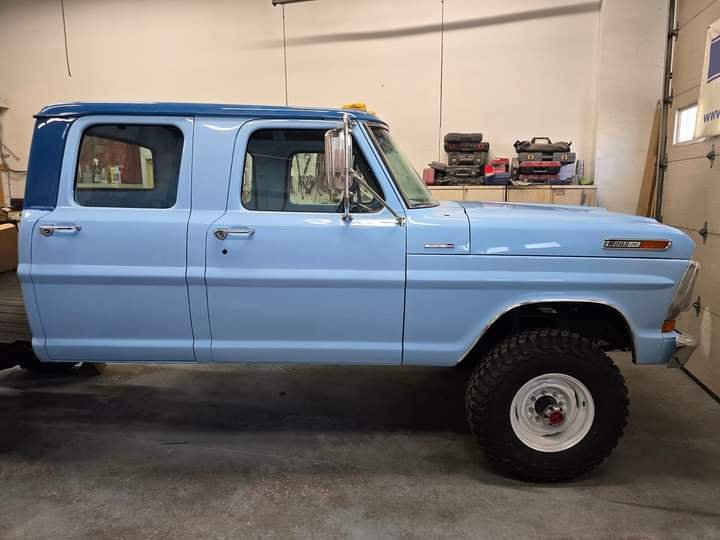
A client's vintage Ford “bumpside” crew cab, with a clean split of the work: Matthew did the body and paint — and completed it — two-tone in light blue with a darker blue roof, the chassis in black. The client handled the motor and interior work himself.
01 Stripped & sealed
Stripped to a bare shellSeams sealed up
02 Two-tone paint
The darker blue roofPainted cab, from the rearFenders, painted to match
03 Chassis & reassembly
The chassis, in blackCab back on the frame
04 Glass, grille, done
Glass in, rear viewGrille assemblyThe finished side profile
Mack R-Model
Mack R-model · hand-laid stripe graphics
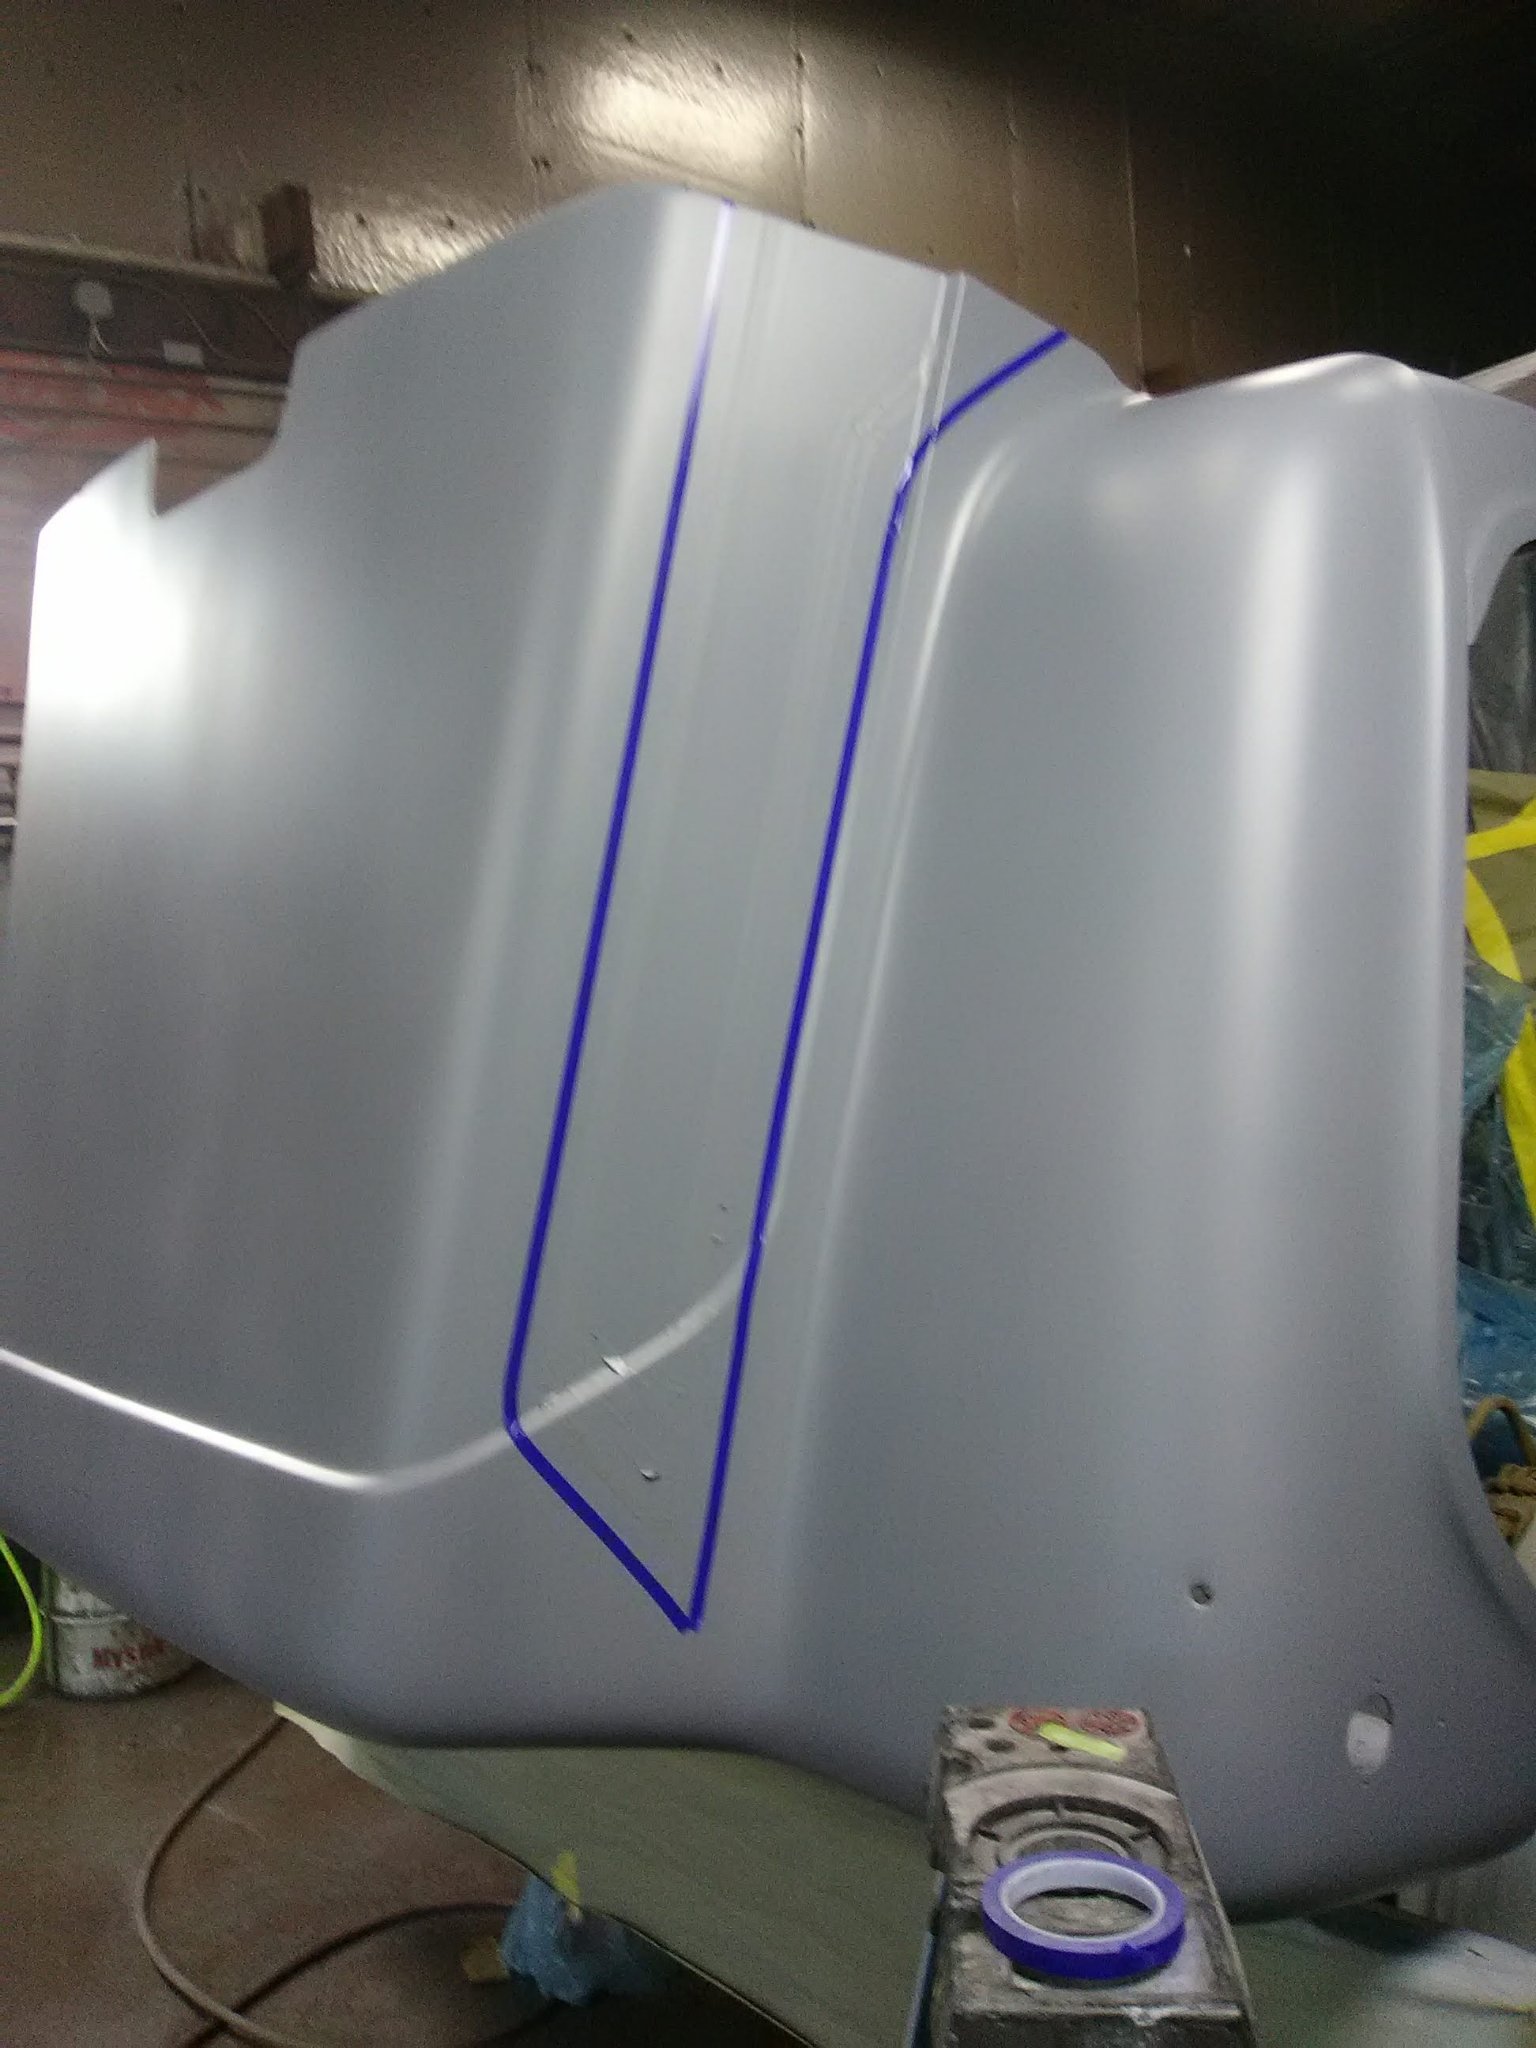
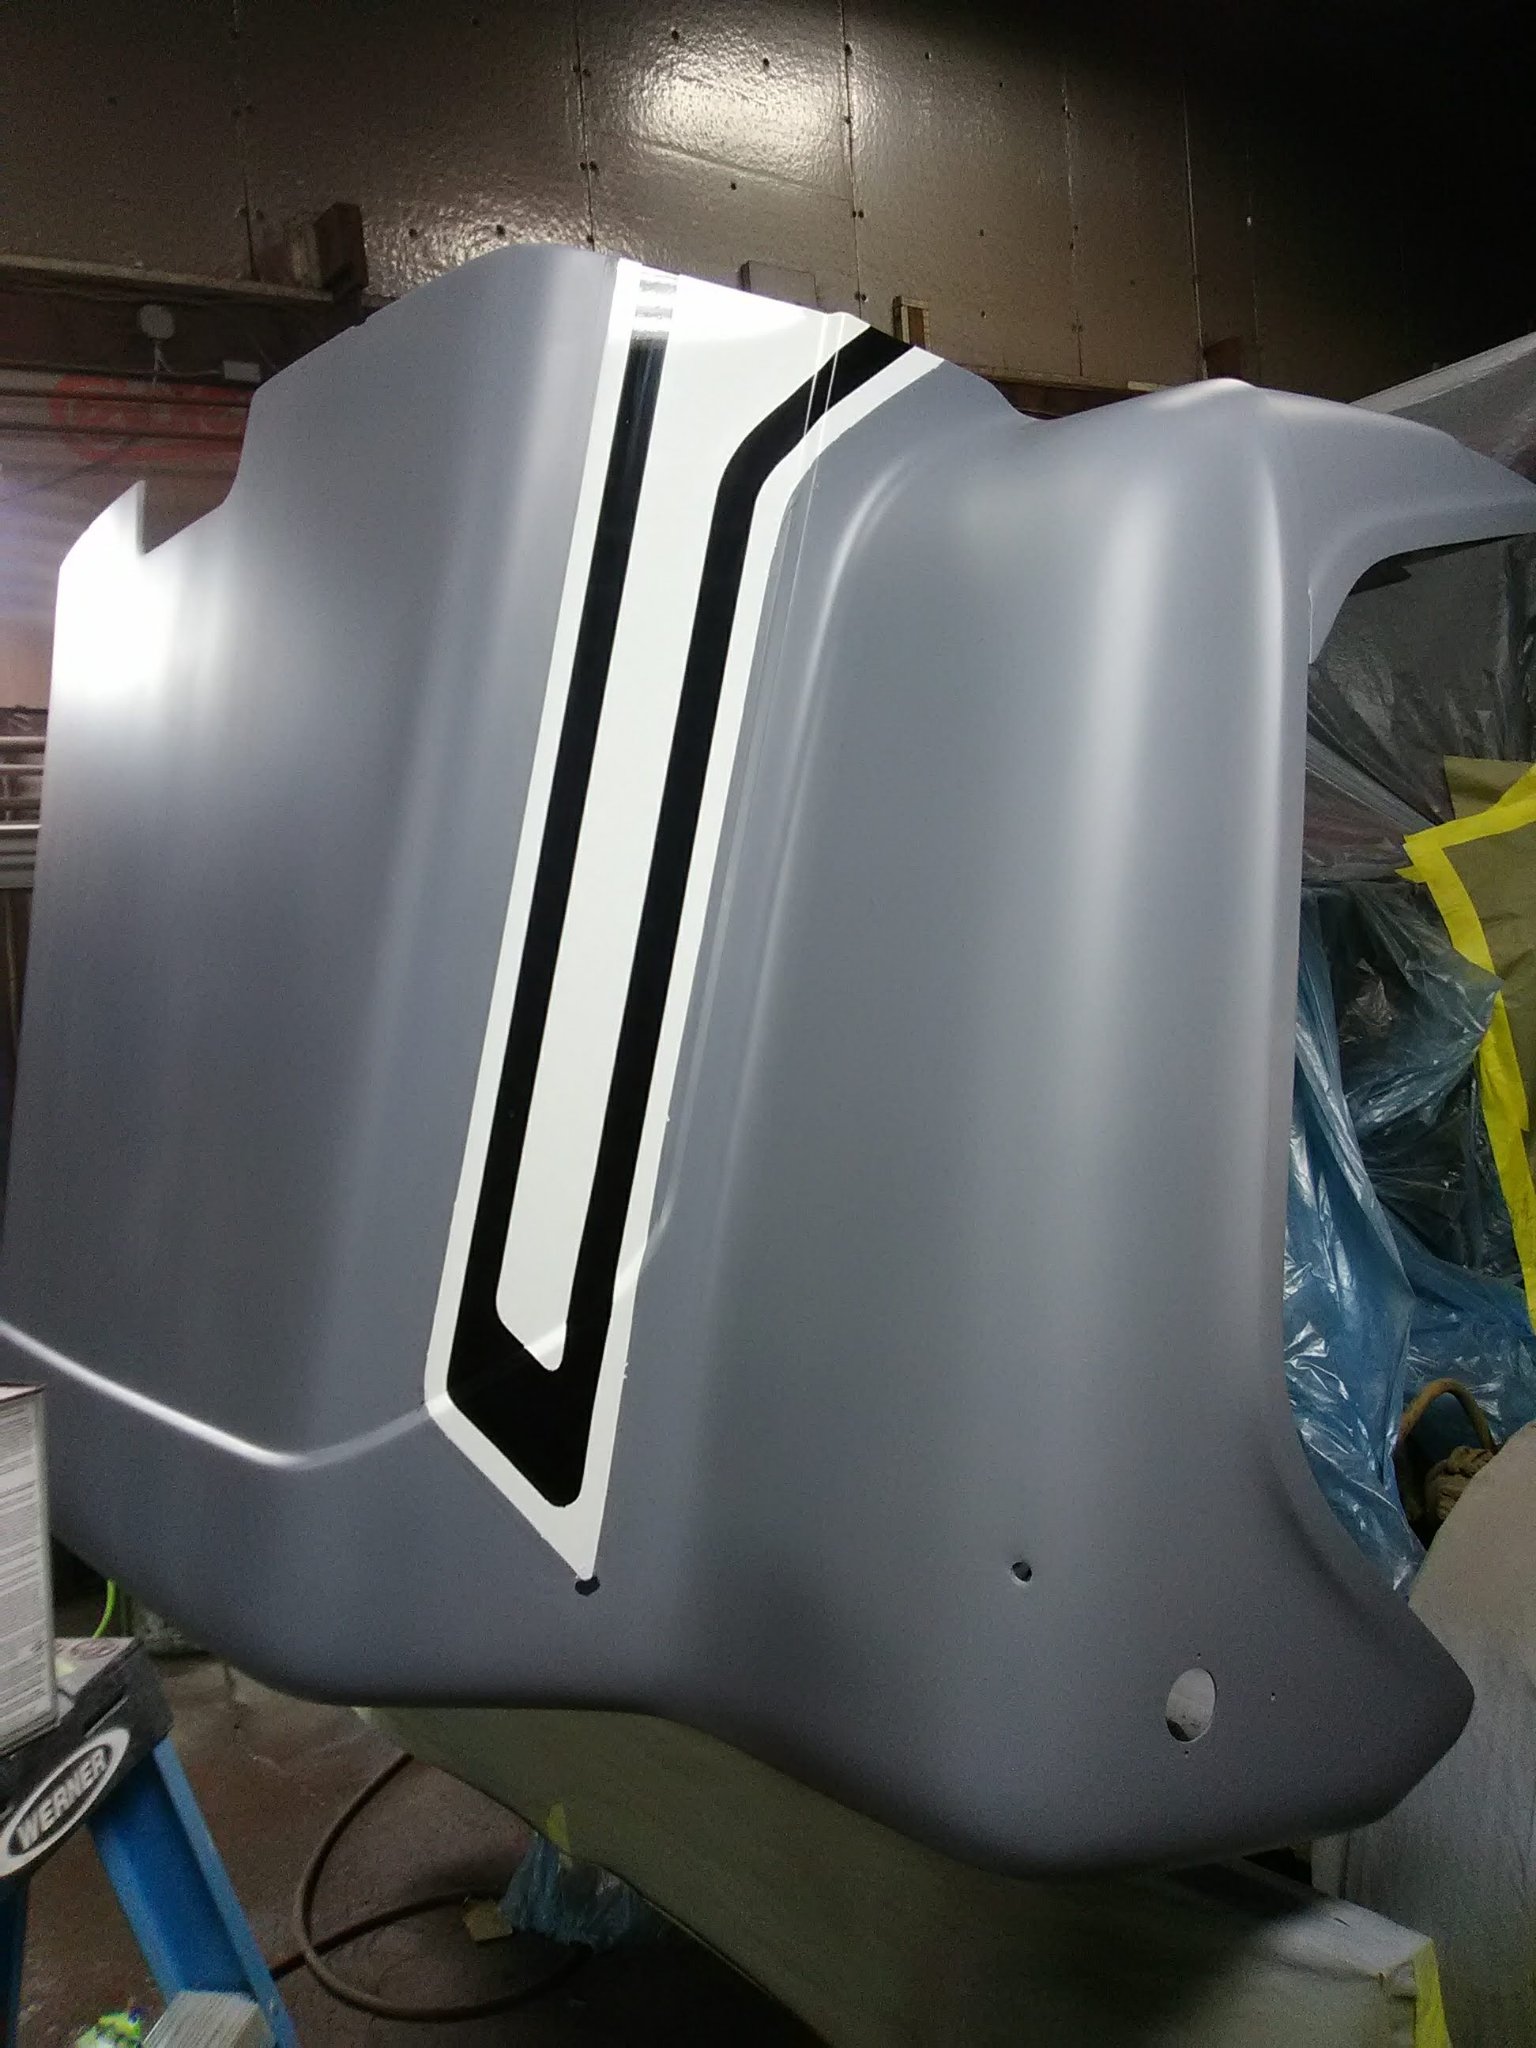
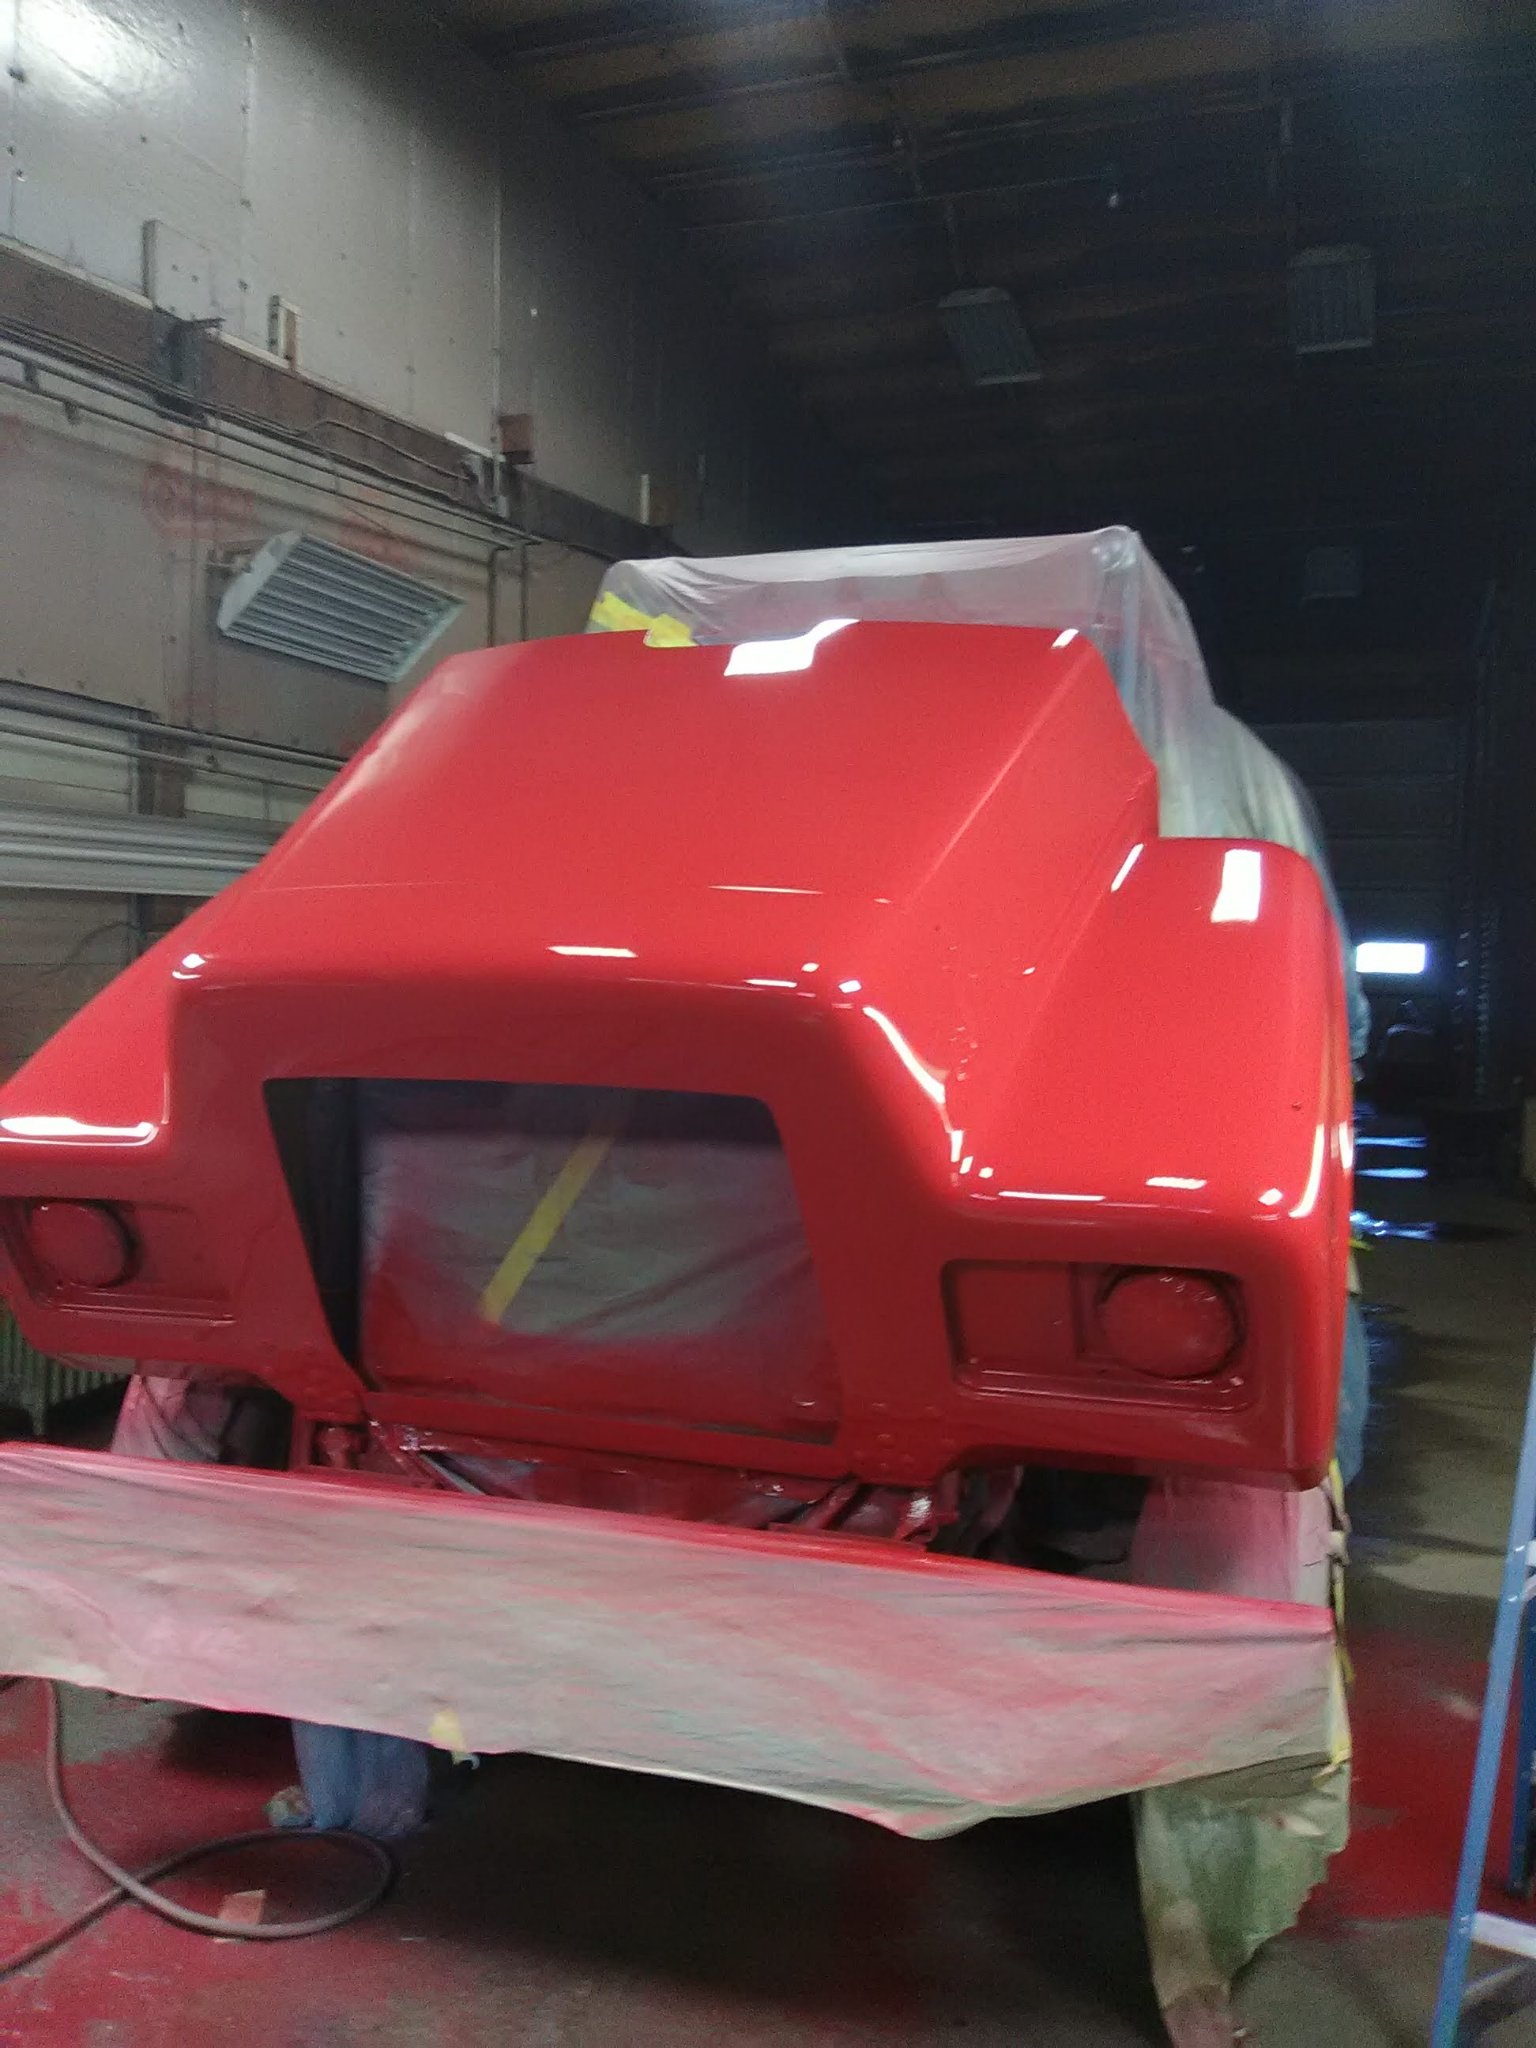
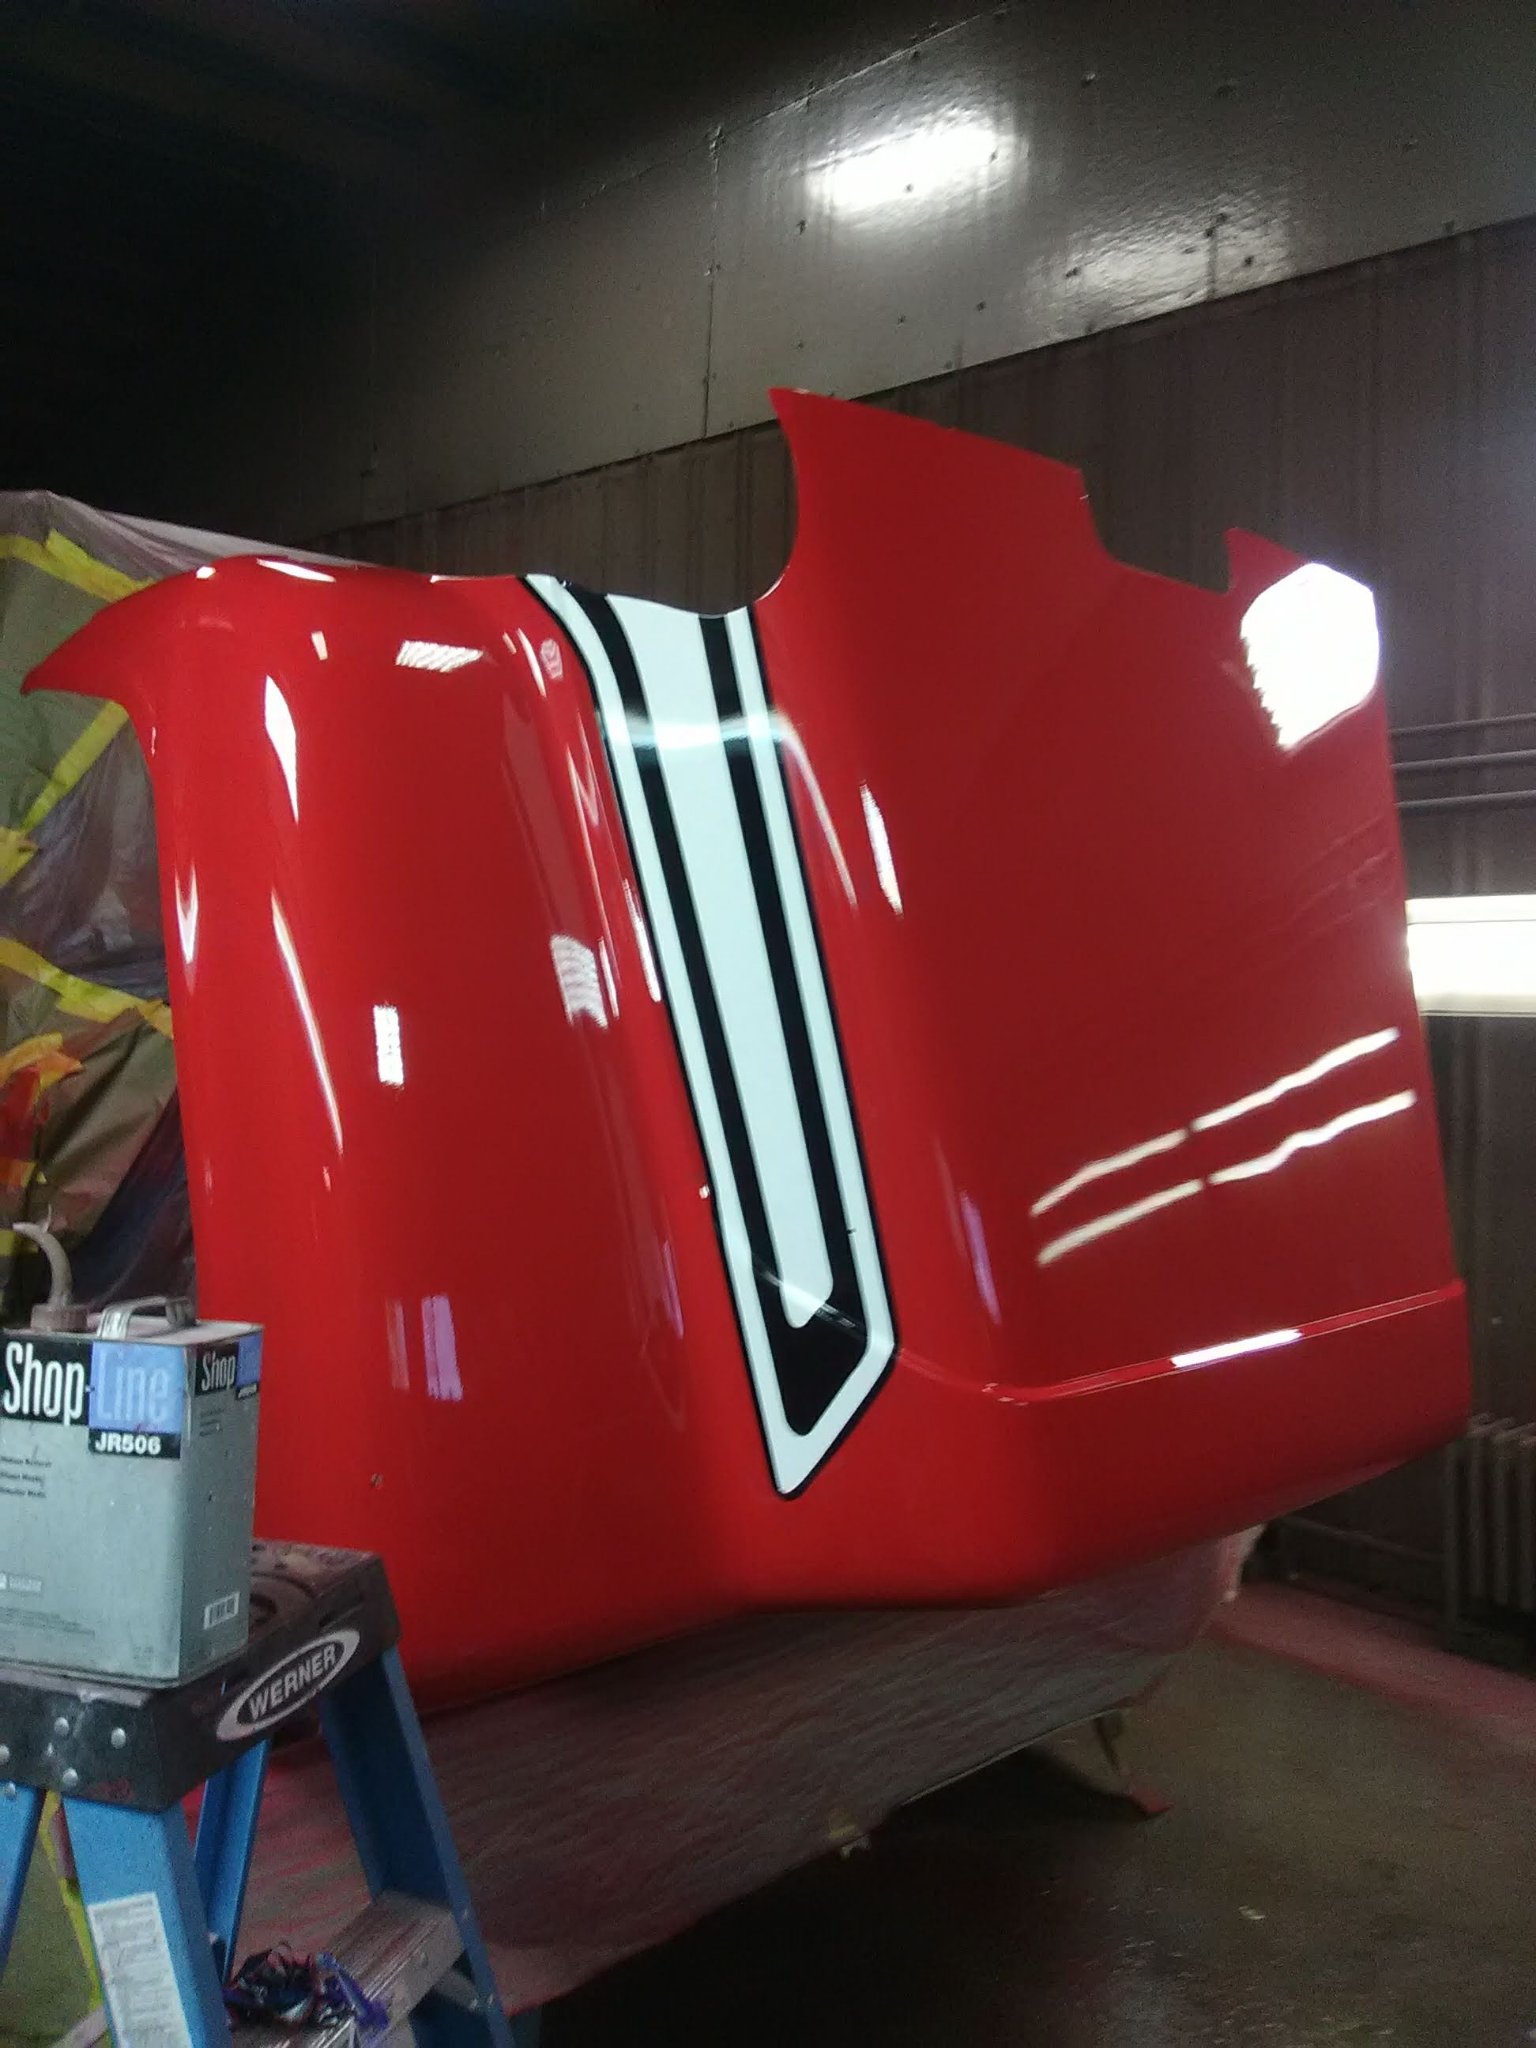
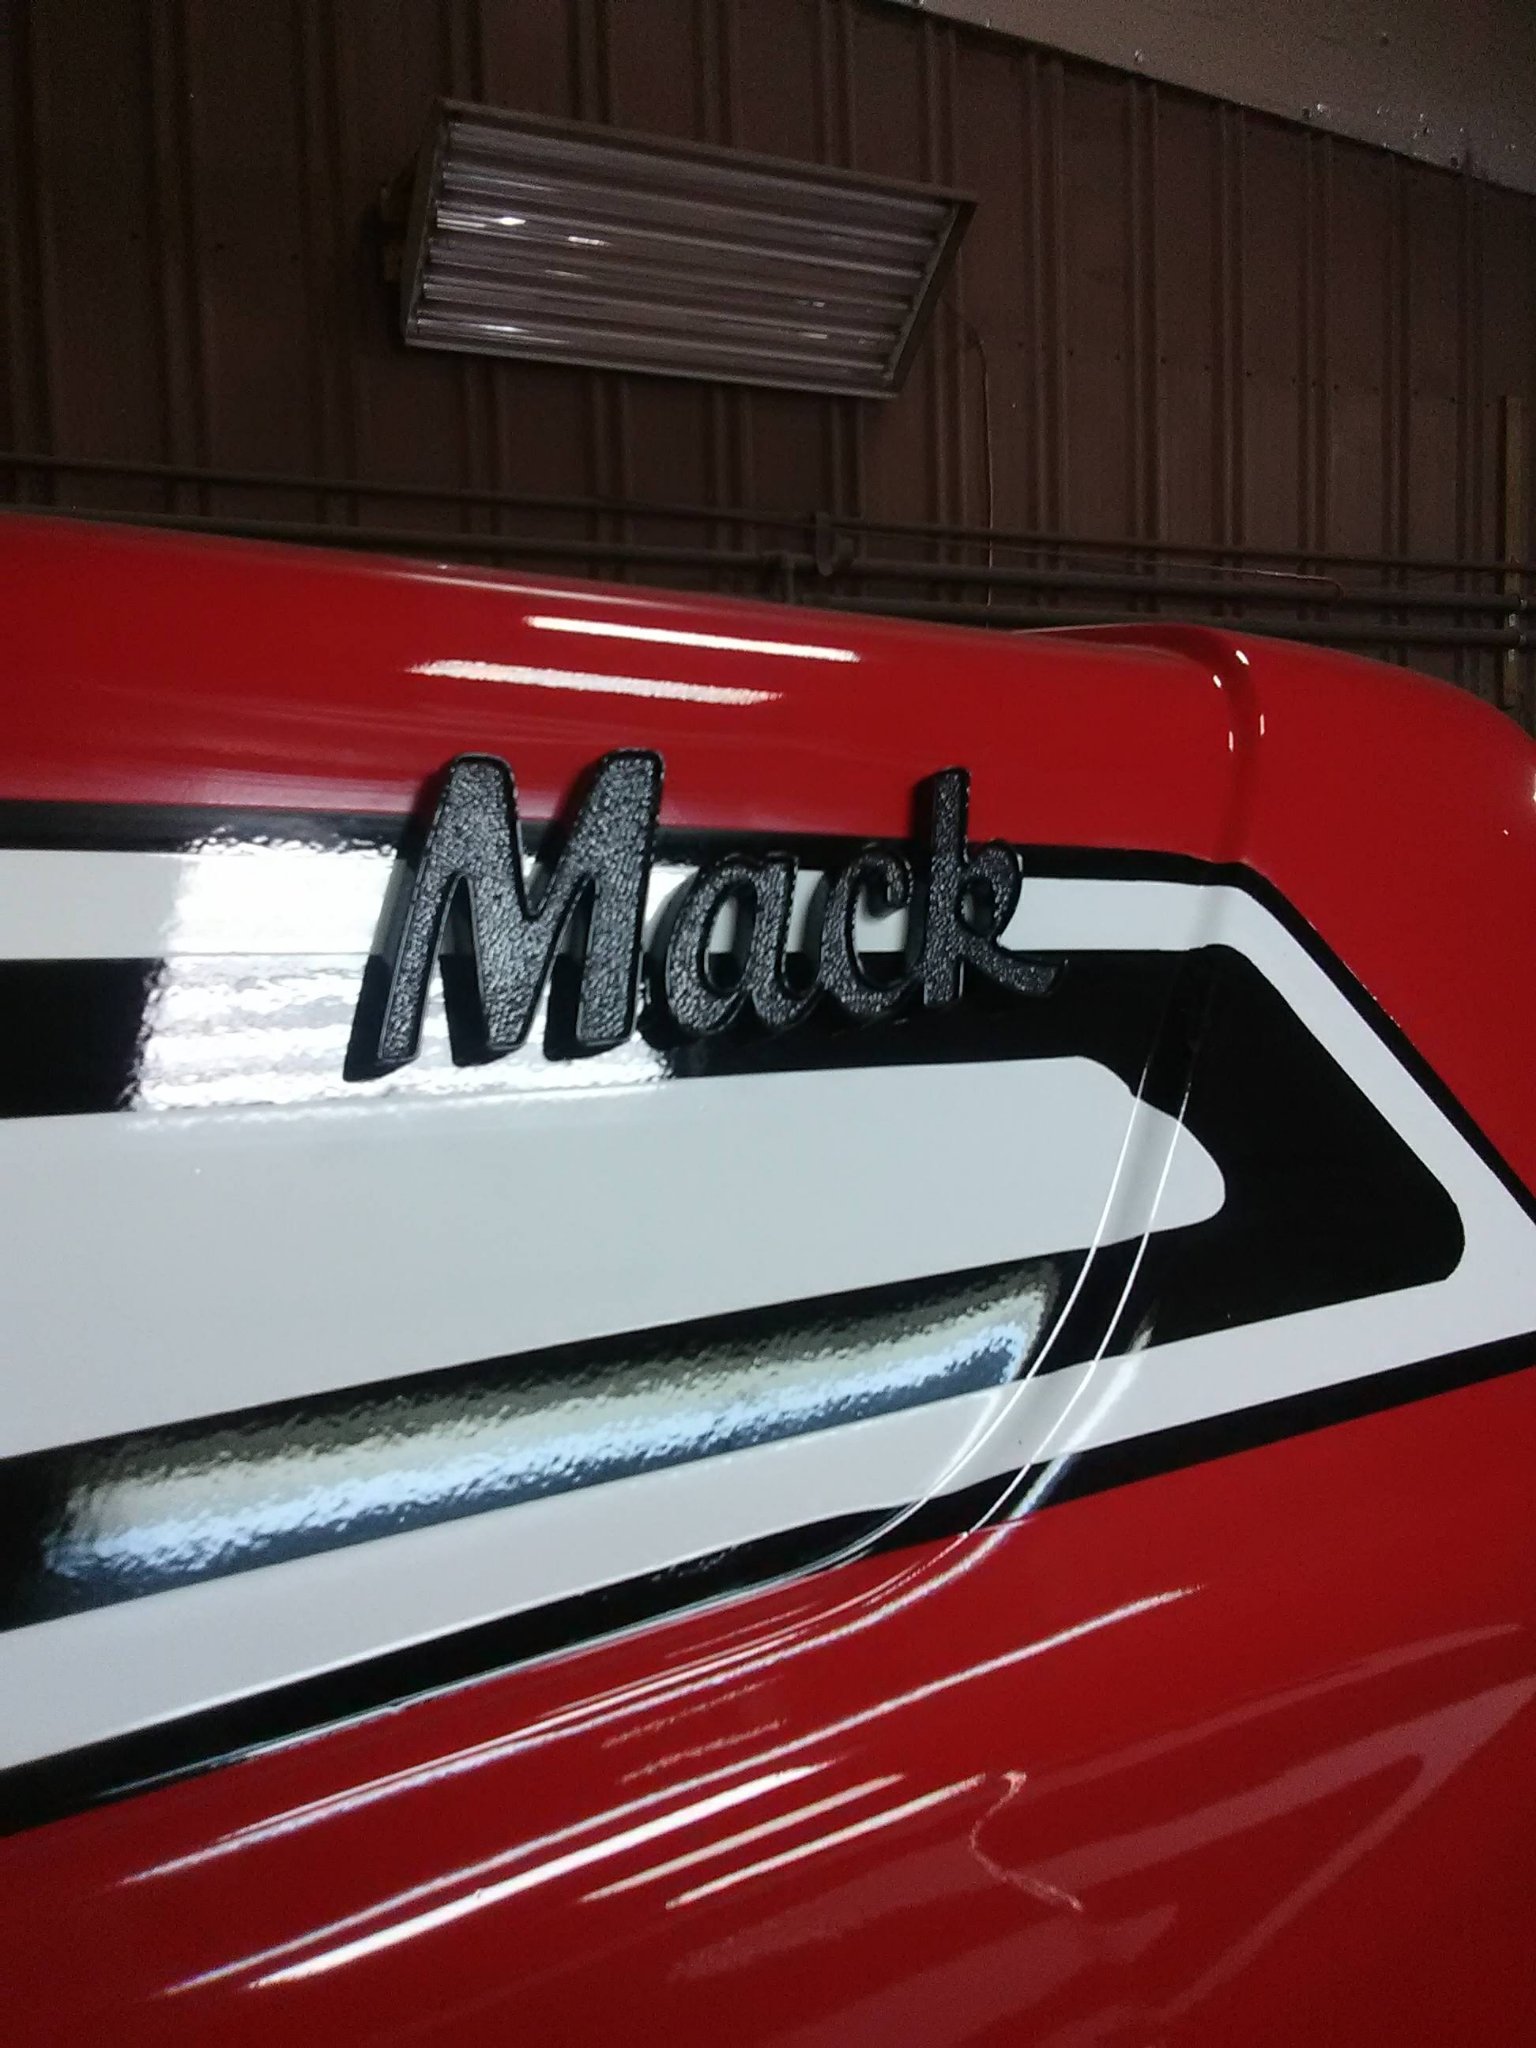
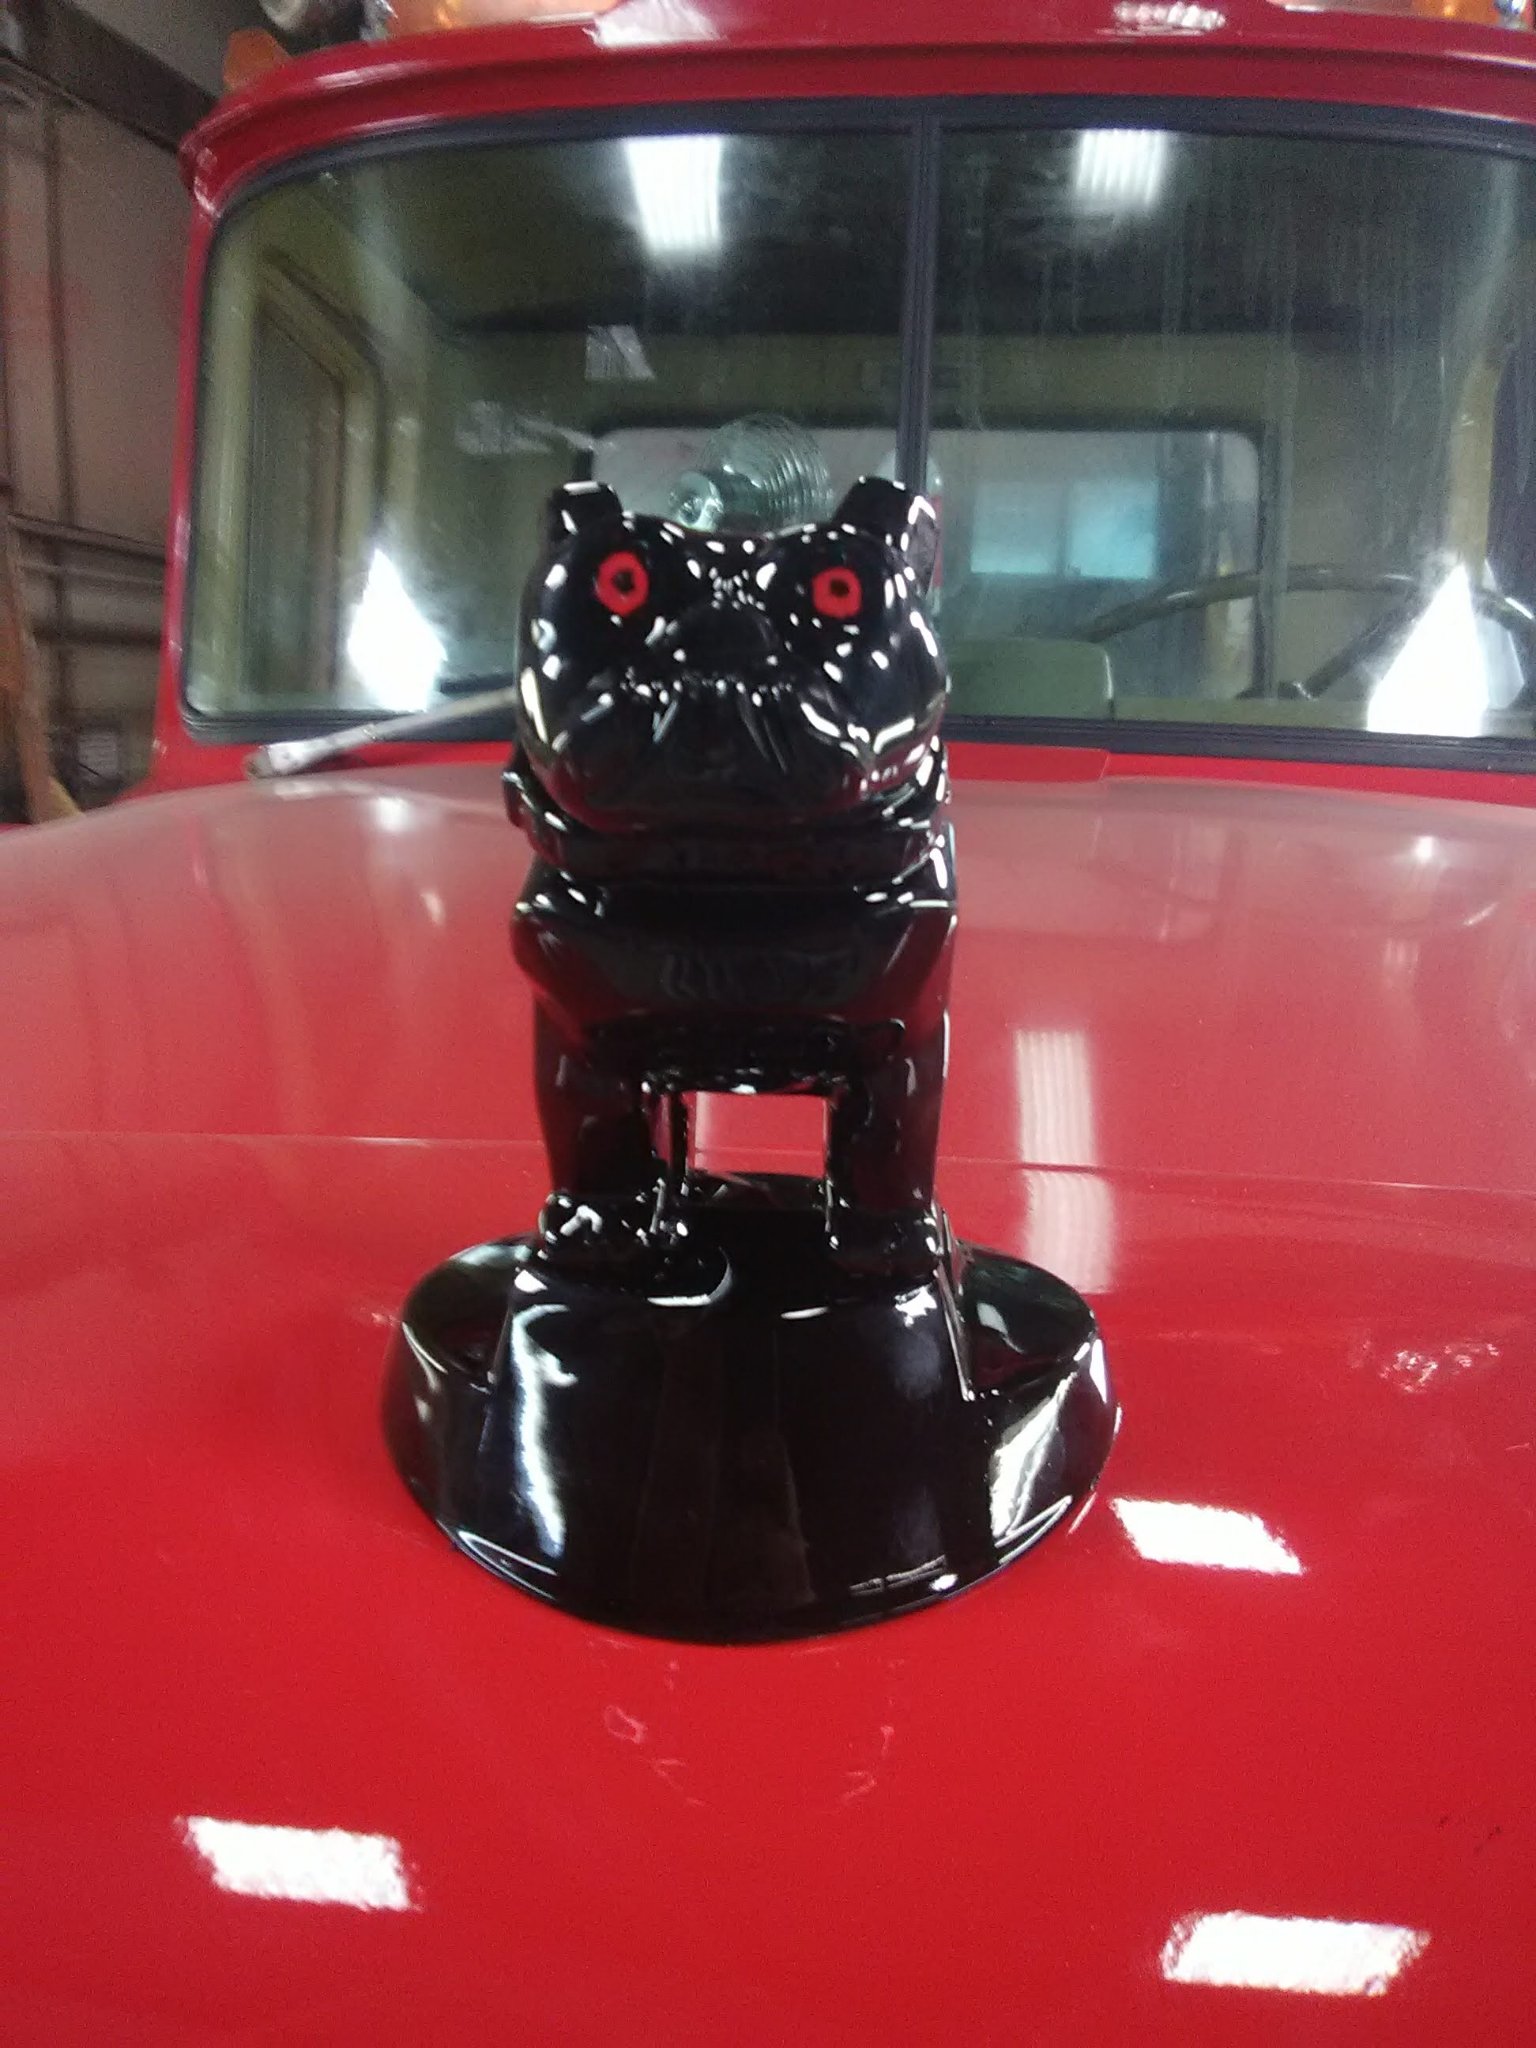
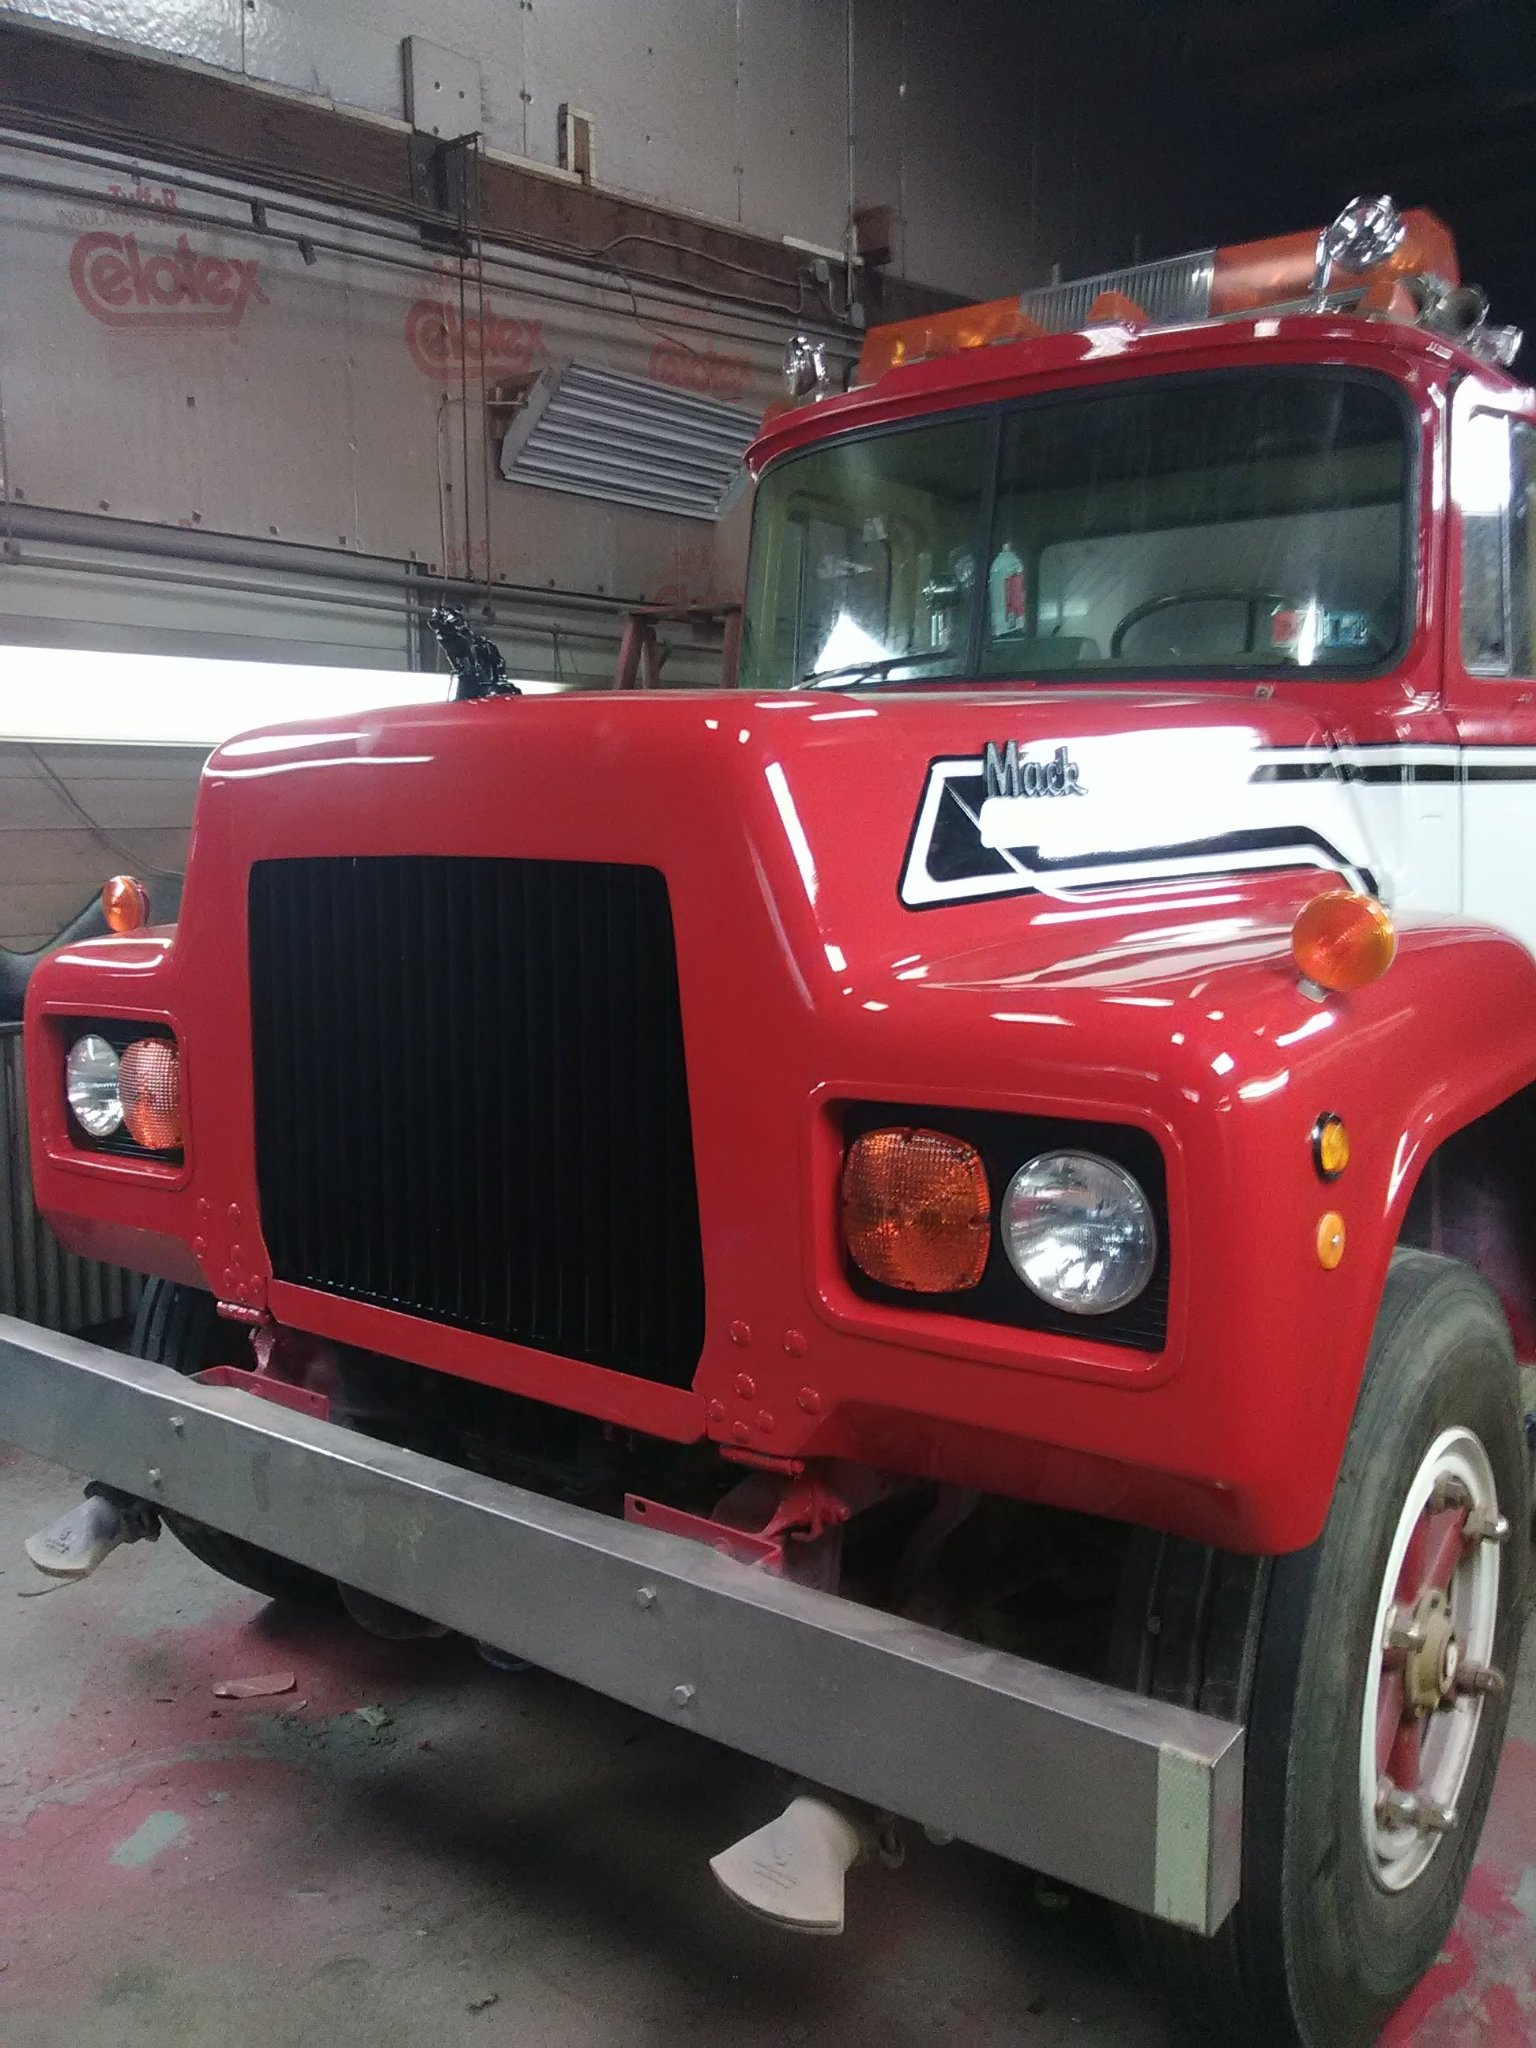
Big rigs get the same hands as everything else. This Mack R-model — a job Matthew ran around 2011 — got its hood and front clip laid out with black-and-white stripe graphics under gloss red, finished with the Mack script badge and a black bulldog hood ornament with red eyes.
01 Stripes laid out
Stripes laid out in tapeStripes taking shape
02 Gloss red
In the booth, gloss redThe hood, stripes and all
03 The finishing touches
The Mack script badgeThe bulldog, red eyes and allFinished, from the front
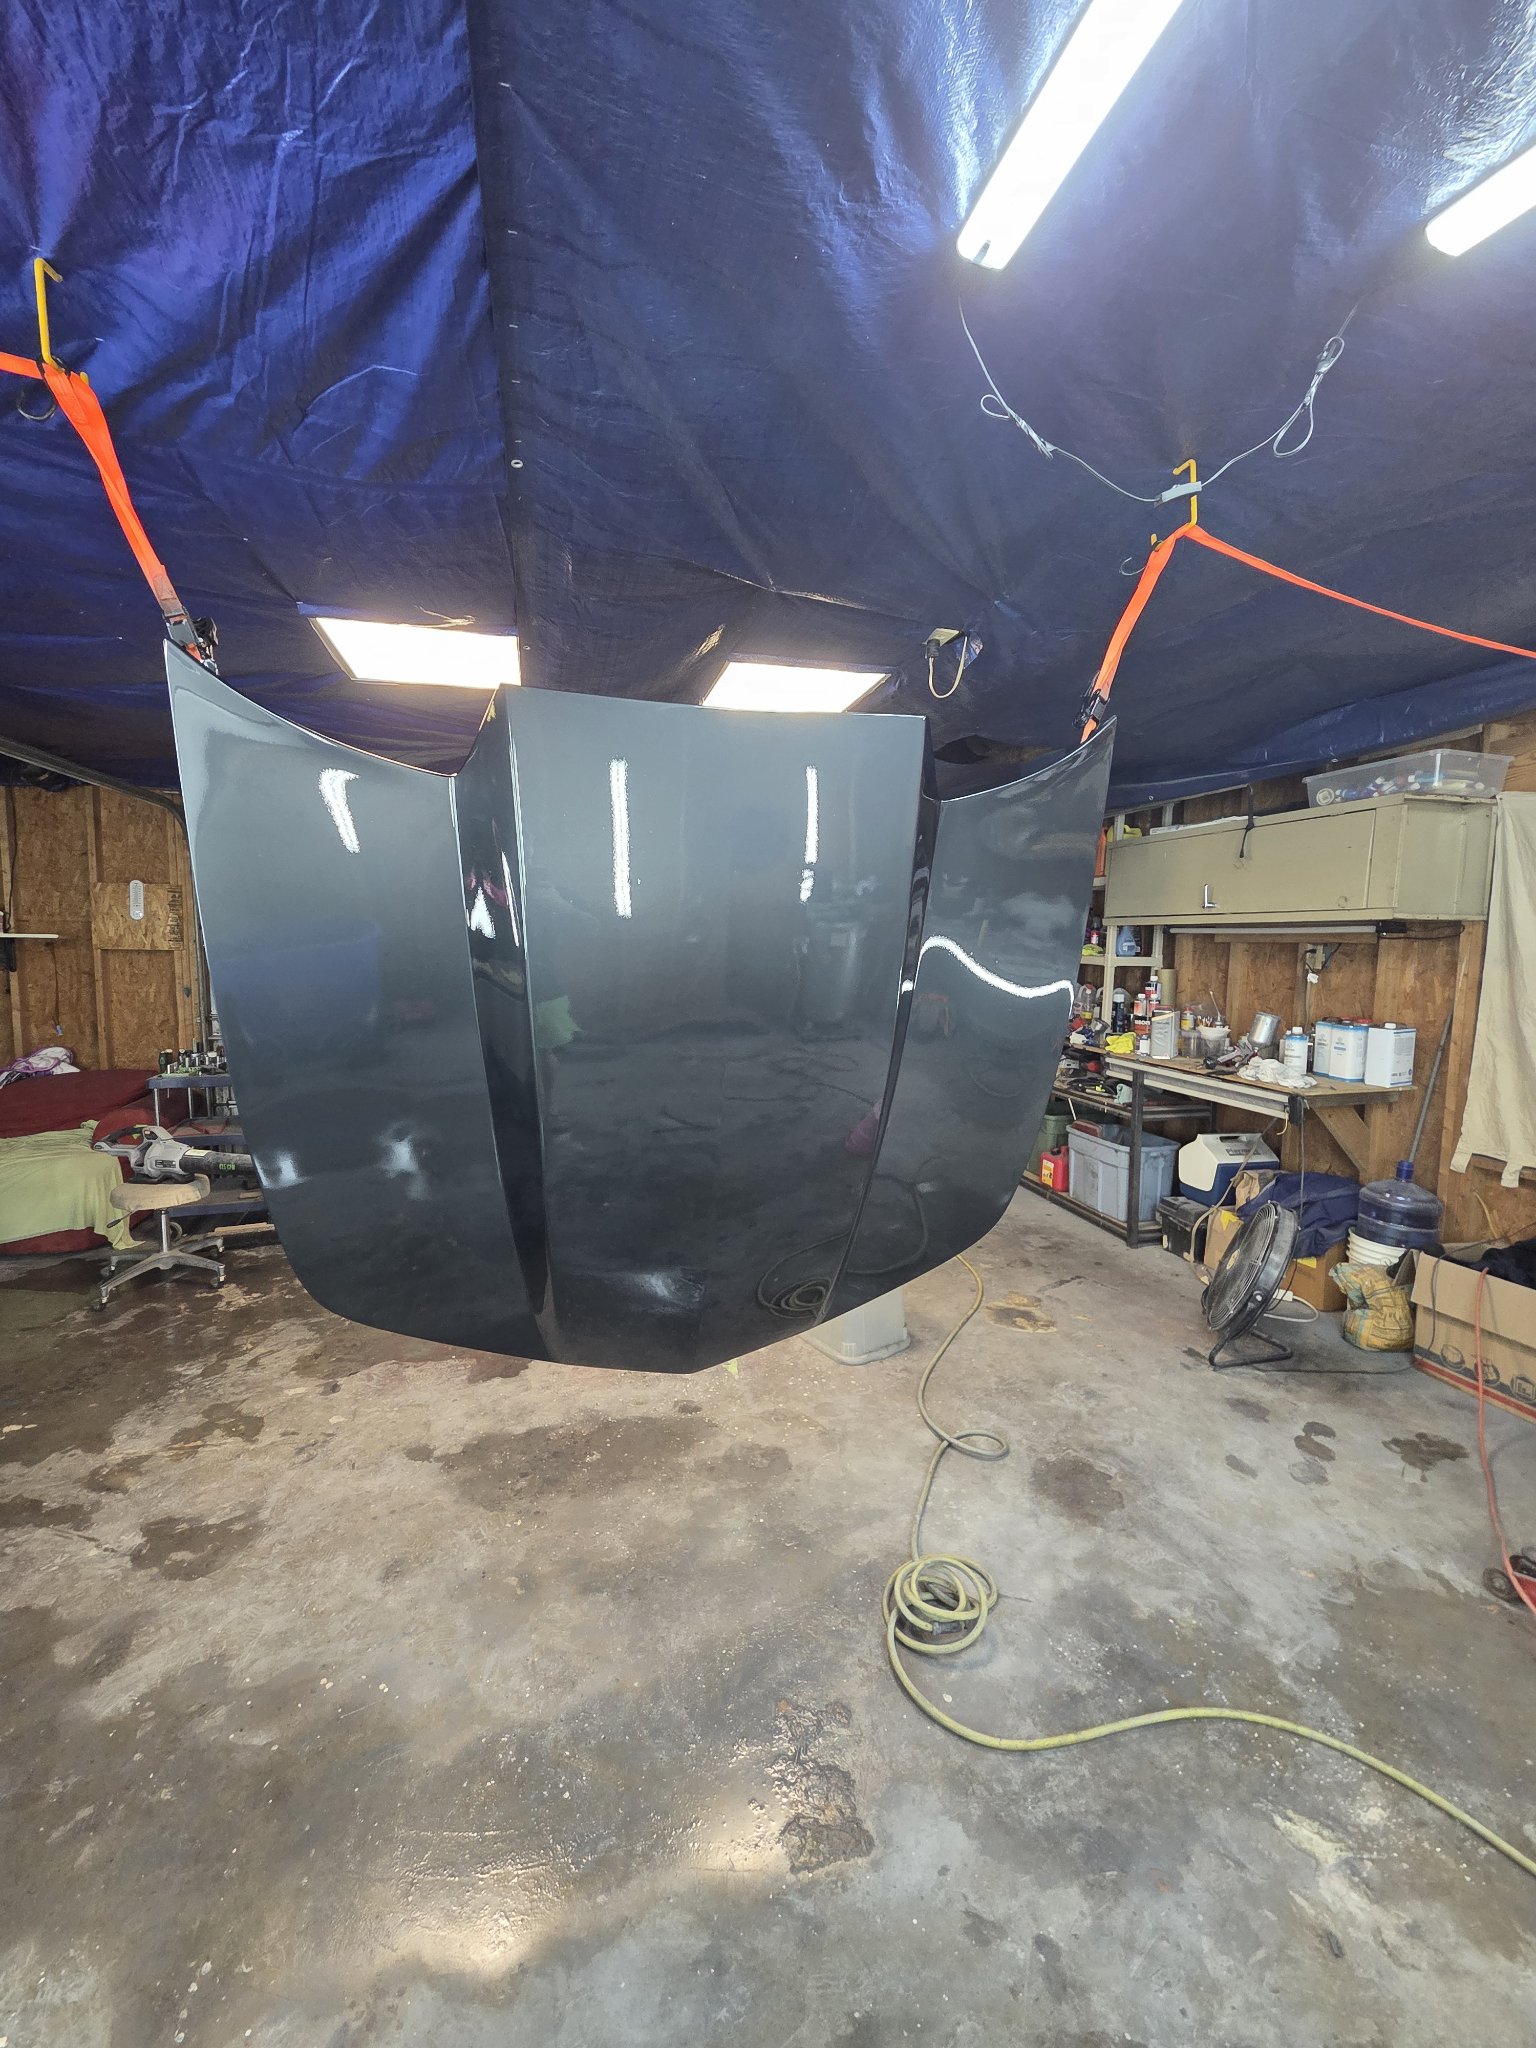
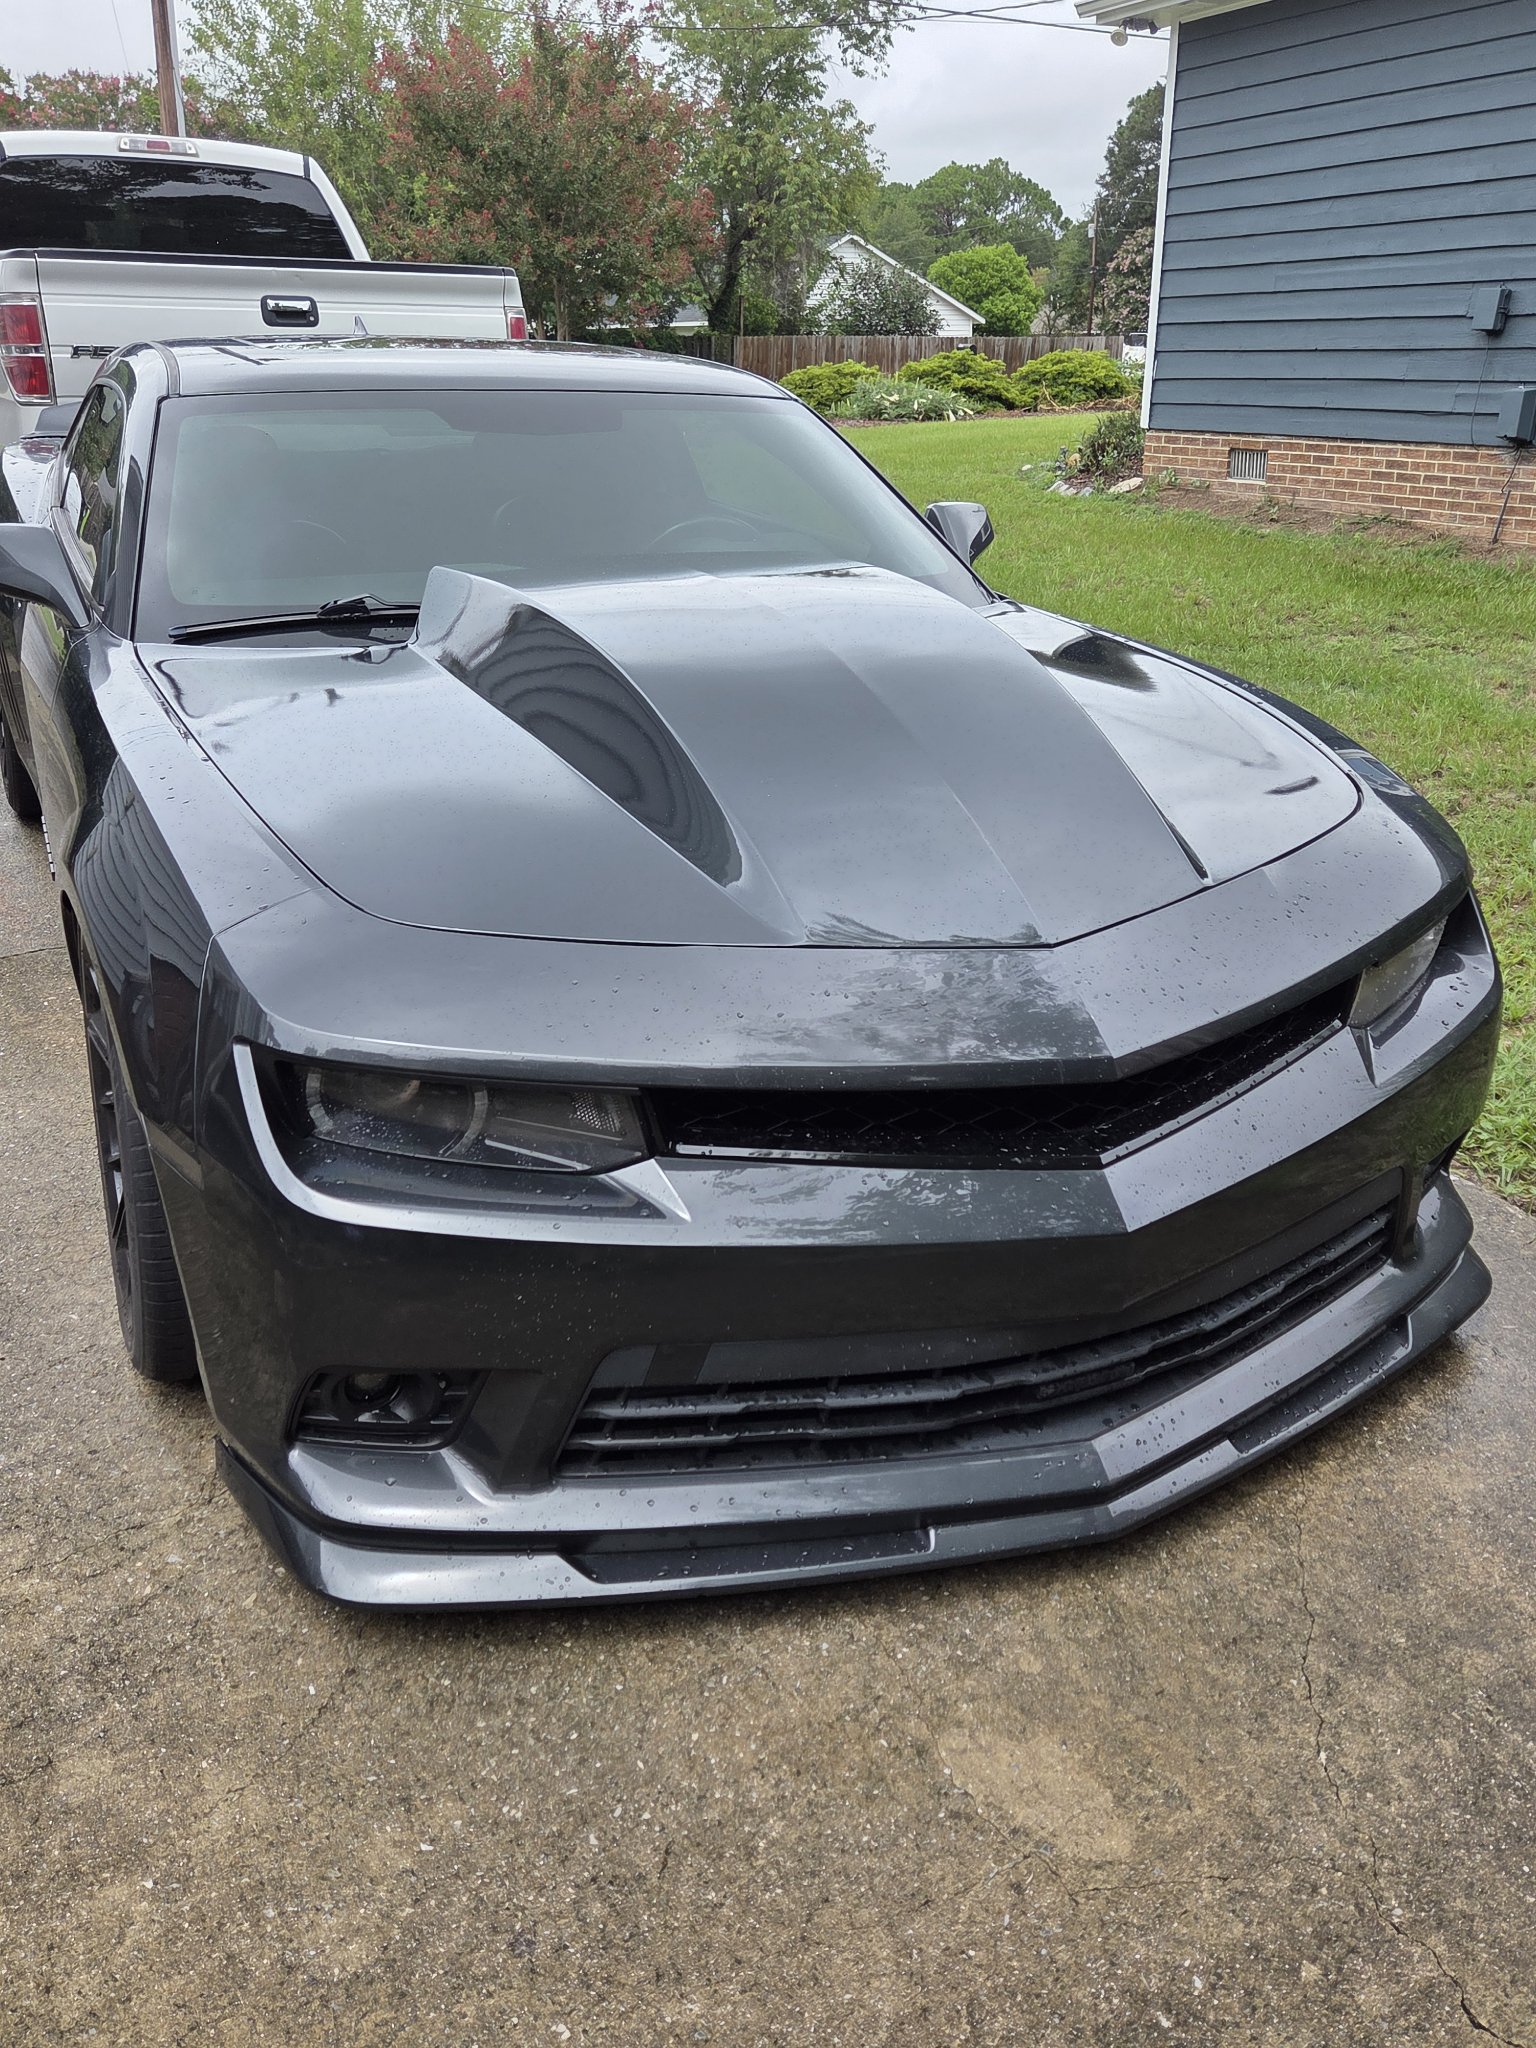
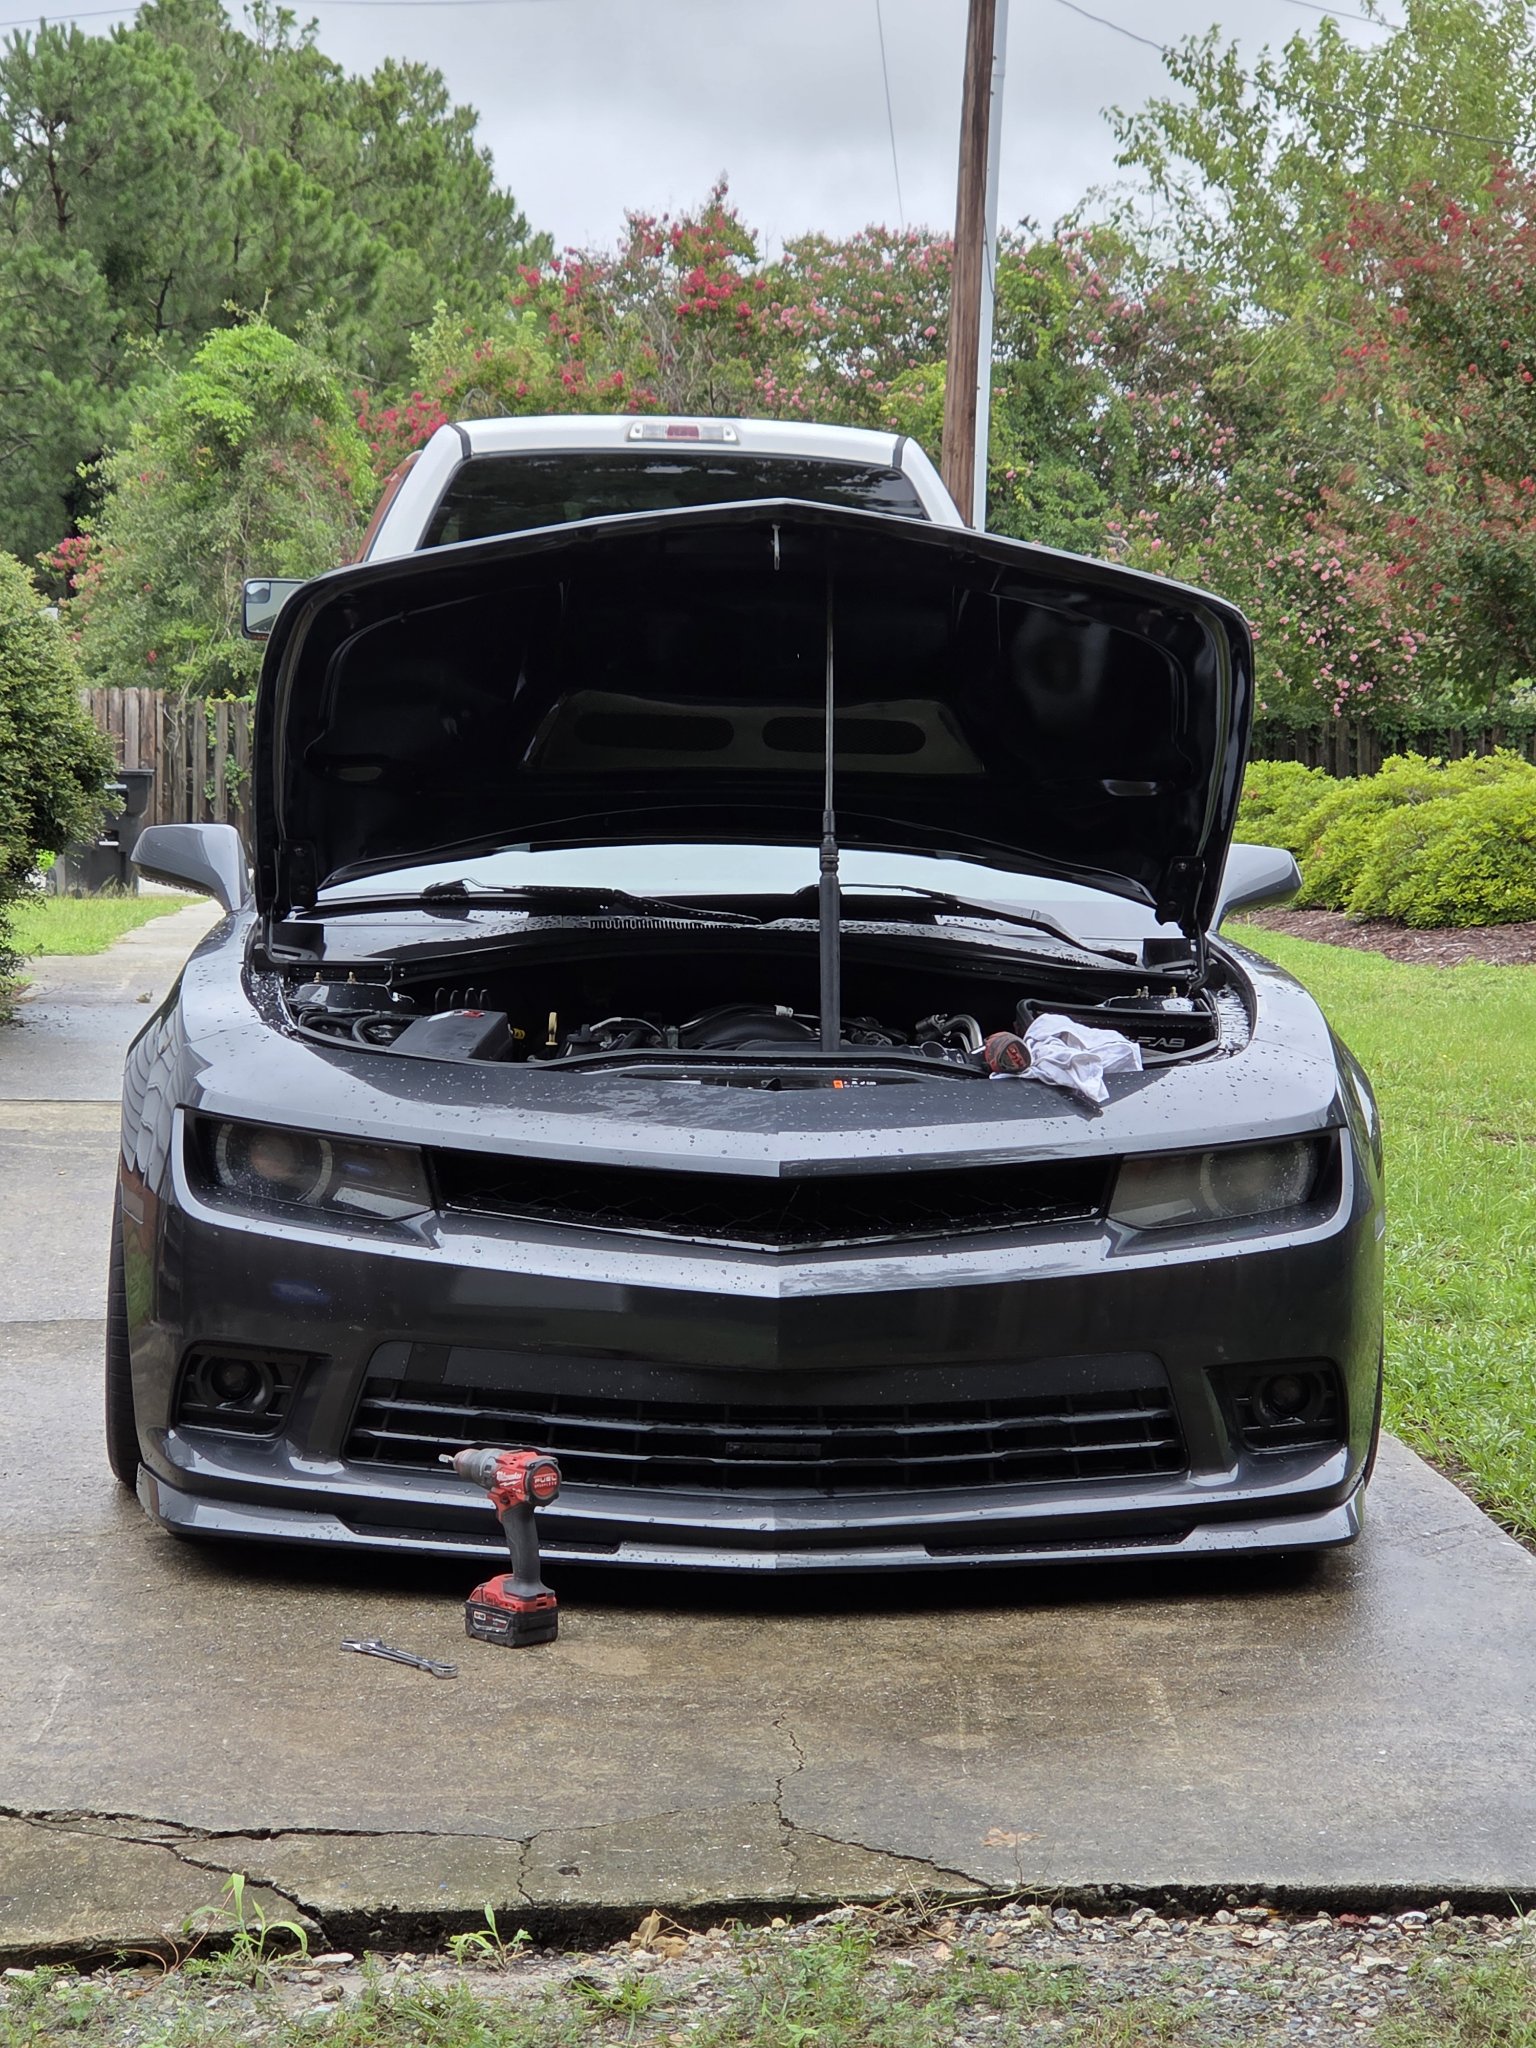
Camaro Cowl Hood
Chevrolet Camaro · custom cowl hood
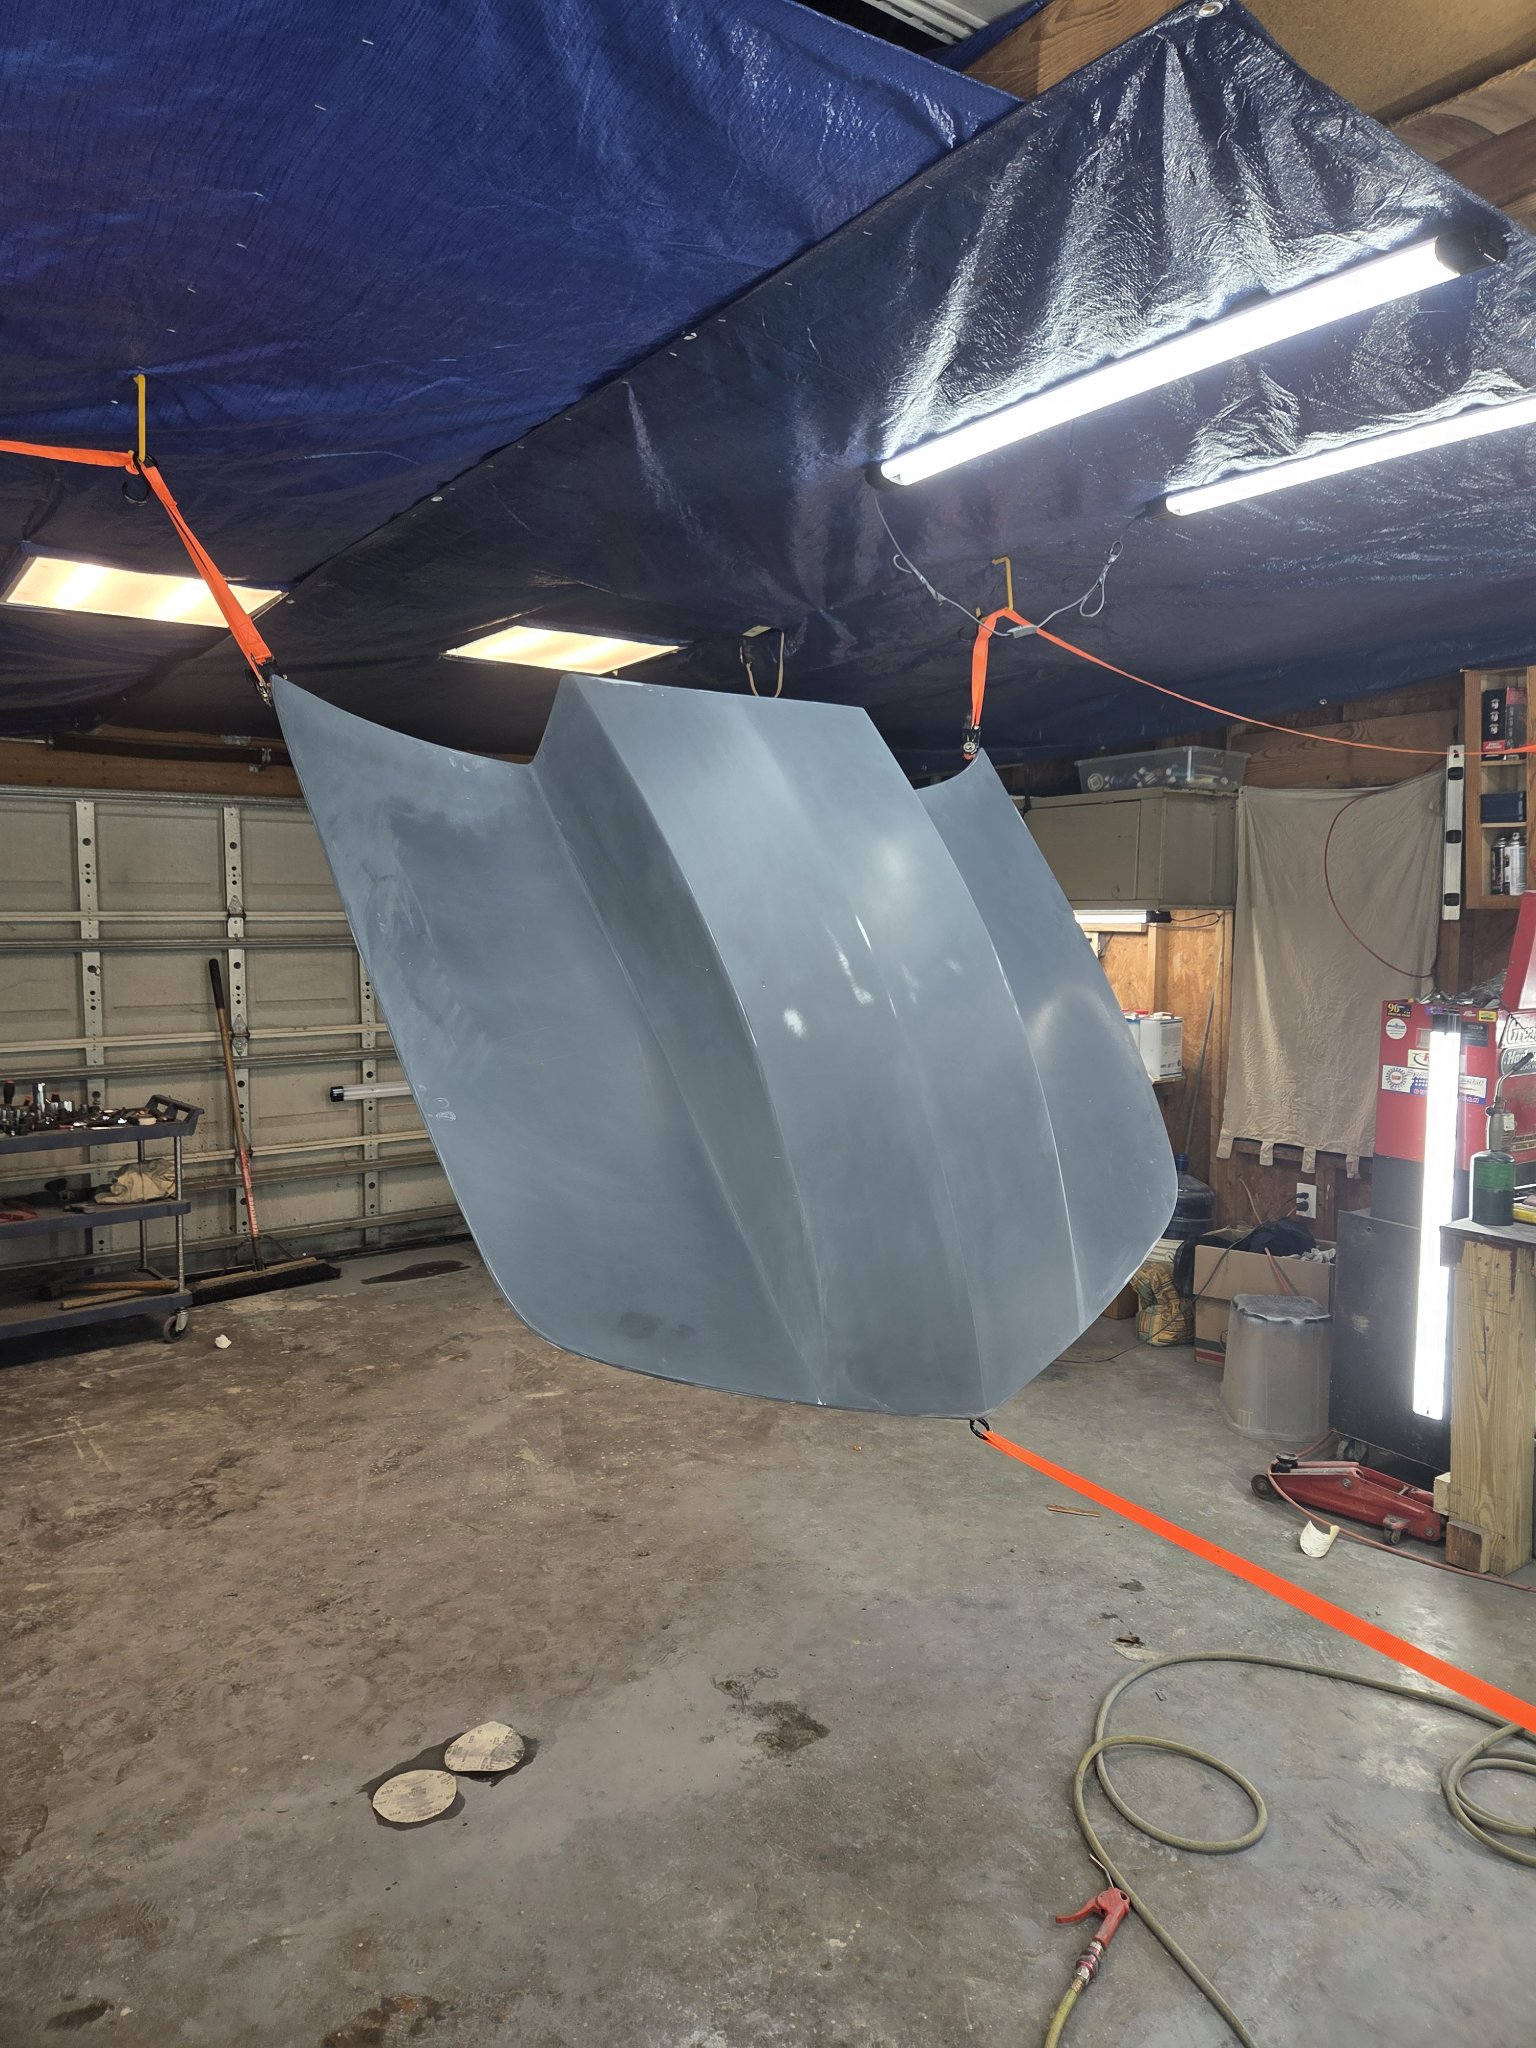
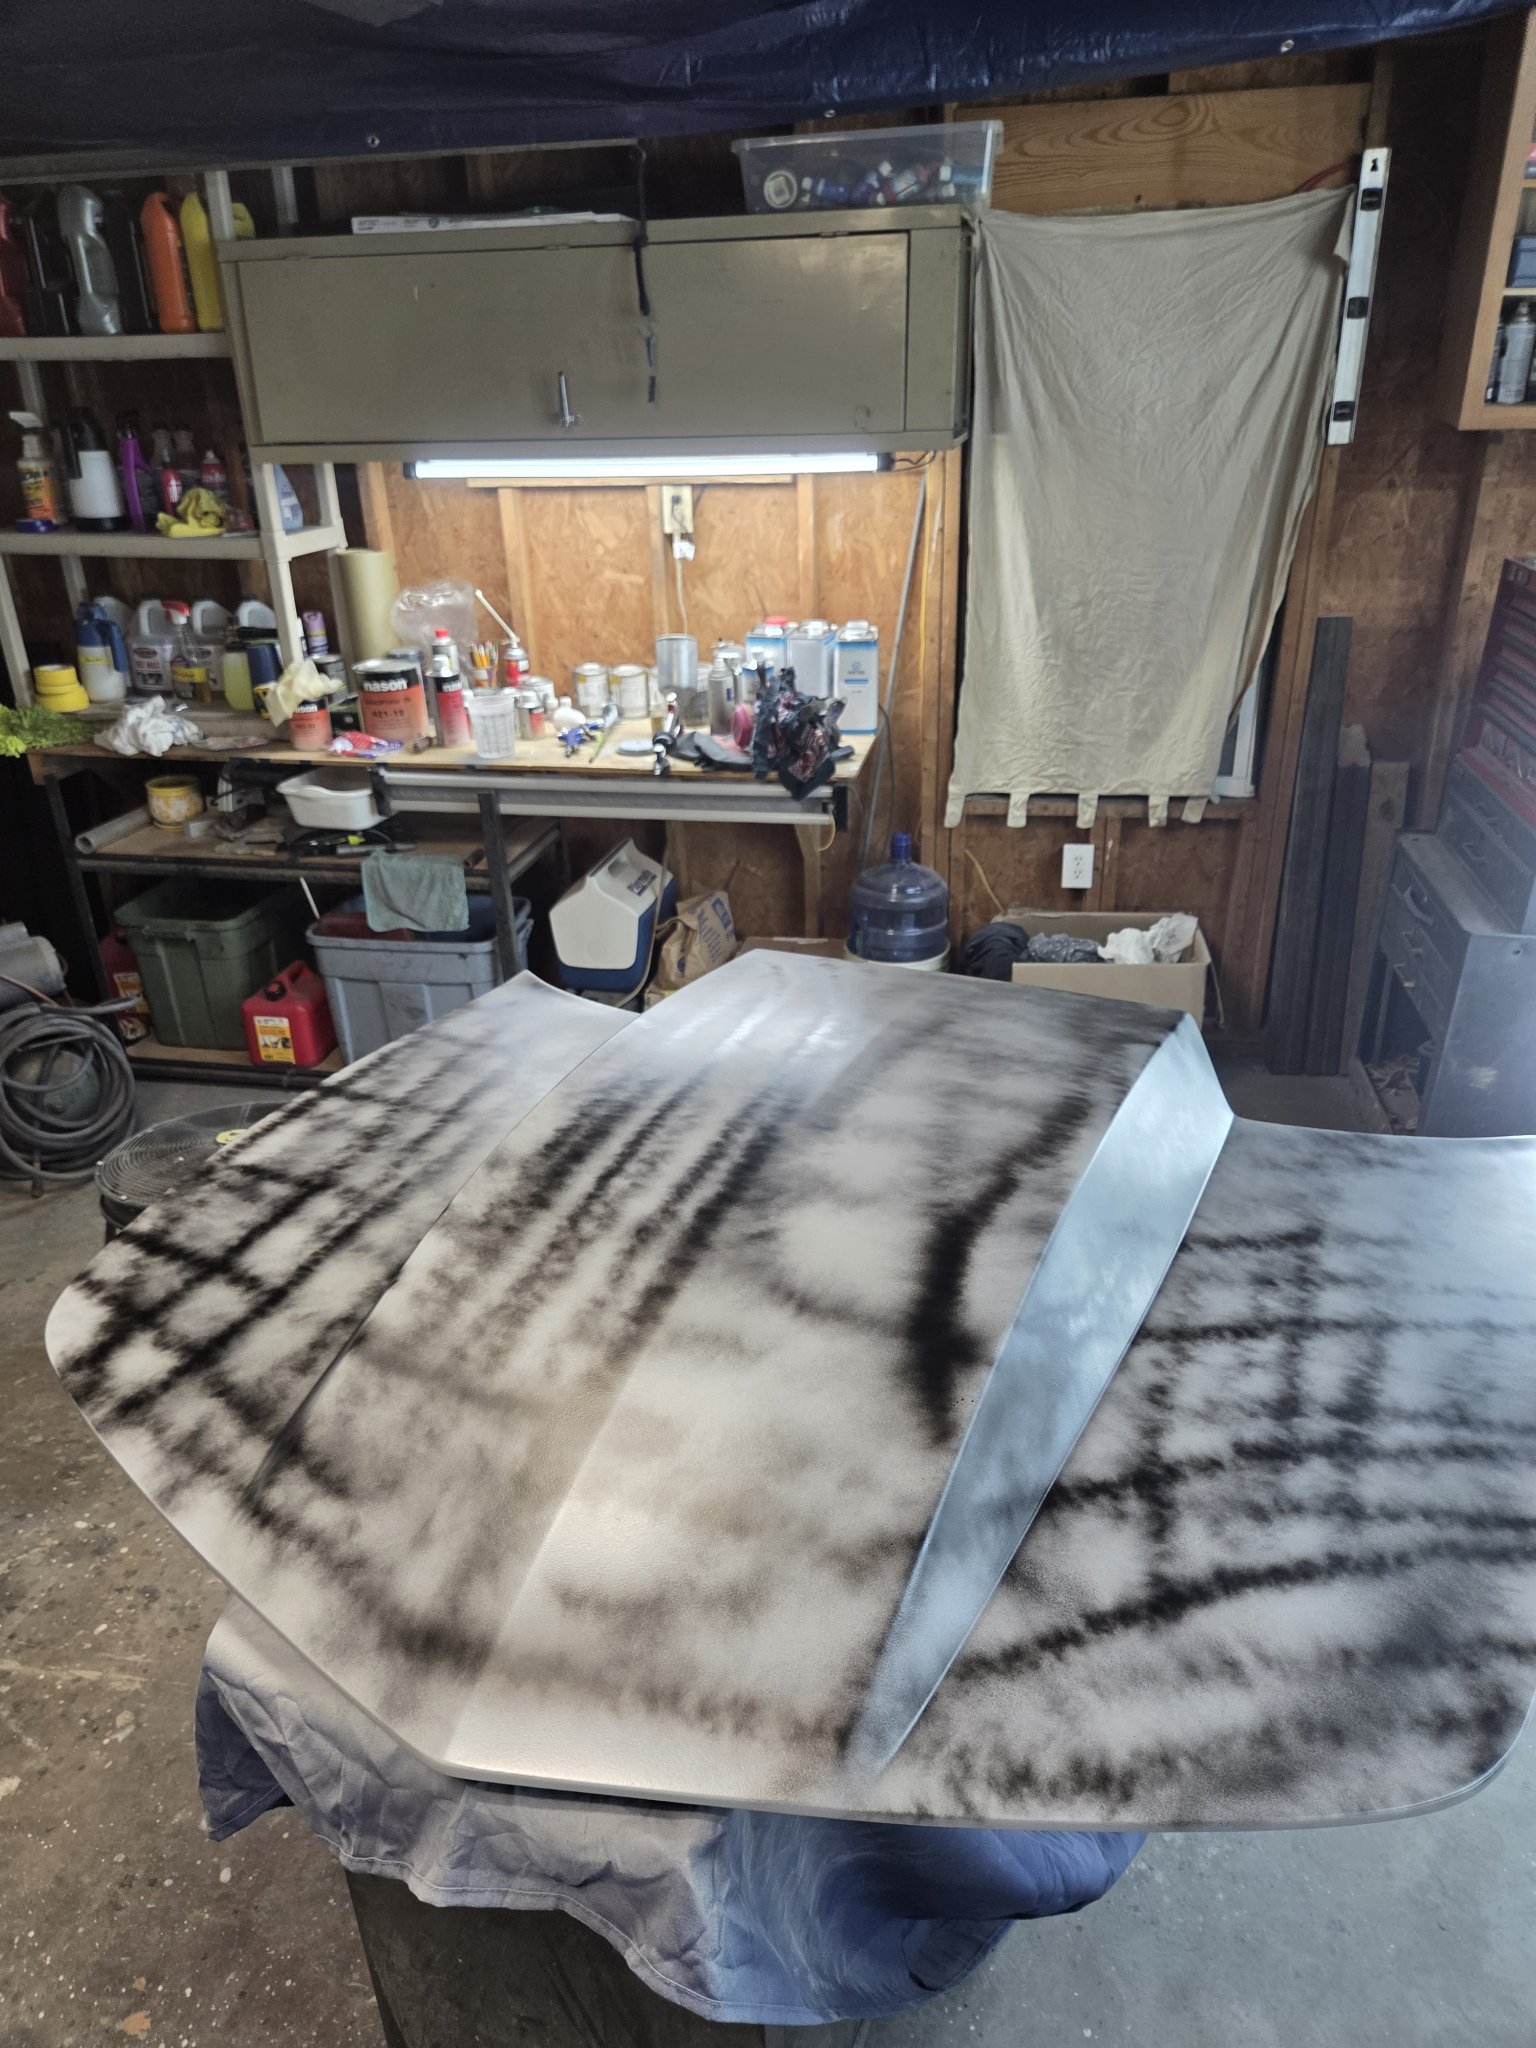
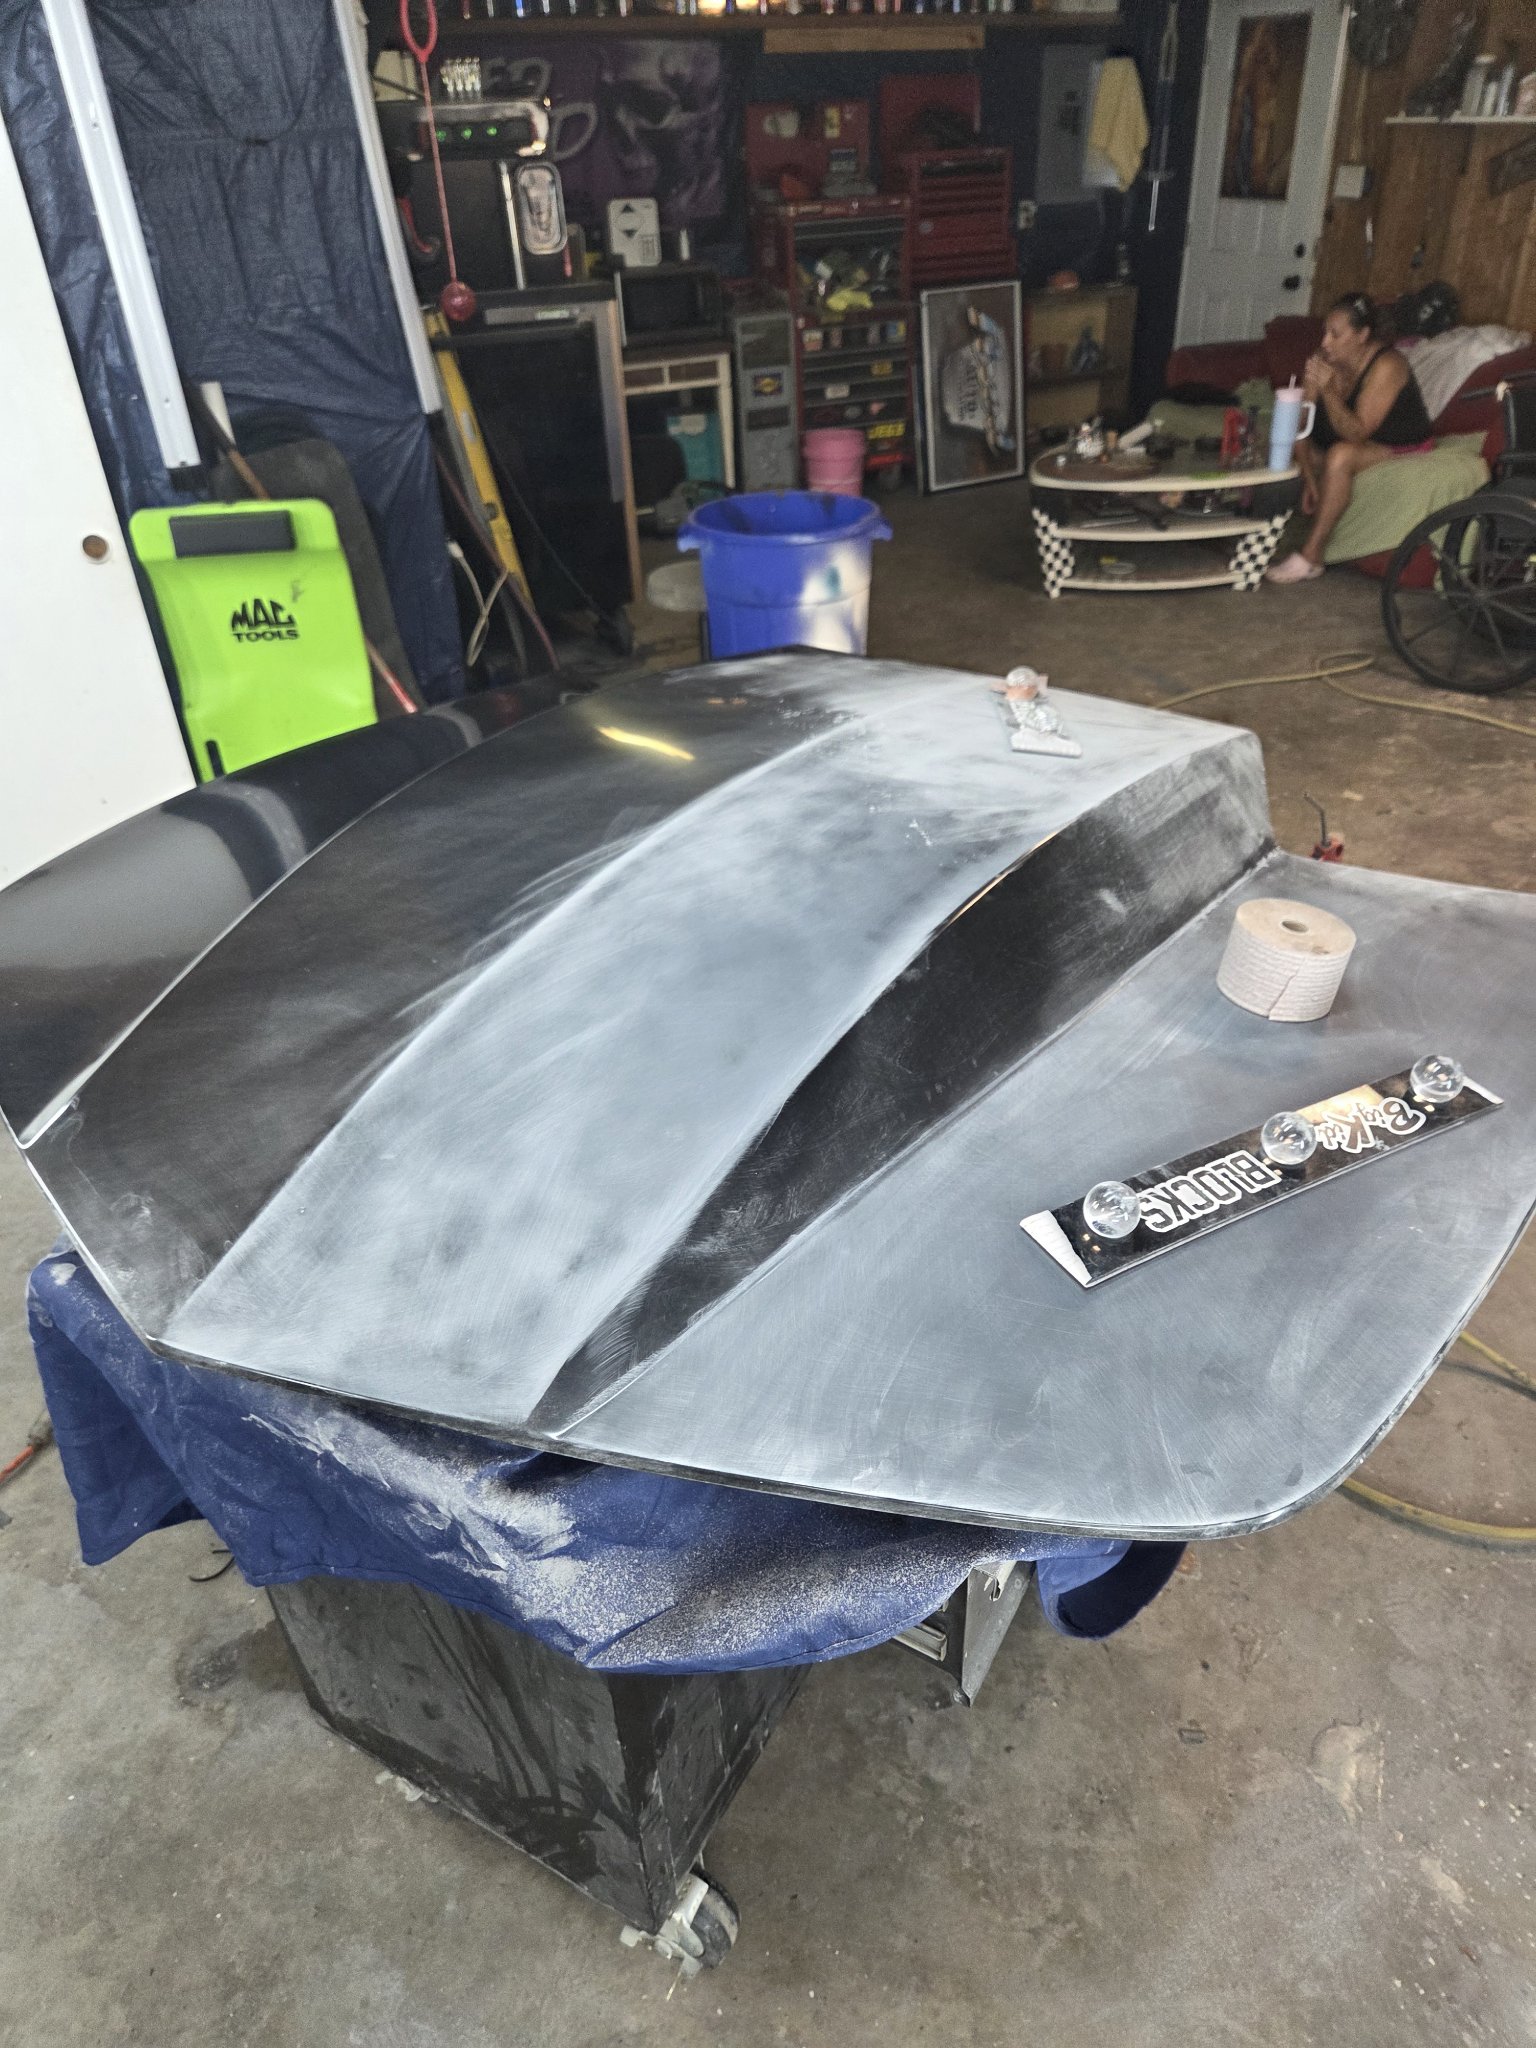
A custom cowl hood, done the slow way — primed, guide-coated, block-sanded until it was dead straight, then painted gloss black and installed.
01 In primer
The hood, in primer
02 Guide coat & blocking
Guide coat onBlocking it straight
03 Gloss black
Gloss black, out of the gun
04 On the car
Installed, front viewHood up — job done
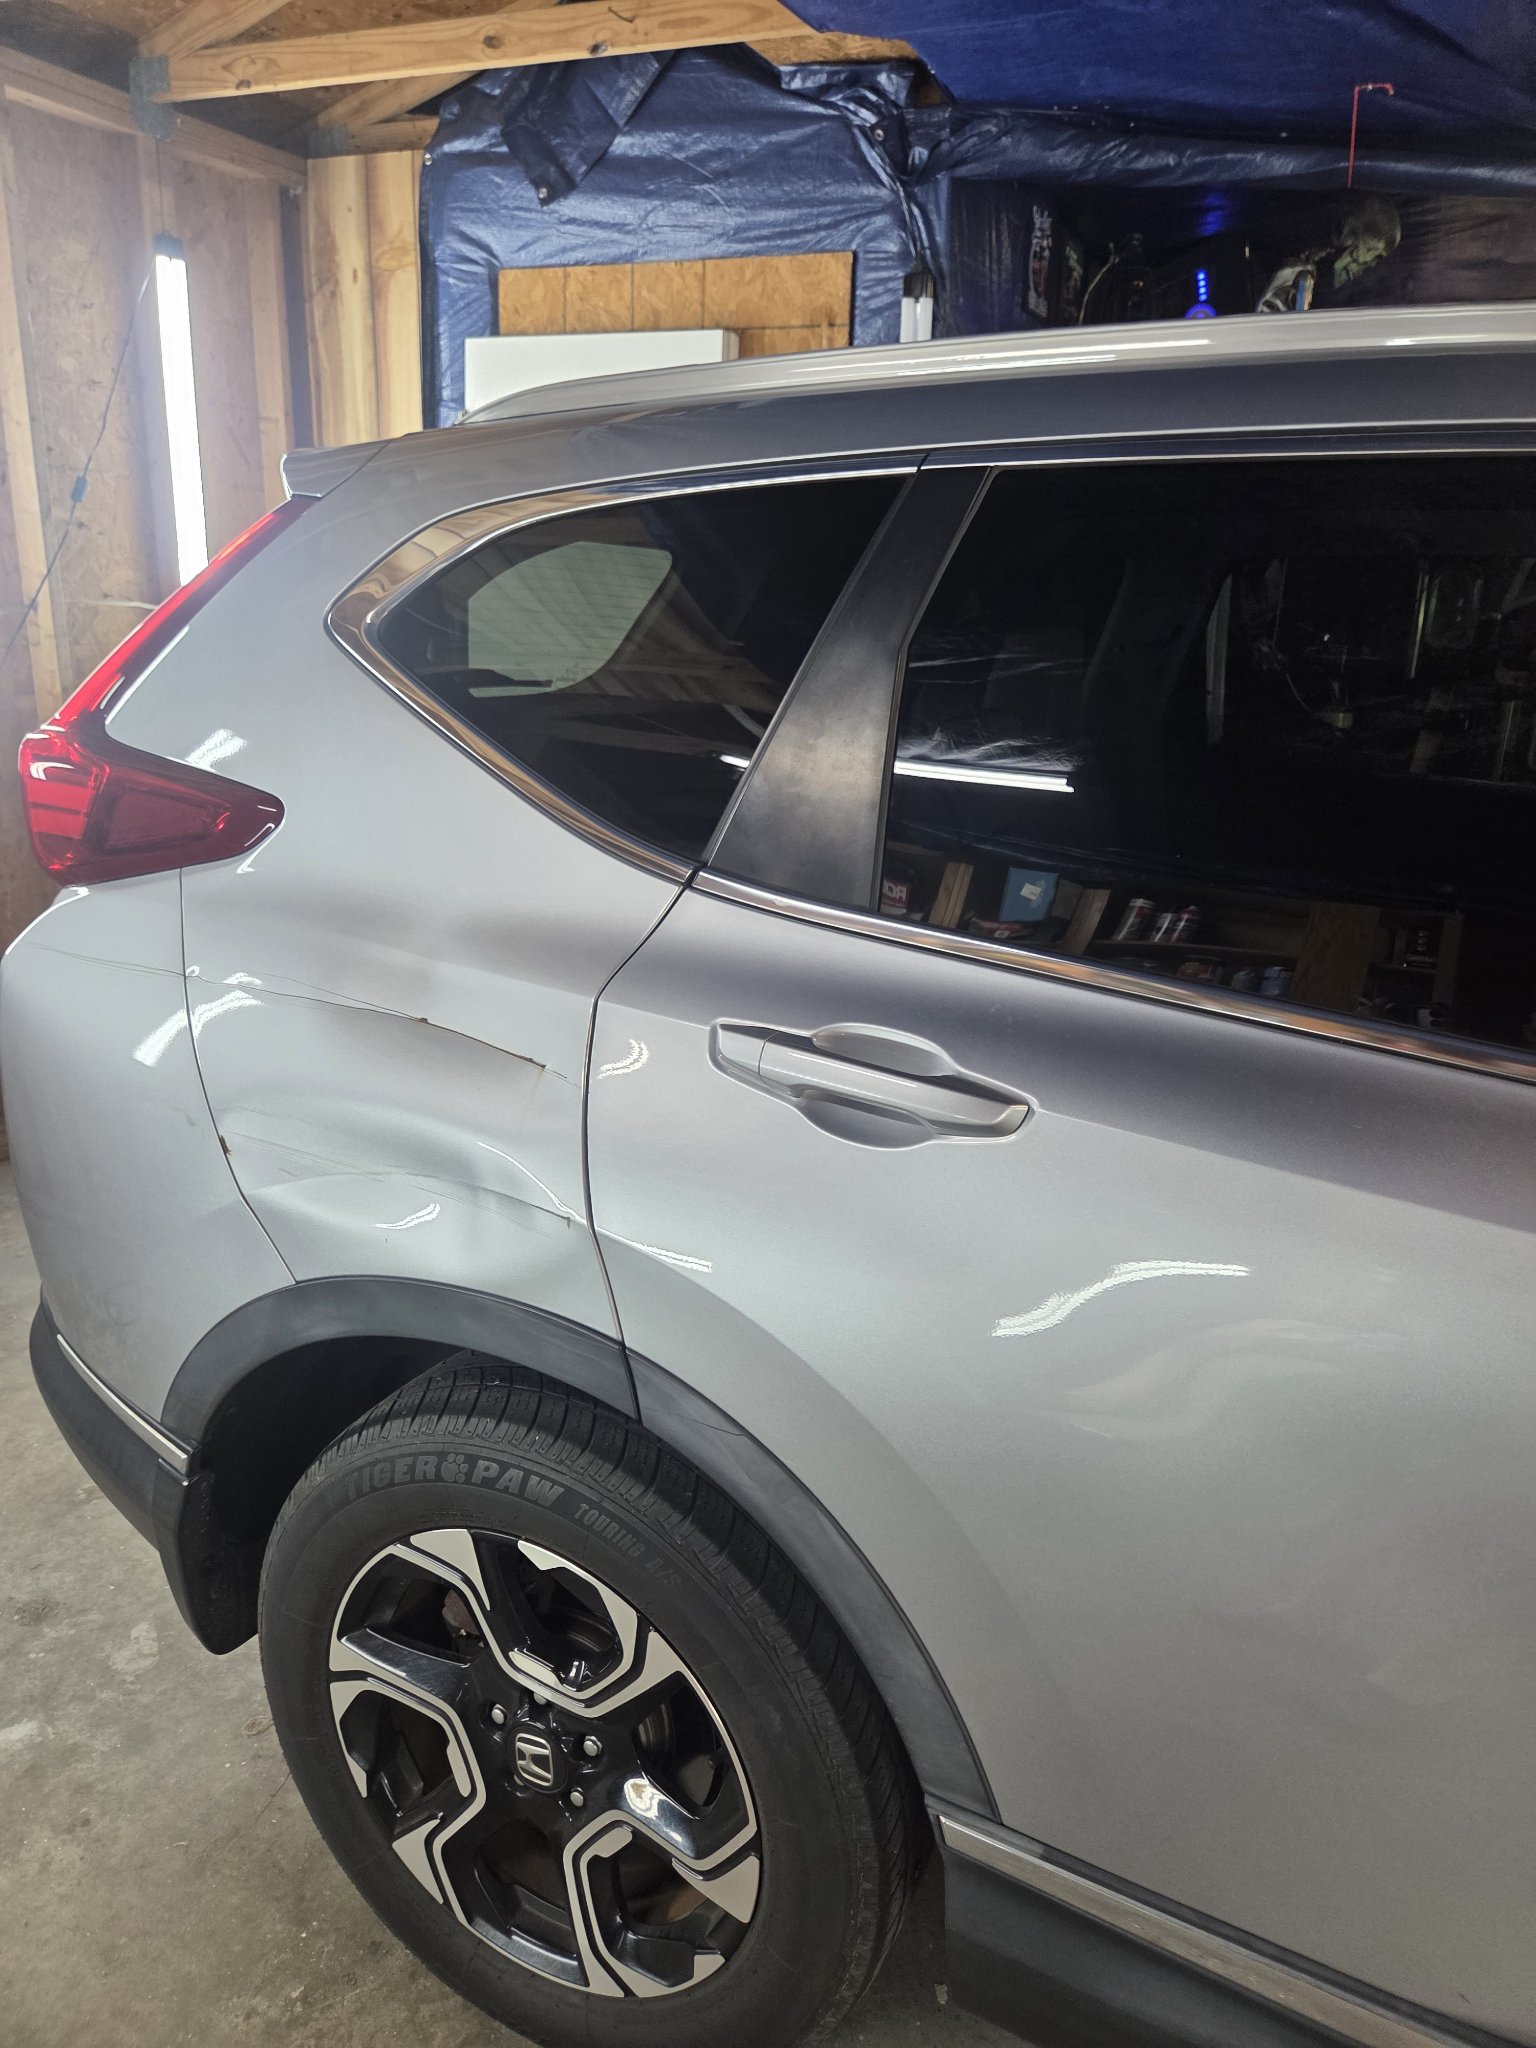
Honda CR-V Quarter Panel
Honda CR-V · quarter panel repair
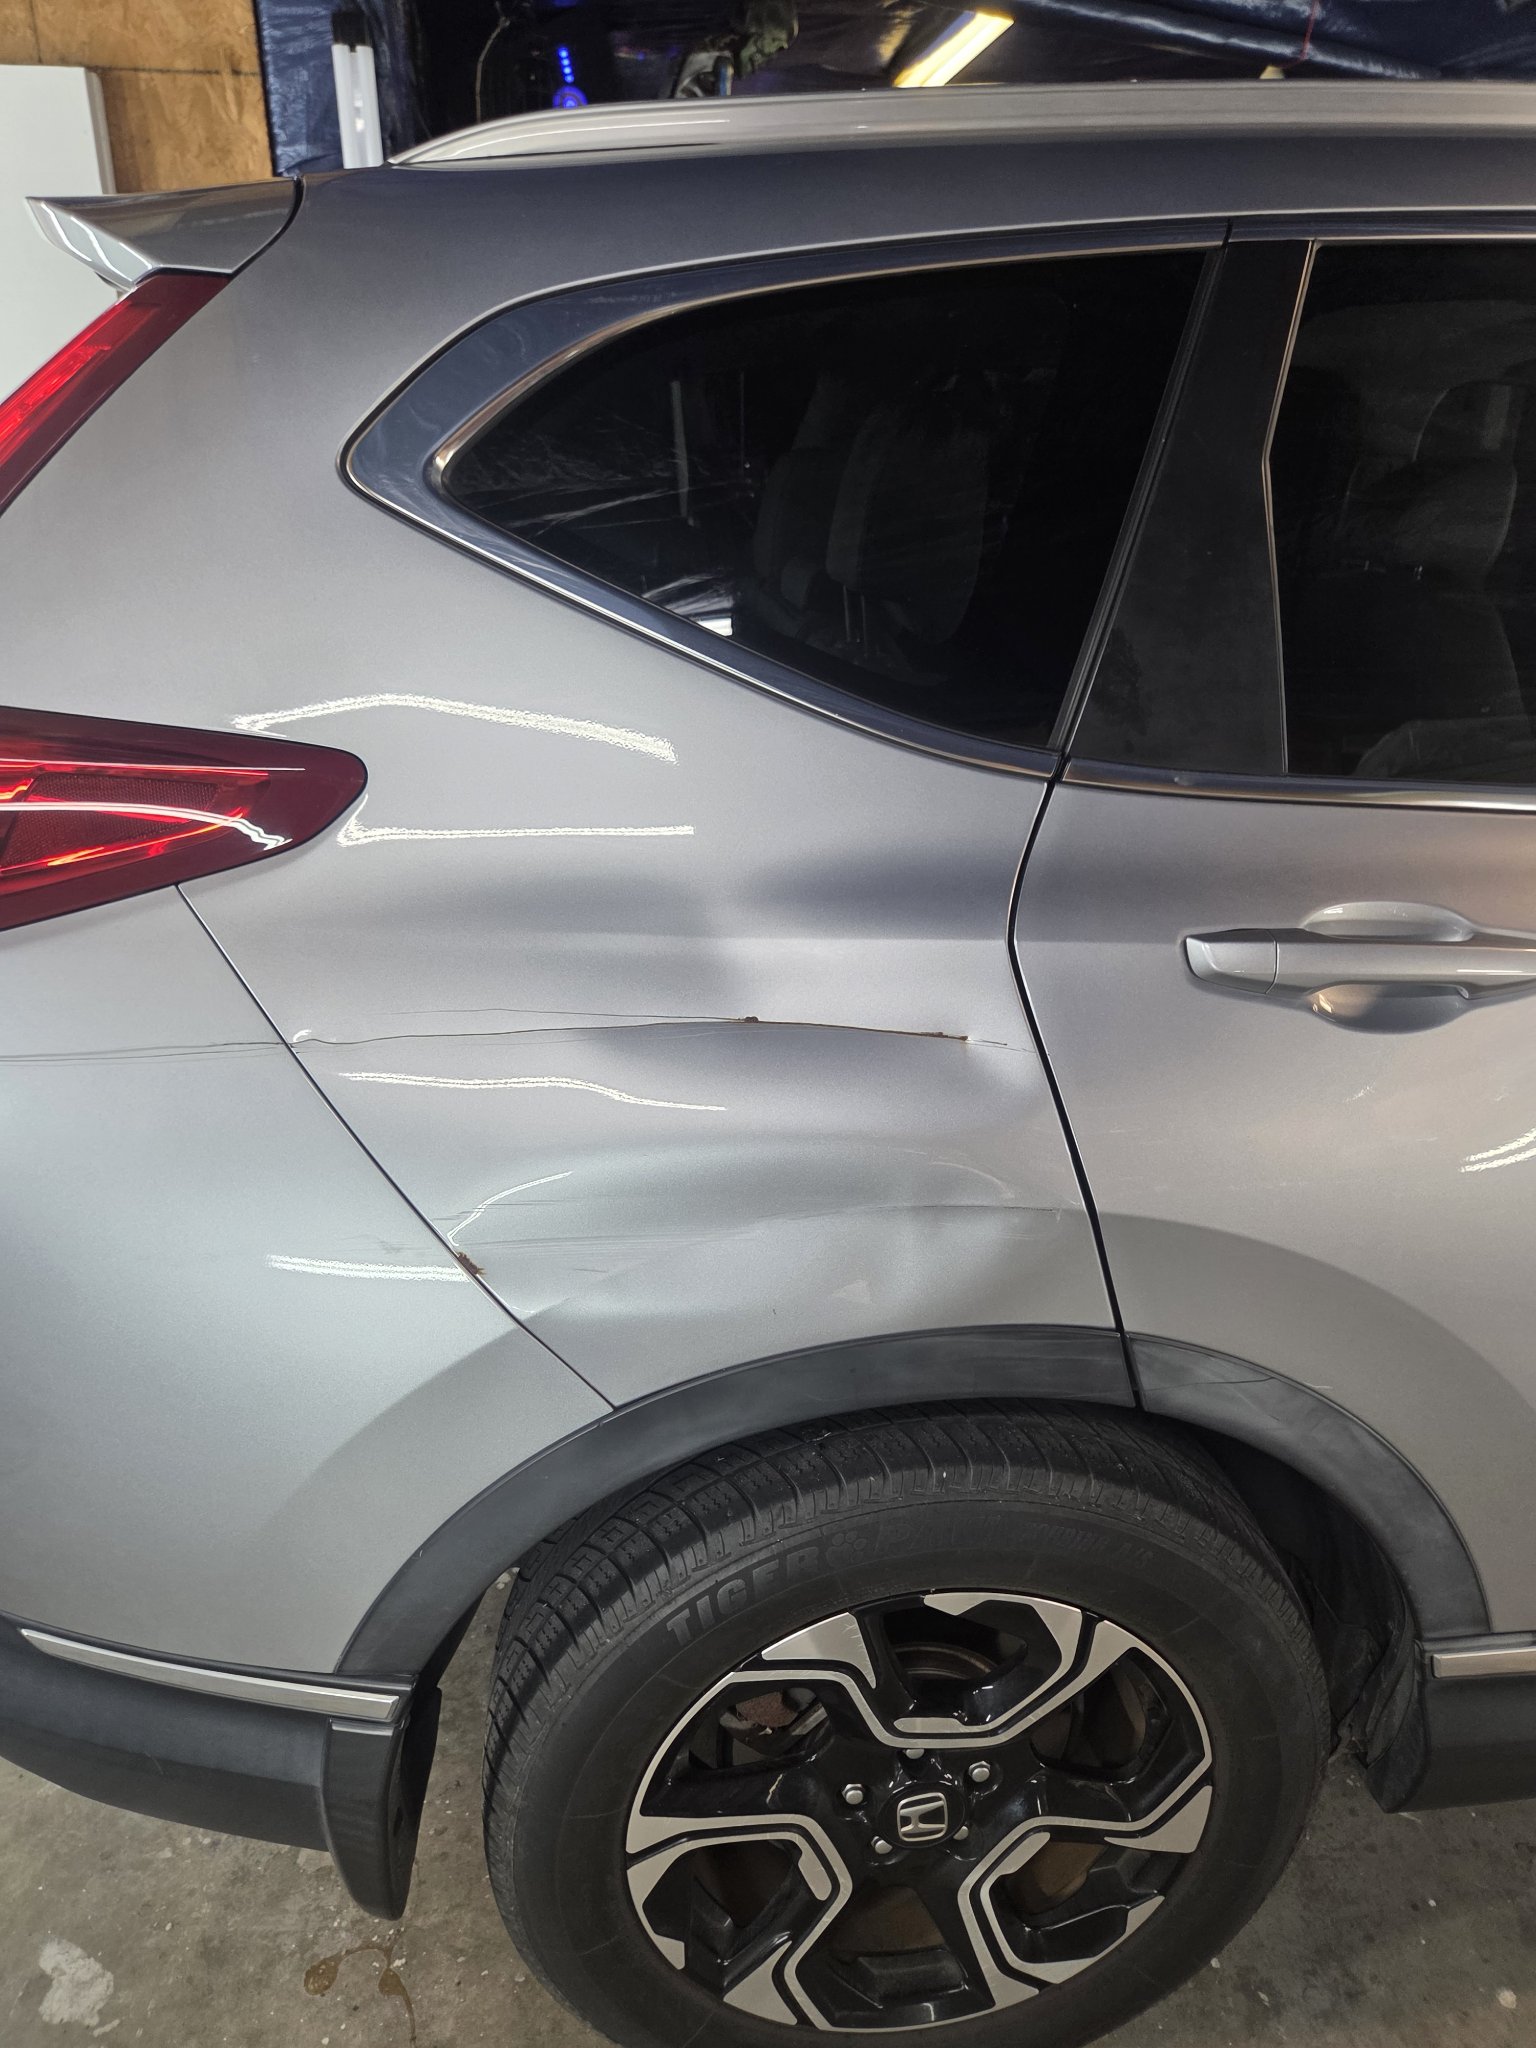
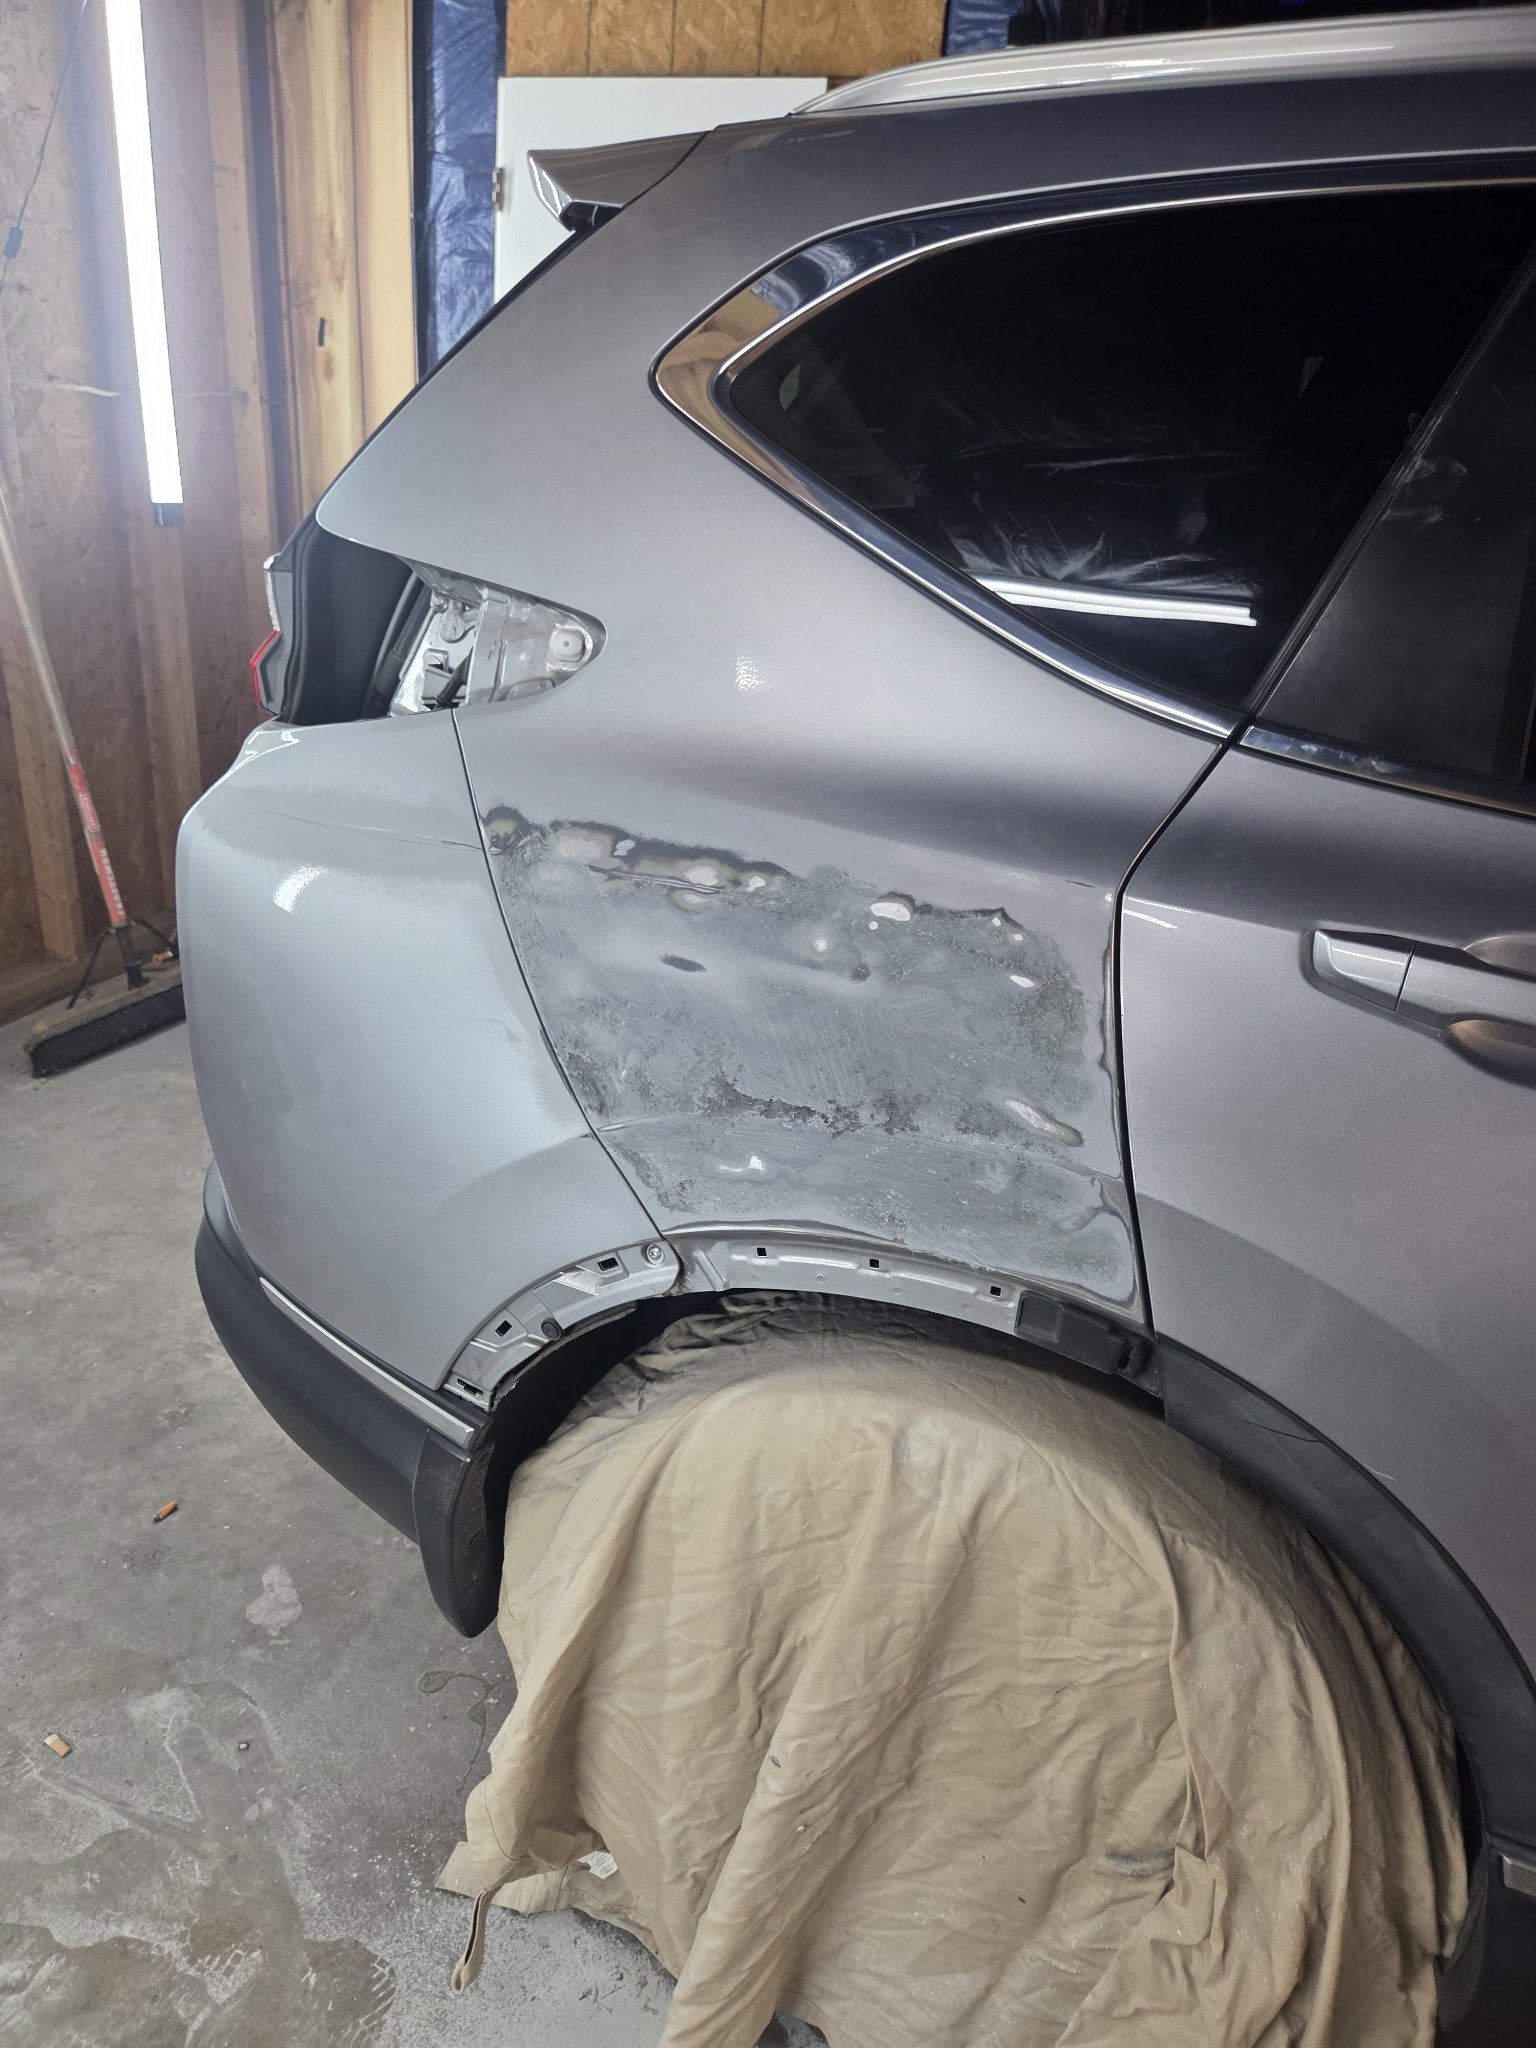
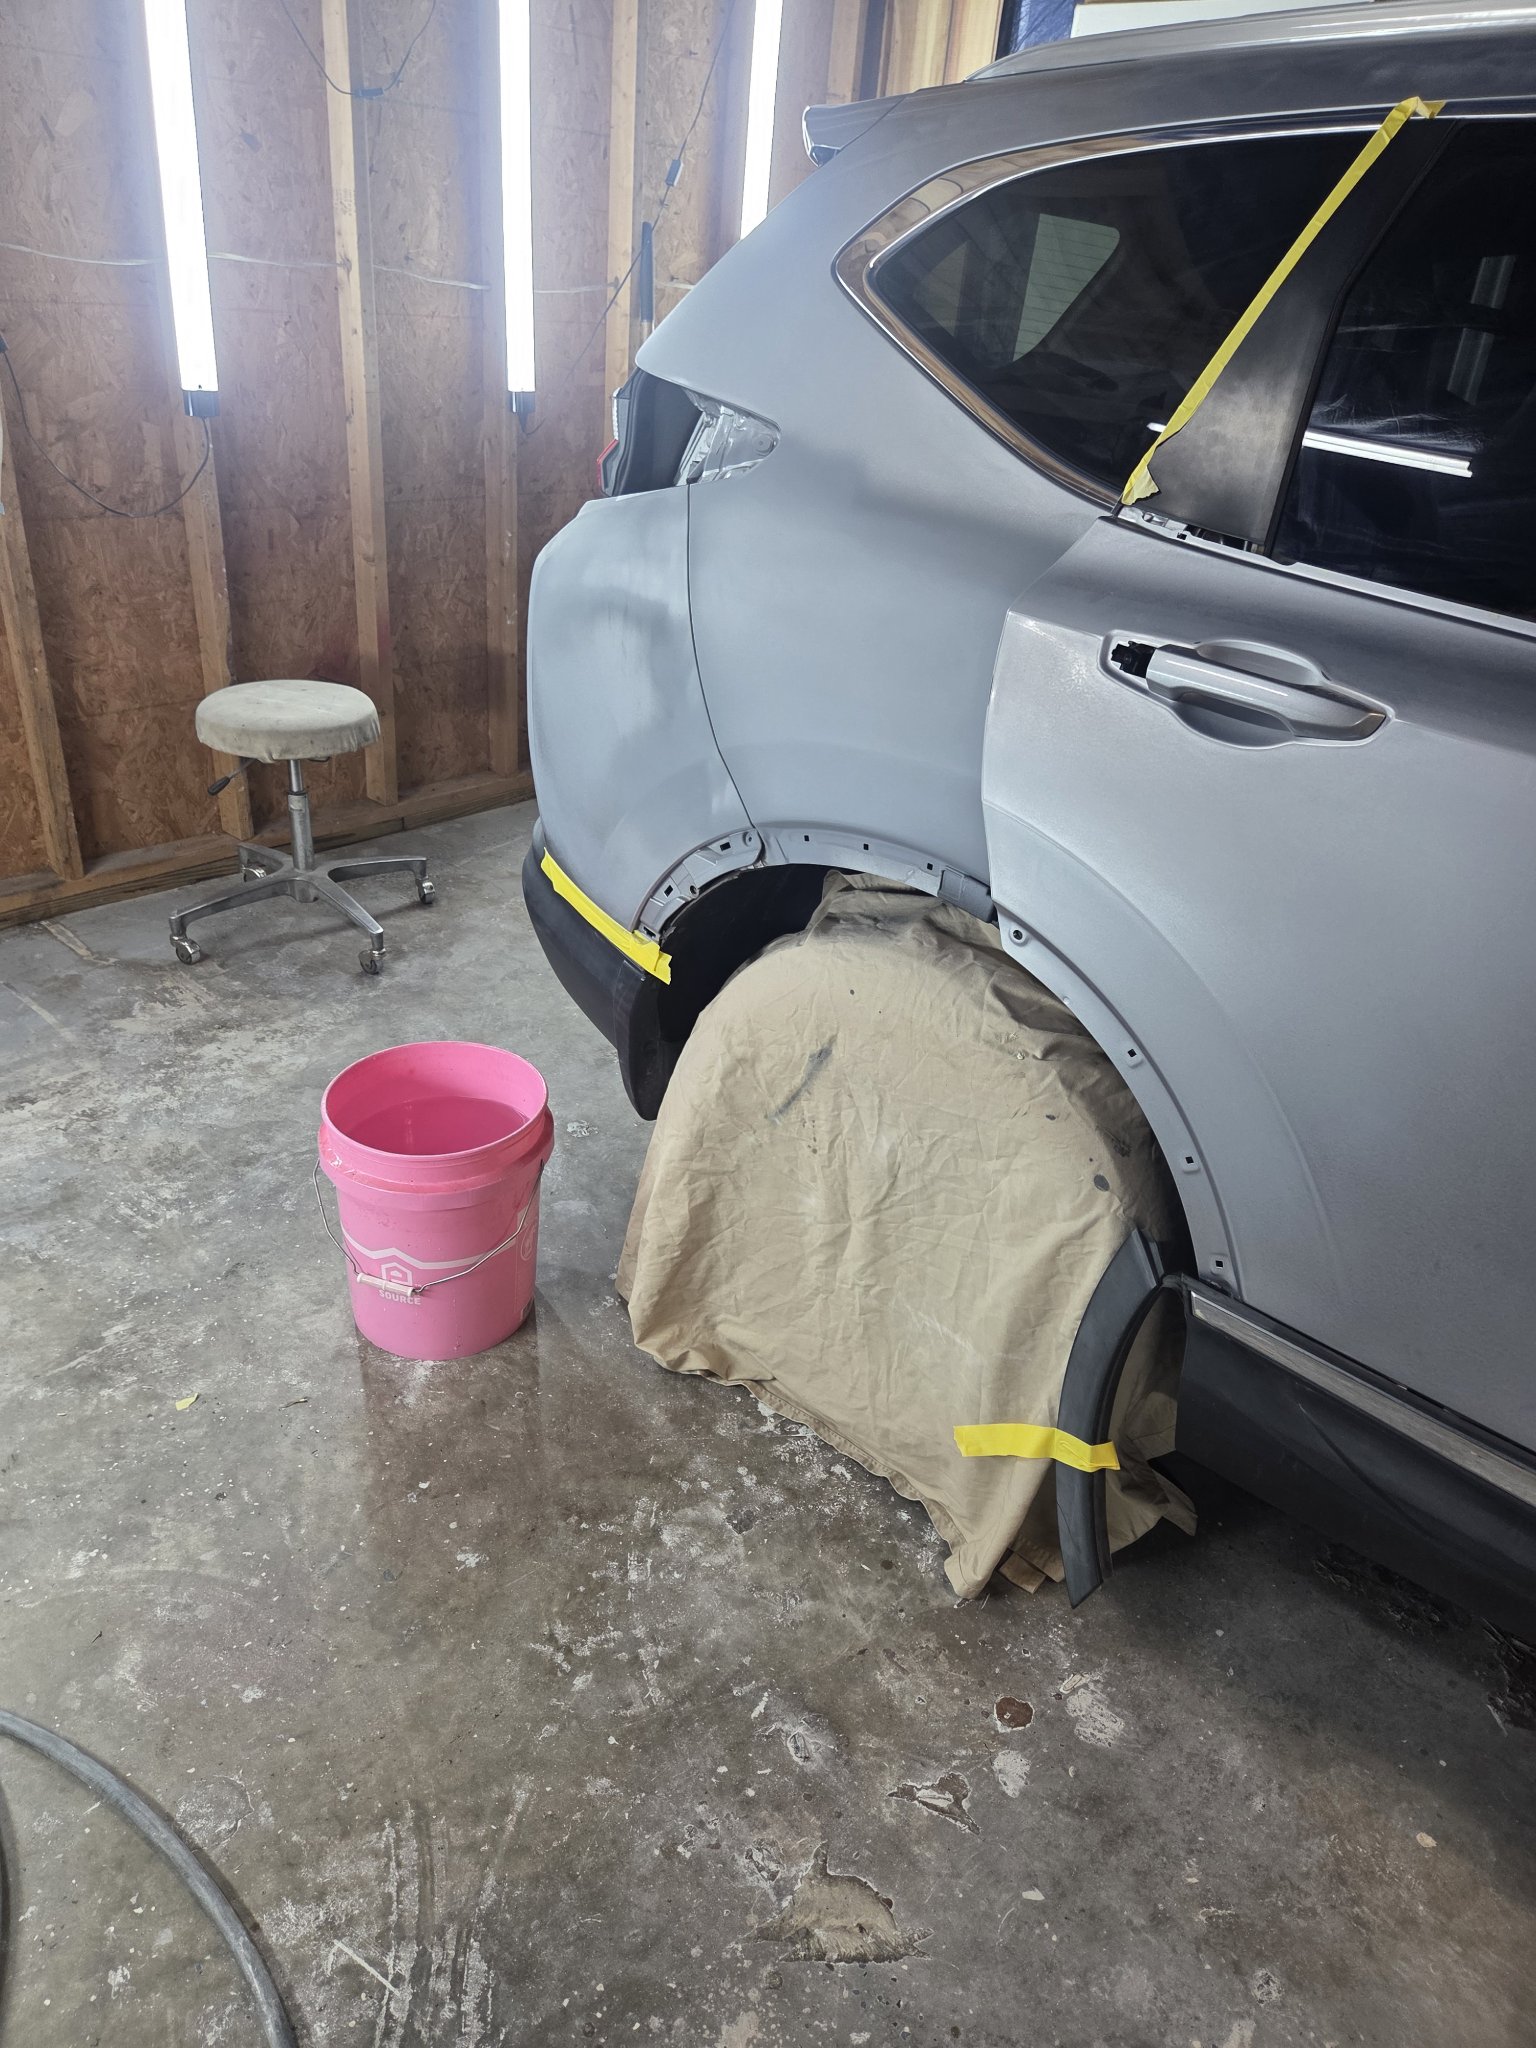
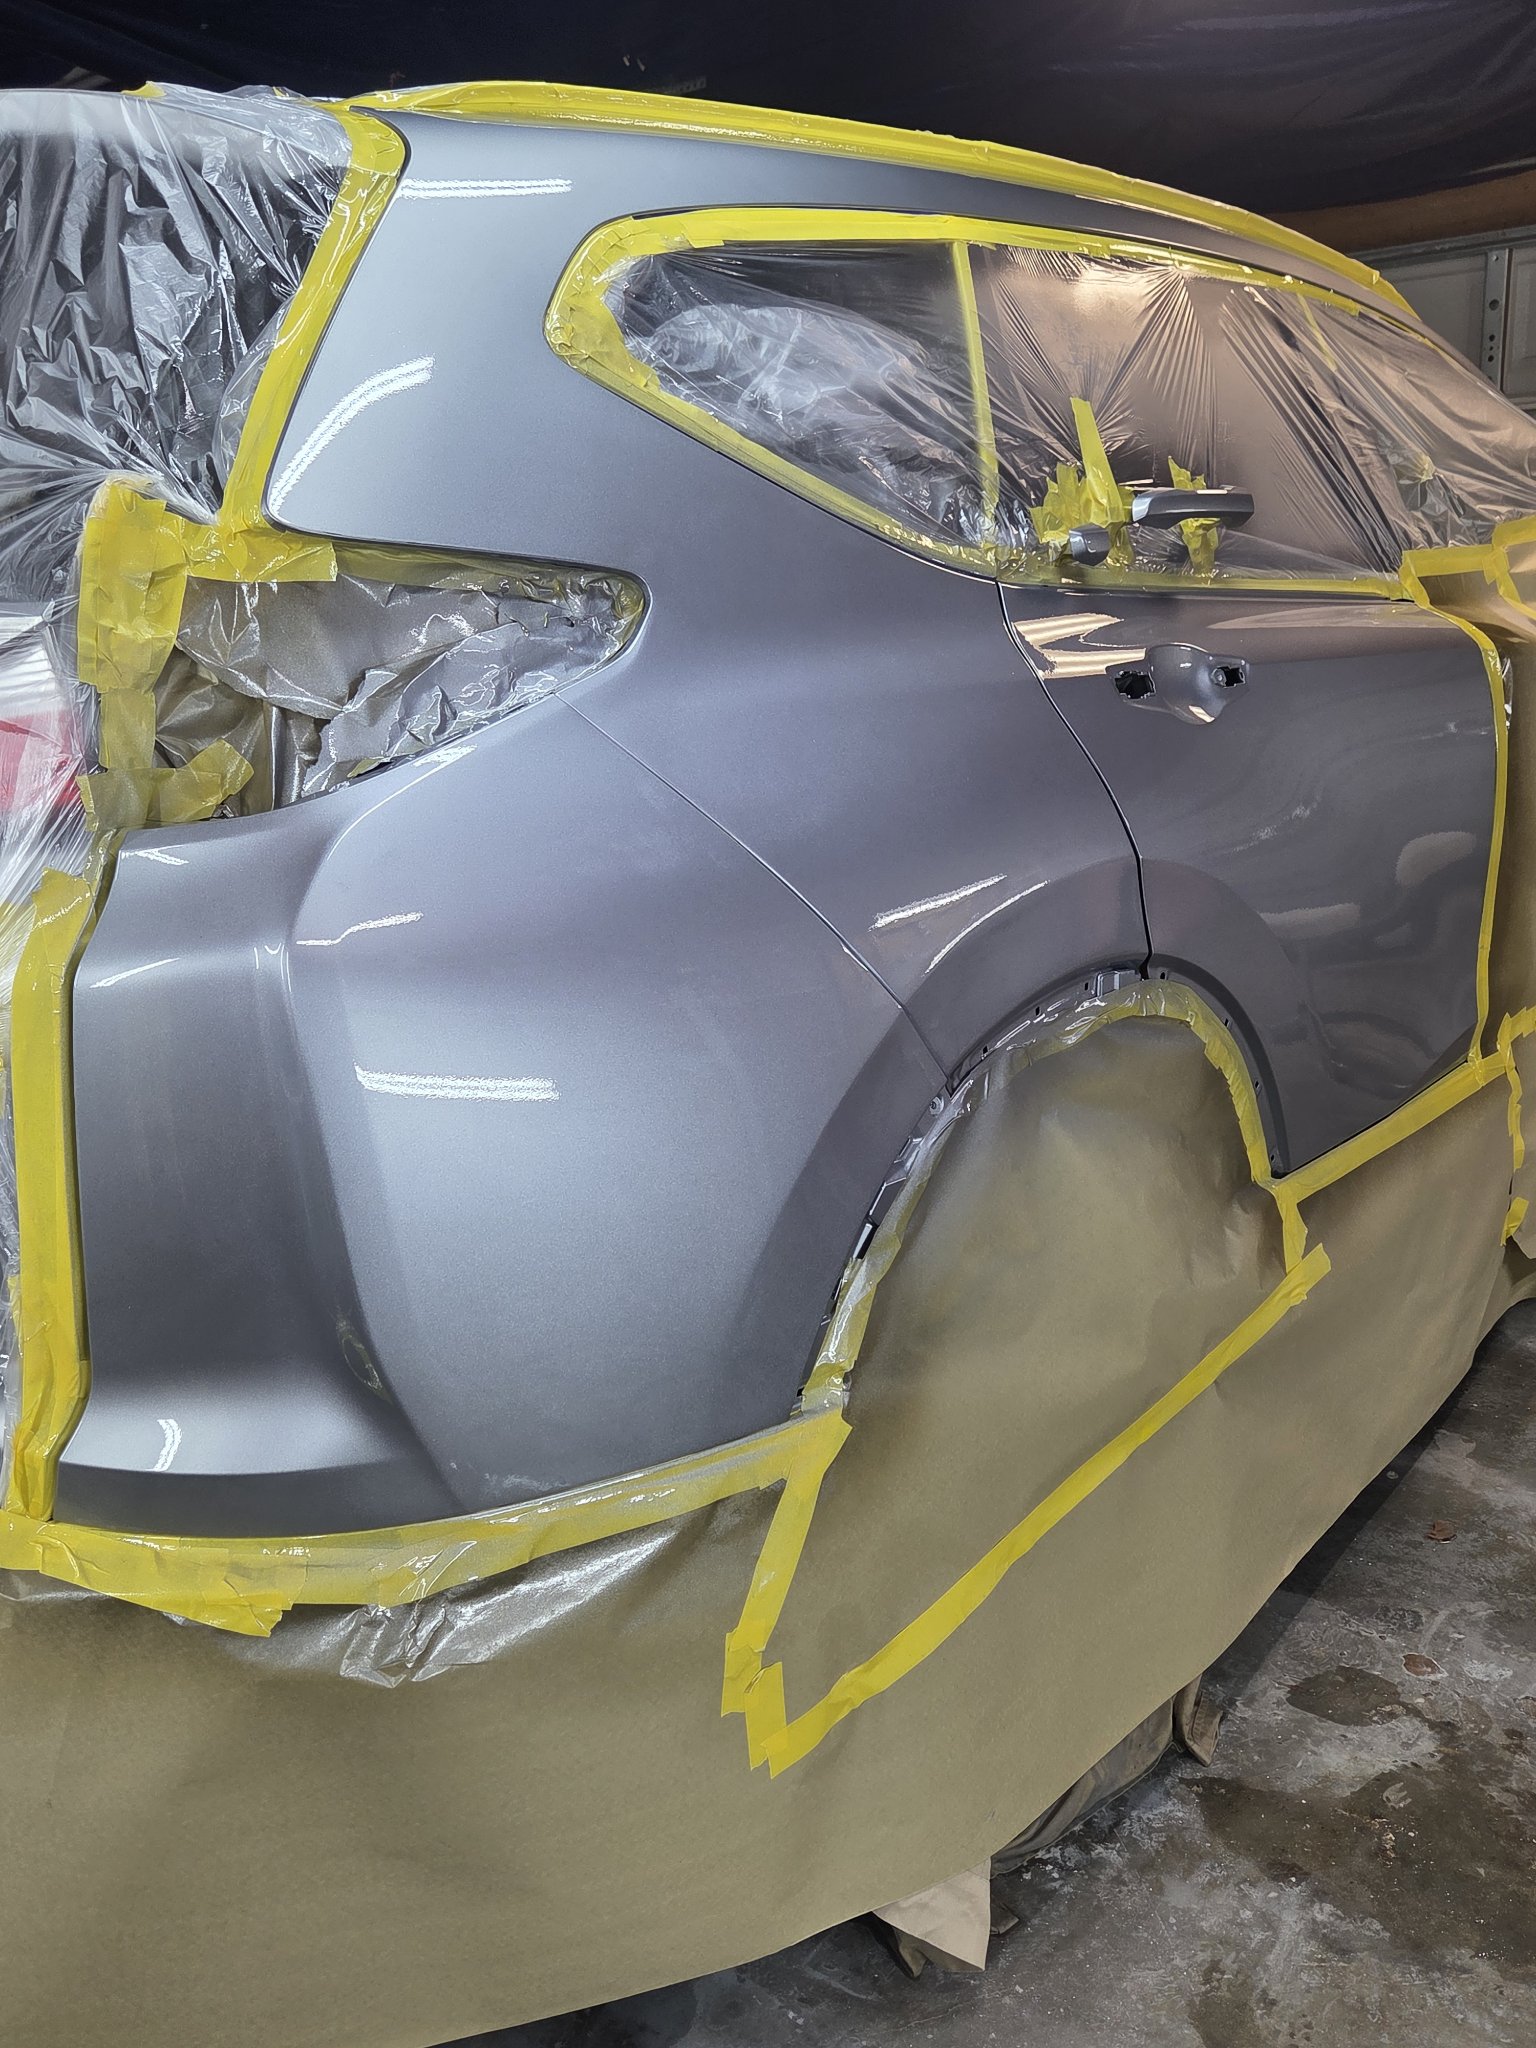
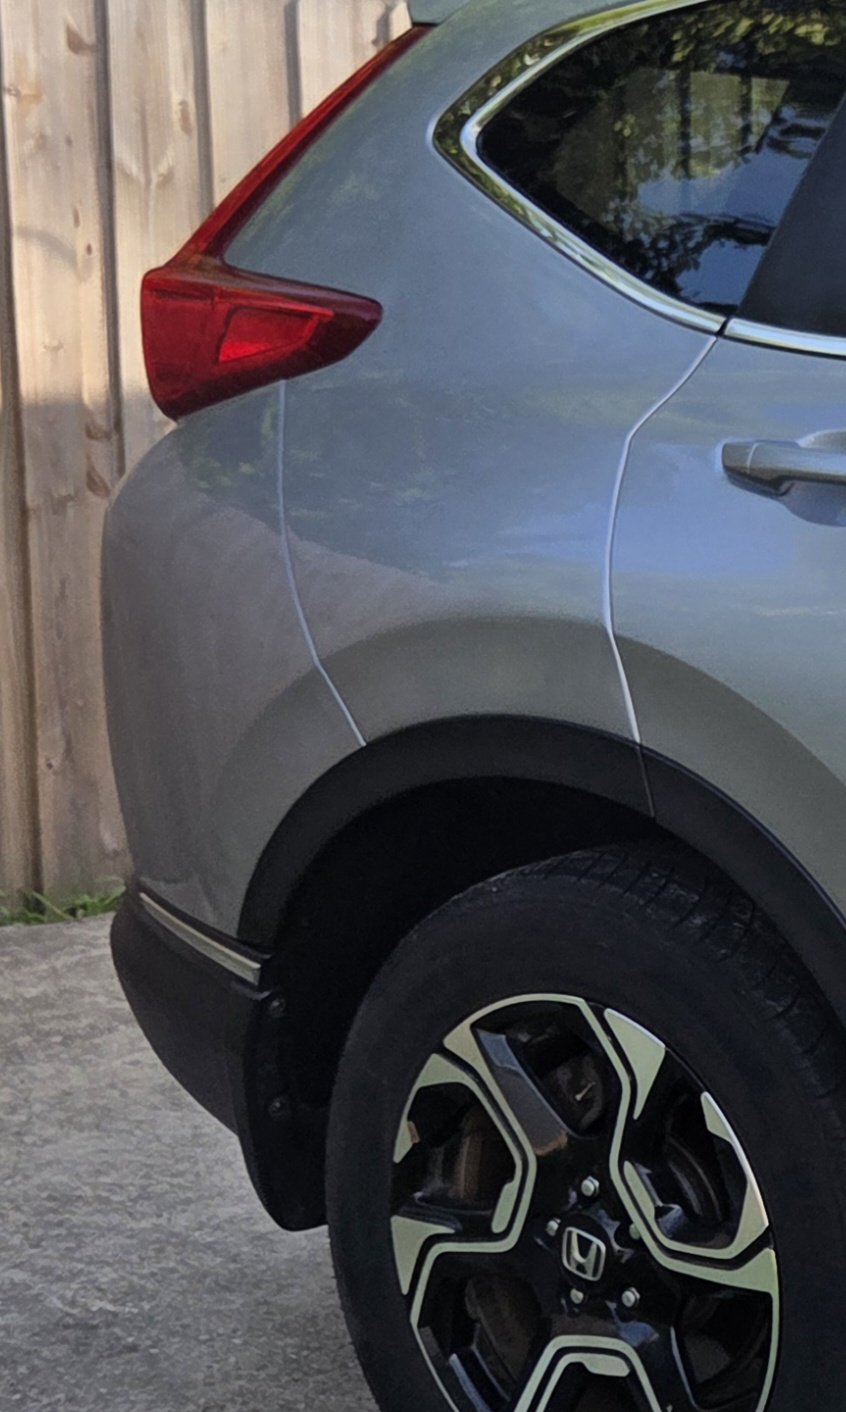
Not every job is a showpiece — this is the everyday work, done right. A crease in the driver-side rear quarter: pulled, filled, primed, painted, and blended until it disappeared.
01 The crease
The quarter, beforeThe crease, up close
02 Metalwork & primer
Metalwork underwayIn primer, straight again
03 Painted & blended
Painted and blendedFinished — like it never happened
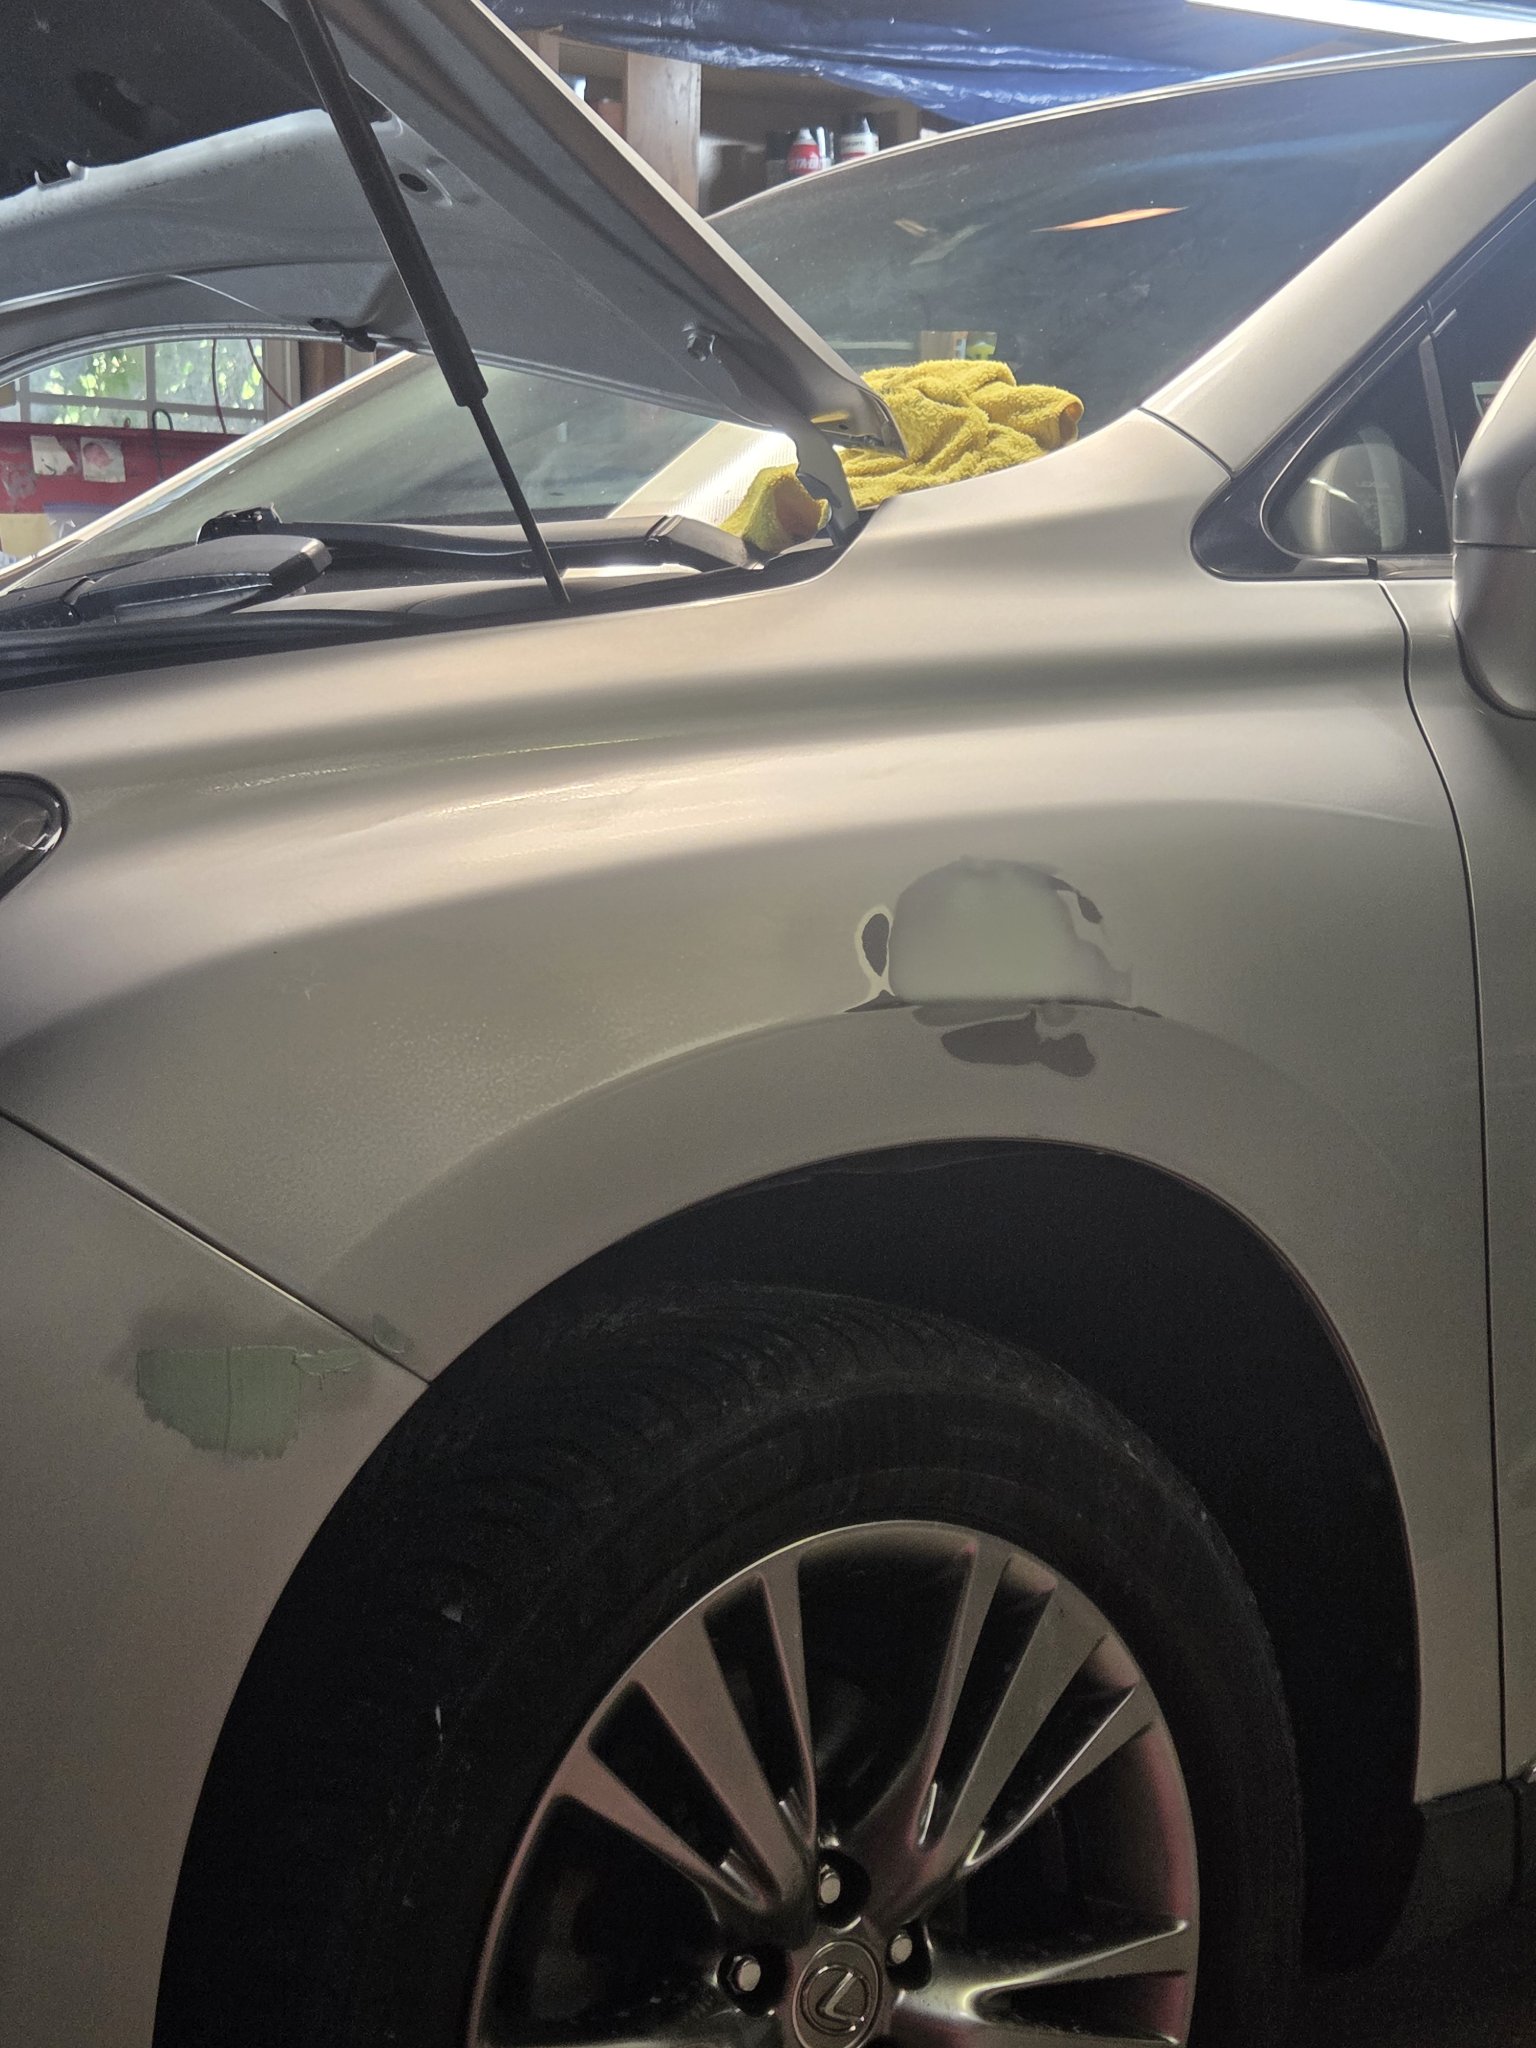
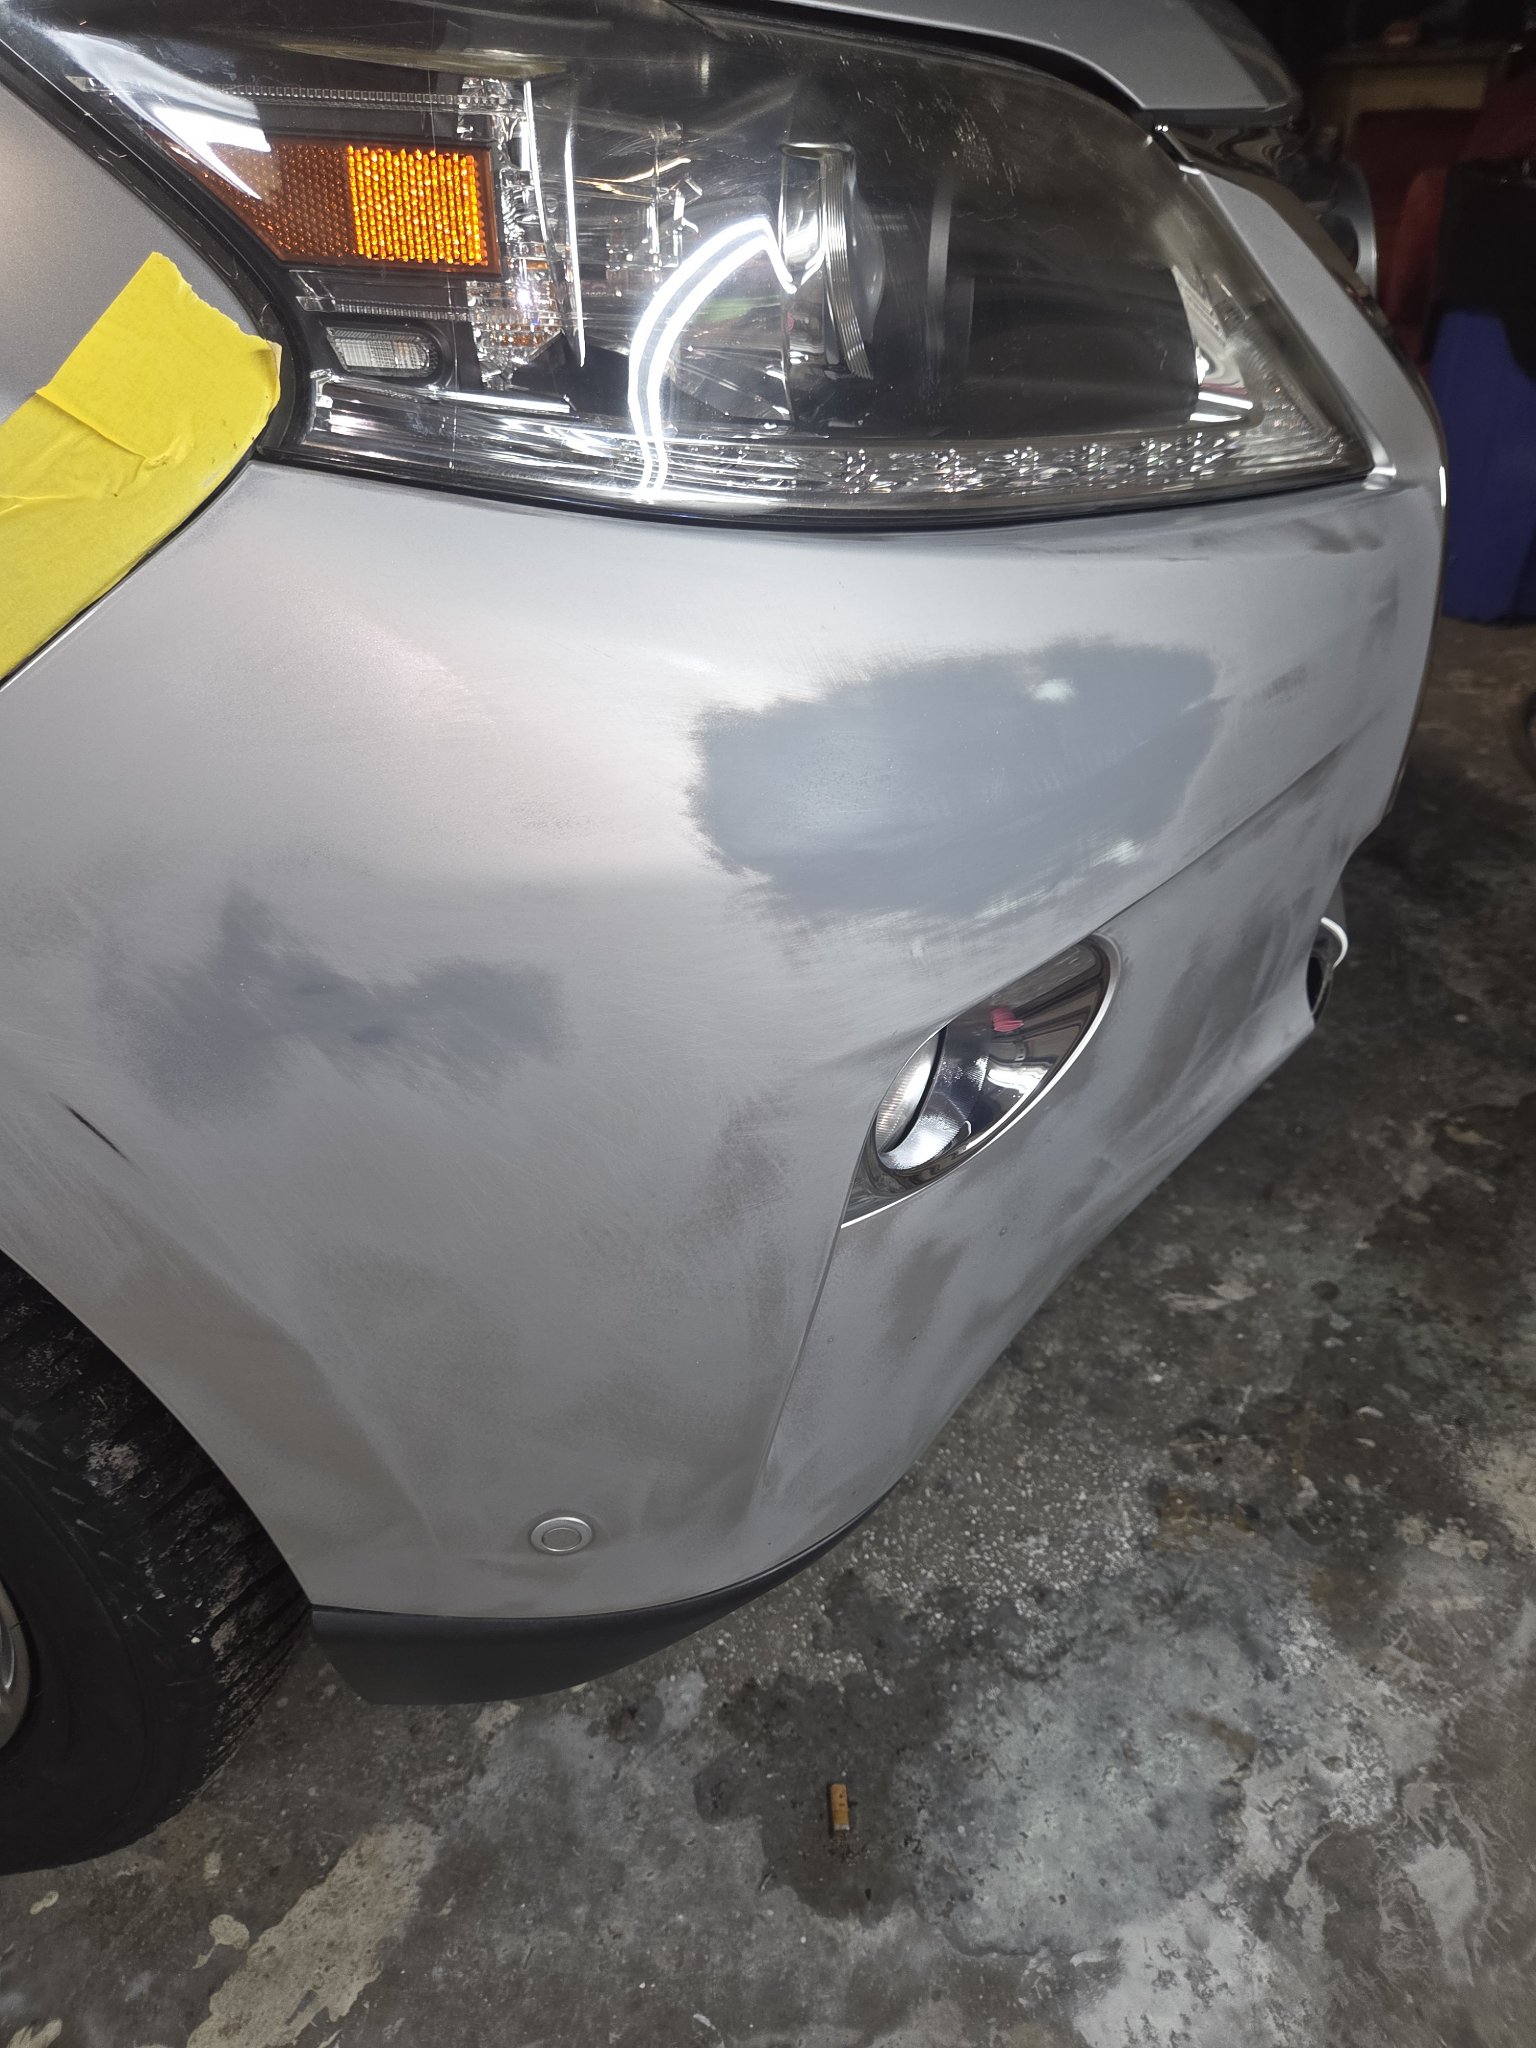
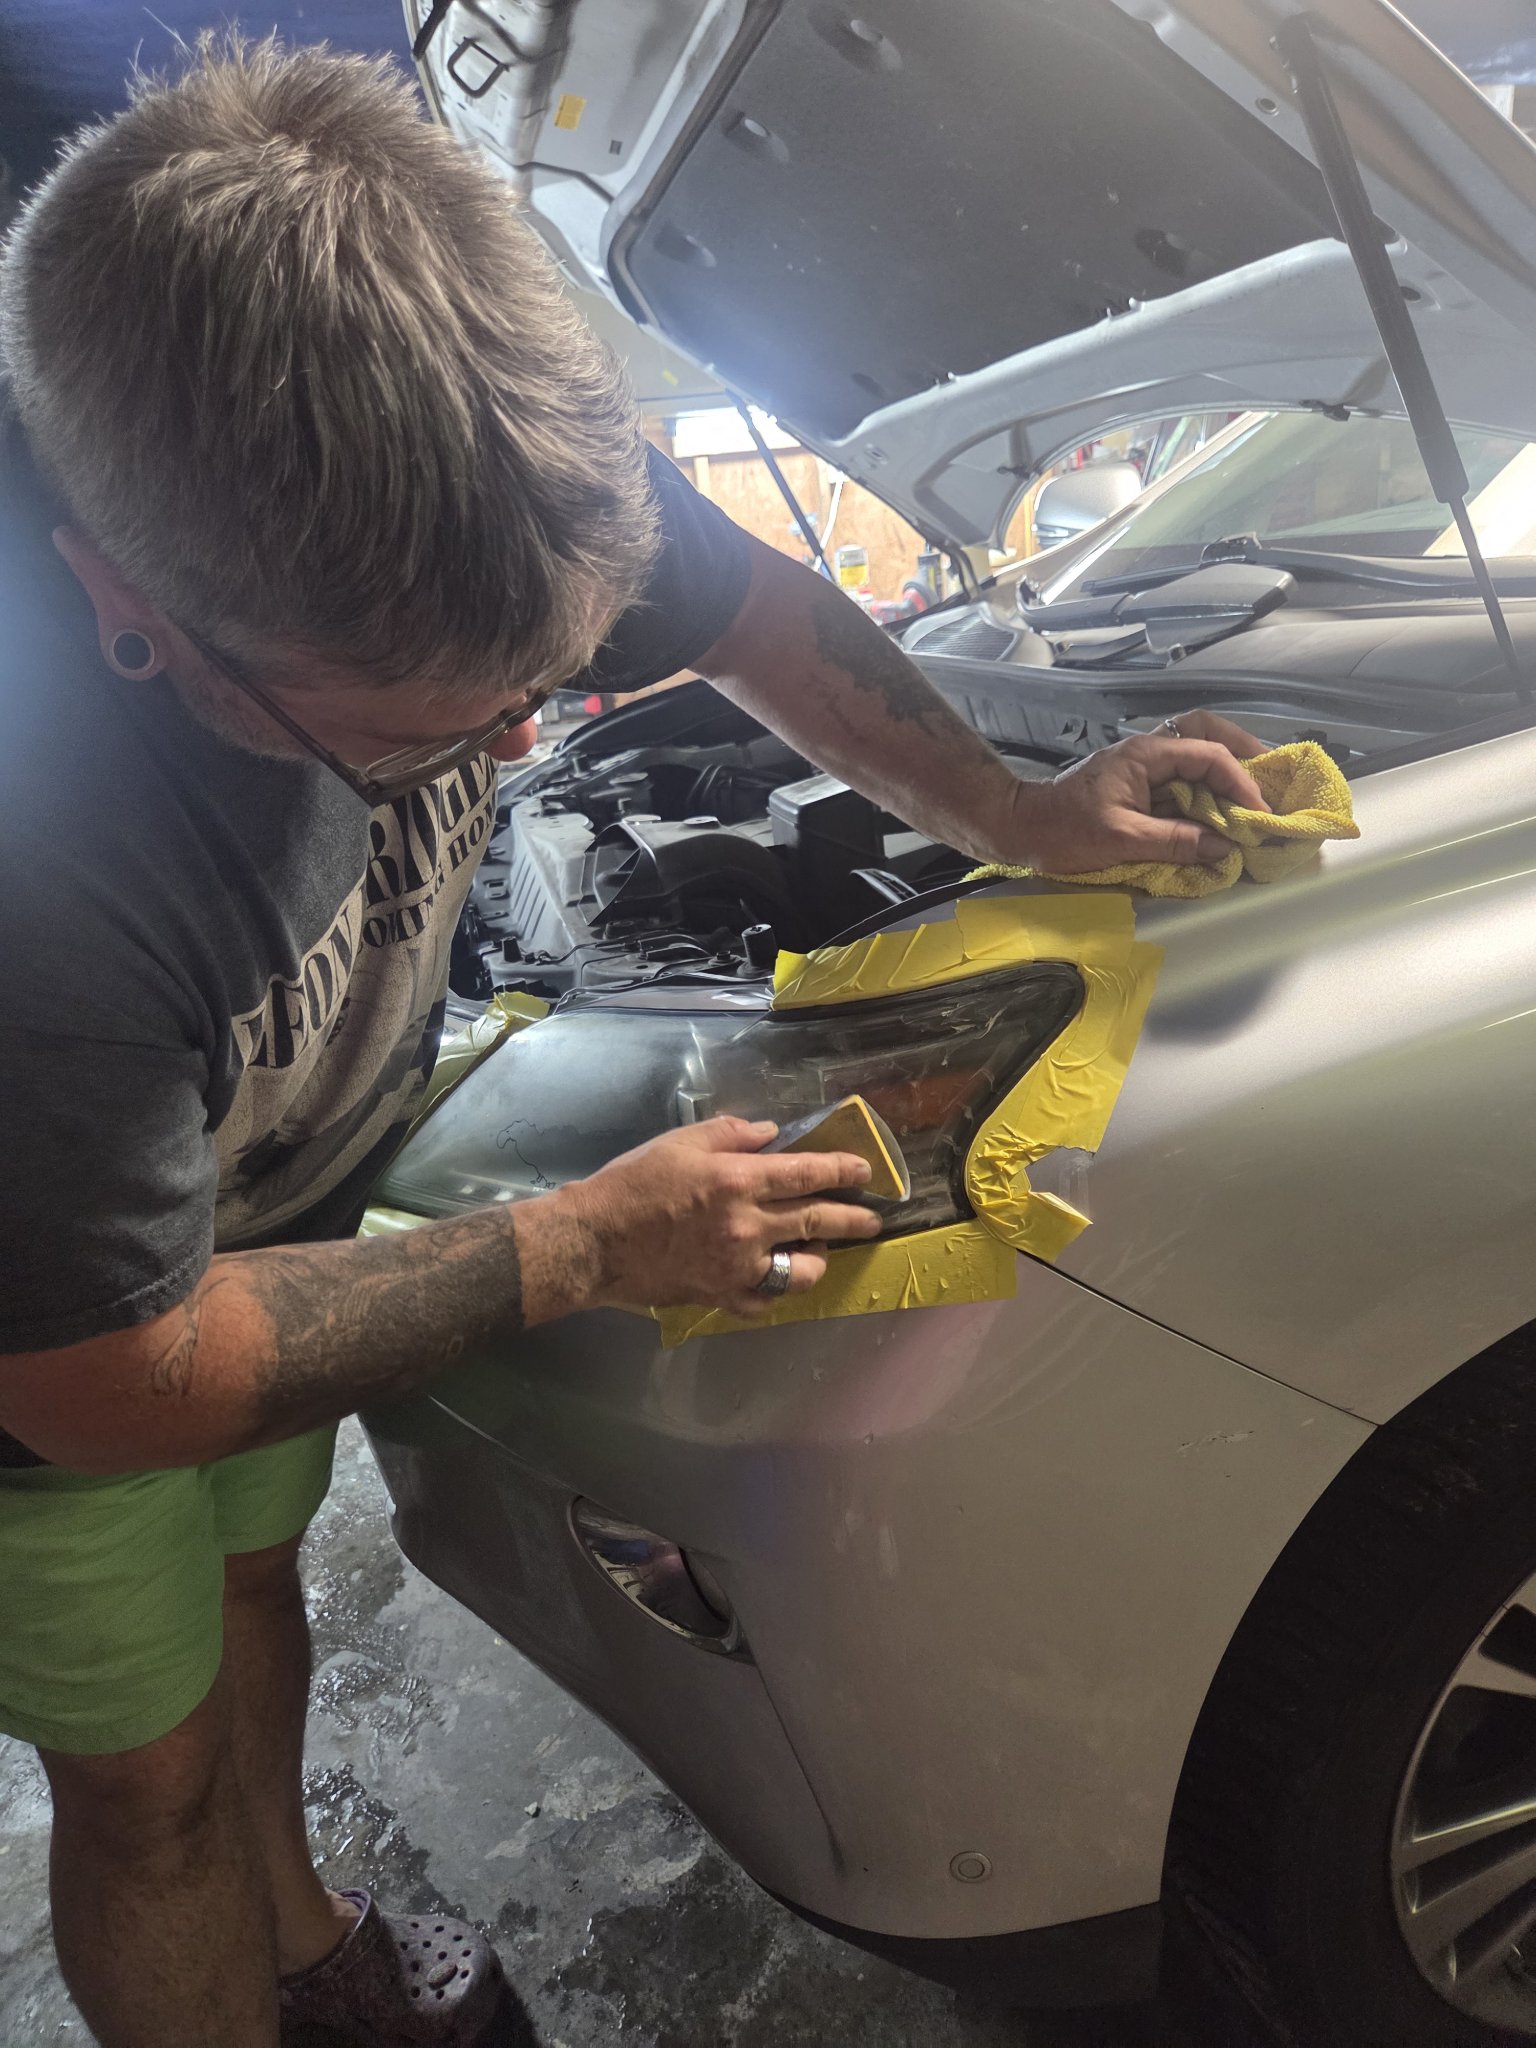
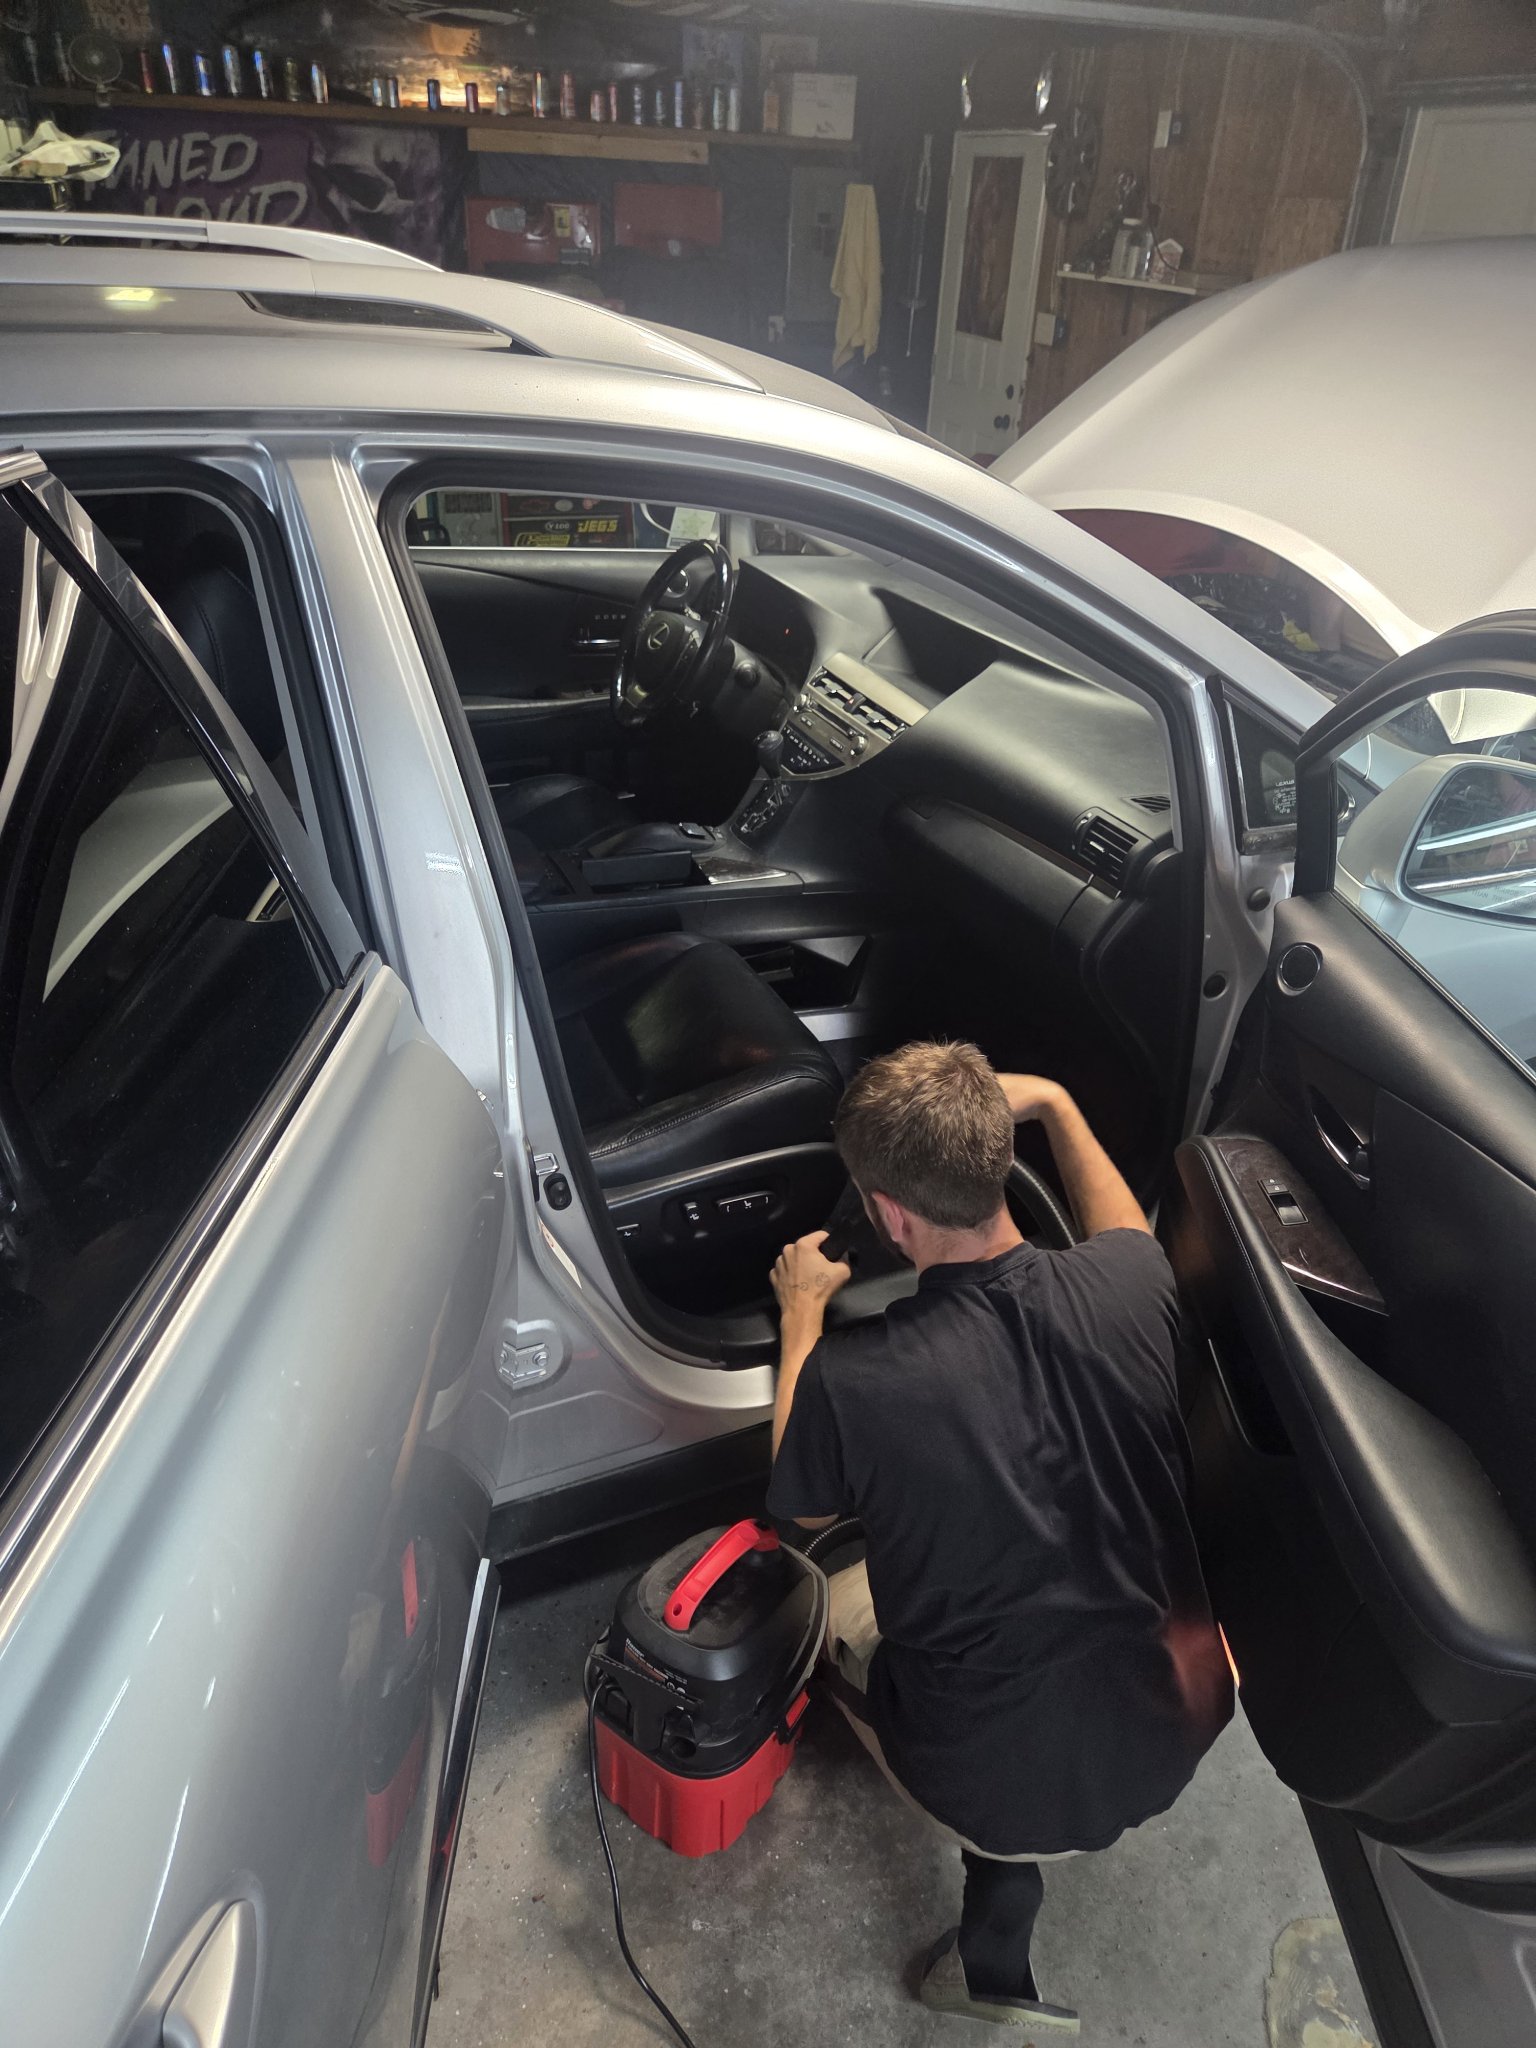
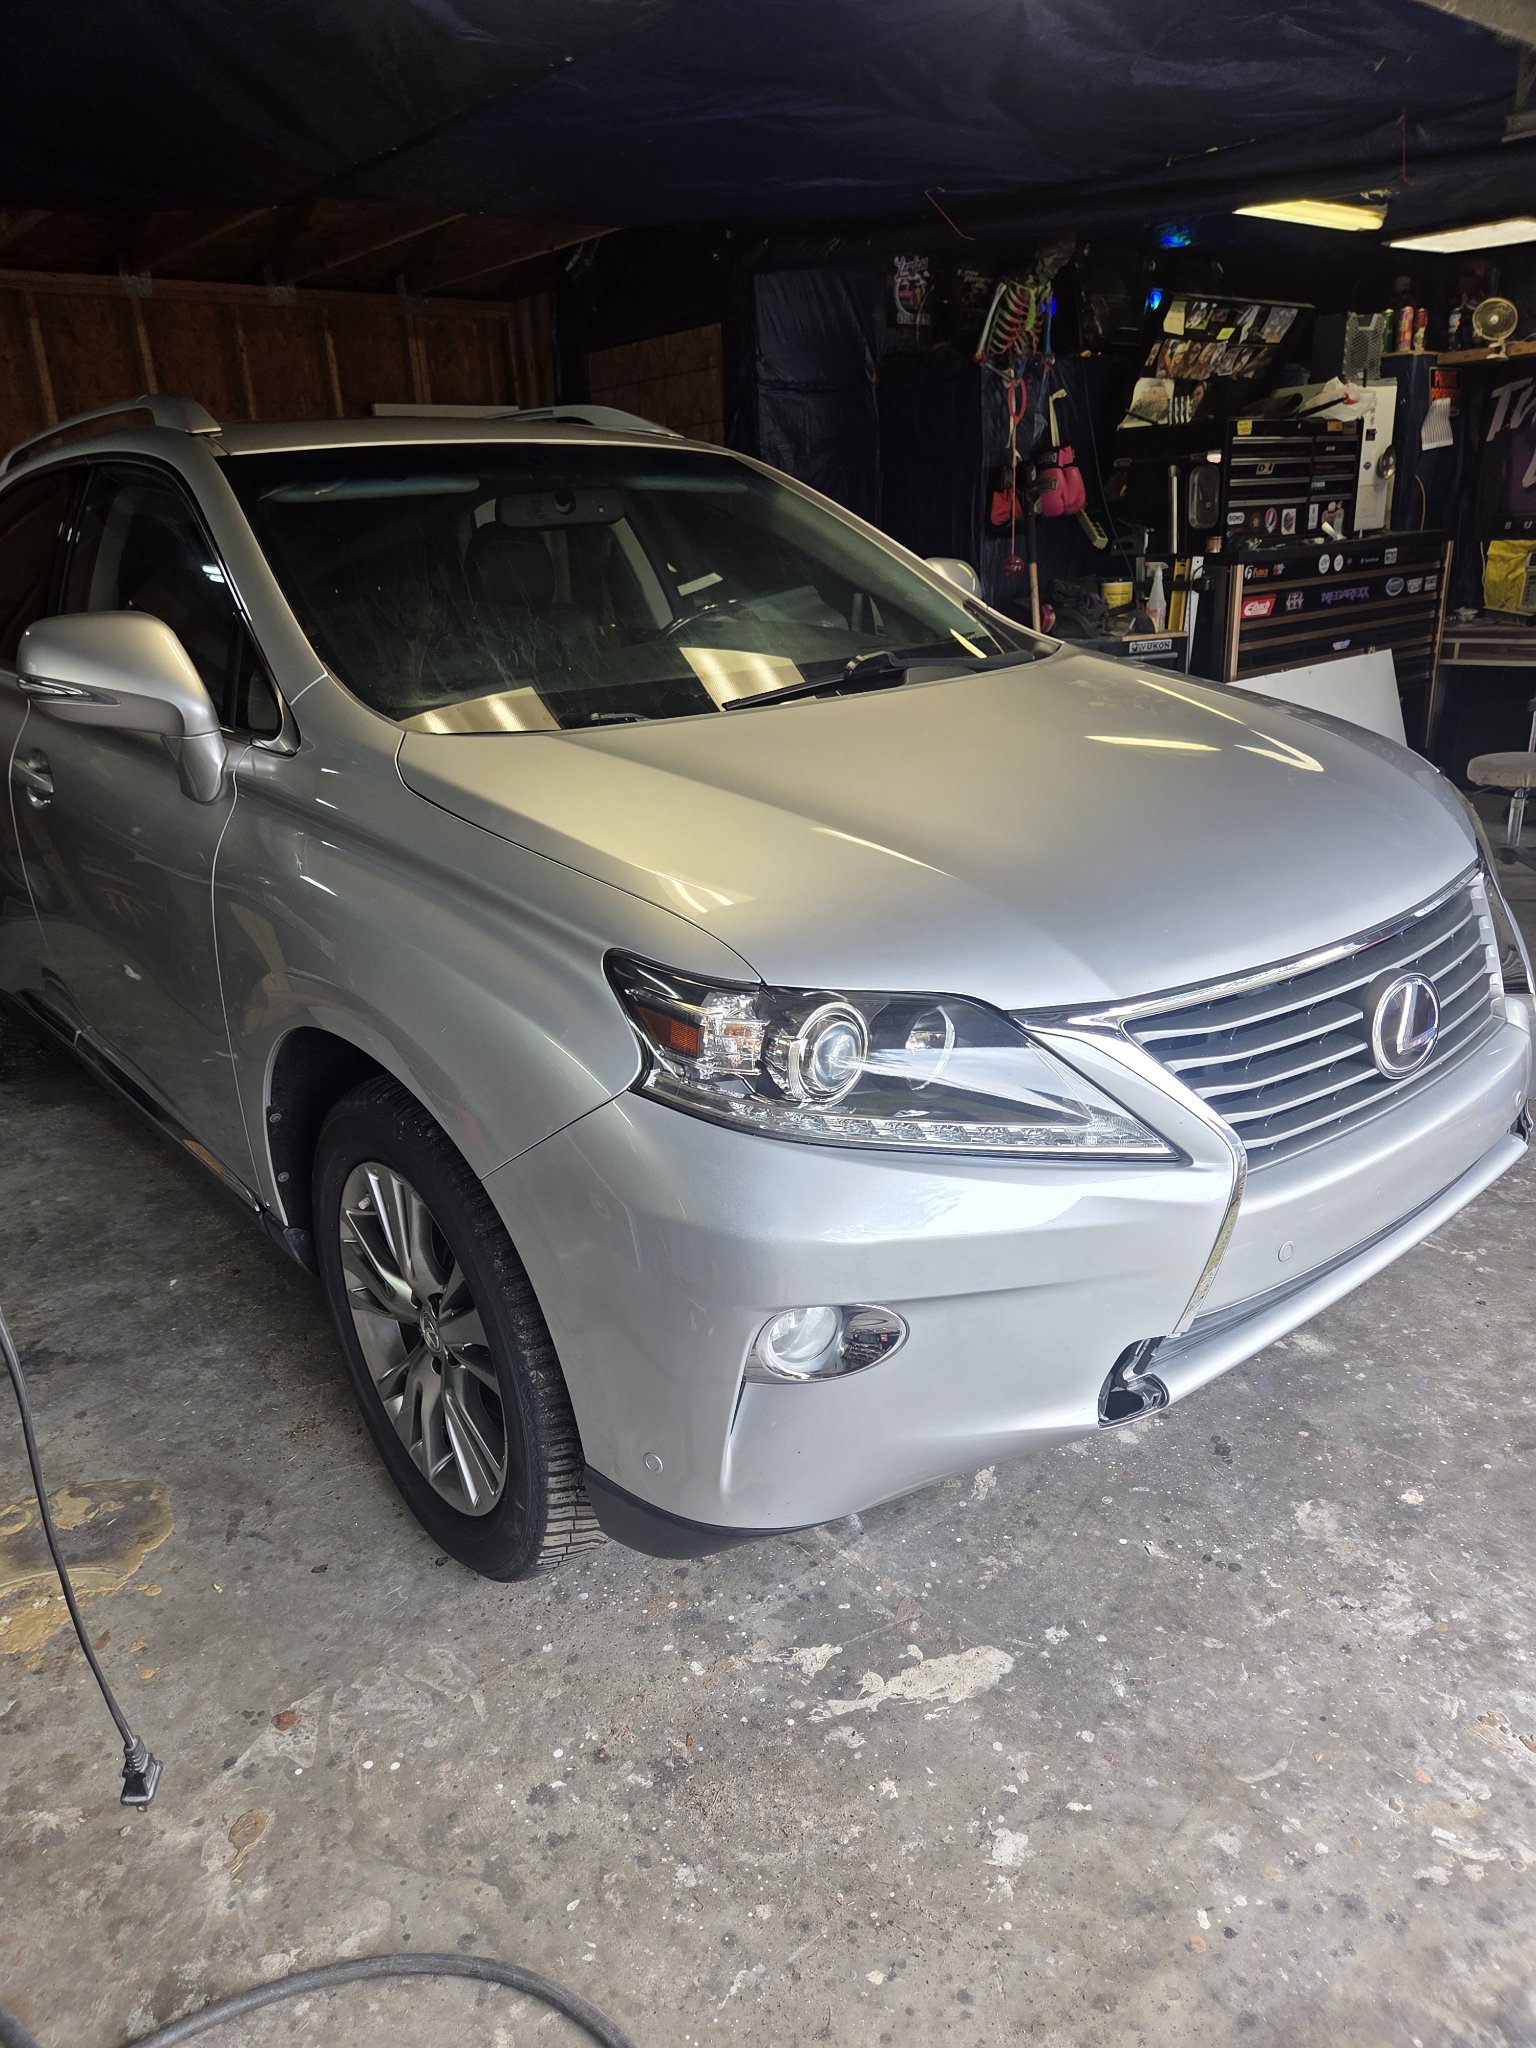
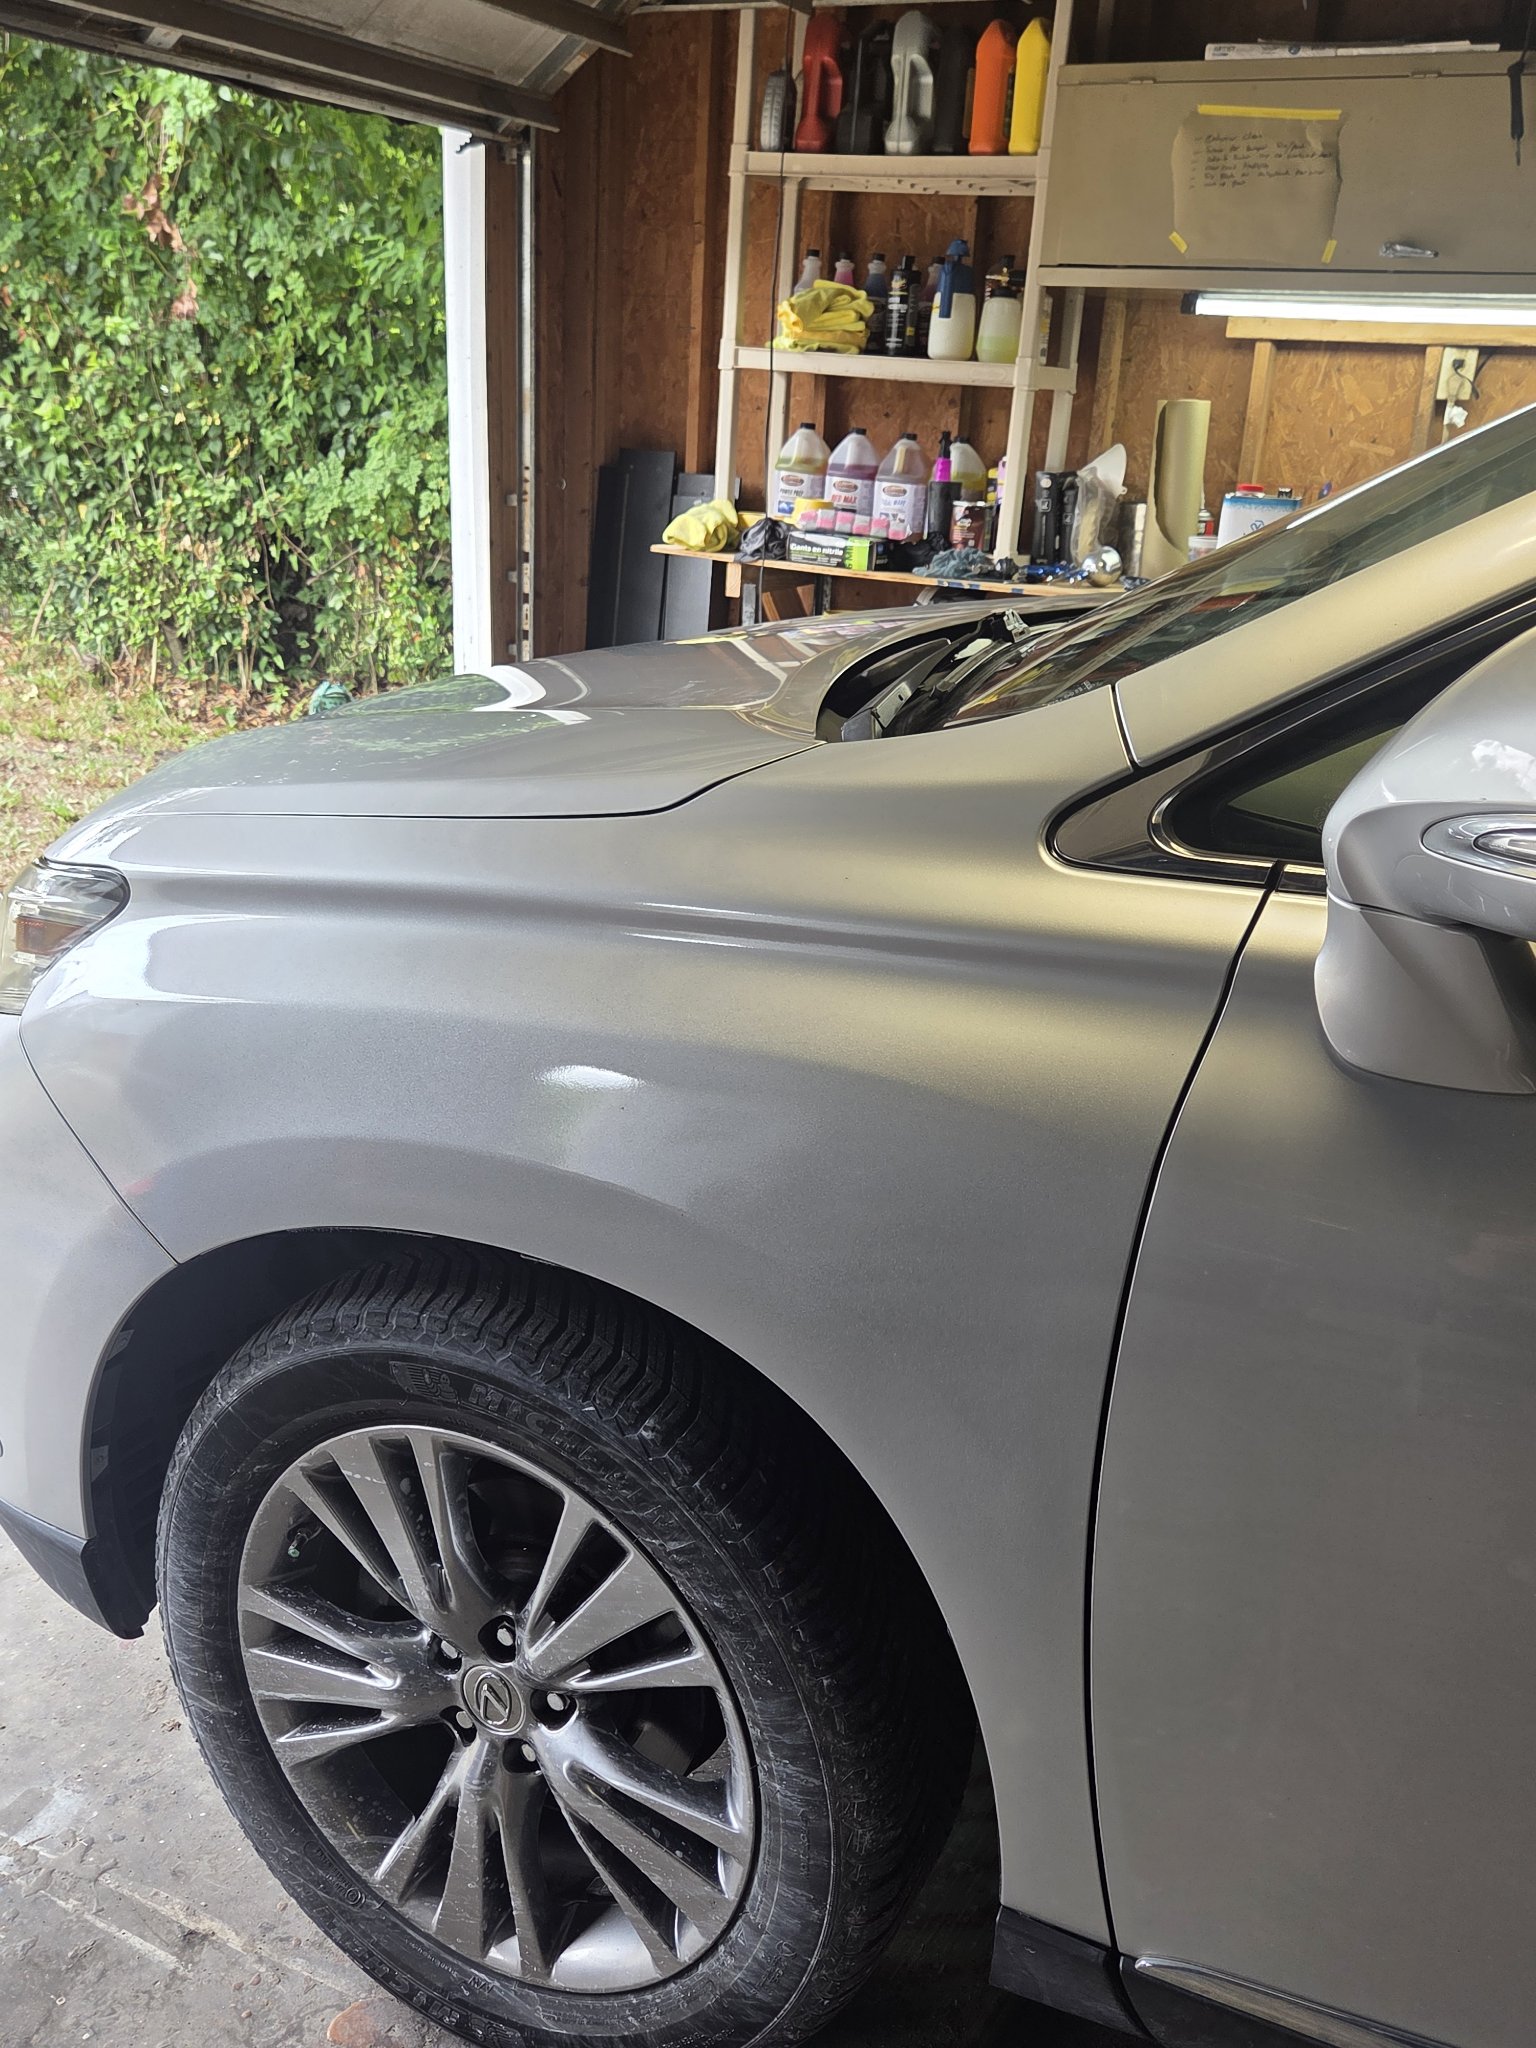
The everyday trifecta: front bumper and fender paint repair, headlights wet-sanded back to clear, and a full interior detail — a daily driver sent home looking years younger.
01 The damage
The fender, before
02 Prep & paint
Bumper preppedColor going on
03 Headlights brought back
Headlight, wet-sanded clear
04 Inside, too
Interior detail, underway
05 Finished
Finished, front viewThe fender, repaired
The man behind the shield
The Dark Horse
A dark horse is the one nobody picks to win. Overlooked, underestimated, counted out — right up until he crosses the line first.
That's not just a name on a sign. That's how this business got here. Matthew has spent a lifetime building cars — learning the trade the only way it really gets learned: with his hands, one car at a time. Detailing, bodywork, paint, customization — if it can be taken apart, fixed, and put back better, he's done it.
“He has built thousands of cars in his lifetime.”
— said by a customer, and earned the hard way
Nobody handed him a shop, a crew, or a head start. What he got was a work ethic and a stubborn streak — the kind that hears “you won't make it” and treats it as fuel.
This is a family business, built on a family trade. Matthew works alongside his son, Lucas Saylor — the same knowledge, passed hand to hand, car to car. When your family's name and hands are on the work, “good enough” isn't in the vocabulary. Every panel, every seam, every interior gets treated like the family name is riding on it — because it is.
That's the foundation Dark Horse Elite Detailing stands on: underestimated outsiders, family hands, and work that outruns every expectation. We weren't supposed to be here. We're not going anywhere, either.
So bring us the car. The dented tailgate, the tired paint, the truck that needs someone to actually care. The dark horse is ready when you are.
Earned, never givenFamily hands on every jobLet the work talk
Career highlights
The Road Here
Dark Horse didn't start with a sign and a phone number. It started with years of building — trucks for Mack, fire trucks for the people who run toward the fire, and one very special wheelchair.
The Jack Mack
Mack Trucks · one-of-one tribute truck
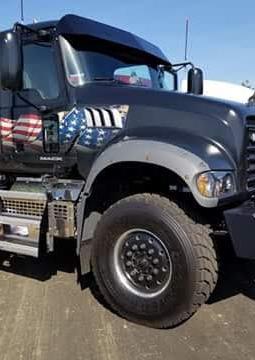
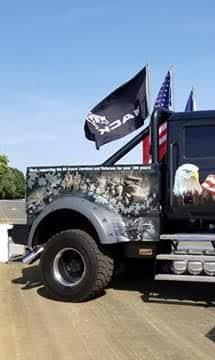
A special custom Mack created as a tribute truck for Mack Trucks — flag mural work down the cab, a camo bed, an eagle on the side. Matthew helped build it while he worked at Mack Trucks, years before Dark Horse had a name. One of one, and he had a hand in it.
The flag mural across the cabCamo bed, eagle on the cab
The Fire Truck Years
Fire apparatus plant · body & paint
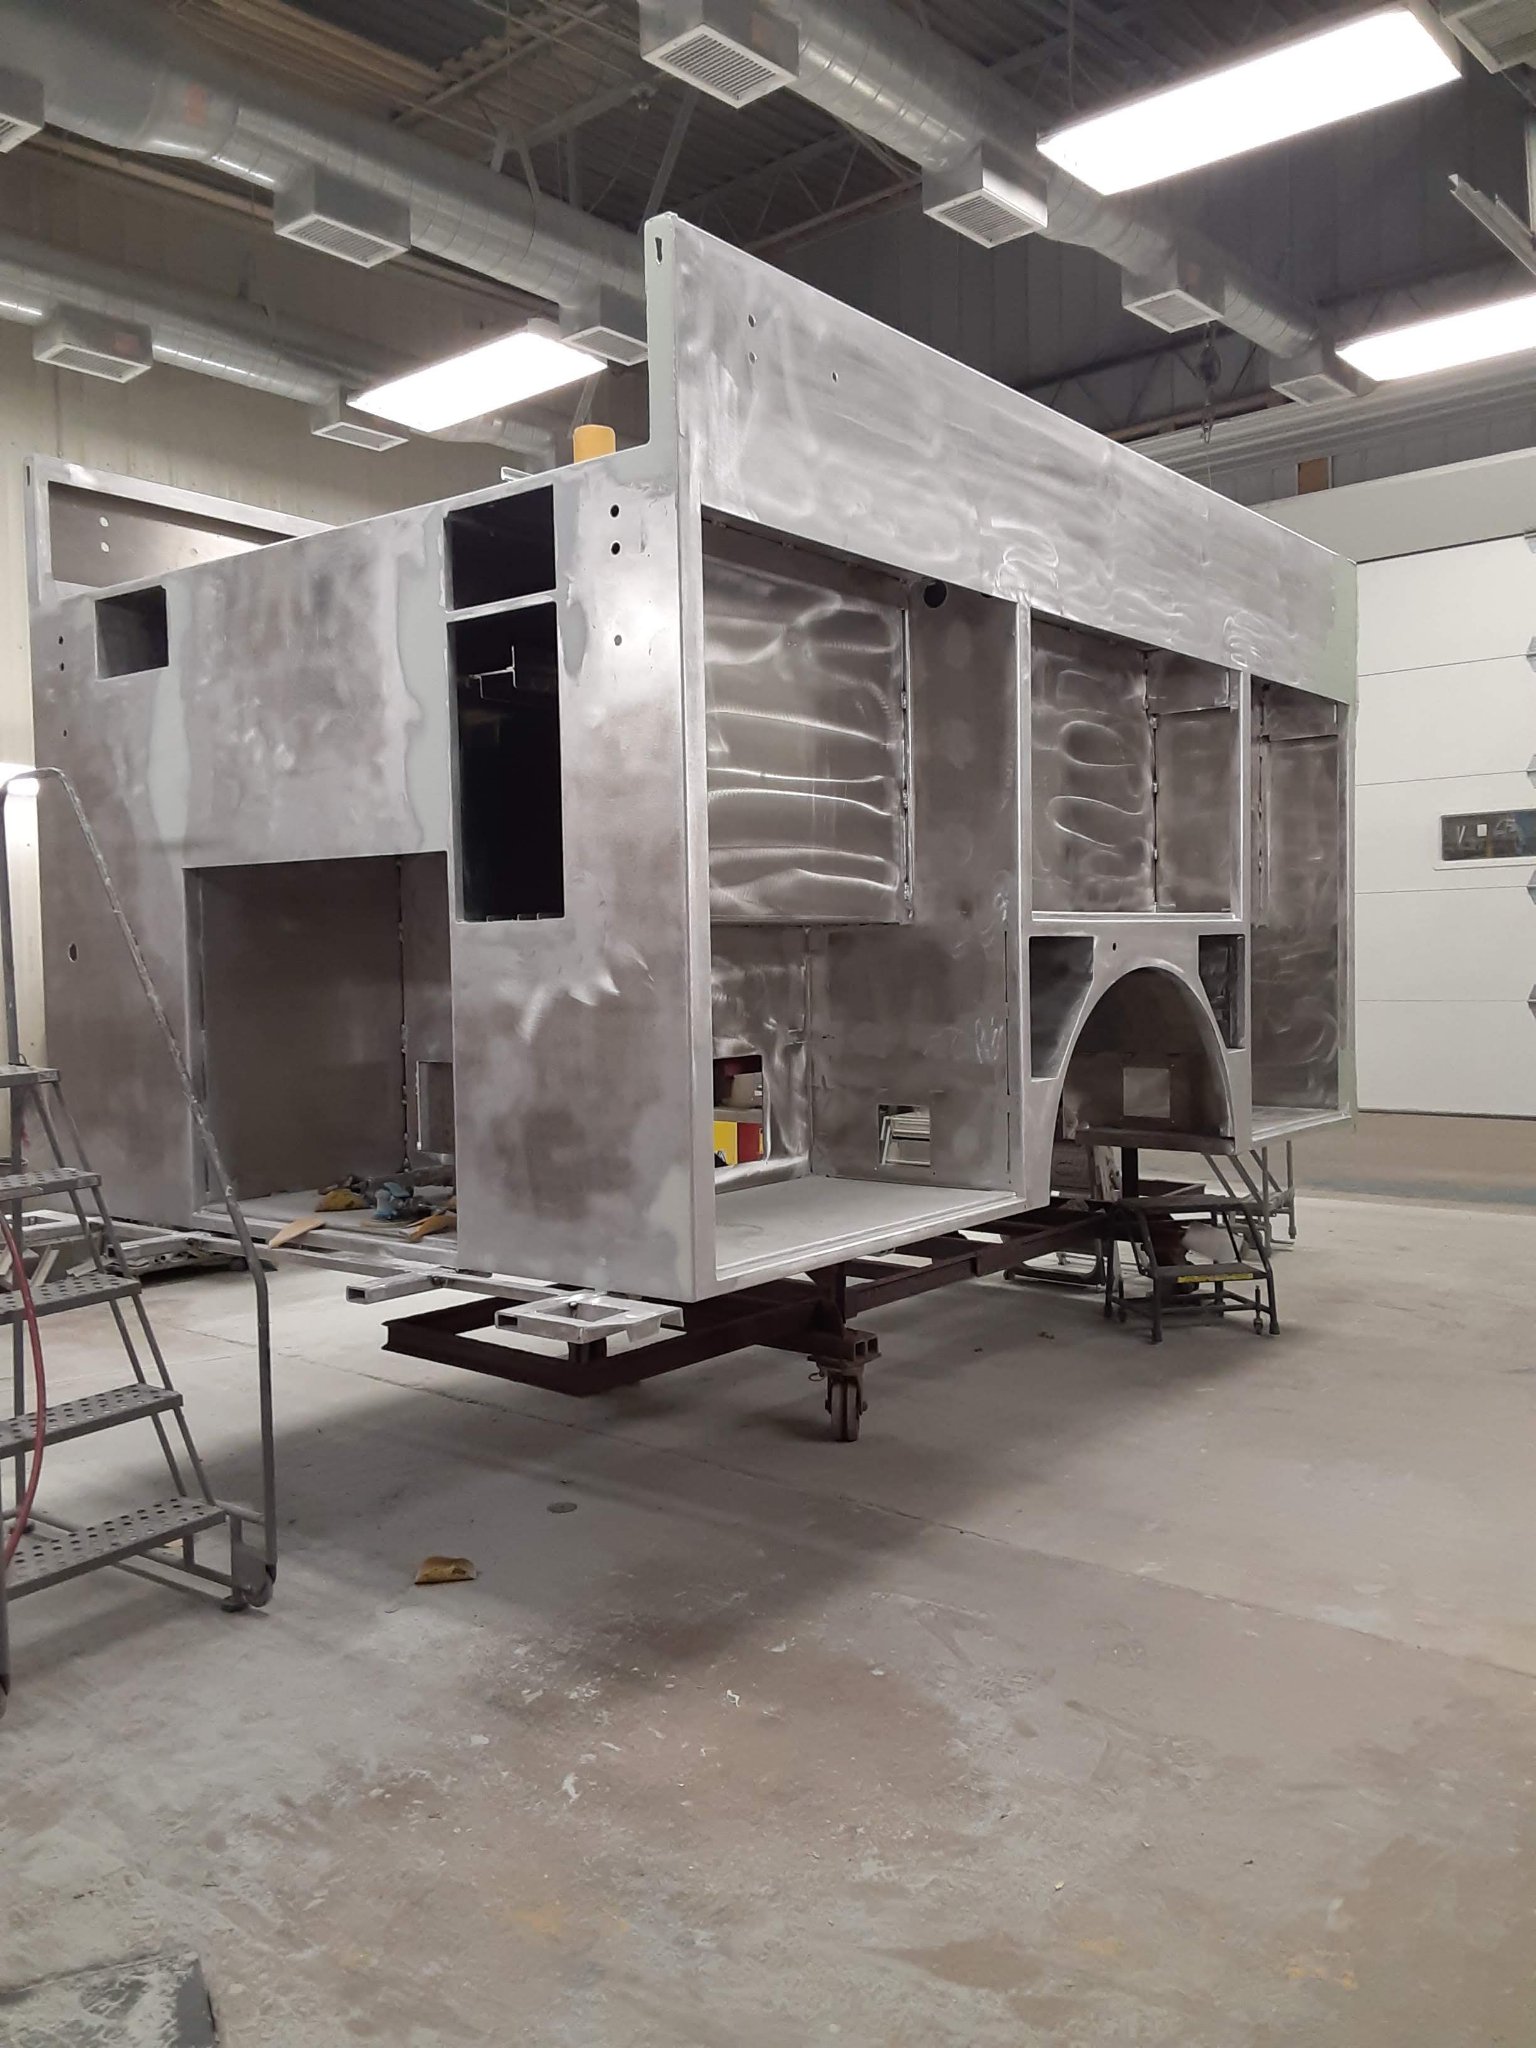
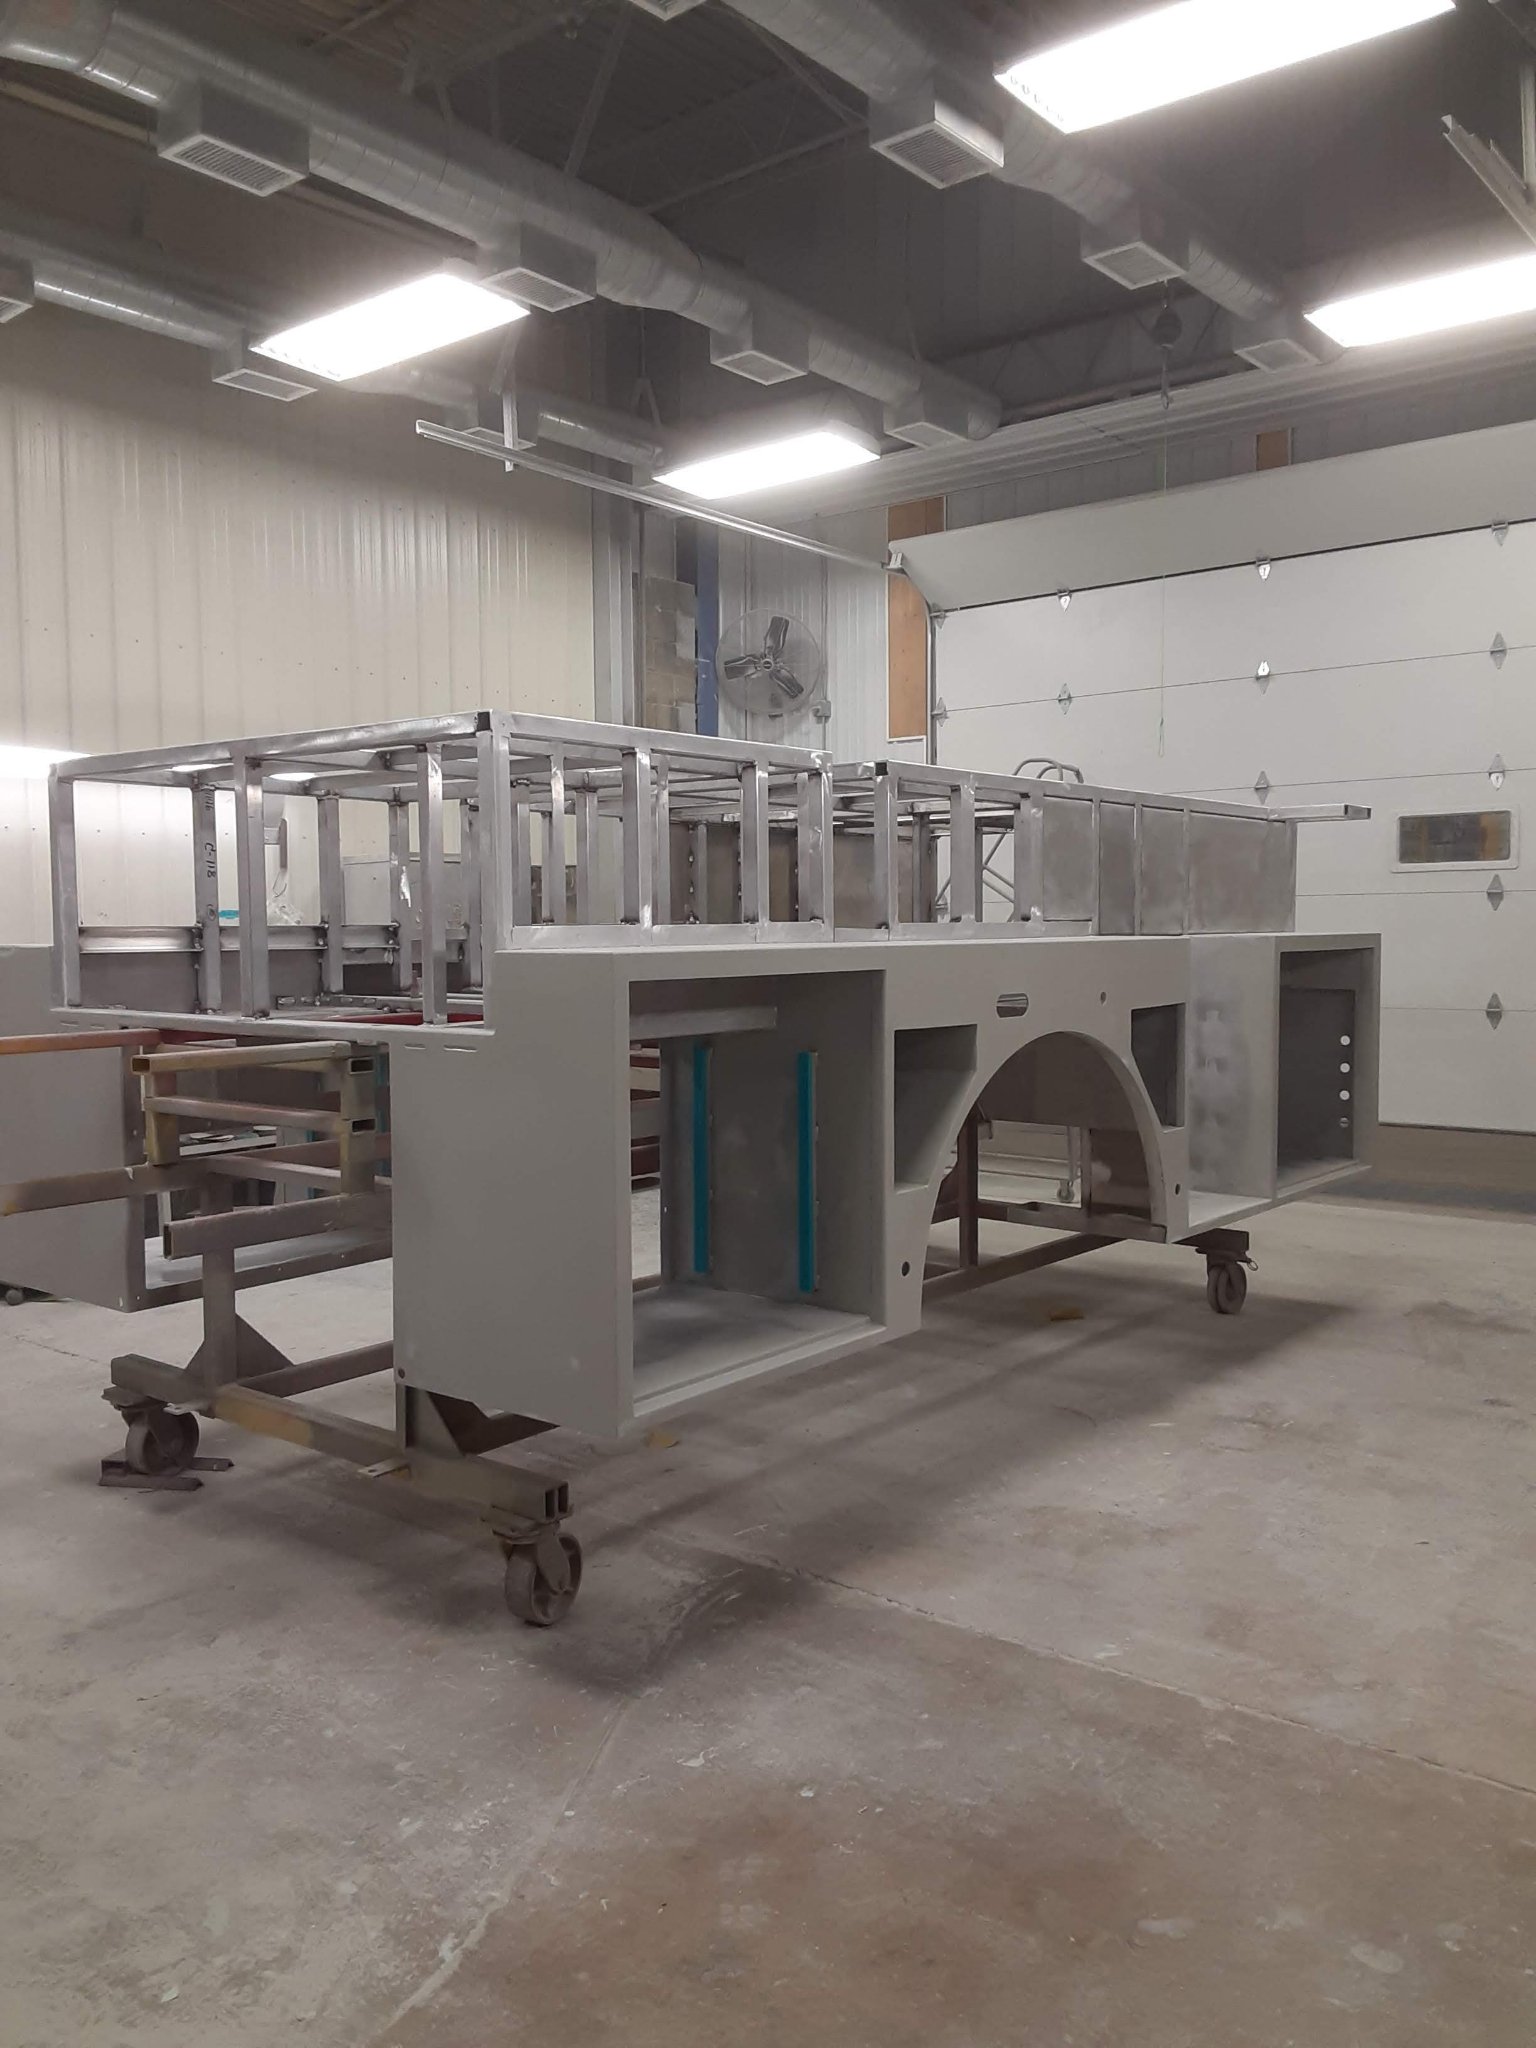
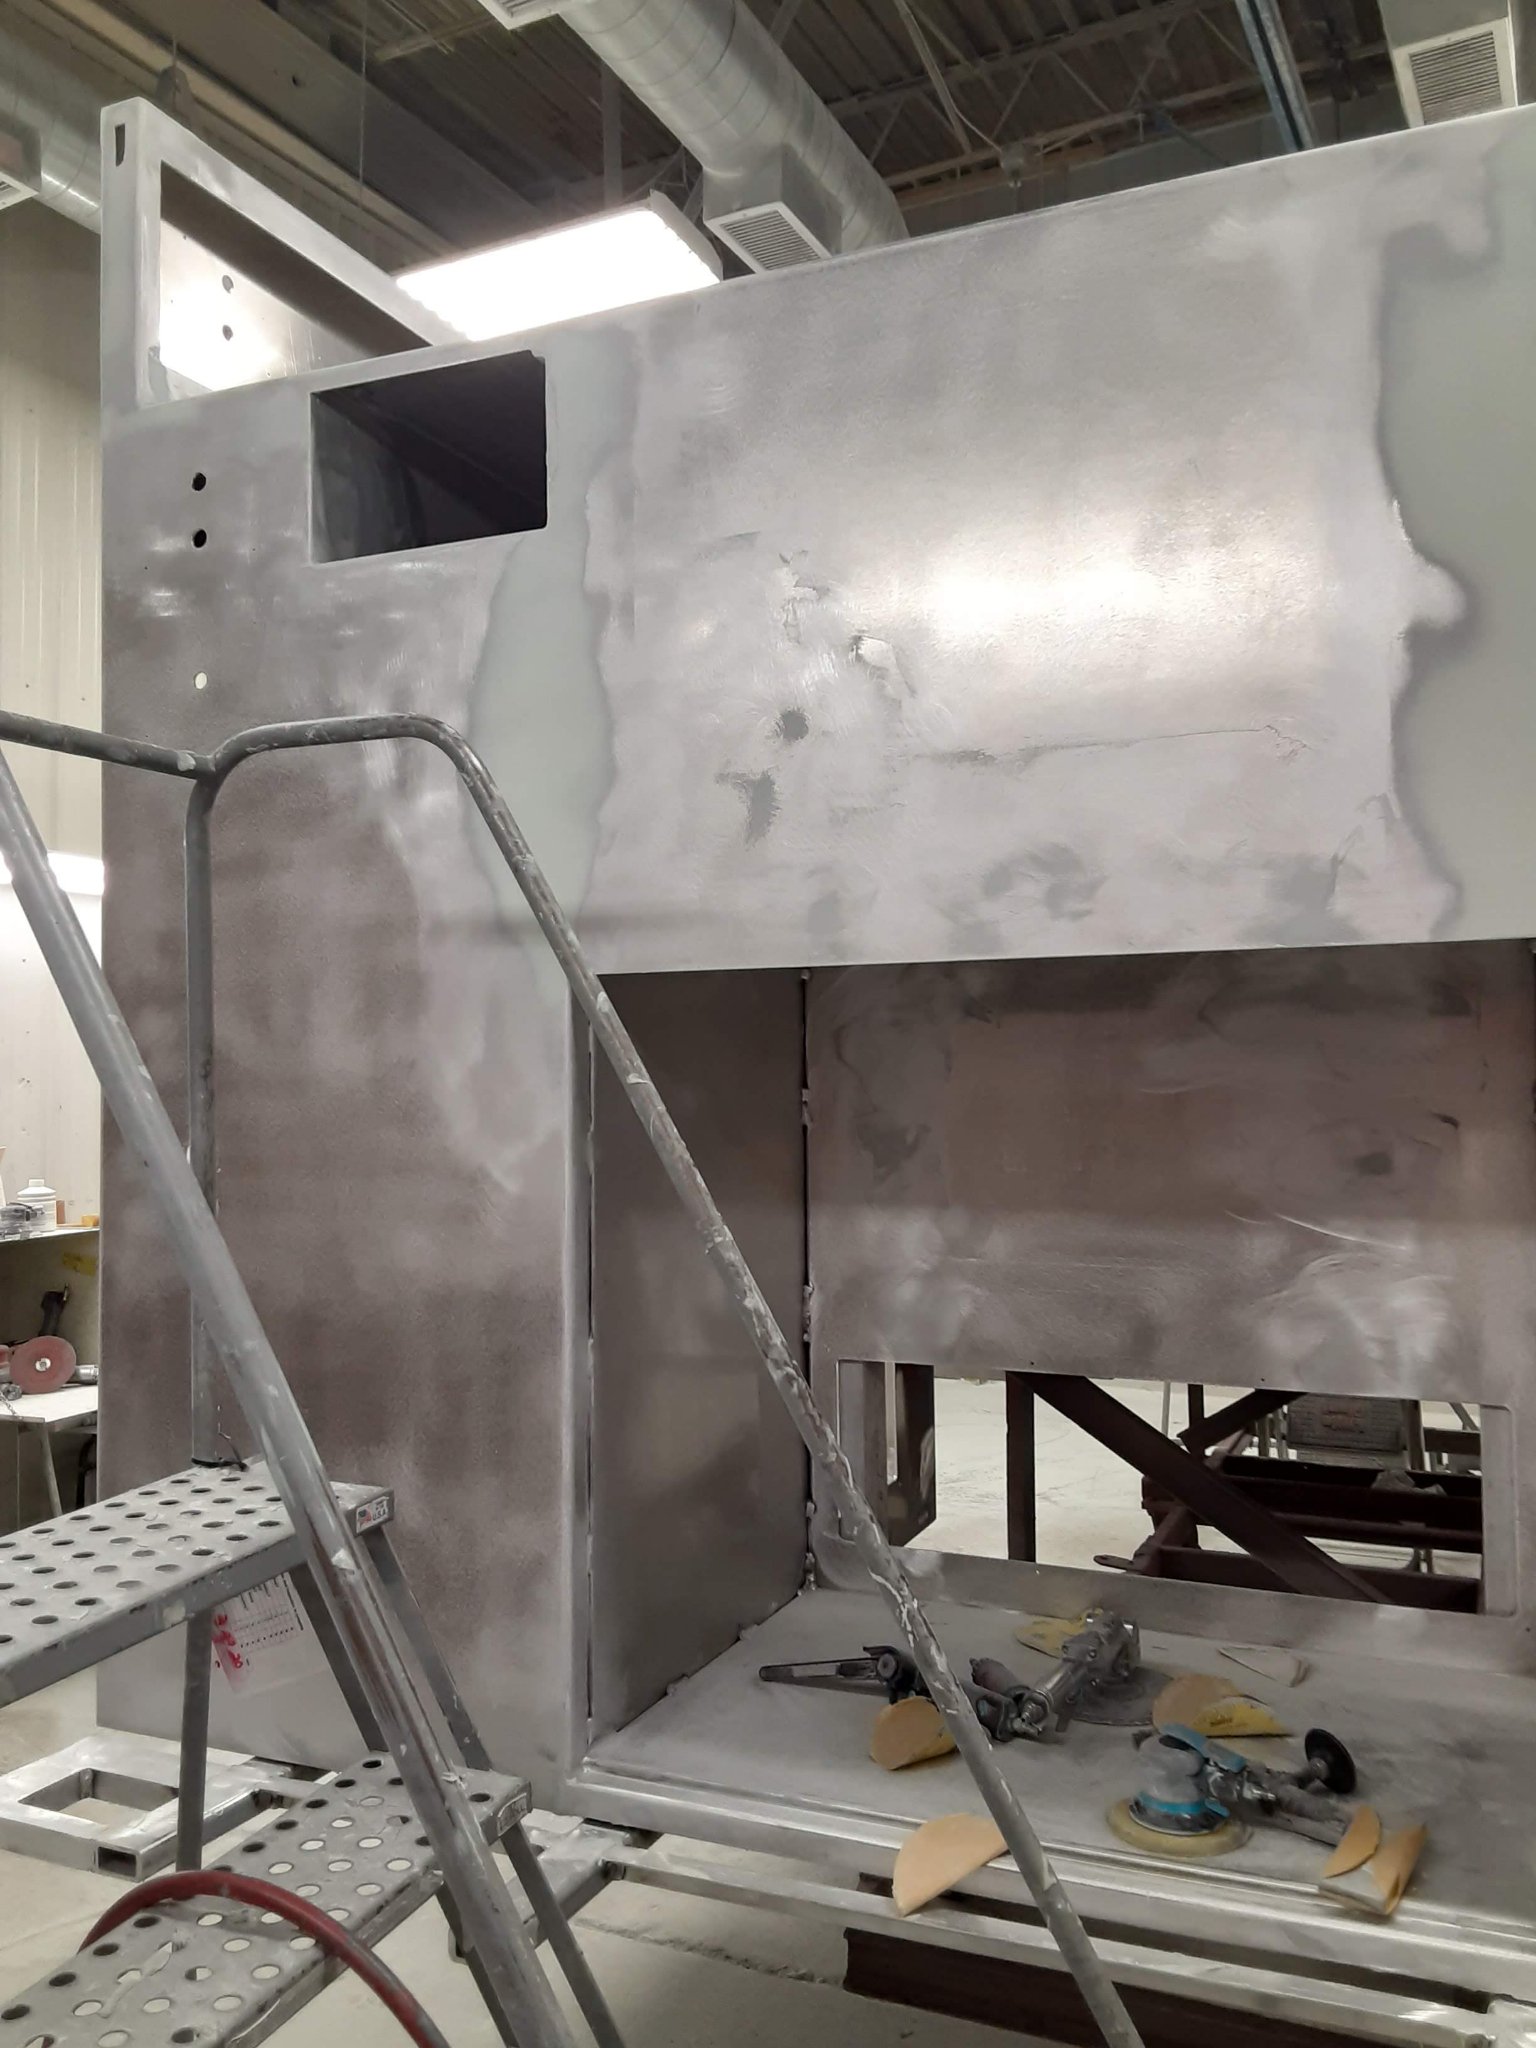
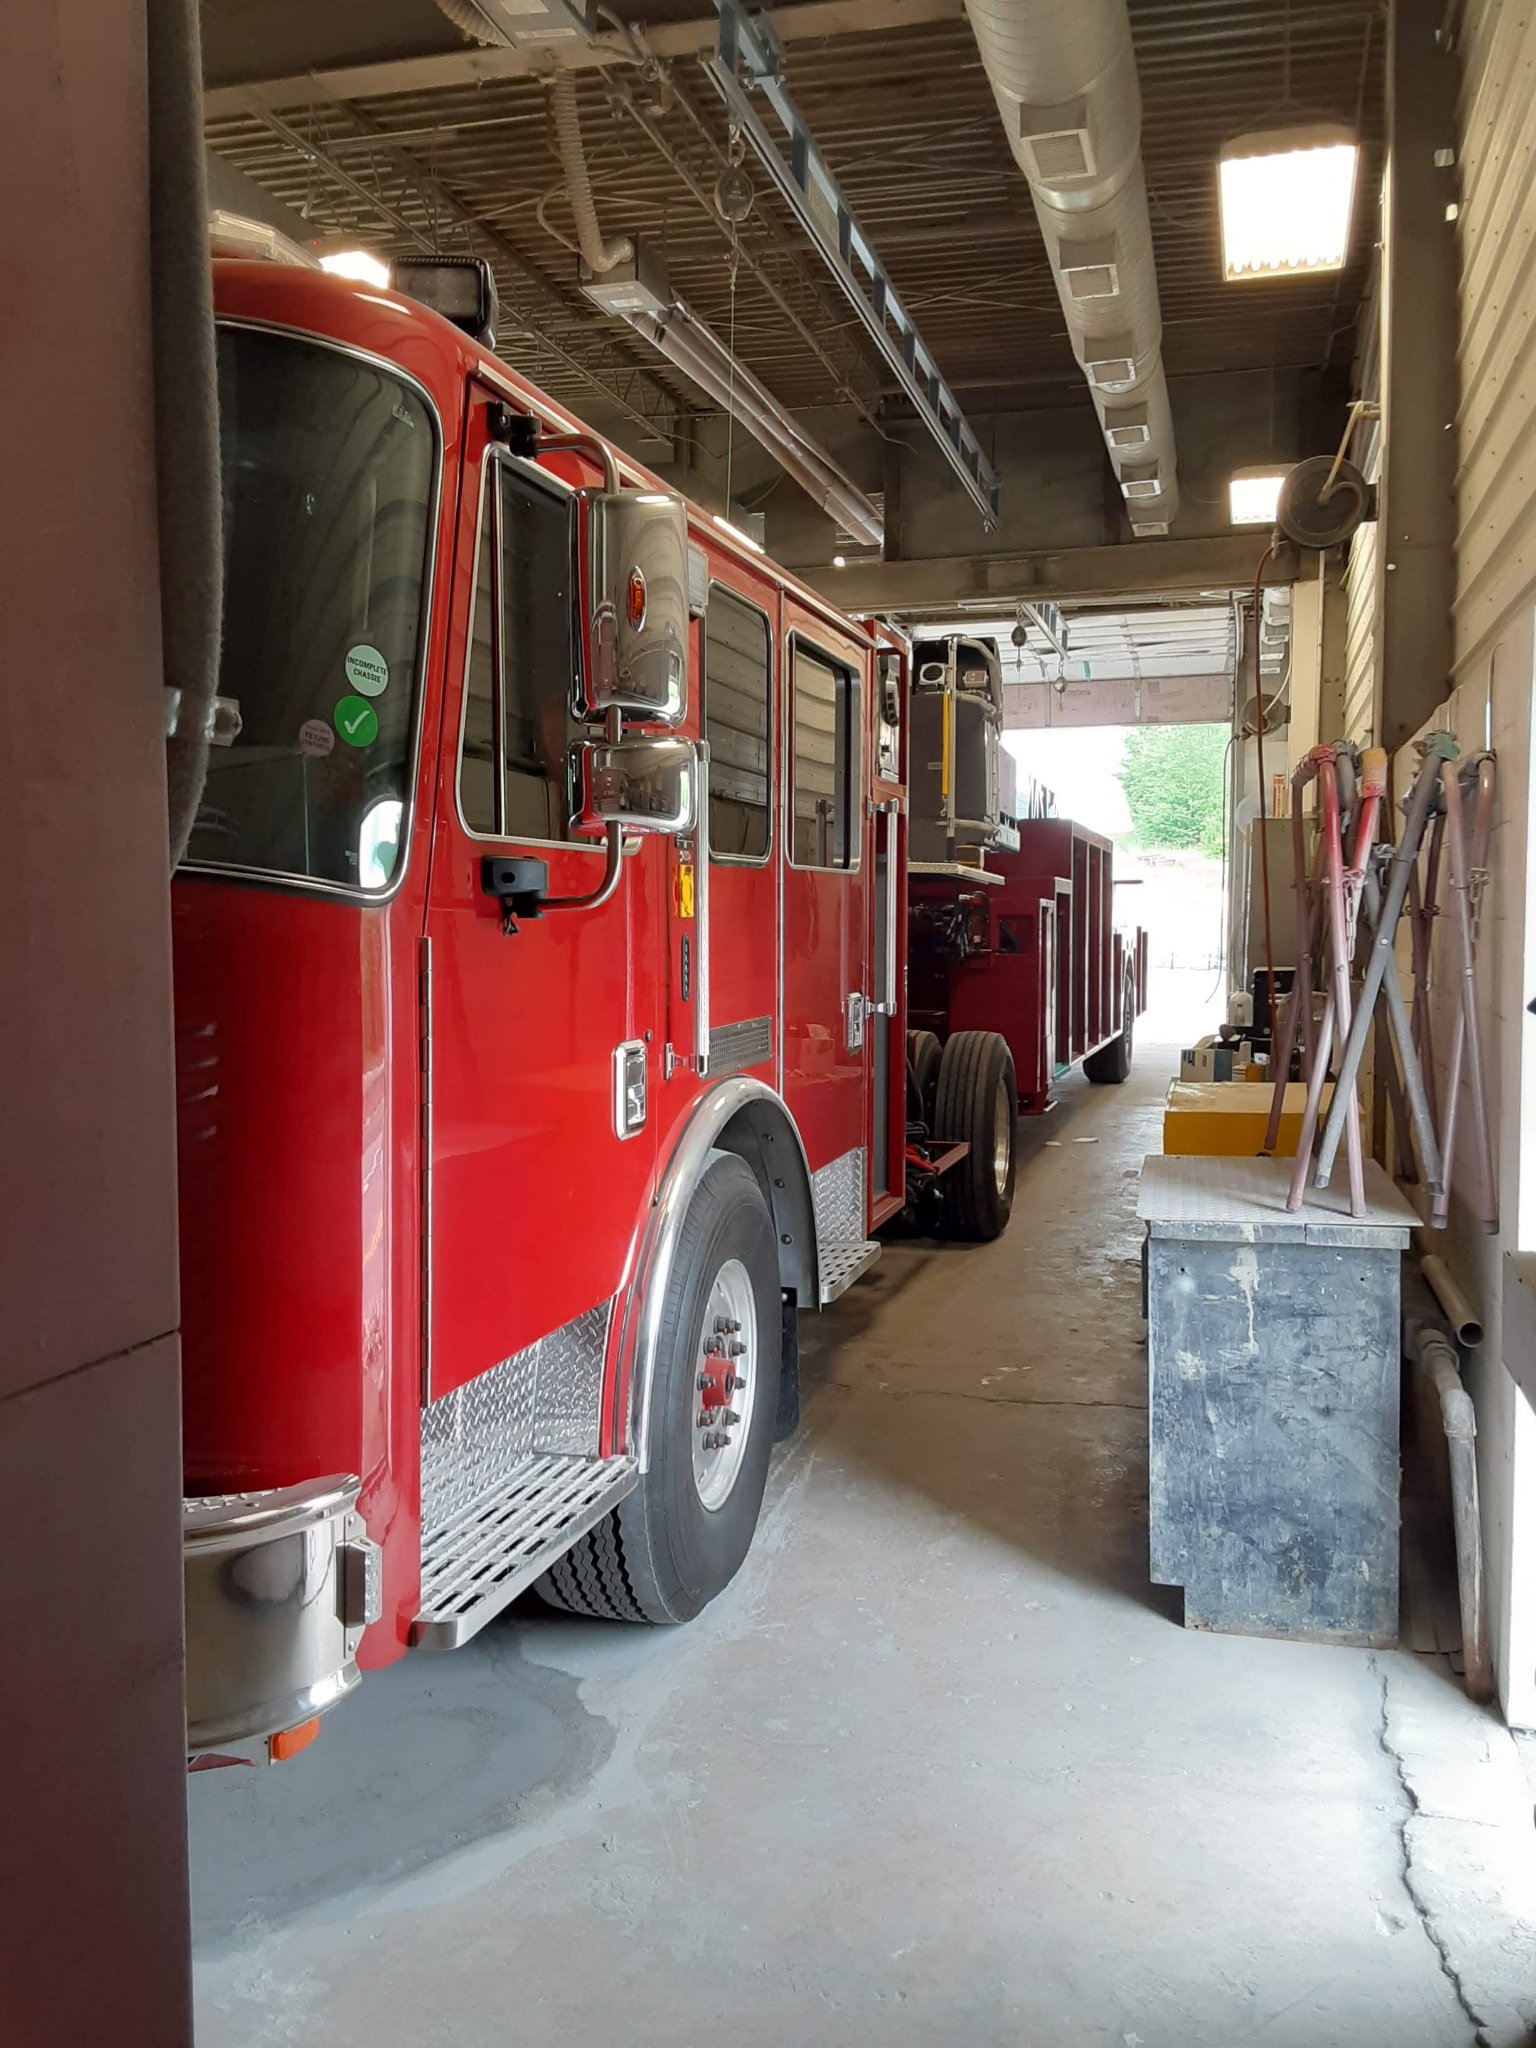
Before Dark Horse, Matthew spent years building fire trucks at a fire apparatus plant — aluminum bodies from bare shell to finished engine. Same hands, same standard as the work on this page. It turns out he was training for this all along.
Where a fire truck startsBody in primerPanels sanded by handFinished, ready for service
Not Just Cars
A custom wheelchair · Thomas the Tank Engine theme
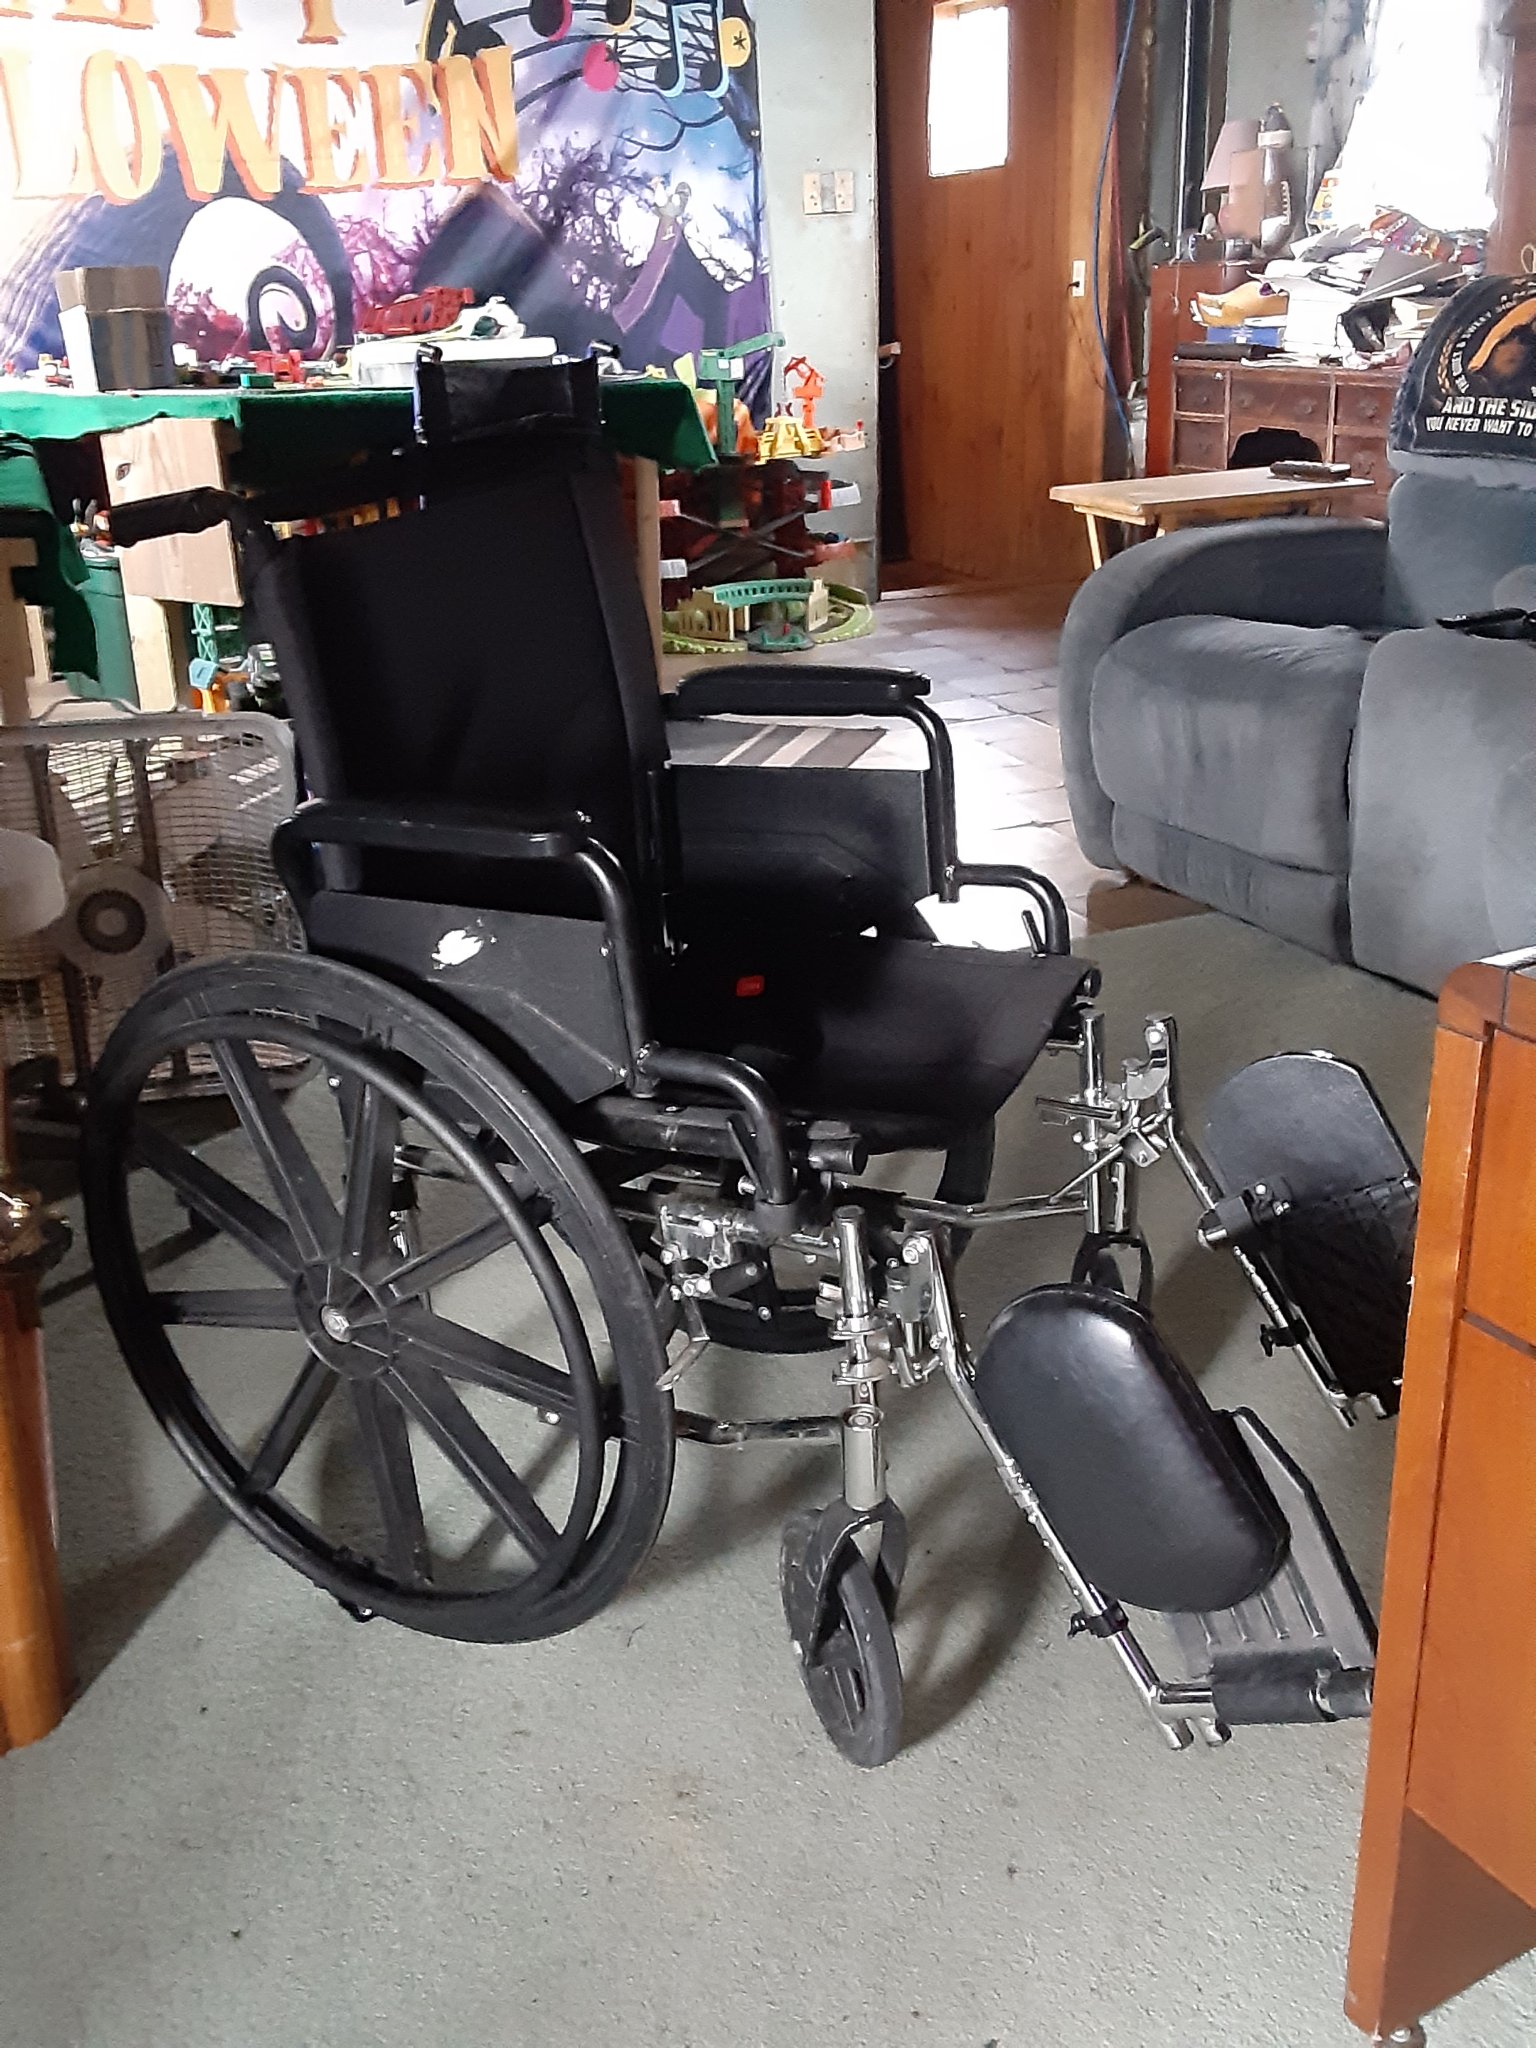
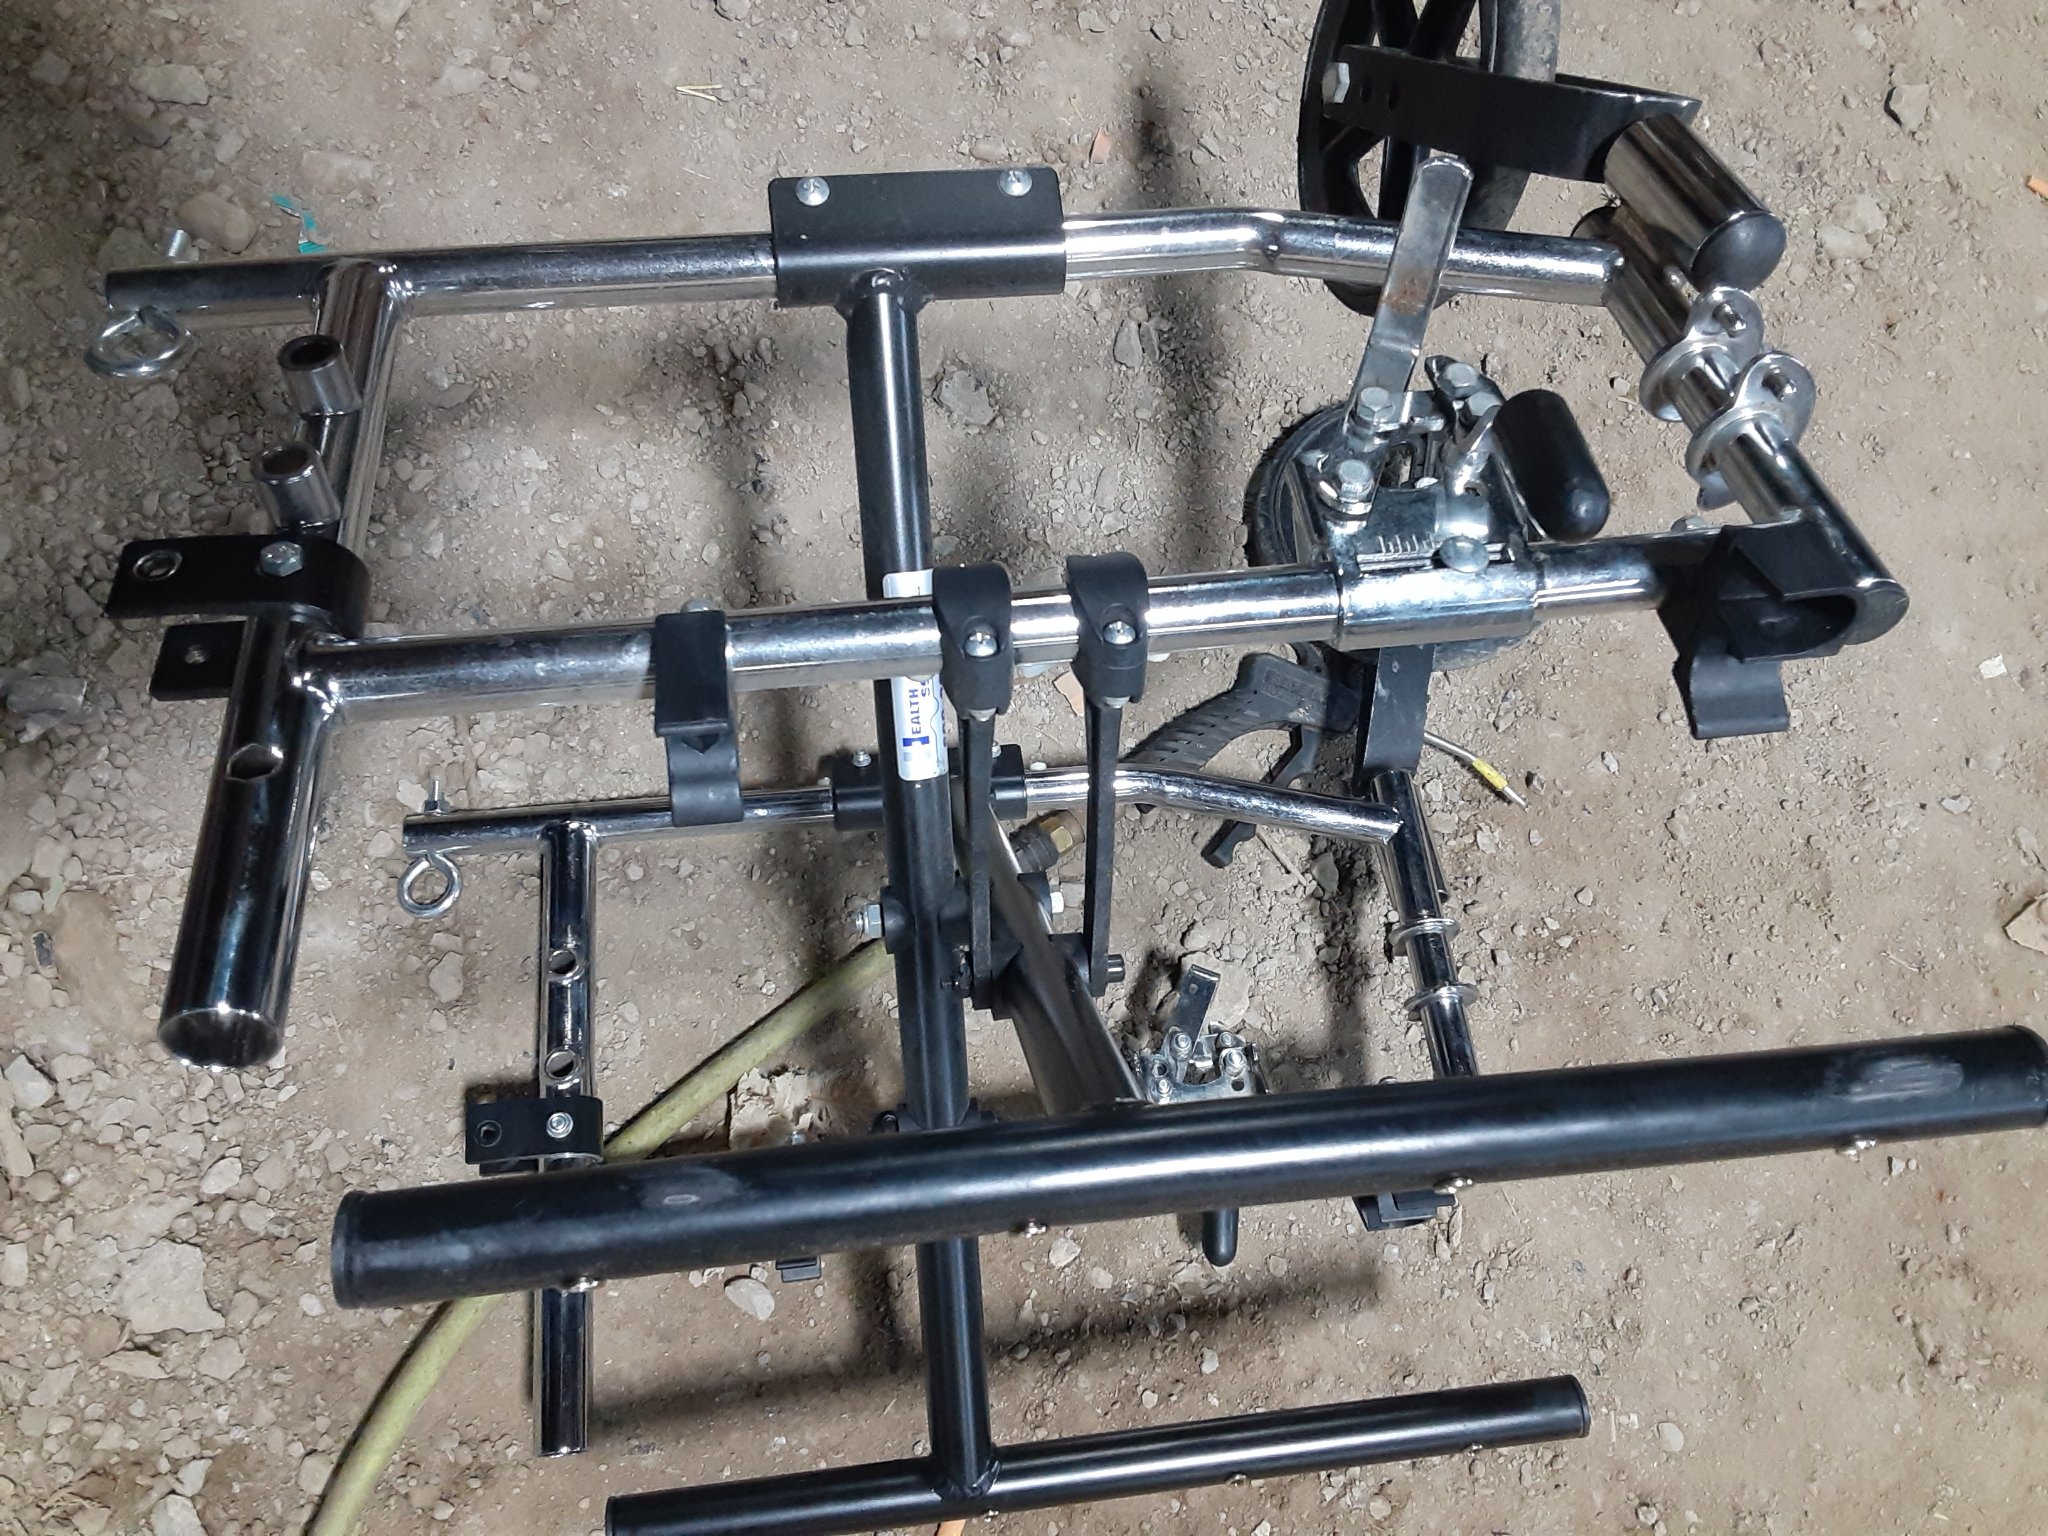
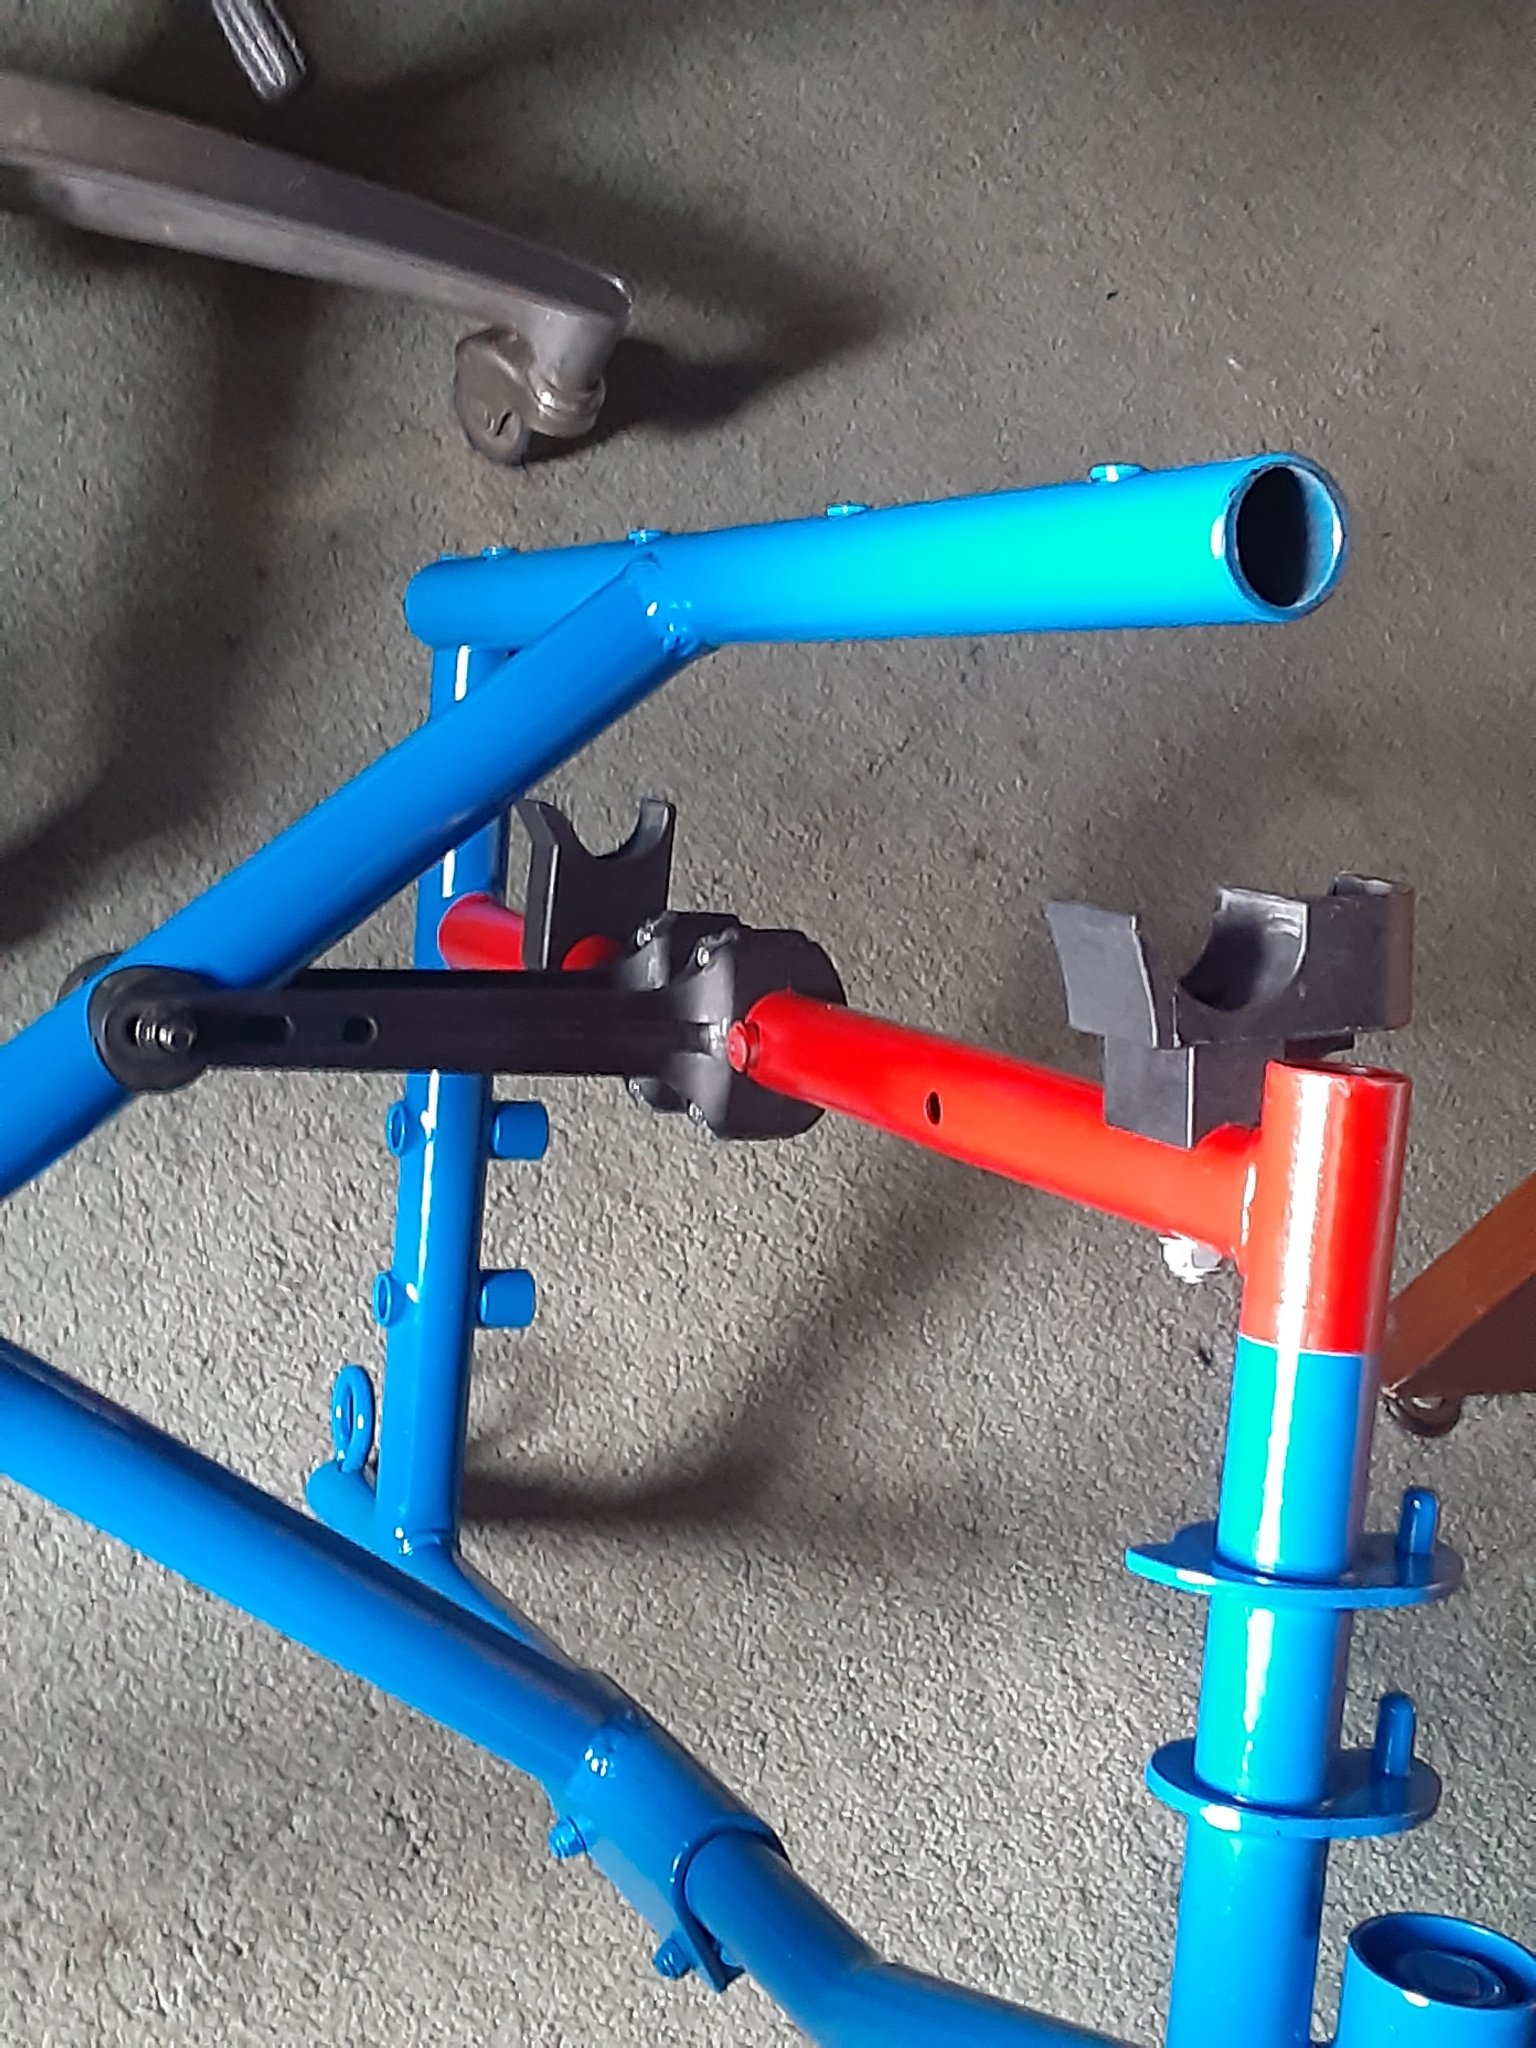
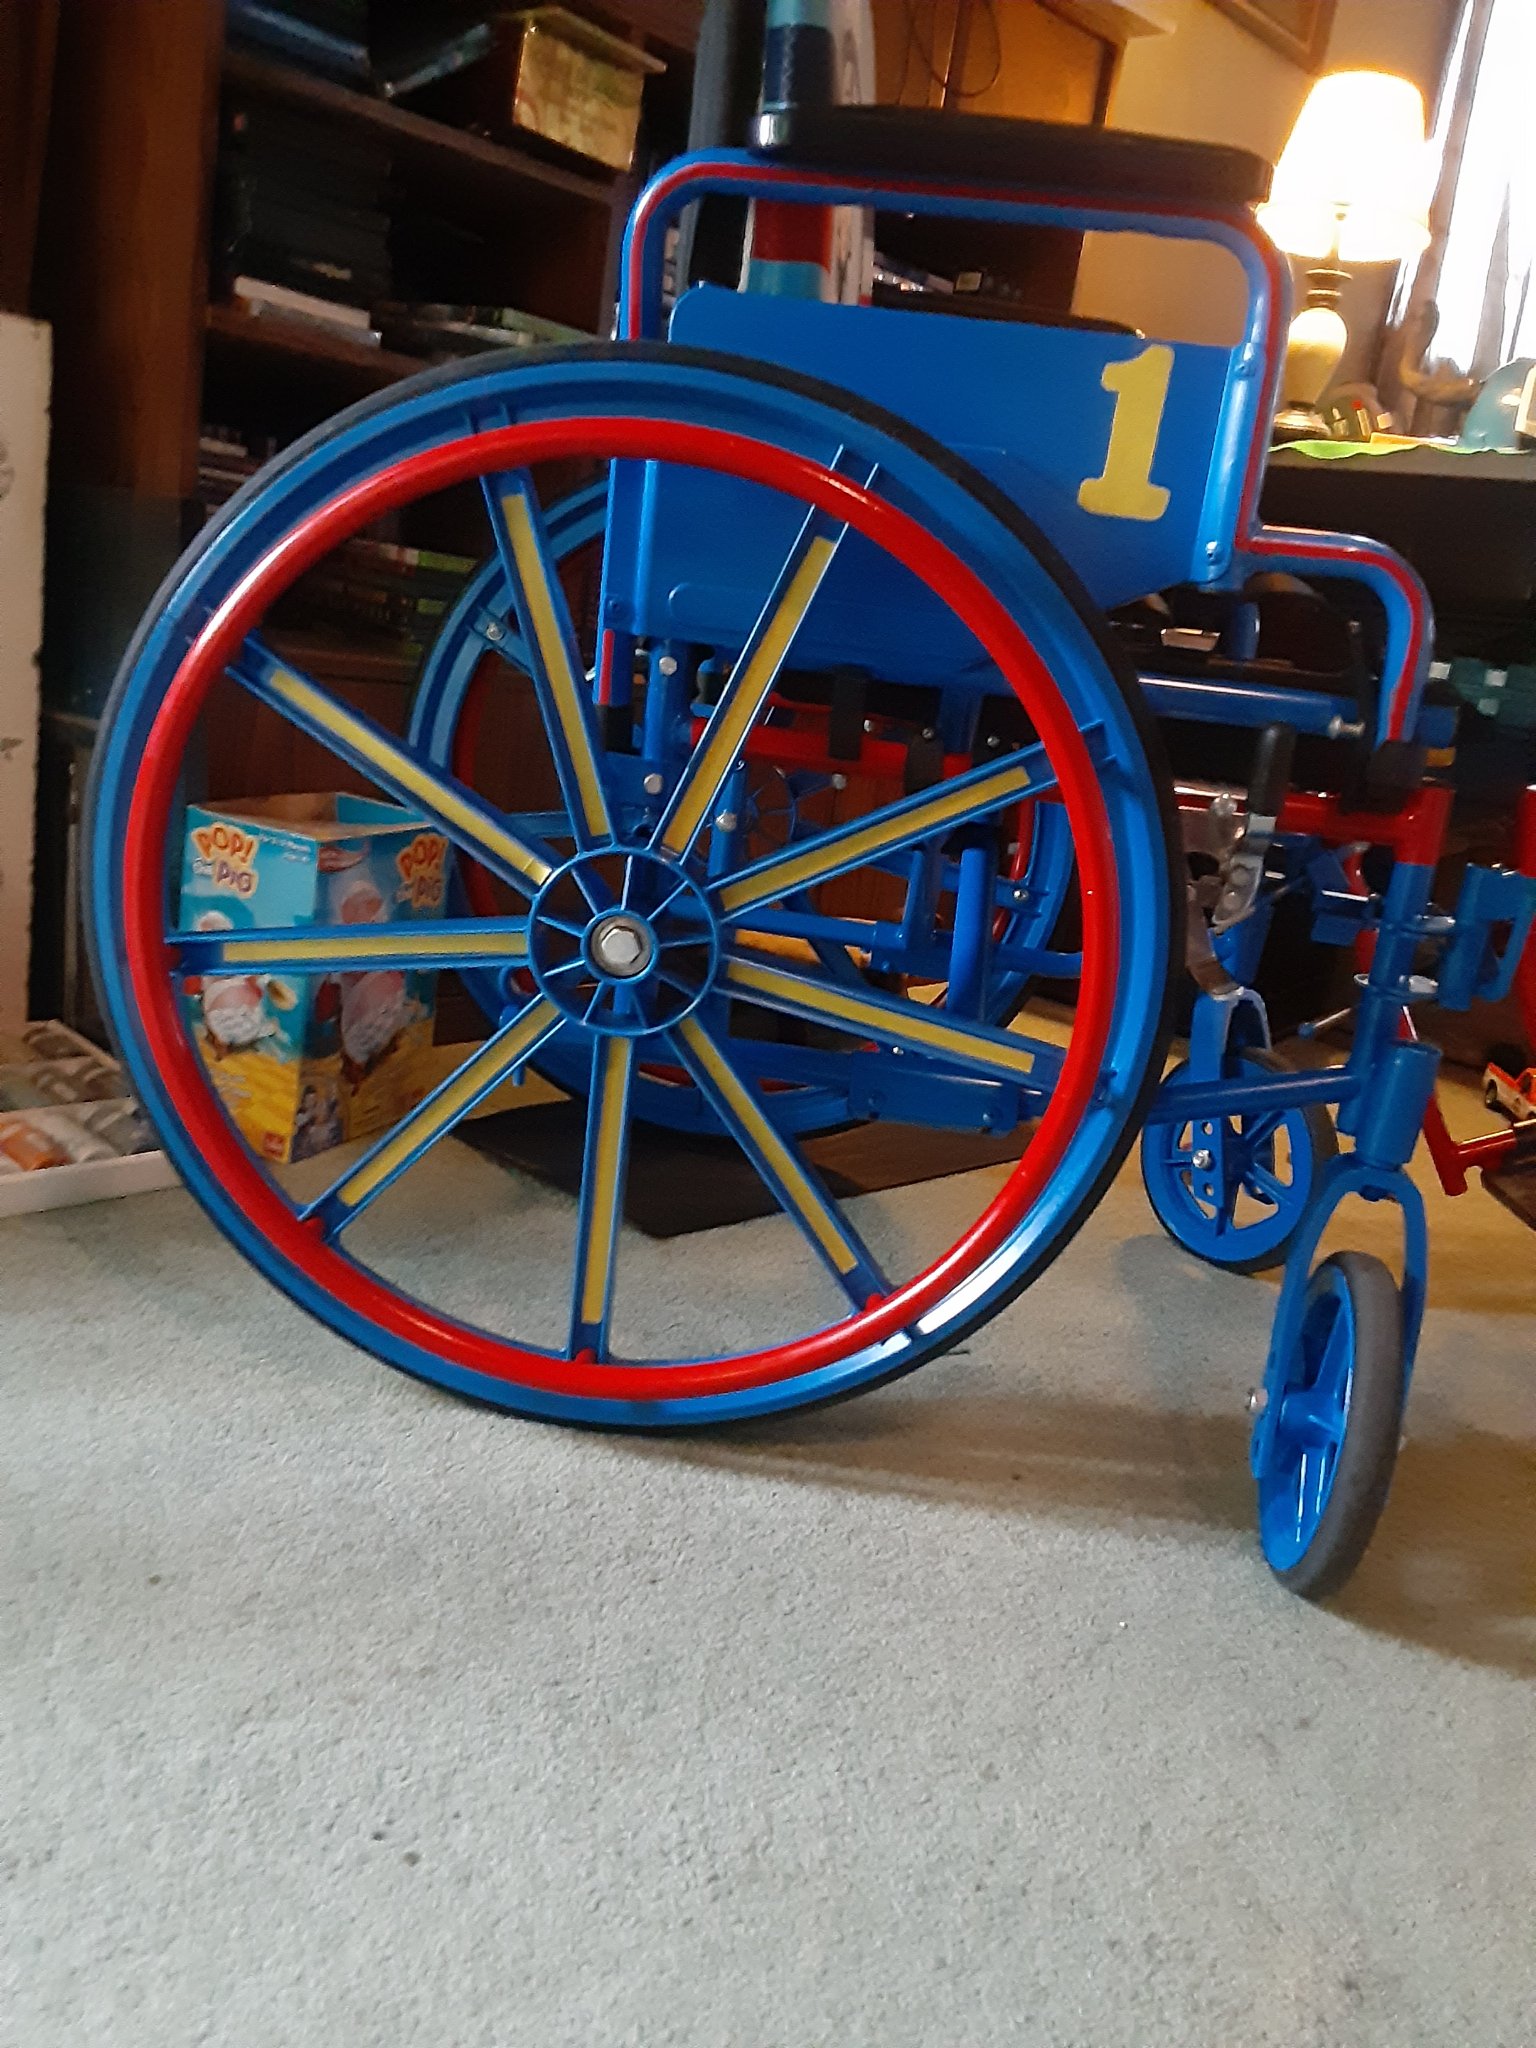
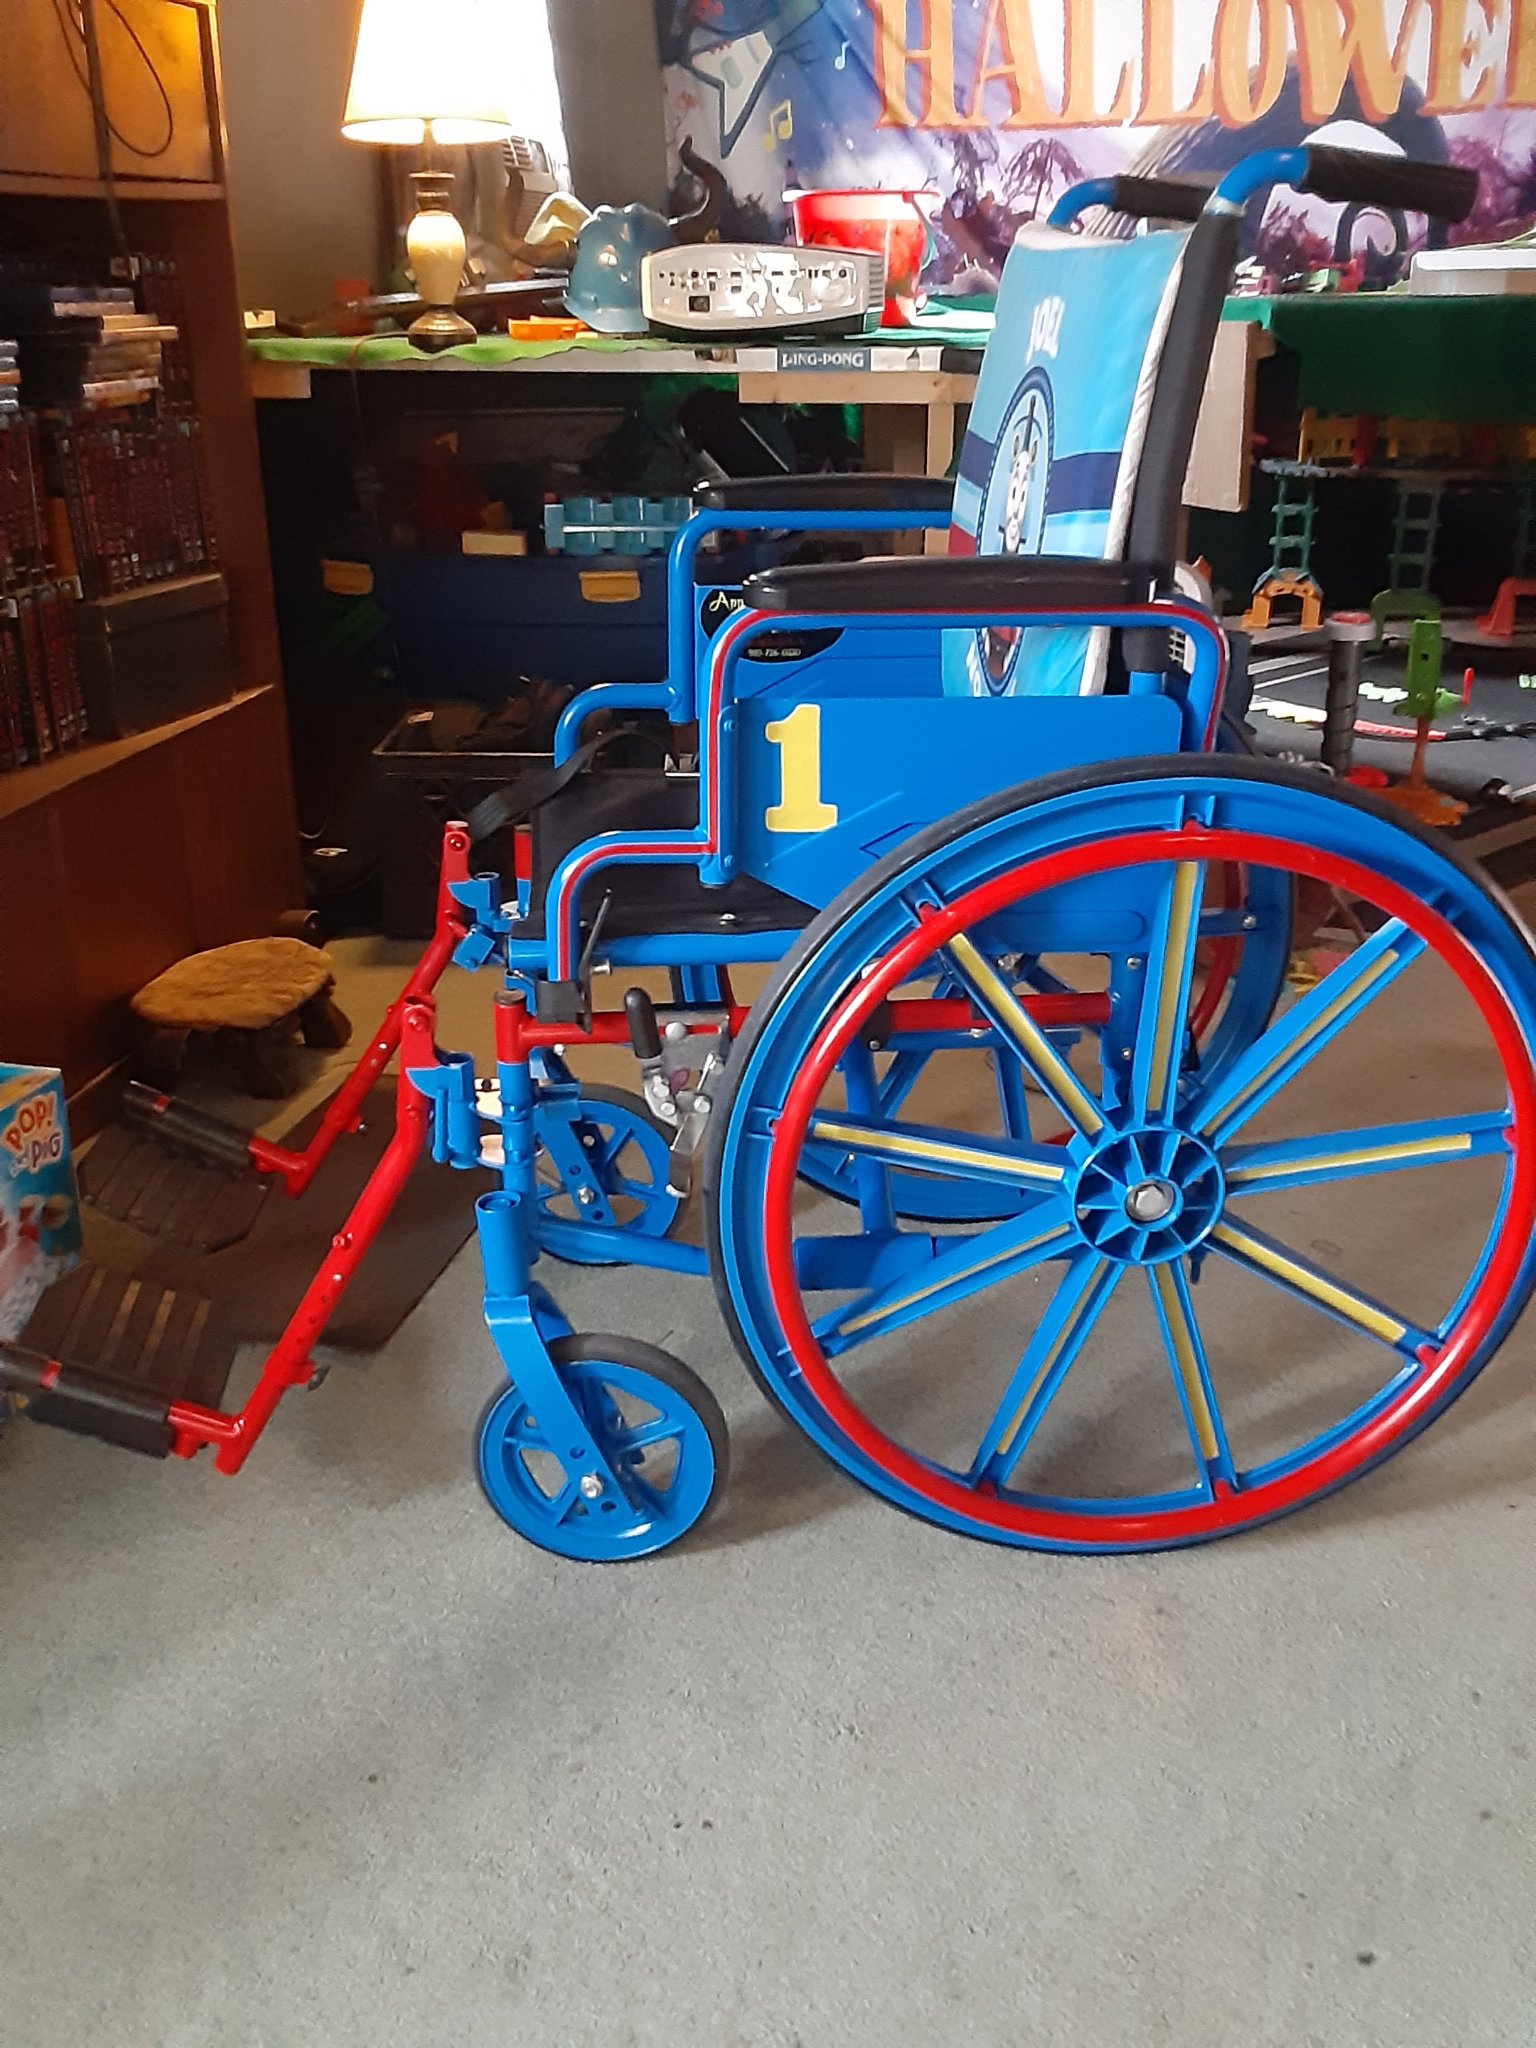
Years ago, Matthew customized a wheelchair for a young disabled boy — stripped the frame, painted it Thomas the Tank Engine blue with red handrims and yellow spoke inlays, and finished it with hand pinstripe work. In his words: “I don't just customize cars — I can customize anything.”
The chair, beforeFrame stripped downFrame in Thomas blueThe wheels, up closeFinished — the full treatment